


灵感来自于:Android 项目总结(一):弧形ViewPager 和弧形HeaderView
图片也来自上面的链接。
最近看到了好多这样的效果,身边同事也有提起过这种弧形的 View,其实实现这种效果的方法很多,我也尝试实现了一下,虽然方式不咋好,但好歹做出来效果。
1 思路
最开始看到这个效果第一反应就是用贝塞尔曲线去画一个下面是弧形的封闭曲线,然后再调用 Paint 的setXfermode() 将其设置为 SRC_IN(讲这个的文章网上倒是有很多,这个模式就是取两个东西的交集,显示上层图像的意思),然后再画图片不就行了吗,嗯,我获取圆形头像就是这么干的,理论上来说完全 ojbk
2 ArcView
说干就干,先自定义一个 ArcView:
public class ArcView extends android.support.v7.widget.AppCompatImageView {
    private Paint mPaint;
    private Path mPath; //下面为弧形的封闭曲线
    private Bitmap mBitmap; //图片
    private int width;  //控件宽
    private int height; //控件高
    private int arcWidth;   //弧形宽
    private int arcHeight;  //弧形高
    private Rect srcRect;   //图片绘制区域
    private Rect dstRect;   //图片显示区域

    public ArcView(Context context) {
        this(context, null);
    }

    public ArcView(Context context, @Nullable AttributeSet attrs) {
        this(context, attrs, 0);
    }

    public ArcView(Context context, @Nullable AttributeSet attrs, int defStyleAttr) {
        super(context, attrs, defStyleAttr);
        width = context.getResources().getDisplayMetrics().widthPixels;
        height = context.getResources().getDisplayMetrics().heightPixels / 2;
        mPaint = new Paint();
        mPaint.setColor(Color.WHITE);
        mPaint.setStyle(Paint.Style.FILL_AND_STROKE);   //画笔设置为填充,这个别忘了
        mPaint.setAntiAlias(true);
        mPath = new Path();
    }

    @Override
    protected void onMeasure(int widthMeasureSpec, int heightMeasureSpec) {
        int widthMode = MeasureSpec.getMode(widthMeasureSpec);
        int widthSize = MeasureSpec.getSize(widthMeasureSpec);
        int heightMode = MeasureSpec.getMode(heightMeasureSpec);
        int heightSize = MeasureSpec.getSize(heightMeasureSpec);
        if (widthMode == MeasureSpec.EXACTLY) {
            width = widthSize;
        } else {
            width = getContext().getResources().getDisplayMetrics().widthPixels;
        }

        if (heightMode == MeasureSpec.EXACTLY) {
            height = heightSize;
        } else {
            height = getContext().getResources().getDisplayMetrics().heightPixels / 2;
        }
        arcWidth = width;
        arcHeight = height / 5; //取弧形的高度为整个控件的五分之一
        setMeasuredDimension(width, height);
    }

    @Override
    protected void onDraw(Canvas canvas) {
        mPath.moveTo(0, 0);
        mPath.moveTo(0, height - arcHeight);
        mPath.quadTo(width / 2, height + arcHeight, width, height - arcHeight);
        mPath.lineTo(width, 0);
        mPath.lineTo(0, 0);
        canvas.drawPath(mPath, mPaint);
        if (mBitmap != null) {
            srcRect = new Rect(0, 0, mBitmap.getWidth(), mBitmap.getHeight());  //绘制区域
            dstRect = new Rect(0, 0, width, height);    //显示区域
            mPaint.setXfermode(new PorterDuffXfermode(PorterDuff.Mode.SRC_IN));
            canvas.drawBitmap(mBitmap, srcRect, dstRect, mPaint);
        }
    }

    @Override
    public void setImageBitmap(Bitmap bitmap) {
        this.mBitmap = bitmap;
        invalidate();
    }

    @Override
    public void setImageResource(int resourceId) {
        this.mBitmap = BitmapFactory.decodeResource(getContext().getResources(), resourceId);
        invalidate();
    }

    /**
     * Description:加载完成后获取图片
     * Date:2018/1/22
     */
    @Override
    protected void onFinishInflate() {
        super.onFinishInflate();
        if (getDrawable() != null) {
            mBitmap = ((BitmapDrawable) getDrawable()).getBitmap();
        }
    }
}
老夫撸代码就是一口气写到底,一路写下来头脑清晰,毫无阻碍,布局很简单:
<?xml version="1.0" encoding="utf-8"?>
<android.support.constraint.ConstraintLayout xmlns:android="http://schemas.android.com/apk/res/android"
xmlns:app="http://schemas.android.com/apk/res-auto"
xmlns:tools="http://schemas.android.com/tools"
android:layout_width="match_parent"
android:layout_height="match_parent"
tools:context="com.qinshou.arcdemo.activity.ArcViewActivity">
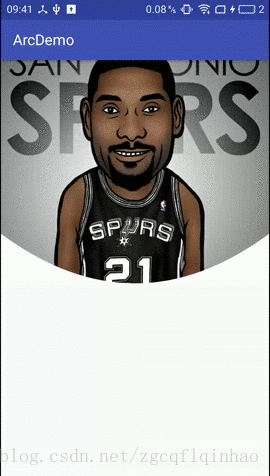
<com.qinshou.arcdemo.widget.ArcView
android:layout_width="wrap_content"
android:src="@drawable/a"
android:id="@+id/av_test"
android:layout_height="wrap_content" />
</android.support.constraint.ConstraintLayout>
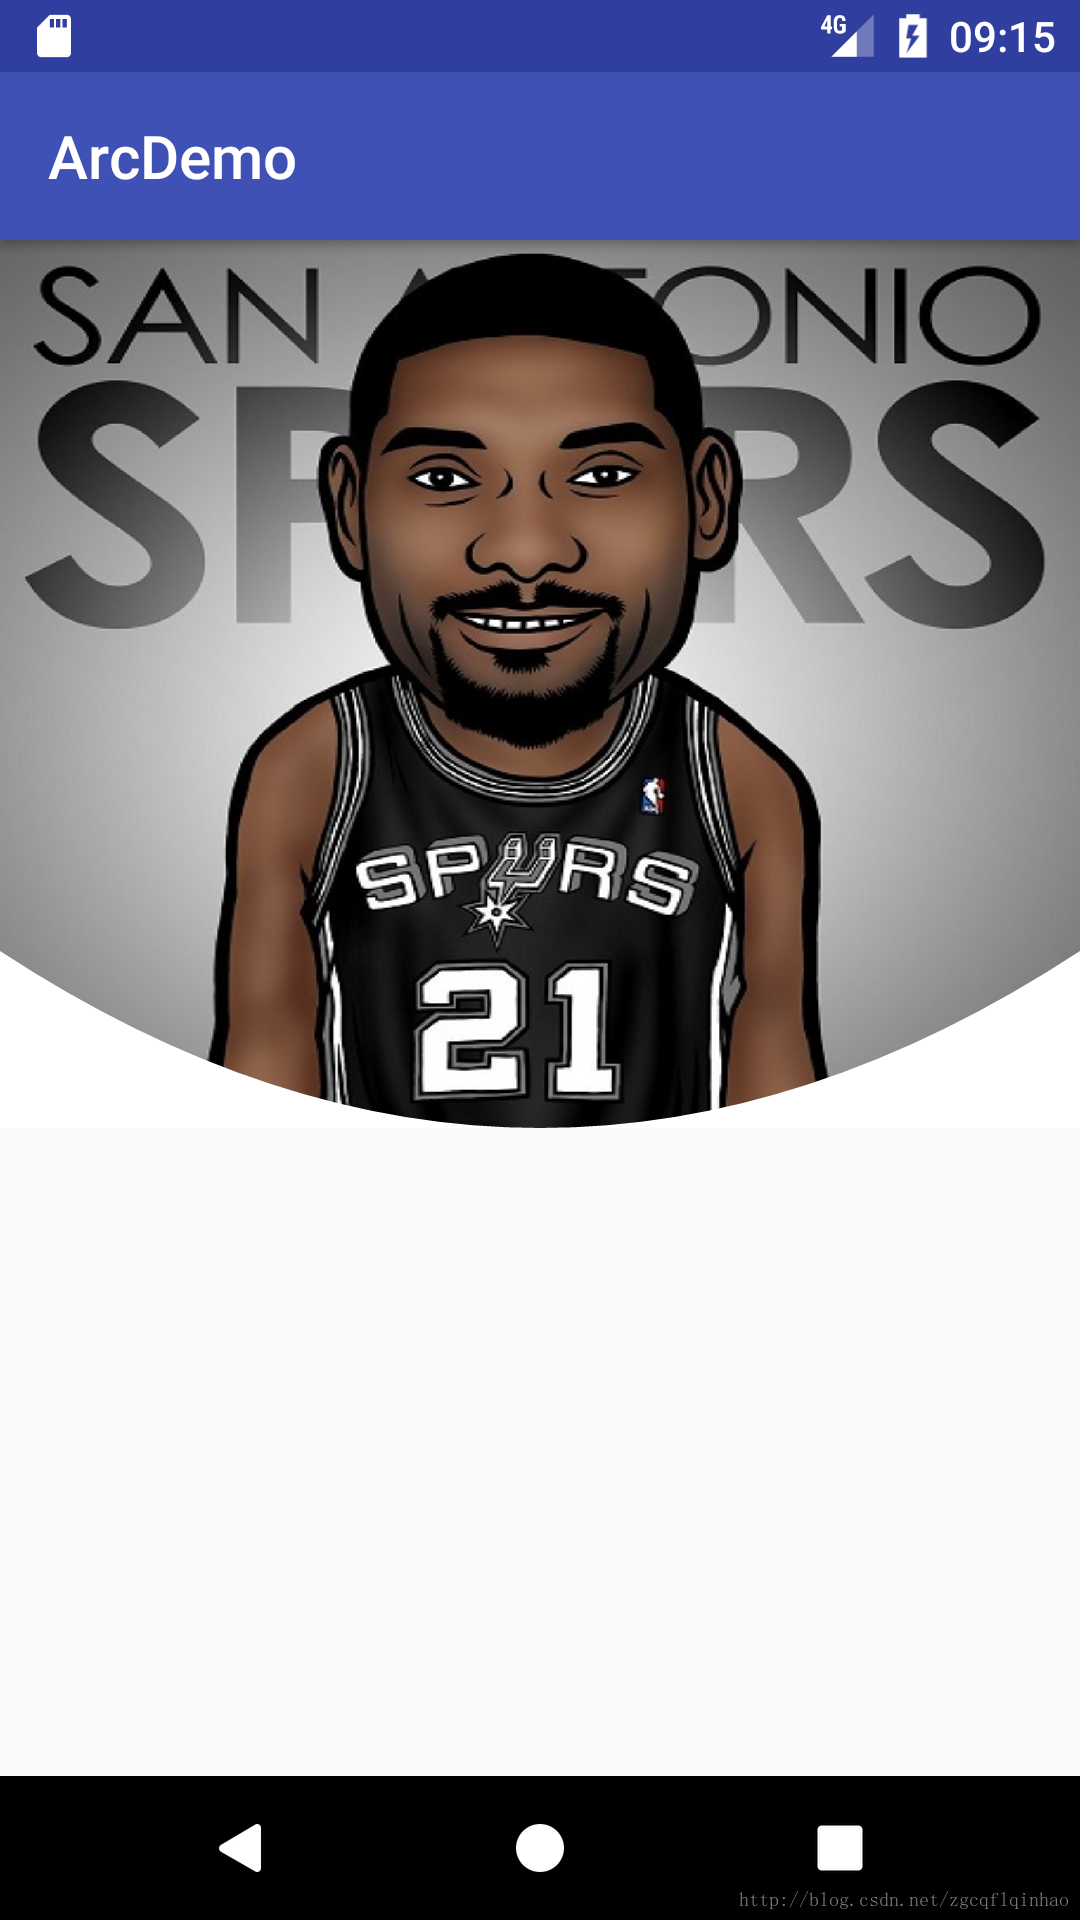
满怀希望的跑起来一看:

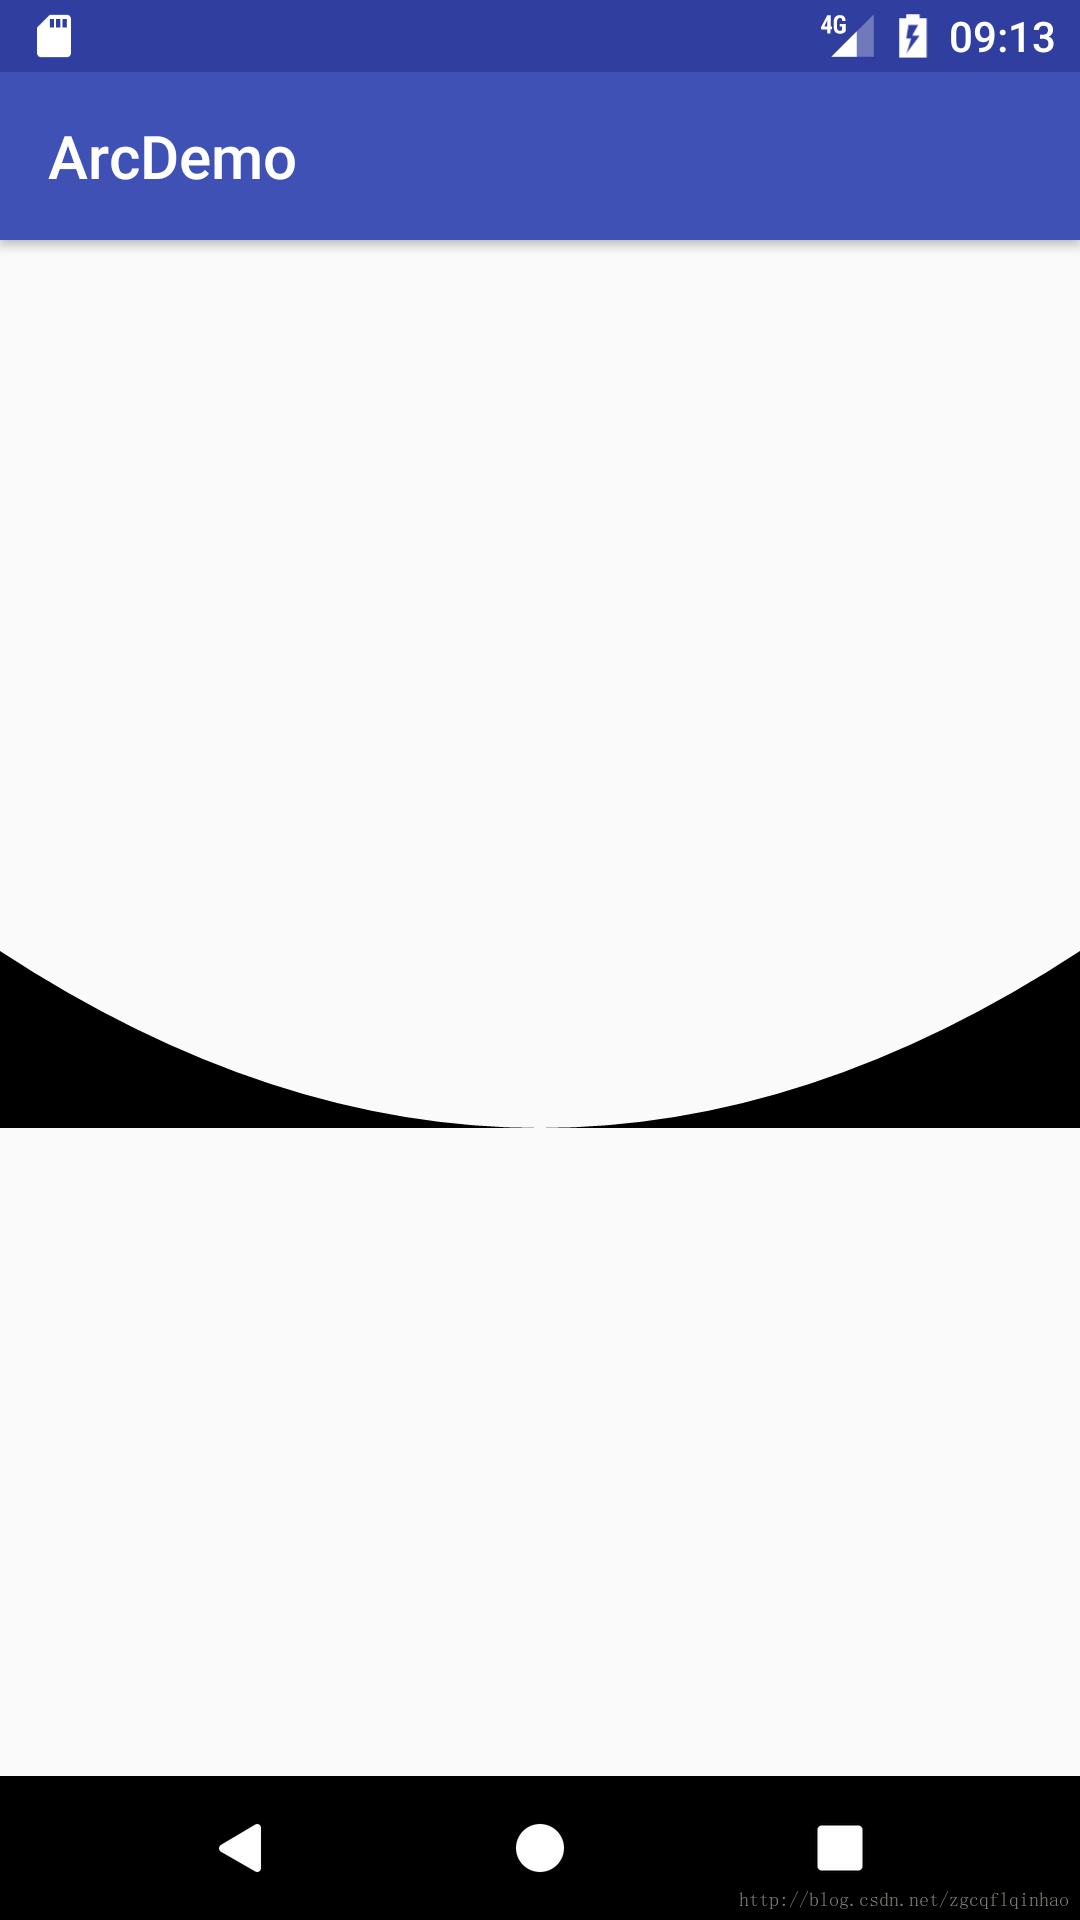
WTF,why!难道是这一行代码出了问题?
mPaint.setXfermode(new PorterDuffXfermode(PorterDuff.Mode.SRC_IN));可是我之前画圆形图片就是这样的,毫无破绽啊,我把 drawPath() 换成 drawCircle() 了仍是如此,嗯,这里面一定有什么不可告人的秘密,等我定下心来的时候把它好好解剖一下,当务之急是要实现弧形效果。All the roads to the Rome,下面显示弧形,是不是先画图片,再画一个白色的弧形 View来遮住它下半部分即可?即一个白色的这样的 View:
嗯,试一下,把 onDraw() 方法改一下:
    @Override
    protected void onDraw(Canvas canvas) {
        if (mBitmap != null) {
            srcRect = new Rect(0, 0, mBitmap.getWidth(), mBitmap.getHeight());
            dstRect = new Rect(0, 0, width, height);
            canvas.drawBitmap(mBitmap, srcRect, dstRect, mPaint);
        }
        mPath.moveTo(0, height - arcHeight);
        mPath.quadTo(width / 2, height + arcHeight, width, height - arcHeight);
        mPath.lineTo(width, height);
        mPath.lineTo(0, height);
        canvas.drawPath(mPath, mPaint);
    }
虽然这种方法有投机取巧之嫌,不过也不失为一种思路,等后面小弟找出 setXfermode() 方法不好使是谁在作祟时,再捉它来给大家问罪。
3 ArcViewPager
既然 ArcView 弧形控件可以实现,那么弧形的 ViewPager 应该就不难了,把 ArcView 作为 ViewPager 的每一个页卡即可:
public class ArcViewPagerActivity extends AppCompatActivity {

    @Override
    protected void onCreate(Bundle savedInstanceState) {
        super.onCreate(savedInstanceState);
        setContentView(R.layout.activity_arc_view_pager);
        ViewPager viewPager = (ViewPager) findViewById(R.id.vp_test);
        int[] resource = new int[]{R.drawable.a, R.drawable.b, R.drawable.c
                , R.drawable.d, R.drawable.e, R.drawable.f};
        List<View> viewList = new ArrayList<>();
        for (int i = 0; i < resource.length; i++) {
            ArcView mArcView = new ArcView(this);
            mArcView.setLayoutParams(new ViewGroup.LayoutParams(ViewGroup.LayoutParams.MATCH_PARENT, ViewGroup.LayoutParams.MATCH_PARENT));
            mArcView.setImageResource(resource[i]);
            viewList.add(mArcView);
        }
        viewPager.setAdapter(new MyViewPagerAdapter(viewList));
    }

    private class MyViewPagerAdapter extends PagerAdapter {
        private List<View> viewList = new ArrayList<>();

        public MyViewPagerAdapter(List<View> viewList) {
            this.viewList = viewList;
        }

        @Override
        public int getCount() {
            return viewList.size();
        }

        @Override
        public boolean isViewFromObject(View view, Object object) {
            return view == object;
        }

        @Override
        public Object instantiateItem(ViewGroup container, int position) {
            container.addView(viewList.get(position));
            return viewList.get(position);
        }

        @Override
        public void destroyItem(ViewGroup container, int position, Object object) {
            container.removeView(viewList.get(position));
        }
    }
}
public class ArcViewPager extends RelativeLayout {

    private ViewPager mViewPager;

    public ArcViewPager(Context context) {
        this(context, null);
    }

    public ArcViewPager(Context context, AttributeSet attrs) {
        this(context, attrs, 0);
    }

    public ArcViewPager(Context context, AttributeSet attrs, int defStyleAttr) {
        super(context, attrs, defStyleAttr);
        ArcCoverView mArcCoverView = new ArcCoverView(getContext());
        mArcCoverView.setLayoutParams(new LayoutParams(LinearLayout.LayoutParams.MATCH_PARENT, 200));
        mViewPager = new ViewPager(getContext());   //创建 ViewPager
        addView(mViewPager);    //添加 ViewPager
        addView(mArcCoverView); //添加弧形遮挡 View
    }

    @Override
    protected void onLayout(boolean changed, int l, int t, int r, int b) {
        super.onLayout(changed, l, t, r, b);
        //遍历子 View,将弧形遮挡 View 放在底部
        for (int i = 0; i < getChildCount(); i++) {
            if (getChildAt(i) instanceof ArcCoverView) {
                ArcCoverView arcCoverView = (ArcCoverView) getChildAt(i);
                arcCoverView.layout(0, getMeasuredHeight() - arcCoverView.getMeasuredHeight(), arcCoverView.getMeasuredWidth(), getMeasuredHeight());
            }
        }
    }

    /**
     * Description:将适配器设置给 ViewPager
     * Date:2018/1/22
     */
    public void setAdapter(PagerAdapter adapter) {
        mViewPager.setAdapter(adapter);
    }

    /**
     * Description:弧形遮挡 View
     * Date:2018/1/22
     */
    public class ArcCoverView extends View {

        private Paint mPaint;
        private Path mPath;
        private int width;
        private int height;

        public ArcCoverView(Context context) {
            this(context, null);
        }

        public ArcCoverView(Context context, @Nullable AttributeSet attrs) {
            this(context, attrs, 0);
        }

        public ArcCoverView(Context context, @Nullable AttributeSet attrs, int defStyleAttr) {
            super(context, attrs, defStyleAttr);
            width = context.getResources().getDisplayMetrics().widthPixels;
            height = 200;
            mPaint = new Paint();
            mPaint.setColor(Color.WHITE);
            mPaint.setStyle(Paint.Style.FILL_AND_STROKE);
            mPaint.setAntiAlias(true);
            mPath = new Path();
        }

        @Override
        protected void onDraw(Canvas canvas) {
            super.onDraw(canvas);
            mPath.moveTo(0, 0);
            mPath.quadTo(width / 2, height * 2, width, 0);
            mPath.lineTo(width, height);
            mPath.lineTo(0, height);
            canvas.drawPath(mPath, mPaint);
        }
    }
} @Override
protected void onCreate(Bundle savedInstanceState) {
super.onCreate(savedInstanceState);
setContentView(R.layout.activity_arc_view_pager);
ArcViewPager arcViewPager = (ArcViewPager) findViewById(R.id.avp_test);
int[] resource = new int[]{R.drawable.a, R.drawable.b, R.drawable.c
, R.drawable.d, R.drawable.e, R.drawable.f};
List<View> viewList = new ArrayList<>();
for (int i = 0; i < resource.length; i++) {
ImageView mImageView = new ImageView(this);
mImageView.setLayoutParams(new ViewGroup.LayoutParams(ViewGroup.LayoutParams.MATCH_PARENT, ViewGroup.LayoutParams.MATCH_PARENT));
mImageView.setScaleType(ImageView.ScaleType.CENTER_CROP);
mImageView.setImageResource(resource[i]);
viewList.add(mImageView);
}
arcViewPager.setAdapter(new MyViewPagerAdapter(viewList));
}
4 总结
这次的目标虽然是实现了,但是总觉得实现方式不太优雅,这里只是提供了一种思路,大家不喜勿喷,如果有其他思路的,欢迎大家留言,或者可以给我解惑的,小弟不胜感激。好久没写博客,换了公司后需要一段时间适应,再加上在学习 python,实在是没有时间,总归要坚持的,2018 年第一篇,但必定不是最后一篇。希望自己可以走得更远。


 905
905


 被折叠的 条评论
为什么被折叠?
被折叠的 条评论
为什么被折叠?
 到【灌水乐园】发言


