


安装环境:
OS: Ubuntu 16.04
Hadoop: hadoop-2.7.3.tar.gz
JDK: jdk-8u101-linux-x64.tar.gz
一、伪分布式安装
JDK的安装不再讲述,直接解压hadoop-2.7.3.tar.gz,得到如下目录:
bin
etc
include
lib
libexec
logs
sbin
share
首先修改 etc/hadoop/core-site.xml
<configuration>
    <property>
        <name>fs.defaultFS</name>
        <value>hdfs://localhost:9000</value>
    </property>
</configuration>
etc/hadoop/hdfs-site.xml
<configuration>
    <property>
        <name>dfs.replication</name>
        <value>1</value>
    </property>
</configuration>
etc/hadoop/mapred-site.xml
<configuration>
    <property>
        <name>mapreduce.framework.name</name>
        <value>yarn</value>
    </property>
</configuration>
etc/hadoop/yarn-site.xml
<configuration>
    <property>
        <name>yarn.nodemanager.aux-services</name>
        <value>mapreduce_shuffle</value>
    </property>
</configuration>
之后需要生成SSH-KEY,可以参考github上如何生成SSH-KEY,这里给出一个例子:
ssh-keygen -t rsa -b 4096 -C "sf0902@163.com"cat ~/.ssh/id_rsa.pub >> ~/.ssh/authorized_keysOK,现在可以把yarn启动起来了,使用如下命令:
sbin/start-yarn.sh然后在浏览器中输入http://localhost:8088,即可看到如下界面:
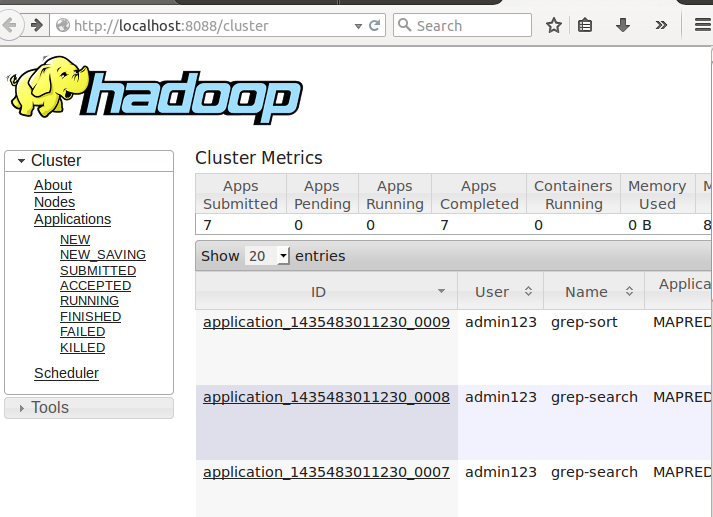
当然,此时的所有数字都是0. 看到这个界面说明你的配置没有问题。
下面将进行namenode的格式化,使用如下命令:
bin/hdfs namenode -format然后可以启动dfs,使用如下命令:
sbin/start-dfs.sh在浏览器里输入如下URL http://localhost:50070/,可以看到一个新的页面:
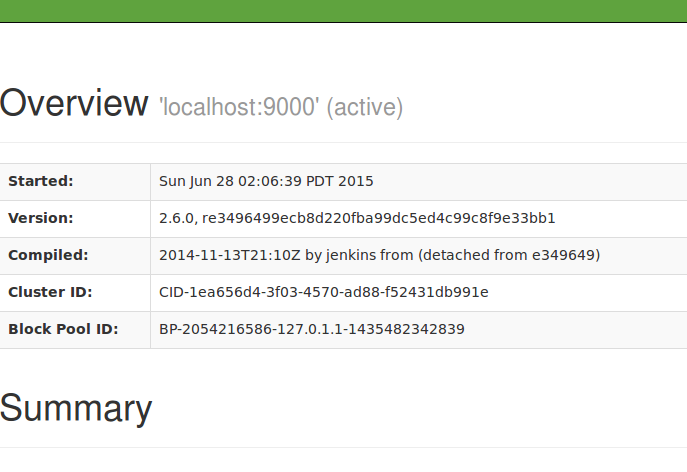
又启动成功啦,恭喜恭喜。
当然还可以通过其他方式进行检验启动是否成功,在命令行输入jps命令,看如下结果:
3170 NodeManager
3731 DataNode
3619 NameNode
3047 ResourceManager
7613 Jps
3933 SecondaryNameNode
也能说明启动成功。
接着要进行测试,看看这个环境能不能用,初学者应该知道hadoop的入门程序是wordcount,那我们就是用一个wordcount来测一测。侧之前先做一些准备工作,首先要创建hdfs的根目录,使用如下命令
bin/hdfs dfs -mkdir /user
bin/hdfs dfs -mkdir /user/<username>
创建完之后,要创建一个目录作为输入的参数
bin/hdfs dfs -mkdir input然后要把我们本地的文件上传到hdfs的 input目录中,我们把什么文件上传进去呢,我们可以自己建两个文本文件,例如在本地的 in目录下有连个文件名字问file1.txt和file2.txt,内容分别如下:
file1.txt:
hello world
nihao
how are you
I am fine
file2.txt:
hi, my name is darren. how are you
然后把这两个文件上传到hdfs的 input目录,
bin/hdfs dfs -put in/* input然后可以查看一下是否上传成功,使用如下命令:
bin/hdfs dfs -ls input如果能看到两个文件就说明上传成功
接着我们要使用
hadoop jar wordcount.xxx.jar input output进行测试,可是我们的wordcount.xxx.jar在哪呢,还没生成呢,我们此时需要去生成这个jar包,看如下代码:
package com.darren.wordcount;

import java.io.IOException;
import java.util.Iterator;
import java.util.StringTokenizer;

import org.apache.hadoop.fs.Path;
import org.apache.hadoop.io.IntWritable;
import org.apache.hadoop.io.LongWritable;
import org.apache.hadoop.io.Text;
import org.apache.hadoop.mapred.FileInputFormat;
import org.apache.hadoop.mapred.FileOutputFormat;
import org.apache.hadoop.mapred.JobClient;
import org.apache.hadoop.mapred.JobConf;
import org.apache.hadoop.mapred.MapReduceBase;
import org.apache.hadoop.mapred.Mapper;
import org.apache.hadoop.mapred.OutputCollector;
import org.apache.hadoop.mapred.Reducer;
import org.apache.hadoop.mapred.Reporter;
import org.apache.hadoop.mapred.TextInputFormat;
import org.apache.hadoop.mapred.TextOutputFormat;

public class WordCount {
    public static class Map extends MapReduceBase implements Mapper<LongWritable, Text, Text, IntWritable> {
        private final static IntWritable one = new IntWritable(1);
        private Text word = new Text();

        public void map(LongWritable key, Text value, OutputCollector<Text, IntWritable> output, Reporter reporter)
                throws IOException {
            String line = value.toString();
            StringTokenizer tokenizer = new StringTokenizer(line);
            while (tokenizer.hasMoreTokens()) {
                word.set(tokenizer.nextToken());
                output.collect(word, one);
            }
        }
    }

    public static class Reduce extends MapReduceBase implements Reducer<Text, IntWritable, Text, IntWritable> {
        public void reduce(Text key, Iterator<IntWritable> values, OutputCollector<Text, IntWritable> output,
                Reporter reporter) throws IOException {
            int sum = 0;
            while (values.hasNext()) {
                sum += values.next().get();
            }
            output.collect(key, new IntWritable(sum));
        }
    }

    public static void main(String[] args) throws Exception {
        JobConf conf = new JobConf(WordCount.class);
        conf.setJobName("wordcount");

        conf.setOutputKeyClass(Text.class);
        conf.setOutputValueClass(IntWritable.class);

        conf.setMapperClass(Map.class);
        conf.setReducerClass(Reduce.class);

        conf.setInputFormat(TextInputFormat.class);
        conf.setOutputFormat(TextOutputFormat.class);

        FileInputFormat.setInputPaths(conf, new Path(args[0]));
        FileOutputFormat.setOutputPath(conf, new Path(args[1]));

        JobClient.runJob(conf);
    }
}
<project xmlns="http://maven.apache.org/POM/4.0.0" xmlns:xsi="http://www.w3.org/2001/XMLSchema-instance"
    xsi:schemaLocation="http://maven.apache.org/POM/4.0.0 http://maven.apache.org/xsd/maven-4.0.0.xsd">
    <modelVersion>4.0.0</modelVersion>

    <groupId>com.darren.wordcount</groupId>
    <artifactId>wordcount</artifactId>
    <version>0.0.1-SNAPSHOT</version>
    <packaging>jar</packaging>

    <name>wordcount</name>
    <url>http://maven.apache.org</url>

    <properties>
        <project.build.sourceEncoding>UTF-8</project.build.sourceEncoding>
    </properties>

    <dependencies>
        <dependency>
            <groupId>junit</groupId>
            <artifactId>junit</artifactId>
            <version>3.8.1</version>
            <scope>test</scope>
        </dependency>
        <!-- https://mvnrepository.com/artifact/org.apache.hadoop/hadoop-common -->
        <dependency>
            <groupId>org.apache.hadoop</groupId>
            <artifactId>hadoop-common</artifactId>
            <version>2.7.3</version>
        </dependency>

        <dependency>
            <groupId>org.apache.hadoop</groupId>
            <artifactId>hadoop-core</artifactId>
            <version>1.2.1</version>
        </dependency>
        <dependency>
            <groupId>jdk.tools</groupId>
            <artifactId>jdk.tools</artifactId>
            <version>1.8</version>
            <scope>system</scope>
            <systemPath>${JAVA_HOME}/lib/tools.jar</systemPath>
        </dependency>
    </dependencies>

    <build>
   <!--      <finalName>image</finalName>   -->
        <plugins>
            <plugin>
                <groupId>org.apache.maven.plugins</groupId>
                <artifactId>maven-jar-plugin</artifactId>
                <version>2.4</version>
                <configuration>
                    <archive>
                        <manifest>
                            <addClasspath>true</addClasspath>
                            <mainClass>com.darren.wordcount.WordCount</mainClass>
                        </manifest>
                    </archive>
                </configuration>
            </plugin>
        </plugins>
    </build>
</project>
打出的jar包为wordcount-0.0.1-SNAPSHOT.jar,此时就可以使用命令执行这个jar文件了:
hadoop jar wordcount-0.0.1-SNAPSHOT.jar input output执行完后,可以从output目录中打印结果:
bin/hdfs dfs -cat output/*I 1
am 1
are 2
darren. 1
fine 1
hello 1
hi, 1
how 2
is 1
my 1
name 1
nihao 1
world 1
you 2
OK,大功告成。
二、分布式安装
分布式安装请查看此文章:Cloudera Hadoop 集群安装(三台机器)


 1908
1908

 被折叠的 条评论
为什么被折叠?
被折叠的 条评论
为什么被折叠?
 到【灌水乐园】发言


