


测试前期准备
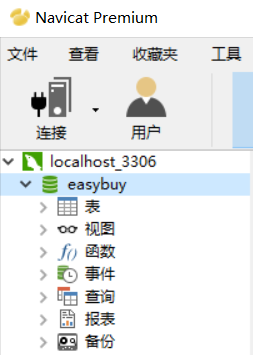
第一步:创建easybuy数据库,设置utf-8格式
第二步:创建表test_tb
CREATE TABLE `test_tb` (
  `id` int(11) NOT NULL AUTO_INCREMENT,
  `name` varchar(255) DEFAULT NULL,
  `birthday` datetime DEFAULT NULL,
  PRIMARY KEY (`id`)
) ENGINE=InnoDB AUTO_INCREMENT=3 DEFAULT CHARSET=utf8;
第三步:创建JavaBean
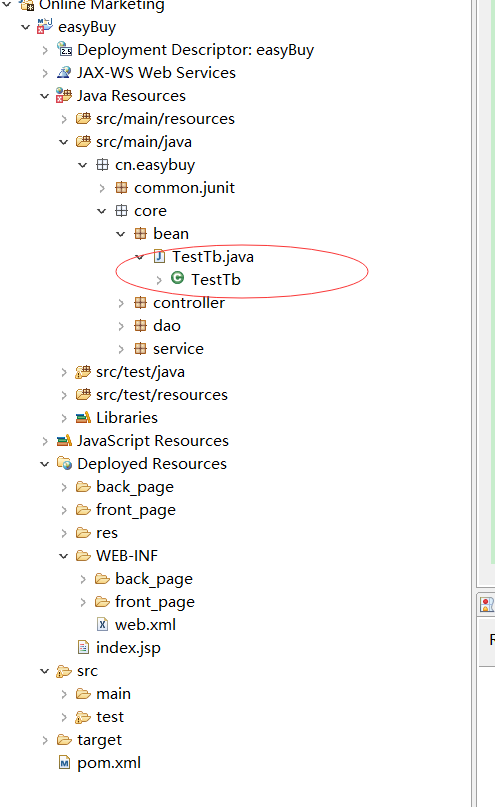
package cn.easybuy.core.bean;

import java.util.Date;

public class TestTb {

	private Integer id;
	private String name;
	private Date birthday;

	public Integer getId() {
		return id;
	}
	public void setId(Integer id) {
		this.id = id;
	}
	public String getName() {
		return name;
	}
	public void setName(String name) {
		this.name = name;
	}
	public Date getBirthday() {
		return birthday;
	}
	public void setBirthday(Date birthday) {
		this.birthday = birthday;
	}


}
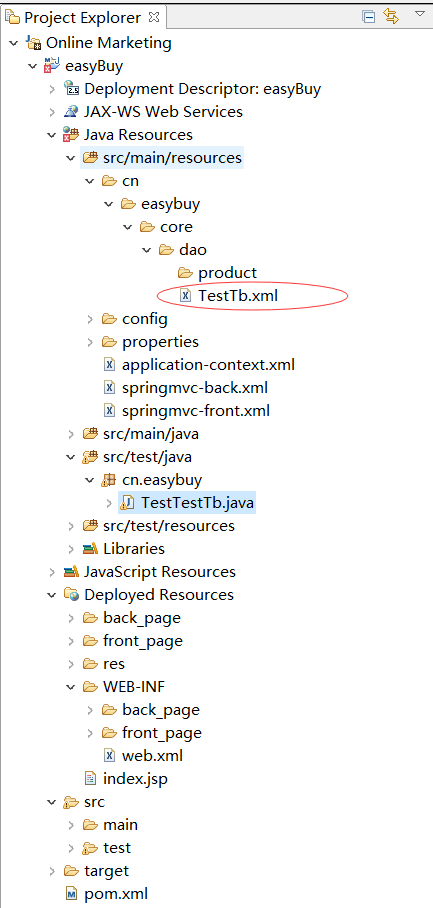
第四步:创建mapper文件
<?xml version="1.0" encoding="UTF-8" ?>
<!DOCTYPE mapper PUBLIC "-//mybatis.org//DTD Mapper 3.0//EN" "http://mybatis.org/dtd/mybatis-3-mapper.dtd">
<mapper namespace="cn.easybuy.core.dao.TestTbDao">
	<!--  添加测试数据  -->
	<insert id="addTestTb" parameterType="TestTb">
		insert into test_tb
		(name,birthday)
		values
		(#{name},#{birthday})
	</insert>
</mapper>
第五步:创建Dao接口
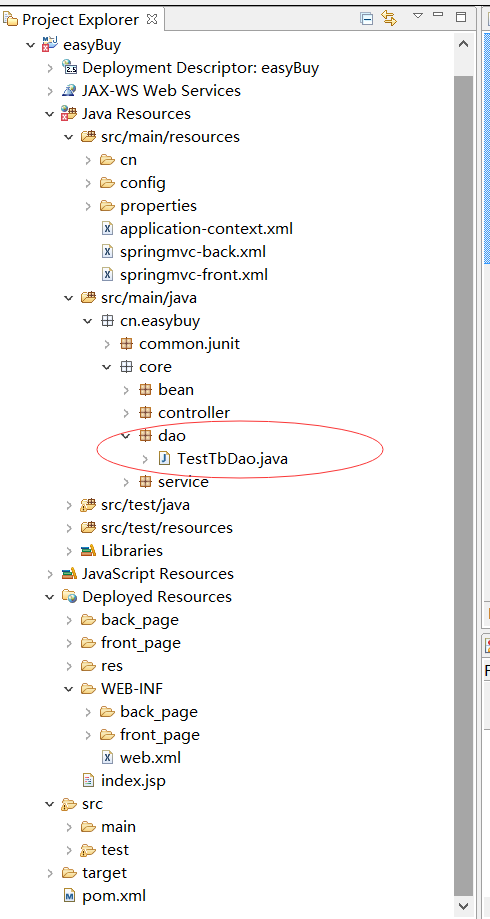
package cn.easybuy.core.dao;

import cn.easybuy.core.bean.TestTb;

public interface TestTbDao {

	public void addTestTb(TestTb testTb);
}
这里我们只需要创建一个借口就可以,不需要实现类
第六步:创建Service接口和实现类
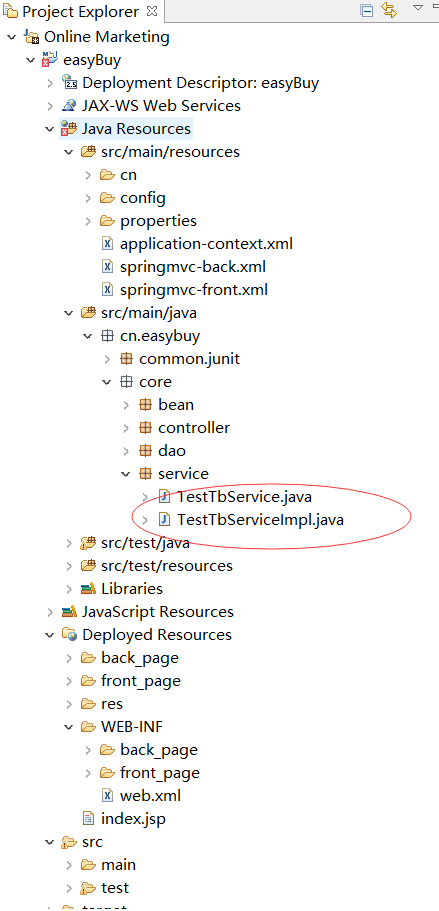
package cn.easybuy.core.service;

import cn.easybuy.core.bean.TestTb;

public interface TestTbService {

	public void addTestTb(TestTb testTb);
}
package cn.easybuy.core.service;

import javax.annotation.Resource;

import org.springframework.stereotype.Service;
import org.springframework.transaction.annotation.Transactional;

import cn.easybuy.core.bean.TestTb;
import cn.easybuy.core.dao.TestTbDao;

@Service
@Transactional
public class TestTbServiceImpl implements TestTbService{

	@Resource
	private TestTbDao testTbDao;

	public void addTestTb(TestTb testTb) {
		testTbDao.addTestTb(testTb);

	}

}
Junit环境搭建(Spring提供的)
第一步:创建SpringJunitTest类
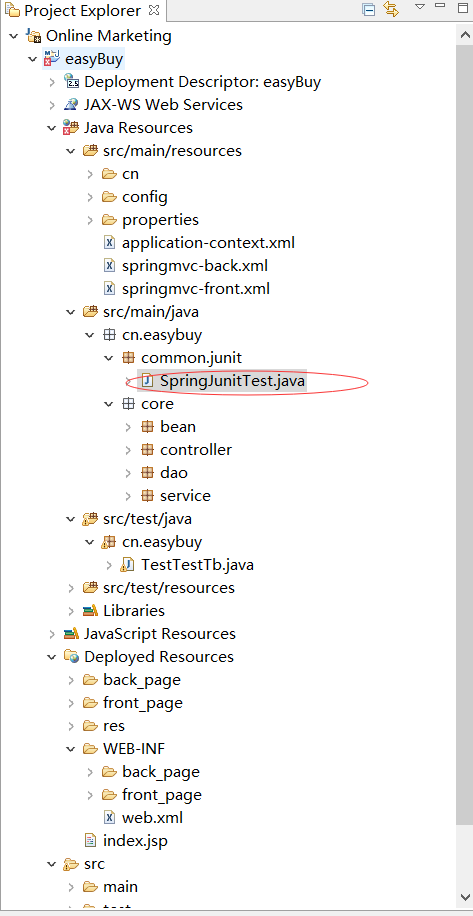
package cn.easybuy.common.junit;

import org.junit.runner.RunWith;
import org.springframework.test.context.ContextConfiguration;
import org.springframework.test.context.junit4.SpringJUnit4ClassRunner;

/**
 * 公用类
 * @author Evan
 *
 */
@RunWith(SpringJUnit4ClassRunner.class)
@ContextConfiguration(locations = "classpath:application-context.xml")
public class SpringJunitTest {

}
这个是测试类的基类,上面加入了两个注解标签用于指定上下文和运行测试类,以后子类只需要继承即可,不需要再加上注解
第二步:Junit单元测试环境搭建,创建测试类
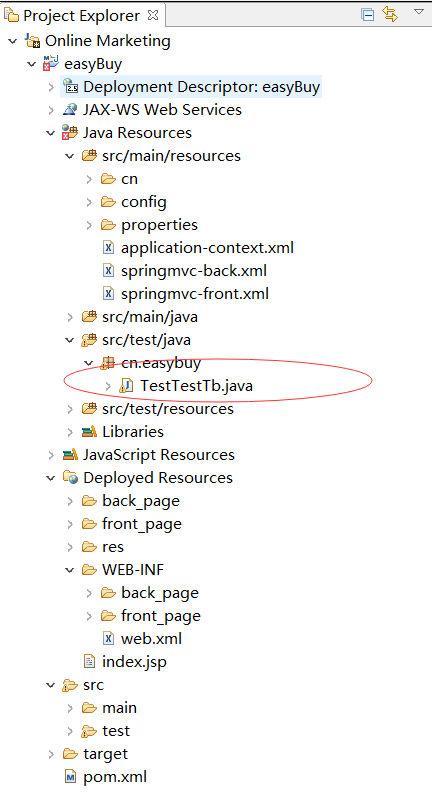
package cn.easybuy;

import java.util.Date;

import org.junit.Test;
import org.junit.runner.RunWith;
import org.springframework.beans.factory.annotation.Autowired;
import org.springframework.test.context.ContextConfiguration;
import org.springframework.test.context.junit4.SpringJUnit4ClassRunner;

import cn.easybuy.common.junit.SpringJunitTest;
import cn.easybuy.core.bean.TestTb;
import cn.easybuy.core.service.TestTbService;


public class TestTestTb extends SpringJunitTest{

	@Autowired
	private TestTbService testTbService;
	@Test
	public void testAdd() throws Exception {
		TestTb testTb = new TestTb();
		testTb.setName("测试1");
		testTb.setBirthday(new Date());
		testTbService.addTestTb(testTb);
	}
}
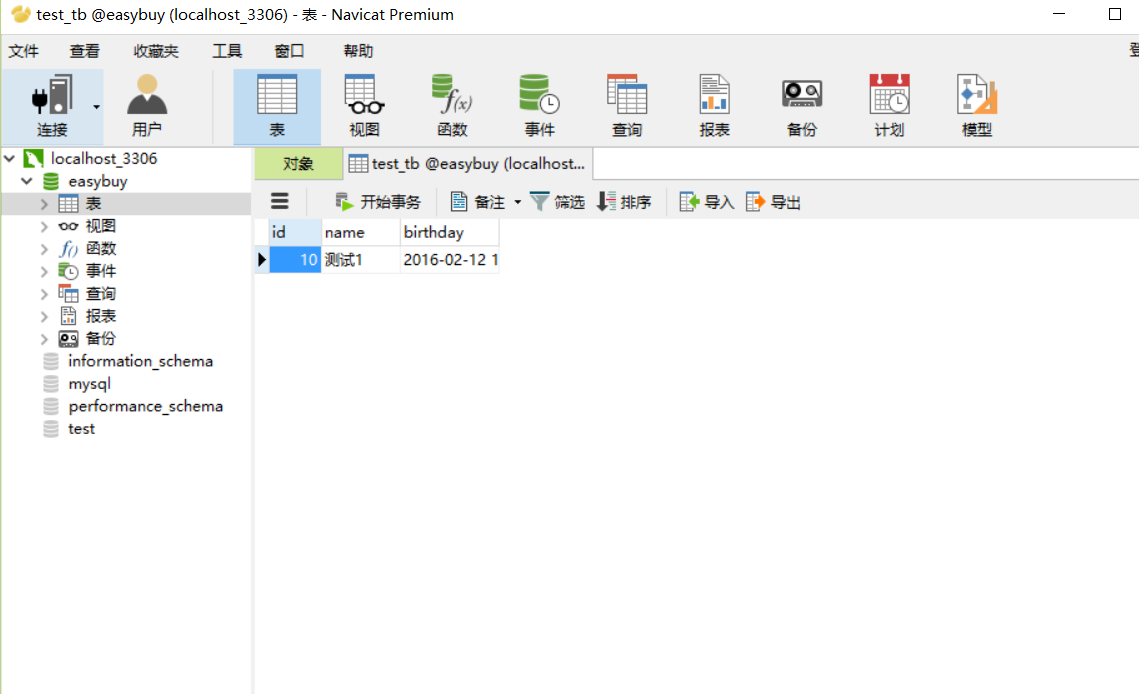
第三步:运行单元测试,查看数据库结果


 355
355

 被折叠的 条评论
为什么被折叠?
被折叠的 条评论
为什么被折叠?
 到【灌水乐园】发言


