


在QML应用中,我们经常要用到一个SplashScreen的画面来渲染我们的应用。那么我们怎么在自己的应用中做一个Splash Screen呢?
首先我们来设计一个自己的SplashScreen的QML模块:
SplashScreen.qml
import QtQuick 2.0
Item {
id: splash
anchors.fill: parent
property int timeoutInterval: 2000
signal timeout
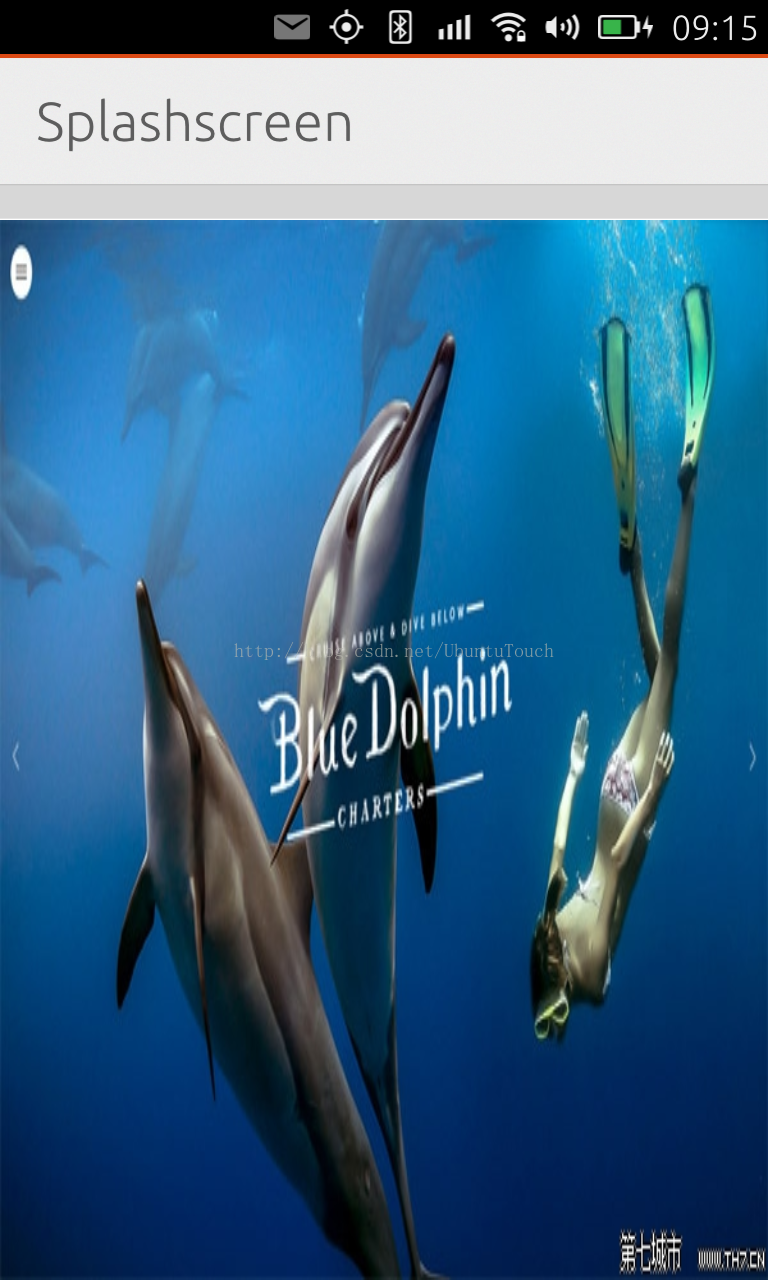
Image {
id: splashImage
anchors.fill: parent
source: "images/splash.jpg"
}
Timer {
interval: timeoutInterval; running: true; repeat: false
onTriggered: {
visible = false
splash.timeout()
}
}
}
这里的设计非常简单。我们使用了一个图片来显示自己的画面。同时,我们使用了一个Timer。当Timer timeout时,我们就发生一个信号。这个信号,可以被外界所使用。这也是好一个好的方法让我们的模块和别的模块之间有一个好的隔离。我们可以在其它的模块中利用这个timout信号来实现我们想要做的事情。
Main.qml
在这个模块中,我们直接使用SplashScreen.qml:
import QtQuick 2.0
import Ubuntu.Components 1.1
/*!
\brief MainView with a Label and Button elements.
*/
MainView {
// objectName for functional testing purposes (autopilot-qt5)
objectName: "mainView"
// Note! applicationName needs to match the "name" field of the click manifest
applicationName: "splashscreen.liu-xiao-guo"
/*
This property enables the application to change orientation
when the device is rotated. The default is false.
*/
//automaticOrientation: true
// Removes the old toolbar and enables new features of the new header.
useDeprecatedToolbar: false
width: units.gu(60)
height: units.gu(85)
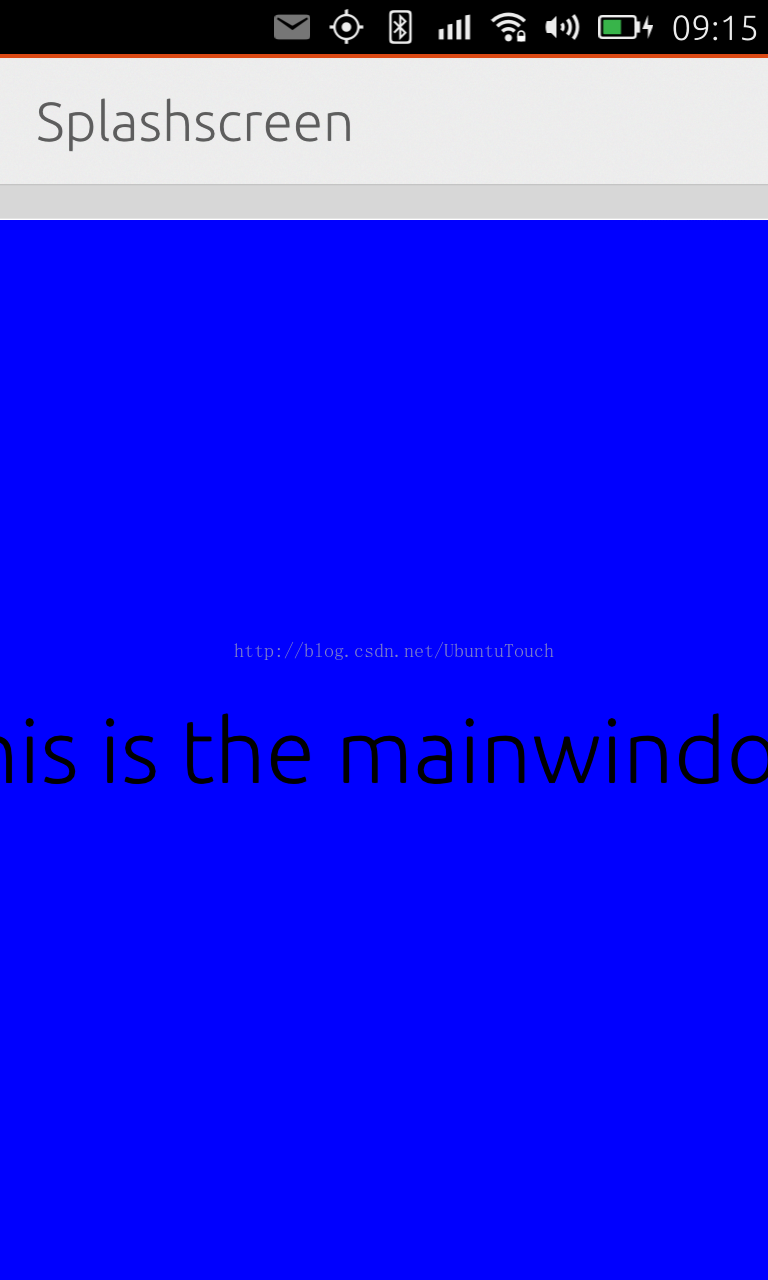
Page {
title: i18n.tr("Splashscreen")
MainWindow {
id: mainwindow
anchors.fill: parent
visible: false
}
SplashScreen {
onTimeout: {
console.log("it times out!");
mainwindow.visible = true;
}
}
}
}
在SplashScreen中,我们捕获timeout信号,并使得MainWindow显现。当然我们也可以实现自己的一些特效。这样我们就可以实现我们想要的功能。
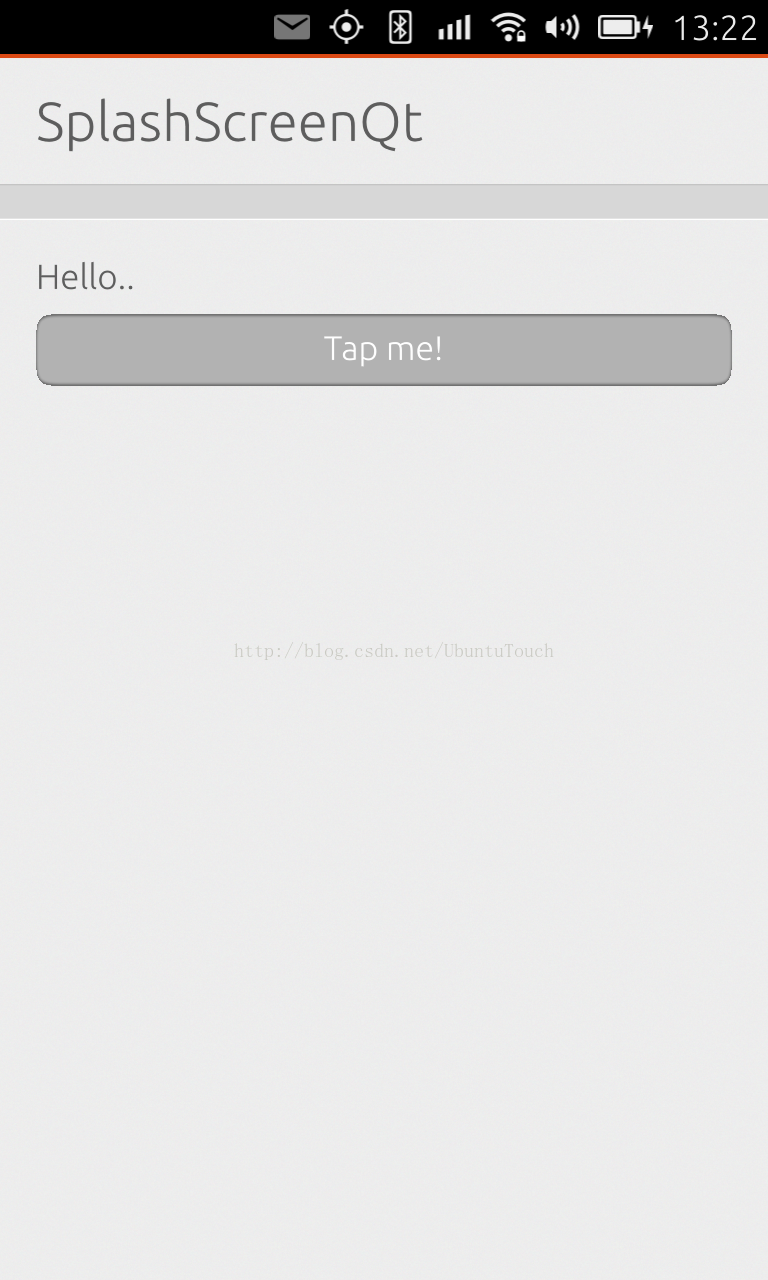
对于Qt C++比较熟悉的开发者来说,我们也可以使用如下的例子来完成相应的功能。我们可以使用“QtQuick App with QML UI (qmake)”模版。
SplashScreen.qml
import QtQuick 2.0
import Ubuntu.Components 1.1
MainView {
id: mainView
// objectName for functional testing purposes (autopilot-qt5)
objectName: "mainView"
// Note! applicationName needs to match the "name" field of the click manifest
applicationName: "splashscreenqt.liu-xiao-guo"
width: units.gu(60)
height: units.gu(85)
property int timeoutInterval: 2000
signal timeout
Page {
title: i18n.tr("")
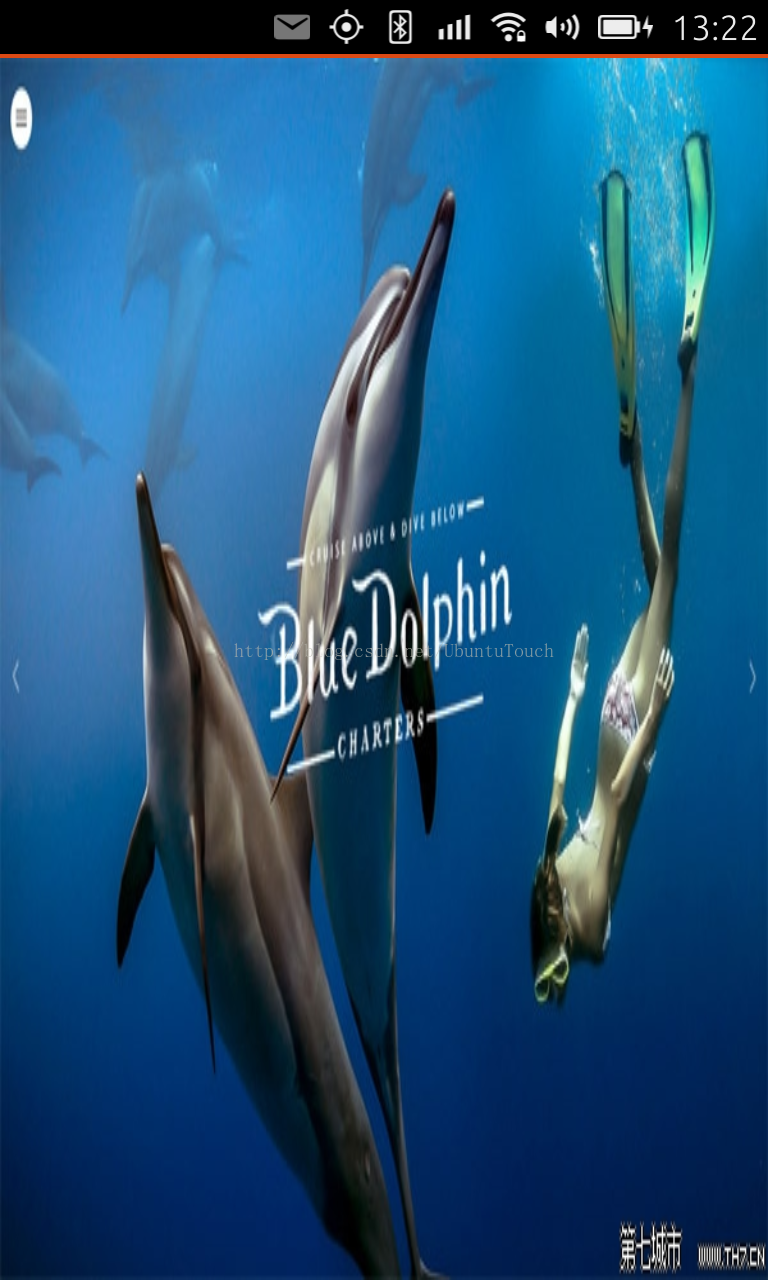
Image {
id: splashImage
anchors.fill: parent
source: "images/splash.jpg"
}
}
}
这里,我们使用了一个空的title,这样可以覆盖所有的页面。在main.cpp中,我们加入了一些新的代码:
main.cpp
#include <QGuiApplication>
#include <QQmlApplicationEngine>
#include <QQuickView>
#include <QElapsedTimer>

int main(int argc, char *argv[])
{
    QGuiApplication app(argc, argv);

    QQuickView view;
    view.setResizeMode(QQuickView::SizeRootObjectToView);

    view.setSource(QUrl(QStringLiteral("qrc:///SplashScreen.qml")));
    view.show();

    QElapsedTimer t;
    t.start();
    while(t.elapsed()<2000)
    {
        QCoreApplication::processEvents();
    }

    view.setSource(QUrl(QStringLiteral("qrc:///Main.qml")));

    view.show();
    return app.exec();
}
整个项目的源码在: https://github.com/liu-xiao-guo/splashscreenqt


 1388
1388


 被折叠的 条评论
为什么被折叠?
被折叠的 条评论
为什么被折叠?
 到【灌水乐园】发言


