


最近项目需要,需要在mini2440上移植SPI驱动,板子需要驱动SPI设备,上网找了很多资源,但是很多都是
有问题,最终在基本理解驱动结构的前提下,将SPI驱动顺利移植到mini2440。
然后加入如下代码:
这里需要了解驱动架构,其中移植过程中容易出问题的地方时S3C2410_GPG(2)和S3C2410_GPG(3)两处地
方,网上一般给的源代码是S3C2410_GPG2,这在2.6.29中可行,但是在2.6.32源代码中没有定义S3C2410_GPG2
宏定义,要使用S3C2410_GPG(2)宏定义。
最后在mini2440_machine_init函数中加入如下代码:
修改为
最后我们配置编译文件:
将编译好的内核导入开发板,并且编译Linux Source自带的测试程序,在Documentation/spi下,修改spidev_test.c
文件,将device name改为/dev/spidev1.0
将编译好的文件下载到开发板上,并且将开发板的SPI MOI和MIO短接,也就是让SPI自己发送自己接收,执行文件,我
们看到如下结果:
说明驱动移植成功。
有问题,最终在基本理解驱动结构的前提下,将SPI驱动顺利移植到mini2440。
我使用的内核版本是2.6.32.2,这个版本和2.6。29不一样,网上很多版本都是关于2.6.29,如果完全按照网
上步骤,编译会出现问题,我做的步骤如下:
1、在Linux Source Code中修改arch/arm/mach-s3c2440/mach-mini2440.c文件,加入头文件:
- #include <linux/spi/spi.h>
- #include <../mach-s3c2410/include/mach/spi.h>
- static struct spi_board_info s3c2410_spi0_board[] =
- {
- [0] = {
- .modalias = "spidev",
- .bus_num = 0,
- .chip_select = 0,
- .irq = IRQ_EINT9,
- .max_speed_hz = 500 * 1000,
- }
- };
- static struct s3c2410_spi_info s3c2410_spi0_platdata = {
- .pin_cs = S3C2410_GPG(2),
- .num_cs = 1,
- .bus_num = 0,
- .gpio_setup = s3c24xx_spi_gpiocfg_bus0_gpe11_12_13,
- };
- static struct spi_board_info s3c2410_spi1_board[] =
- {
- [0] = {
- .modalias = "spidev",
- .bus_num = 1,
- .chip_select = 0,
- .irq = IRQ_EINT2,
- .max_speed_hz = 500 * 1000,
- }
- };
- static struct s3c2410_spi_info s3c2410_spi1_platdata = {
- .pin_cs = S3C2410_GPG(3),
- .num_cs = 1,
- .bus_num = 1,
- .gpio_setup = s3c24xx_spi_gpiocfg_bus1_gpg5_6_7,
- };
方,网上一般给的源代码是S3C2410_GPG2,这在2.6.29中可行,但是在2.6.32源代码中没有定义S3C2410_GPG2
宏定义,要使用S3C2410_GPG(2)宏定义。
在mini2440_devices[]平台数组中添加如下代码:
- &s3c_device_spi0,
- &s3c_device_spi1,
- s3c_device_spi0.dev.platform_data= &s3c2410_spi0_platdata;
- spi_register_board_info(s3c2410_spi0_board, ARRAY_SIZE(s3c2410_spi0_board));
- s3c_device_spi1.dev.platform_data= &s3c2410_spi1_platdata;
- spi_register_board_info(s3c2410_spi1_board, ARRAY_SIZE(s3c2410_spi1_board));
最后需要修改arch/arm/plat-s3c24xx/KConfig文件
找到如下代码段:
- config S3C24XX_SPI_BUS0_GPE11_GPE12_GPE13
- bool
- help
- SPI GPIO configuration code for BUS0 when connected to
- GPE11, GPE12 and GPE13.
- config S3C24XX_SPI_BUS1_GPG5_GPG6_GPG7
- bool
- help
- SPI GPIO configuration code for BUS 1 when connected to
- GPG5, GPG6 and GPG7.
- config S3C24XX_SPI_BUS0_GPE11_GPE12_GPE13
- bool "S3C24XX_SPI_BUS0_GPE11_GPE12_GPE13"
- help
- SPI GPIO configuration code for BUS0 when connected to
- GPE11, GPE12 and GPE13.
- config S3C24XX_SPI_BUS1_GPG5_GPG6_GPG7
- bool "S3C24XX_SPI_BUS1_GPG5_GPG6_GPG7"
- help
- SPI GPIO configuration code for BUS 1 when connected to
- GPG5, GPG6 and GPG7.
- make menuconfig


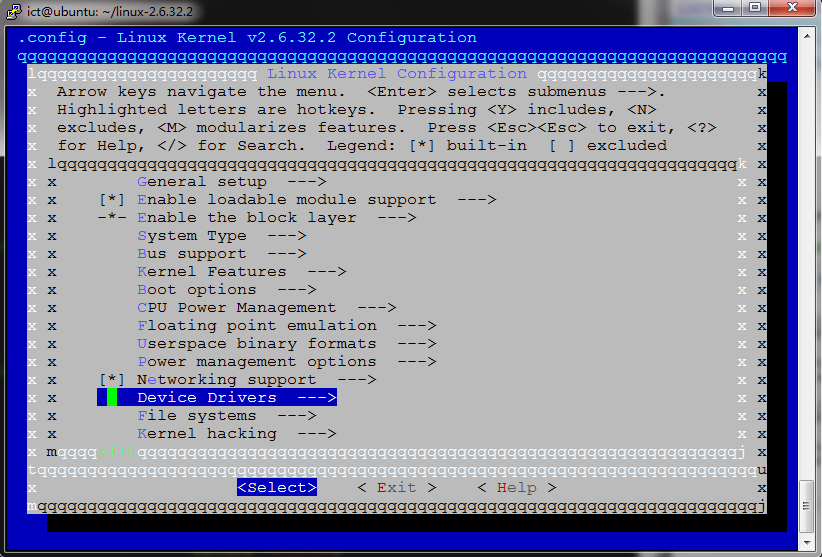


最后编译内核
- make zImage
文件,将device name改为/dev/spidev1.0
交叉编译:
- arm-linux-gcc -I ~/linux-2.6.32.2/include/ spidev_test.c
们看到如下结果:
- FF FF FF FF FF FF
- 40 00 00 00 00 95
- FF FF FF FF FF FF
- FF FF FF FF FF FF
- FF FF FF FF FF FF
- DE AD BE EF BA AD
- F0 0D
总结:这里叙述的是驱动移植详细过程,代码的具体含义以及开发板的针脚对应图需要自己去查阅相关资料,这里不再详述。


 777
777

 被折叠的 条评论
为什么被折叠?
被折叠的 条评论
为什么被折叠?
 到【灌水乐园】发言


