


在Android开发中,ListView是我们最常用但也是最难用的控件,这一篇将介绍ListView的最简单用法。
一、在布局文件中加入LIstView控件。新建activity_my_list_view.xml文件,代码如下
activity_my_list_view.xml文件
<?xml version="1.0" encoding="utf-8"?>
<LinearLayout xmlns:android="http://schemas.android.com/apk/res/android"
    android:layout_width="match_parent"
    android:layout_height="match_parent">

    <ListView
        android:id="@+id/list_view"
        android:layout_width="match_parent"
        android:layout_height="match_parent">
    </ListView>
</LinearLayout>
二、准备要显示的数据。一般ListView中填充的数据都来源于网路下载或者数据库,此处使用数组来模拟。
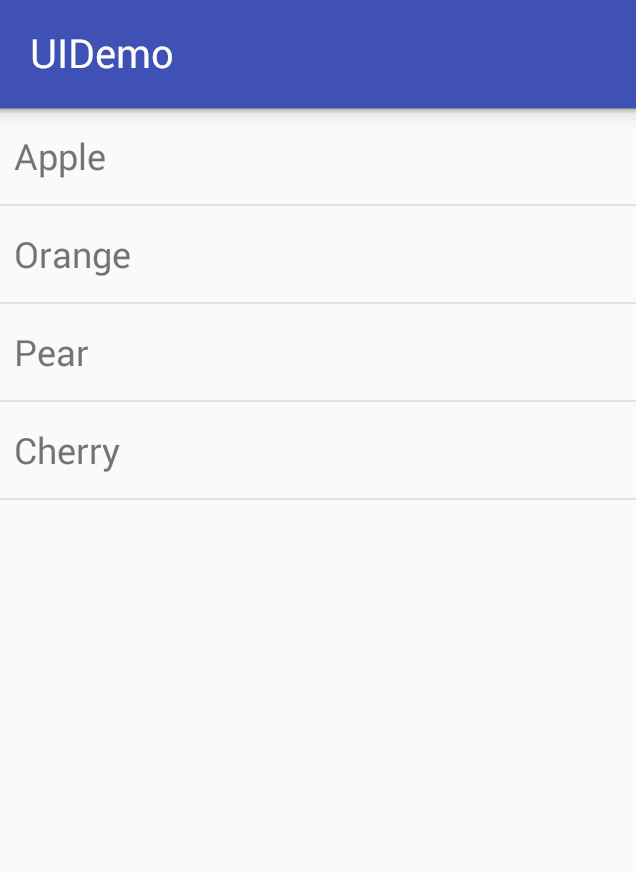
private String[] data = {"Apple", "Orange", "Pear", "Cherry"};三、构造适配器对象。
ArrayAdapter<String> adapter = new ArrayAdapter<String>(this, android.R.layout.simple_list_item_1, data);ArrayAdapter()有多个构造函数,上面的构造函数依次为 当前上下文、ListView子项布局的id(上面的android.R.layout.simple_list_item_1是Android定义的子项布局,是一个最简单的TextView)、要适配的数据。
获取ListView并设置适配器。
ListView listView = (ListView) findViewById(R.id.list_view);
listView.setAdapter(adapter);
至此,ListView的简单用法就介绍完了。
效果图如下:


 4479
4479


 被折叠的 条评论
为什么被折叠?
被折叠的 条评论
为什么被折叠?
 到【灌水乐园】发言


