


 本文详细介绍如何从零开始搭建一个Weex与iOS结合的项目,包括环境配置、项目初始化、视图控制器创建及页面加载等关键步骤。
项目初始化
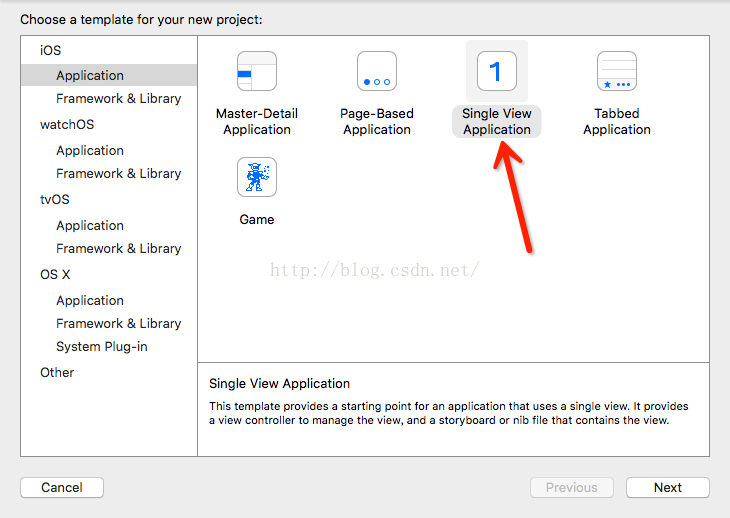
1、没有现成的工程的话新建ios项目
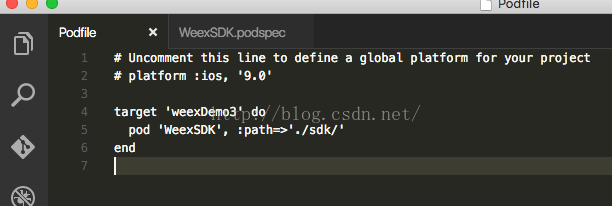
命令行cd到项目根目录 执行 pod init,会创建一个pod配置文件
用编辑器打开,加上 pod 'WeexSDK', :path=>'./sdk/'
下载最新的weexSDK https://github.com/alibaba/weex
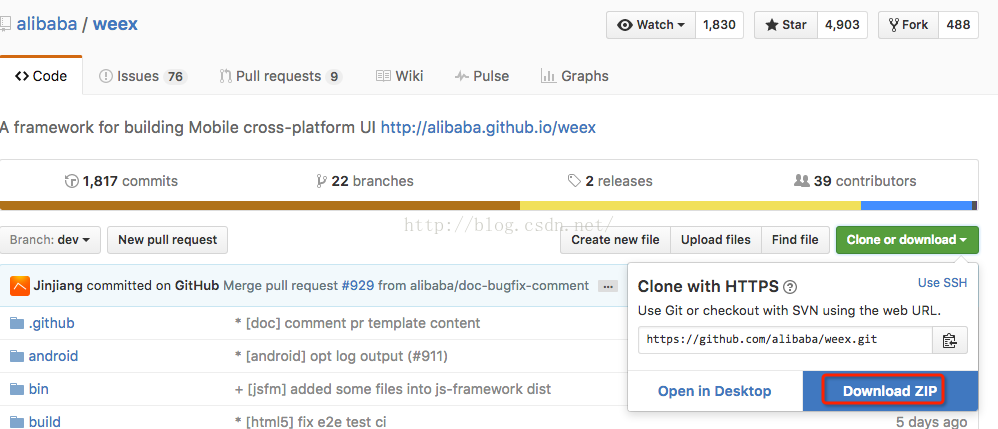
在ios目录下有个sdk文件夹,把它复制到ios项目根目录,和podFile里配置的路径一致
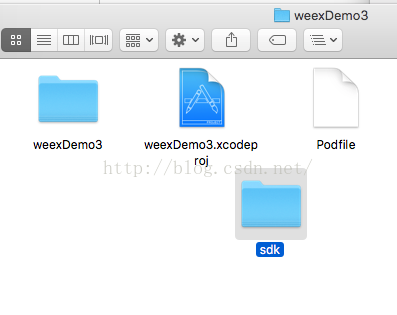
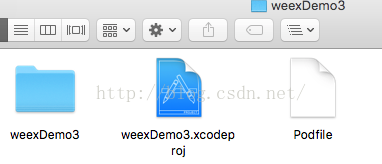
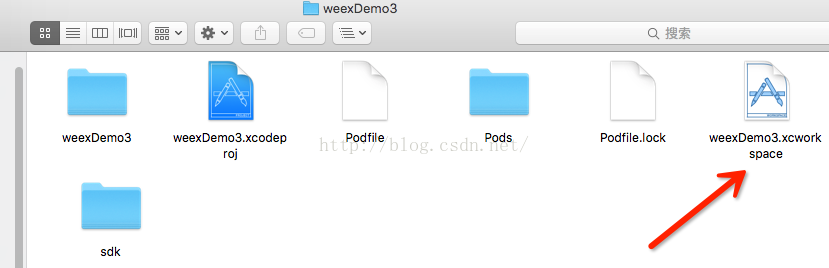
关掉xcode,在当前目录,命令行执行pod install,

现在项目目录变成了这样,以后点击xcworkspace文件打开项目
创建一个新目录weex,命令行cd到weex目录,执行weex init,会提示你输入项目名称
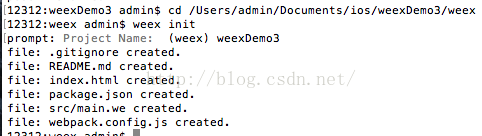
自动创建的文件:
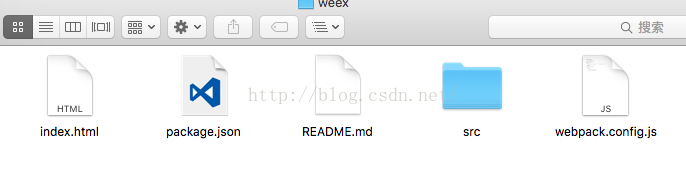
在当前目录命令行执行npm install,安装依赖库
创建一个文件夹js,命令行执行weex src -o js生成最终需要的js文件
也可以weex src/main.we在浏览器预览
或者weex src/main.we --qr 生成二维码,用playground App 扫描预览
加载weex页面
xcode打开workspace项目文件

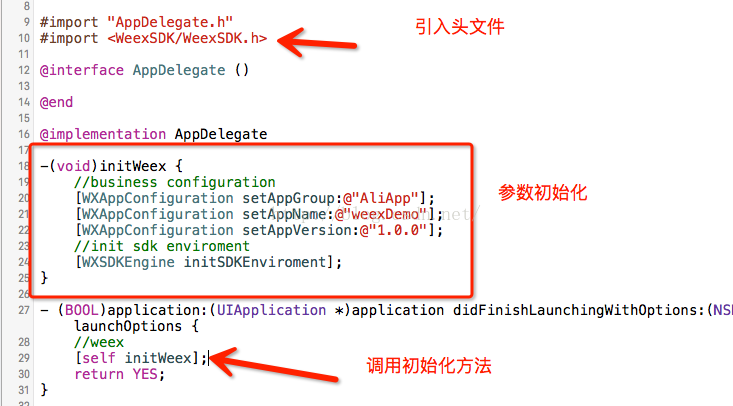
打开AppDelegate.m添加一下内容
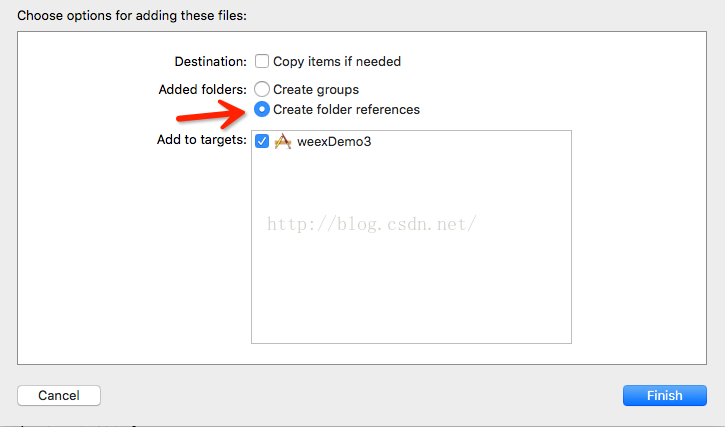
将之前创建的js文件夹拖到xcode工程的文件列表
效果是这样的

weex视图控制器的初始化
ViewController.h:
- //
- // ViewController.h
- // weexDemo3
- //
- // Created by admin on 16/8/3.
- // Copyright © 2016年 admin. All rights reserved.
- //
- #import <UIKit/UIKit.h>
- @interface ViewController : UIViewController
- - (instancetype)initWithJs:(NSString *)filePath;
- @end
ViewController.m:
- //
- // ViewController.m
- // weexDemo3
- //
- // Created by admin on 16/8/3.
- // Copyright © 2016年 admin. All rights reserved.
- //
- #import "ViewController.h"
- #import <WeexSDK/WXSDKInstance.h>
- @interface ViewController ()
- @property (nonatomic, strong) WXSDKInstance *instance;
- @property (nonatomic, strong) UIView *weexView;
- @end
- @implementation ViewController{
- NSURL *jsUrl;
- }
- - (instancetype)initWithJs:(NSString *)filePath
- {
- self = [super init];
- if (self) {
- //远程js文件
- // NSString *path=[NSString stringWithFormat:@"http://192.168.232.13:8080/examples/js/%@",filePath];
- //本地js文件
- NSString *path=[NSString stringWithFormat:@"file://%@/js/%@",[NSBundle mainBundle].bundlePath,filePath];
- NSLog(@"-----path:%@",path);
- jsUrl=[NSURL URLWithString:path];
- }
- return self;
- }
- - (void)viewDidLoad {
- [super viewDidLoad];
- _instance = [[WXSDKInstance alloc] init];
- _instance.viewController = self;
- _instance.frame=self.view.frame;
- __weak typeof(self) weakSelf = self;
- _instance.onCreate = ^(UIView *view) {
- [weakSelf.weexView removeFromSuperview];
- weakSelf.weexView = view;
- [weakSelf.view addSubview:weakSelf.weexView];
- };
- _instance.onFailed = ^(NSError *error) {
- NSLog(@"加载错误");
- };
- _instance.renderFinish = ^ (UIView *view) {
- NSLog(@"加载完成");
- };
- if (!jsUrl) {
- return;
- }
- [_instance renderWithURL: jsUrl];
- self.view.backgroundColor=[UIColor whiteColor];
- }
- - (void)didReceiveMemoryWarning {
- [super didReceiveMemoryWarning];
- // Dispose of any resources that can be recreated.
- }
- - (void)dealloc
- {
- [_instance destroyInstance];
- }
- @end
再打开AppDelegate.m创建导航控制器
引入头文件
#import "ViewController.h"
创建导航视图:
- - (BOOL)application:(UIApplication *)application didFinishLaunchingWithOptions:(NSDictionary *)launchOptions {
- //weex
- [self initWeex];
- ViewController *vc=[[ViewController alloc]initWithJs:@"main.js"];
- UINavigationController *nav=[[UINavigationController alloc]initWithRootViewController:vc];
- self.window.rootViewController=nav;
- return YES;
- }
运行
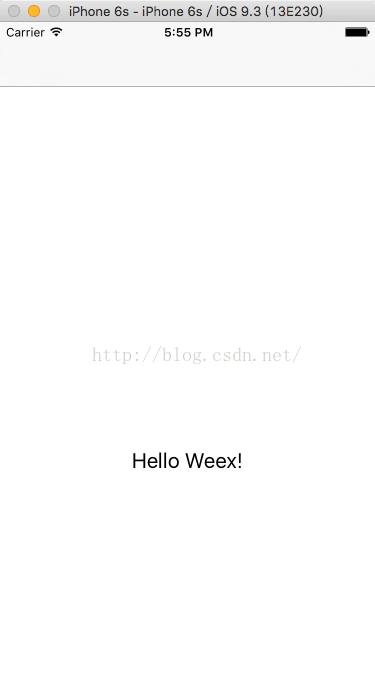
图片不显示是因为图片加载需要自己创建模块,可以直接把demo的代码和pod配置粘过来使用


 2082
2082

 被折叠的 条评论
为什么被折叠?
被折叠的 条评论
为什么被折叠?
 到【灌水乐园】发言


