


UITableView是非常常用的一个UI组件,这里介绍其基本使用。
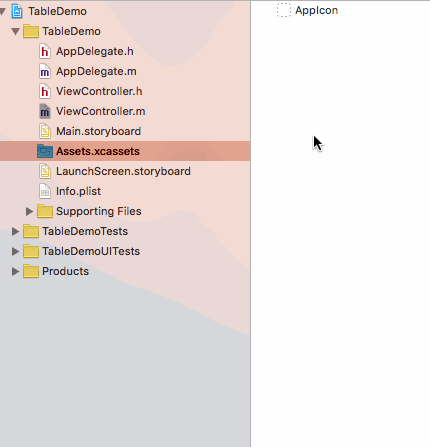
创建项目
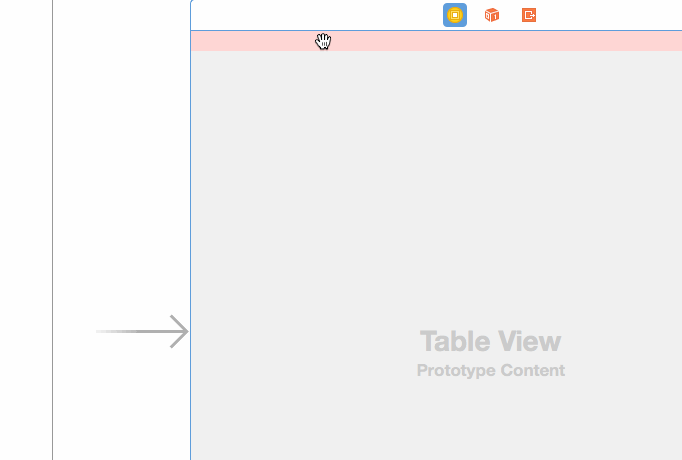
创建一个单视图项目,拖两个VIEW到主界面。上面是一个高度为20的UIView视图,下面是一个UITableView视图。并进行简单的自动布局设置。再演示一次吧:
接下来,我要实现两个简单效果:
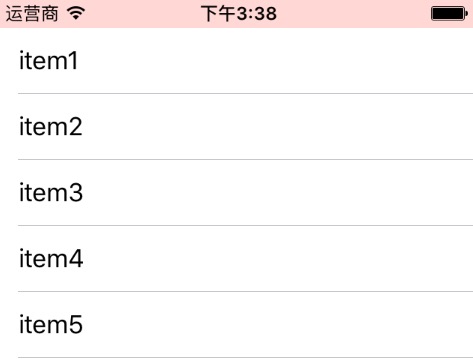
效果1
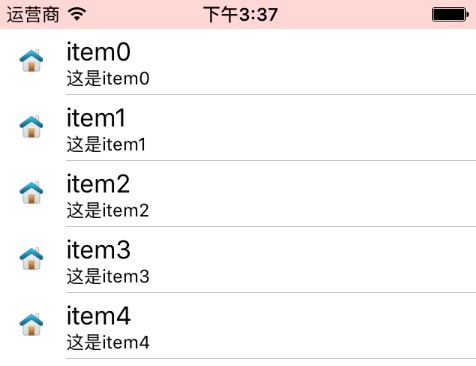
效果2
1、添加表格项图标
2、关联表格对象
3、添加表格委托
接下来,上代码了:
#define DATASOURCE1
#import "ViewController.h"
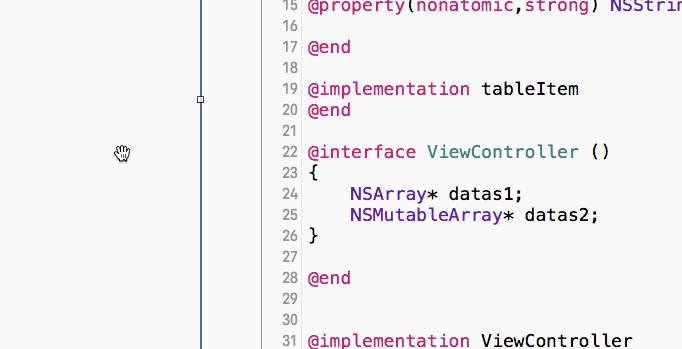
@interface tableItem : NSObject
@property(nonatomic,strong) NSString* title;
@property(nonatomic,strong) UIImage* image;
@property(nonatomic,strong) NSString* des;
@end
@implementation tableItem
@end
@interface ViewController ()
{
NSArray* datas1;
NSMutableArray* datas2;
}
@property (weak, nonatomic) IBOutlet UITableView *table;
@end
@implementation ViewController

- (void)viewDidLoad {
    [super viewDidLoad];
    // Do any additional setup after loading the view, typically from a nib.
    datas1 = [NSArray arrayWithObjects:@"item1",@"item2",@"item3",@"item4",@"item5", nil];

    tableItem * ti;
    datas2 = [[NSMutableArray alloc] init];
    for (NSInteger i = 0; i < 5;  i++) {
        ti = [[tableItem alloc] init];
        ti.title = [@"item" stringByAppendingString:[NSString stringWithFormat:@"%ld",(long)i]];
        ti.image = [UIImage imageNamed:@"tableIcon"];
        ti.des = [@"这是item" stringByAppendingString:[NSString stringWithFormat:@"%ld",(long)i]];
        [datas2 addObject:ti];
    }
}

- (void)didReceiveMemoryWarning {
    [super didReceiveMemoryWarning];
    // Dispose of any resources that can be recreated.
}

#pragma - tableView dataSource
- (NSInteger)tableView:(UITableView *)tableView numberOfRowsInSection:(NSInteger)section
{
#ifdef DATASOURCE1
   return  [datas1 count];
#else
   return  [datas2 count];
#endif
}
- (UITableViewCell *)tableView:(UITableView *)tableView cellForRowAtIndexPath:(NSIndexPath *)indexPath
{
    static NSString * cellID = @"cellReuseID";
    UITableViewCell *cell;

    cell = [tableView dequeueReusableCellWithIdentifier:cellID];
    if (!cell) {
        #ifdef DATASOURCE1
            cell = [[UITableViewCell alloc] initWithStyle:UITableViewCellStyleDefault reuseIdentifier:cellID];
        #else
            cell = [[UITableViewCell alloc] initWithStyle:UITableViewCellStyleSubtitle reuseIdentifier:cellID];
        #endif
    }

#ifdef DATASOURCE1
    cell.textLabel.text = [datas1 objectAtIndex:indexPath.row];
#else
    tableItem* ti = [datas2 objectAtIndex:indexPath.row];
    cell.imageView.image = ti.image;
    cell.textLabel.text = ti.title;
    cell.detailTextLabel.text = ti.des;
#endif

    return cell;
}

#pragma - UITableViewDelegate
- (CGFloat)tableView:(UITableView *)tableView heightForRowAtIndexPath:(NSIndexPath *)indexPath
{
    return 44;
}
- (void)tableView:(UITableView *)tableView didSelectRowAtIndexPath:(NSIndexPath *)indexPath
{

}
本篇知识点回顾:
1、复习UI组件关联对象;
2、复习UI组件简单布局;
3、NSArray和NSMutableArray的使用;
4、StoryBoard中,为UITableView添加委托;
5、UITableView几个常用的委托方法;
6、UITableView的两种简单内容显示方式;
7、图标资源的添加。


 357
357

 被折叠的 条评论
为什么被折叠?
被折叠的 条评论
为什么被折叠?
 到【灌水乐园】发言


