


最近在学习利用矢量图VectorDrawable实现动画,发现矢量图也很强大,很多动画效果都可以简单实现,下面就是其中一个简单箭头左右移动的动画。
下面开始实现这个动画效果
1. 在res文件夹下创建animator文件夹

2. 然后在animator文件夹下生成一个anim动画文件
anim.xml
<?xml version="1.0" encoding="utf-8"?>
<objectAnimator
  xmlns:android="http://schemas.android.com/apk/res/android"
    android:duration="1000"
    android:repeatCount="infinite"
    android:propertyName="translateX"
    android:repeatMode="reverse"
    android:valueFrom="0"
    android:valueTo="-10">
</objectAnimator>
duration是指动画的时长
repeatCount是指重复次数
propertyName是指改变的属性
repeatMode是指重复的模式
valueFrom和valueTo就是指从哪移动到哪
3.在drawable文件夹中创建矢量图
在drawable文件夹右键选择New-》VectorAsset
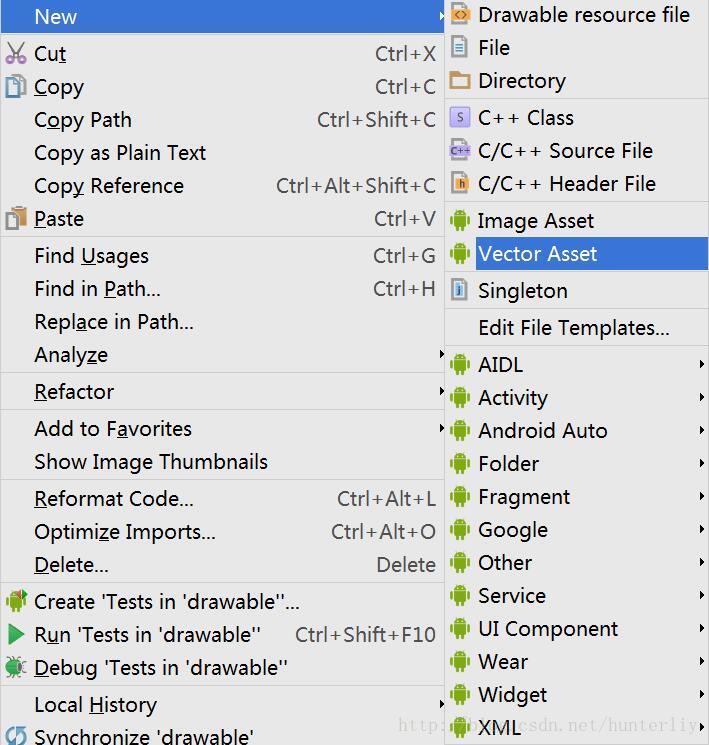
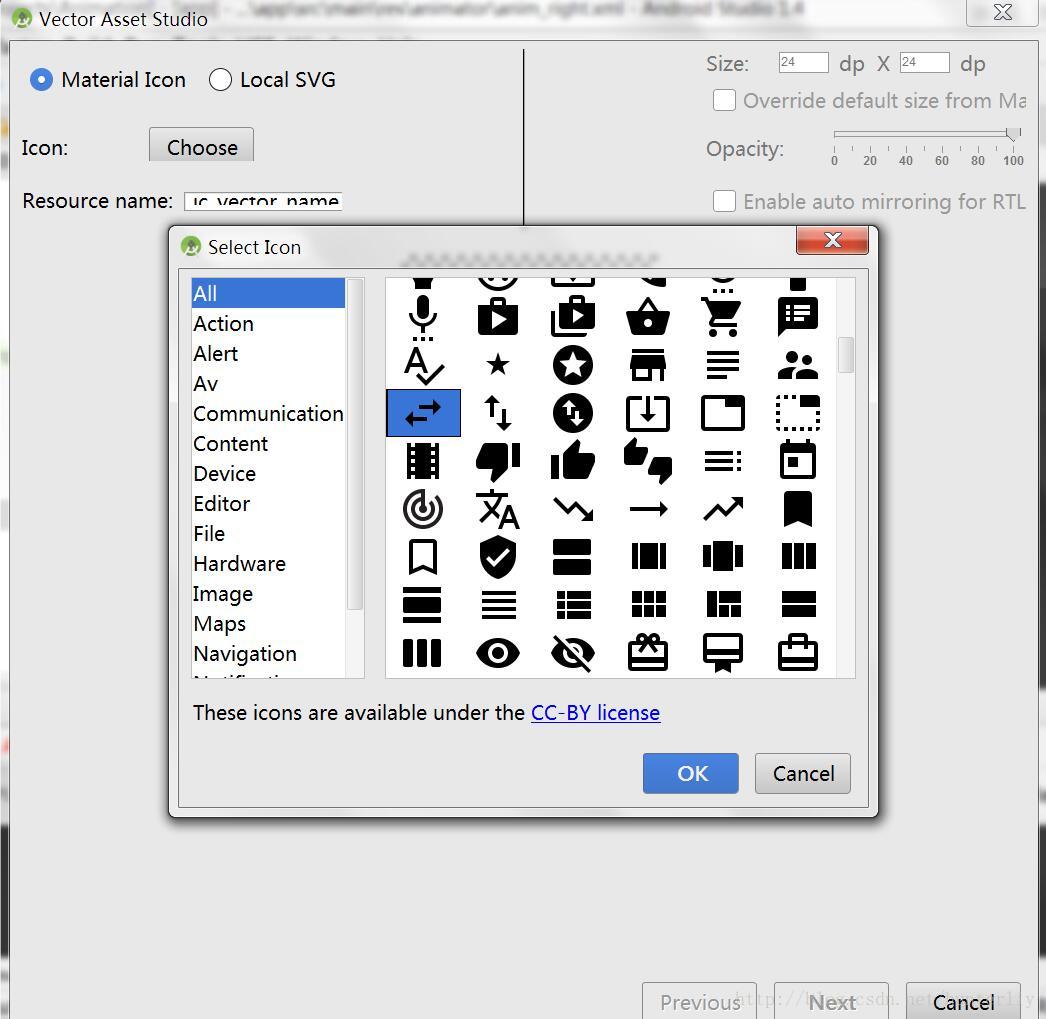
选择左右箭头为我们要生成的矢量图vector.xml
4. 修改矢量图
vector.xml
<vector xmlns:android="http://schemas.android.com/apk/res/android"
        android:width="100dp"
        android:height="100dp"
        android:viewportWidth="24.0"
        android:viewportHeight="24.0">
    <path
        android:fillColor="#FF000000"
        android:pathData="M6.99,11L3,15l3.99,4v-3H14v-2H6.99v-3zM21,9l-3.99,-4v3H10v2h7.01v3L21,9z"/>
</vector>
矢量图生成后代码如上,但是我们要在path标签外添加一个group标签,并且添加name属性,否则我们的动画将不会运动。而且既然箭头分为左右两个,那么我们就要将它们区分开,我们就可以看到pathdata标签,里面有两个大写M开头的属性,那就是矢量图的相对坐标信息,我们将它们分为两个标签来区分。修改如下:
vector.xml
<vector xmlns:android="http://schemas.android.com/apk/res/android"
        android:width="100dp"
        android:height="100dp"
        android:viewportWidth="24.0"
        android:viewportHeight="24.0">
    <group android:name="left">
    <path
        android:fillColor="#FF000000"
        android:pathData="M6.99,11L3,15l3.99,4v-3H14v-2H6.99v-3z"/>
    </group>
    <group android:name="right">
        <path
            android:fillColor="#FF000000"
            android:pathData="M21,9l-3.99,-4v3H10v2h7.01v3L21,9z"/>
    </group>
</vector>
5. 创建“粘合剂”animated-vector
在drawable文件夹下再生成一个资源文件,但是将里面的selector标签改为animated-vector,这个文件其实就是用来把矢量图和我们的指定动画“粘合”起来,让它们分别知道哪个动画作用于哪个矢量图。
animatedvector.xml
<?xml version="1.0" encoding="utf-8"?>
<animated-vector
    xmlns:android="http://schemas.android.com/apk/res/android"
    android:drawable="@drawable/vector">
    <target
        android:animation="@animator/anim_left"
        android:name="left">
    </target>
    <target
        android:animation="@animator/anim_right"
        android:name="right">
    </target>
</animated-vector>
这里的target标签显然就是指我们所建立的动画文件,我们既然分为左右两个箭头,所以就将anim动画文件再复制出一个命名为left和right。而android:drawable属性就是指的我们所要用的矢量图了。
6. 配置主布局文件
在主布局文件中添加Imageview
<ImageView
        android:onClick="Click"
        android:layout_width="wrap_content"
        android:layout_height="wrap_content"
        app:srcCompat="@drawable/animatedvector"/>
在Mainactivity中添加Click函数
public class MainActivity extends AppCompatActivity {

    @Override
    protected void onCreate(Bundle savedInstanceState) {
        super.onCreate(savedInstanceState);
        setContentView(R.layout.activity_main);
    }
    public void Click(View view){
        ImageView imageView = (ImageView)view;
        Drawable drawable = imageView.getDrawable();
        if (drawable instanceof Animatable){
            ((Animatable)drawable).start();
        }
    }
}
就是获取我们主布局中imageView,然后转换为drawable,再判断如果属于动画,就调用start方法开始动画。启动应用后,点击矢量图就会呈现一开始的动画了,简单吧。


 3102
3102


 被折叠的 条评论
为什么被折叠?
被折叠的 条评论
为什么被折叠?
 到【灌水乐园】发言


