


一、通过指定的url获取页面的html
public static String findHtmlStringByURL(String HTML_URL) throws IOException {
        try {
            StringBuffer html = new StringBuffer();
            URL url = new URL(HTML_URL);
            HttpURLConnection conn = (HttpURLConnection) url.openConnection();
            InputStreamReader isr = new InputStreamReader(conn.getInputStream());
            BufferedReader br = new BufferedReader(isr);
            String temp;
            while ((temp = br.readLine()) != null) {
                 html.append(temp).append("\n");
            }
            br.close();
            isr.close();
            return html.toString().getBytes("GBK"), "UTF-8");
        } catch (Exception e) {
            e.printStackTrace();
            return null;
        }

    }
1.为了避免中文乱码,需要实现指定jsp页面的编码为utf-8,但是如果遇到html页面的特殊标签可能会产生一些部分中文乱码
更好的解决方案可以用jsonp
public static String findHtmlStringByURL(String HTML_URL) throws IOException {

    	URL url = new URL(HTML_URL);

        Document document=Jsoup.parse(url,5 * 1000);
        String result=document.html();


        //解决img标签结尾无斜杠(/)的问题
        String regex = "(?i)(\\<img)([^\\>]+)(\\>)";
        String value =  result.replaceAll(regex, "$1 $2 /$3");

        return value;

    }
maven坐标如下:
        <dependency>
            <groupId>org.jsoup</groupId>
            <artifactId>jsoup</artifactId>
            <version>1.8.1</version>
        </dependency>
  URL url = new URL(HTML_URL);
 URL模拟http请求获取不到session
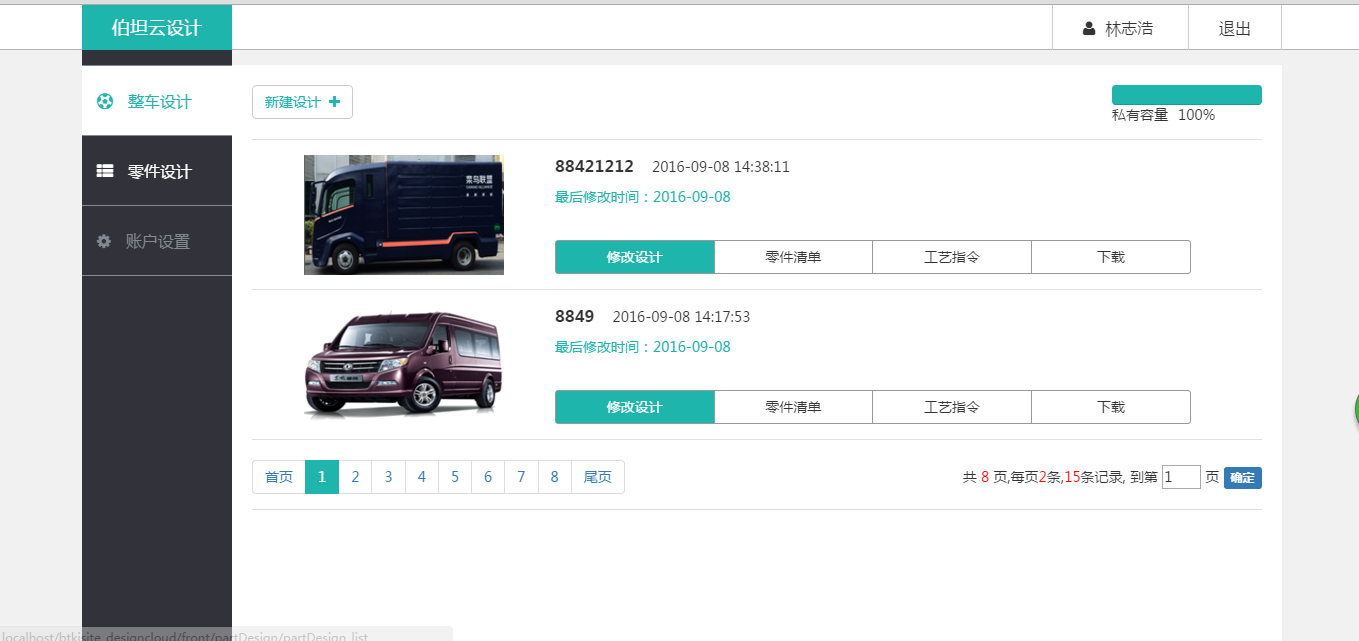
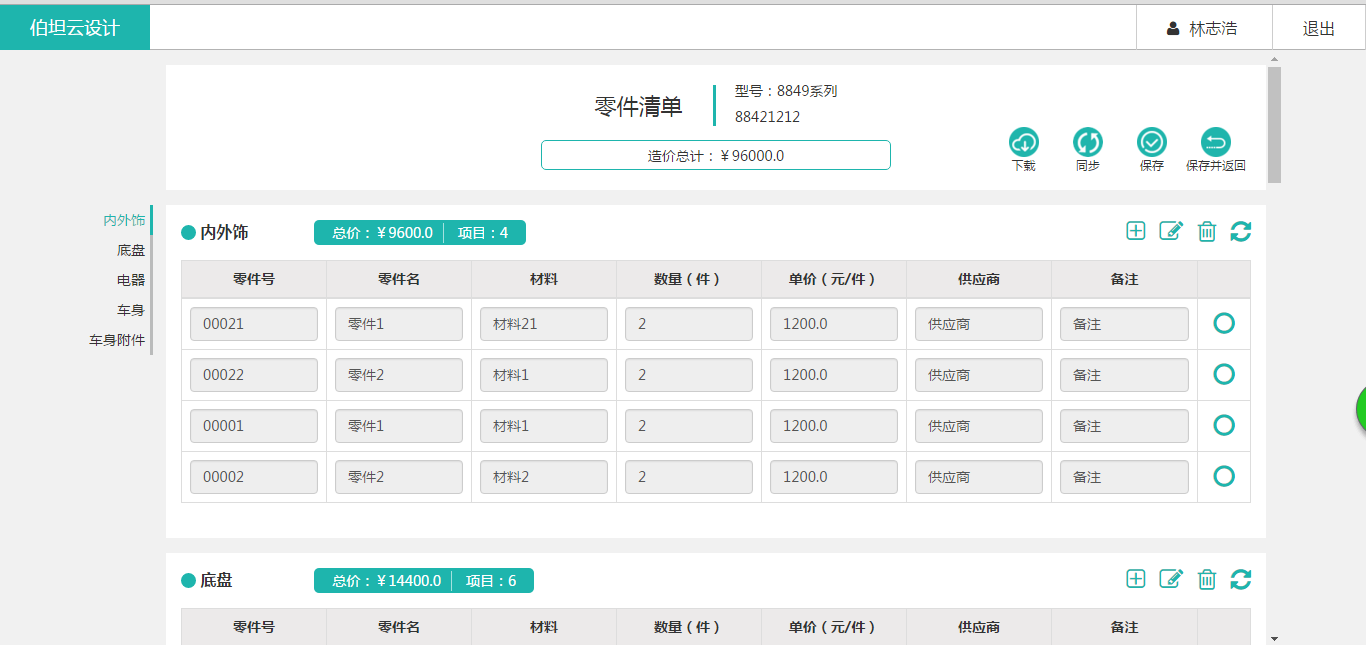
二、SpringMVC框架里jsp客户端向服务端传递List类型的参数
客户端
		                   //传递数组partListDesignArray 到服务端
		                   var partListDesignArray = new Array();
	                      	   var listTrEdit=$("#container").find("tr.nowCheck");
					      $.each(listTrEdit, function(n,value){
								var partsno=$(value).find("input#partsno").val();
								var partsid=$(value).find("input#partsid").val();
								var partsname=$(value).find("input#partsname").val();
								var material=$(value).find("input#material").val();
								var num=$(value).find("input#num").val();
								var price=$(value).find("input#price").val()*100;
								var provider=$(value).find("input#provider").val();
								var comment=$(value).find("input#comment").val();

						                partListDesignArray.push({
						                id: partsid, partsname: partsname,
						               partsno:partsno,material:material,

						                num:num,price:price,provider:provider,comment:comment});

							   });
                       $.ajax({
                            url:   CONTEXT_PATH+'front/carDesign/saveEditPart',
                            type:  "POST",
                            contentType : 'application/json;charset=utf-8', //设置请求头信息
                            dataType:"json",
                            data:  JSON.stringify(partListDesignArray),
                            success: function(data){
                                if(data.result){
                                    if(type==1){
                                        window.location.href=CONTEXT_PATH+'front/carDesign/carDesign_list';
                                    }else{
                                        window.location.reload();
                                    }

                                }else{
                                    jAlert(data.msg,'提示');
                                }

                            }
                      });
服务端
import org.springframework.web.bind.annotation.RequestBody;
import org.springframework.web.bind.annotation.RequestMapping;
import org.springframework.web.bind.annotation.RequestMethod;
import org.springframework.web.bind.annotation.ResponseBody;

import com.alibaba.fastjson.JSONObject;

    @RequestMapping("/saveEditPart")
    @ResponseBody
    public AjaxObj saveEditPart(@RequestBody  List<JSONObject> partListDesignModels){

        AjaxObj  ajaxObj= partListDesignService.saveEditPart(partListDesignModels);

        return ajaxObj;
    }
接收list数据
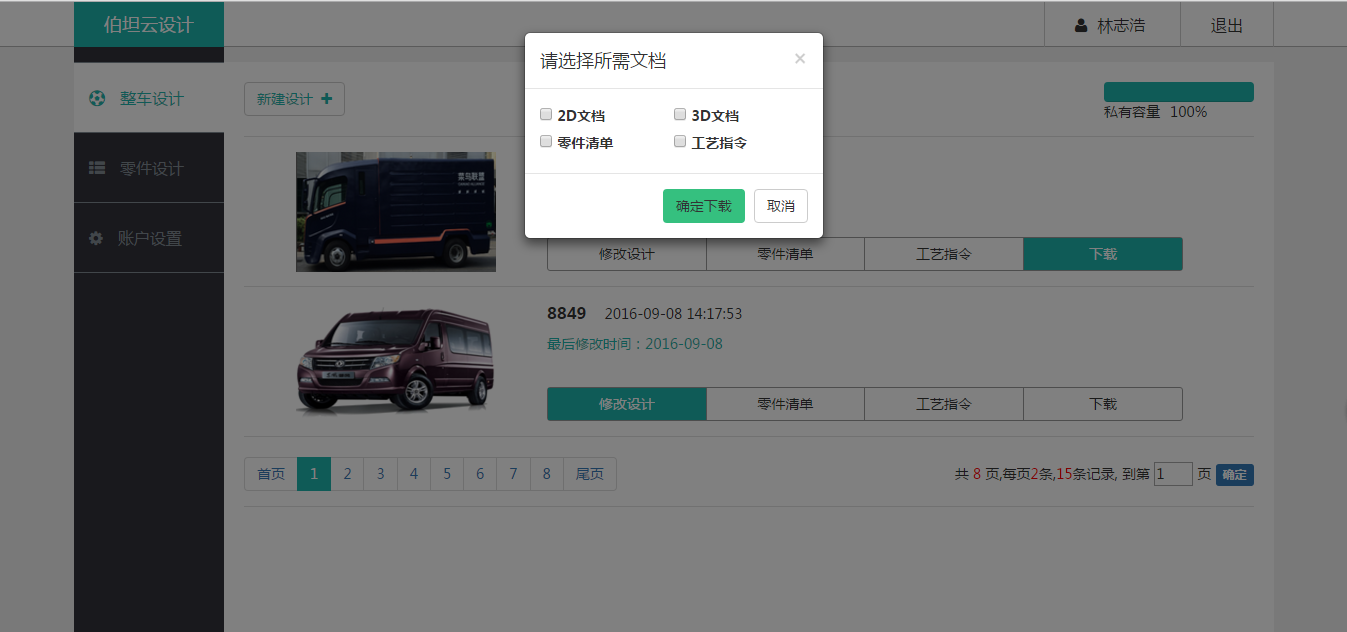
三.SpringMVC中的文件下载
package com.clj.test.down.util;

import java.io.File;
import java.io.IOException;

import org.apache.commons.io.FileUtils;
import org.springframework.context.annotation.Scope;
import org.springframework.http.HttpHeaders;
import org.springframework.http.HttpStatus;
import org.springframework.http.MediaType;
import org.springframework.http.ResponseEntity;
import org.springframework.stereotype.Component;
import org.springframework.web.bind.annotation.RequestMapping;

/**
 * <一句话功能简述>
 * <功能详细描述>
 *
 * @author  Administrator
 * @version  [版本号, 2014年3月7日]
 * @see  [相关类/方法]
 * @since  [产品/模块版本]
 */
@Component
@Scope("prototype")
@RequestMapping("/downloadFile")
public class DownloadAction
{

    @RequestMapping("download")
    public ResponseEntity<byte[]> download() throws IOException {
        String path="D:\\workspace\\.metadata\\.plugins\\org.eclipse.wst.server.core\\tmp0\\wtpwebapps\\springMVC\\WEB-INF\\upload\\图片10(定价后).xlsx";
        File file=new File(path);
        HttpHeaders headers = new HttpHeaders();
        String fileName=new String("你好.xlsx".getBytes("UTF-8"),"iso-8859-1");//为了解决中文名称乱码问题
        headers.setContentDispositionFormData("attachment", fileName);
        headers.setContentType(MediaType.APPLICATION_OCTET_STREAM);
        return new ResponseEntity<byte[]>(FileUtils.readFileToByteArray(file),
                                          headers, HttpStatus.CREATED);
    }
}
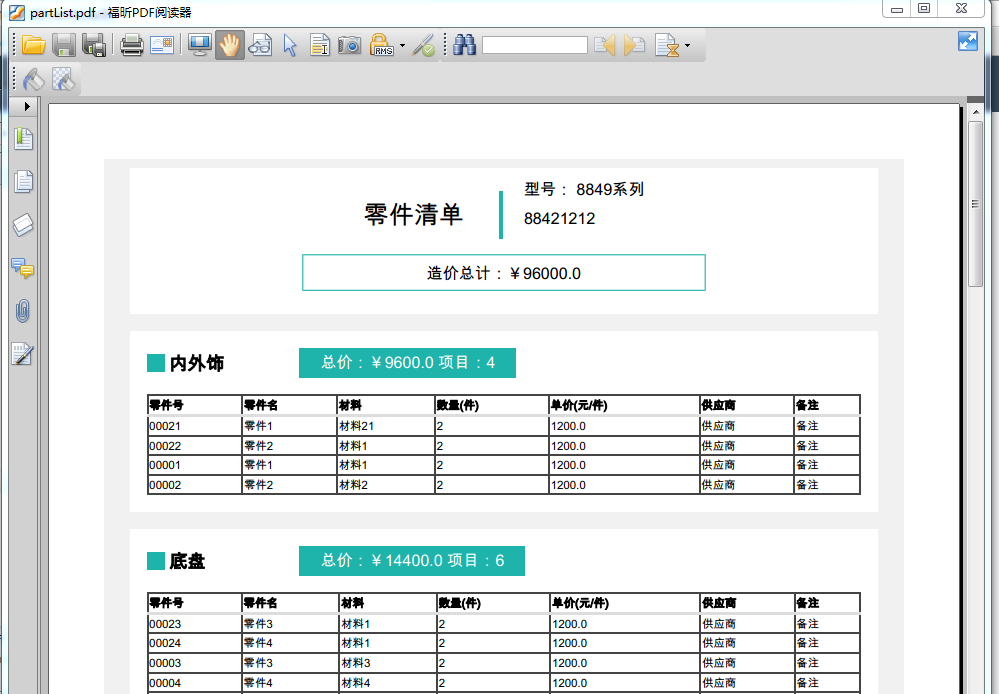
四、基于iText和flying saucer结合freemark把html生成pdf (支持css样式)
项目地址:http://git.oschina.net/lemonzone2010/doc-render
尝试了几个开源项目感觉这个效果最好,而且文旦详尽,需要注意的是
1、不支持css3特殊样式,html里如果有中文需要现在css样式里申明所用字体
2、项目里读取html时使用了freemark技术也但是我自己操作的时候利用总结一里的jsonp读取更加方便
五、把文件打包生成zip
import java.io.BufferedInputStream;
import java.io.BufferedOutputStream;
import java.io.File;
import java.io.FileInputStream;
import java.io.FileOutputStream;
import java.io.IOException;
import java.io.InputStream;
import java.io.OutputStream;
import java.net.MalformedURLException;
import java.net.URISyntaxException;
import java.net.URL;

import org.apache.commons.compress.archivers.ArchiveEntry;
import org.apache.commons.compress.archivers.zip.Zip64Mode;
import org.apache.commons.compress.archivers.zip.ZipArchiveEntry;
import org.apache.commons.compress.archivers.zip.ZipArchiveInputStream;
import org.apache.commons.compress.archivers.zip.ZipArchiveOutputStream;
import org.apache.http.Header;
import org.apache.http.HttpResponse;
import org.apache.http.HttpStatus;
import org.apache.http.client.ClientProtocolException;
import org.apache.http.client.HttpClient;
import org.apache.http.client.methods.HttpGet;
import org.apache.http.impl.client.DefaultHttpClient;
import org.apache.http.util.EntityUtils;


/**
 * Zip文件工具类
 * @author Luxh
 */
public class ZipUtil {

    /**
     * 把文件压缩成zip格式
     * @param files         需要压缩的文件
     * @param zipFilePath 压缩后的zip文件路径   ,如"D:/test/aa.zip";
     */
    public static void compressFilesToZip(File[] files,String zipFilePath,String[]filename) {
        if(files != null && files.length >0) {
            if(isEndsWithZip(zipFilePath)) {
                ZipArchiveOutputStream zaos = null;
                try {
                    File zipFile = new File(zipFilePath);
                    zaos = new ZipArchiveOutputStream(zipFile);
                    //Use Zip64 extensions for all entries where they are required
                    zaos.setUseZip64(Zip64Mode.AsNeeded);

                    //将每个文件用ZipArchiveEntry封装
                    //再用ZipArchiveOutputStream写到压缩文件中
                    for(int i=0;i<files.length;i++) {
                    	File file=files[i];
                        if(file != null) {
                            ZipArchiveEntry zipArchiveEntry  = new ZipArchiveEntry(file,filename[i]);
                            zaos.putArchiveEntry(zipArchiveEntry);
                            InputStream is = null;
                            try {
                                is = new BufferedInputStream(new FileInputStream(file));
                                byte[] buffer = new byte[1024 * 5];
                                int len = -1;
                                while((len = is.read(buffer)) != -1) {
                                    //把缓冲区的字节写入到ZipArchiveEntry
                                    zaos.write(buffer, 0, len);
                                }
                                //Writes all necessary data for this entry.
                                zaos.closeArchiveEntry();
                            }catch(Exception e) {
                                throw new RuntimeException(e);
                            }finally {
                                if(is != null)
                                    is.close();
                            }

                        }
                    }
                    zaos.finish();
                }catch(Exception e){
                    throw new RuntimeException(e);
                }finally {
                        try {
                            if(zaos != null) {
                                zaos.close();
                            }
                        } catch (IOException e) {
                            throw new RuntimeException(e);
                        }
                }

            }

        }

    }

    /**
     * 把zip文件解压到指定的文件夹
     * @param zipFilePath   zip文件路径, 如 "D:/test/aa.zip"
     * @param saveFileDir   解压后的文件存放路径, 如"D:/test/"
     */
    public static void decompressZip(String zipFilePath,String saveFileDir) {
        if(isEndsWithZip(zipFilePath)) {
            File file = new File(zipFilePath);
            if(file.exists()) {
                InputStream is = null;
                //can read Zip archives
                ZipArchiveInputStream zais = null;
                try {
                    is = new FileInputStream(file);
                    zais = new ZipArchiveInputStream(is);
                    ArchiveEntry  archiveEntry = null;
                    //把zip包中的每个文件读取出来
                    //然后把文件写到指定的文件夹
                    while((archiveEntry = zais.getNextEntry()) != null) {
                        //获取文件名
                        String entryFileName = archiveEntry.getName();
                        //构造解压出来的文件存放路径
                        String entryFilePath = saveFileDir + entryFileName;
                        byte[] content = new byte[(int) archiveEntry.getSize()];
                        zais.read(content);
                        OutputStream os = null;
                        try {
                            //把解压出来的文件写到指定路径
                            File entryFile = new File(entryFilePath);
                            os = new BufferedOutputStream(new FileOutputStream(entryFile));
                            os.write(content);
                        }catch(IOException e) {
                            throw new IOException(e);
                        }finally {
                            if(os != null) {
                                os.flush();
                                os.close();
                            }
                        }

                    }
                }catch(Exception e) {
                    throw new RuntimeException(e);
                }finally {
                        try {
                            if(zais != null) {
                                zais.close();
                            }
                            if(is != null) {
                                is.close();
                            }
                        } catch (IOException e) {
                            throw new RuntimeException(e);
                        }
                }
            }
        }
    }

    /**
     * 判断文件名是否以.zip为后缀
     * @param fileName        需要判断的文件名
     * @return 是zip文件返回true,否则返回false
     */
    public static boolean isEndsWithZip(String fileName) {
        boolean flag = false;
        if(fileName != null && !"".equals(fileName.trim())) {
            if(fileName.endsWith(".ZIP")||fileName.endsWith(".zip")){
                flag = true;
            }
        }
        return flag;
    }
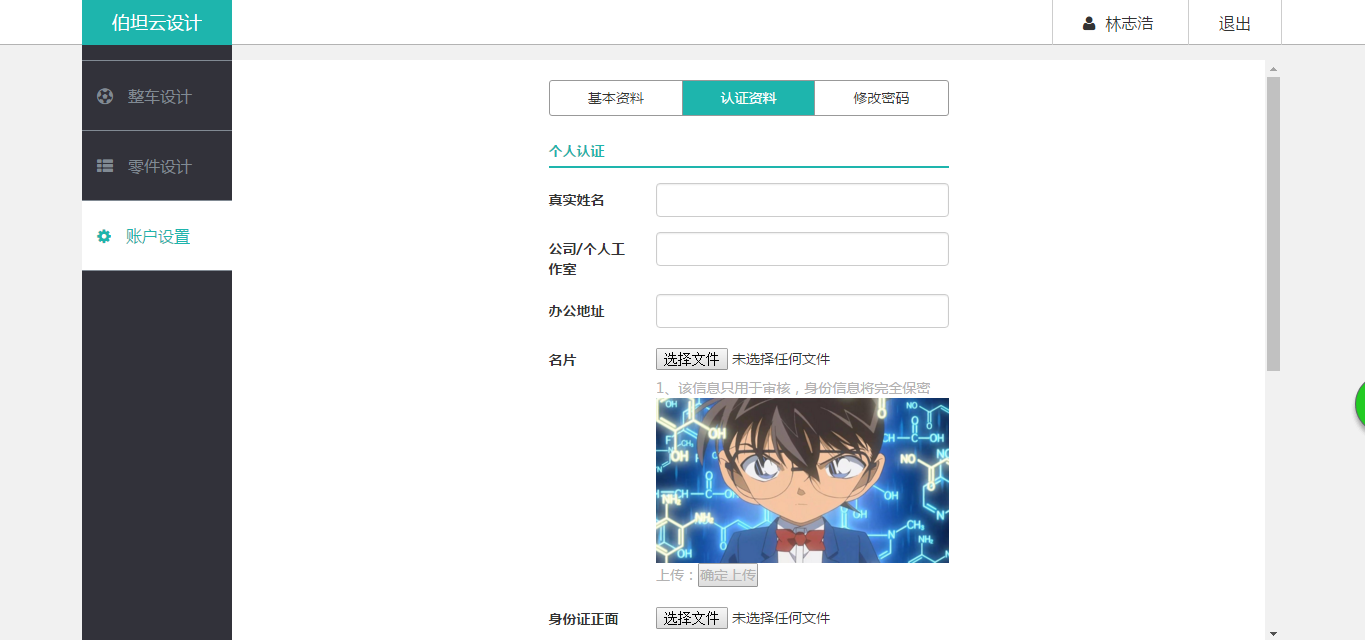
六、图片上传到非工程文件夹下,希望通过该工程的url访问该图片
文件上传到tomcat下的工程下,项目重新启动图片就没了
解决的思路:
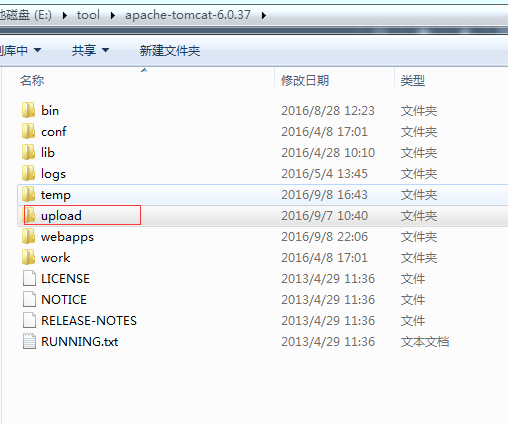
在配置文件下配置路径
BASE_FILEUPLOAD_URL=/upload/username/type/year/month/
BASE_FILEUPLOAD_PATH=…/…/upload/username/type/year/month/
上传文件时读取该路径并进行拼接:
//文件上传目录路径
String savePath = pageContext.getServletContext().getRealPath(“/”) + BASE_FILEUPLOAD_PATH;
这样配置以后图片就上传到tomcat的一级目录下了
定义访问的时候url为localhost:8080//btkjsite_designcloud/before/getFile/upload/username/type/year/month/20160911.jpg
先根据访问的url找到图片的实际物理路径,再通过输入流读取文件,写入输出流在网页上把图片显示出来
package com.meila.cms.controller;

import java.io.File;
import java.io.FileInputStream;
import java.io.InputStream;
import java.io.OutputStream;

import javax.servlet.ServletContext;

import org.springframework.stereotype.Controller;
import org.springframework.web.bind.annotation.PathVariable;
import org.springframework.web.bind.annotation.RequestMapping;
import org.springframework.web.context.ContextLoader;
import org.springframework.web.context.WebApplicationContext;

import com.meila.cms.util.config.Property;

@Controller
@RequestMapping("/before")
public class FileController extends BaseController{

	/**
	 * 由于kindeditor文件保存在其他文件夹下所以以流的形式重新进行访问
	 * @param dirname
	 * @param username
	 * @param type
	 * @param year
	 * @param month
	 * @param picname
	 * @param extname
	 */
	@RequestMapping(value="/getFile/{dirname}/{username}/{type}/{year}/{month}/{picname}.{extname}")
	public void getFile(@PathVariable String dirname,
			@PathVariable String username,@PathVariable String type,
			@PathVariable String year,@PathVariable String month,
			@PathVariable String picname,@PathVariable String extname){

	    String BASE_FILEUPLOAD_PATH= Property.getProperty("BASE_FILEUPLOAD_PATH");

	    WebApplicationContext webApplicationContext = ContextLoader.getCurrentWebApplicationContext();
        ServletContext application = webApplicationContext.getServletContext();

		String web_path = application.getRealPath("").replace("\\", "/");

        BASE_FILEUPLOAD_PATH=BASE_FILEUPLOAD_PATH.replace("username",username);
    	BASE_FILEUPLOAD_PATH=BASE_FILEUPLOAD_PATH.replace("type", "A0");
    	BASE_FILEUPLOAD_PATH=BASE_FILEUPLOAD_PATH.replace("year", year);
    	BASE_FILEUPLOAD_PATH=BASE_FILEUPLOAD_PATH.replace("month",month);

		String fullPath = web_path+"/"+BASE_FILEUPLOAD_PATH +picname+"."+extname;

		response.setHeader("Cache-Control", "max-age=10000000");
		InputStream in = null;
		OutputStream out = null;
		try {
			File file = new File(fullPath);
			if (!file.isFile()) {

			}
			in = new FileInputStream(file);
			int len = 0;
			byte[] buffer = new byte[1024];
			out = response.getOutputStream();
			while ((len = in.read(buffer)) > 0) {
				out.write(buffer, 0, len);
			}

		} catch (Exception e) {
			e.printStackTrace();
		} finally {
			if (in != null) {
				try {
					in.close();
				} catch (Exception e) {
					throw new RuntimeException(e);
				}

			}
		}
	}
}


 305
305


 被折叠的 条评论
为什么被折叠?
被折叠的 条评论
为什么被折叠?
 到【灌水乐园】发言


