


样式一:原始分割线(左边不到屏幕左边缘)
_MyTableView.separatorStyle = UITableViewCellSeparatorStyleSingleLine;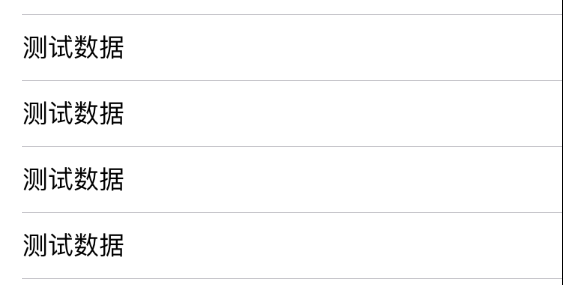
三种结构体样式:
/**
UITableViewCellSeparatorStyleNone, 没有分割线
UITableViewCellSeparatorStyleSingleLine, 单线(默认)
UITableViewCellSeparatorStyleSingleLineEtched 内嵌线
*/
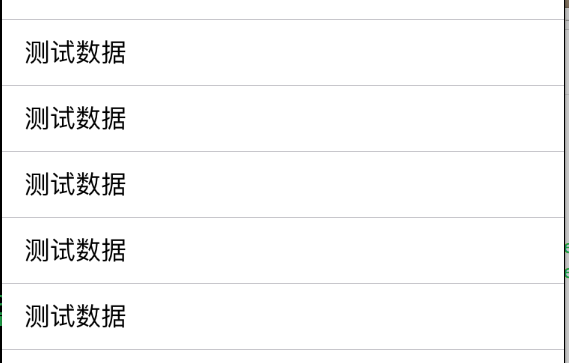
样式二:分割线到屏幕边缘
方法一:
- (void)viewDidLoad {
    [super viewDidLoad];
   ...
   ...
   ...
#pragma mark - a 调整view边距
    // 1.调整(iOS7以上)表格分隔线边距
    if ([self.MyTableView respondsToSelector:@selector(setSeparatorInset:)]) {
        self.MyTableView.separatorInset = UIEdgeInsetsZero;
    }
    // 2.调整(iOS8以上)view边距(或者在cell中设置preservesSuperviewLayoutMargins,二者等效)
    if ([self.MyTableView respondsToSelector:@selector(setLayoutMargins:)]) {
        self.MyTableView.layoutMargins = UIEdgeInsetsZero;
    }

}

#pragma mark - b 调整view边距
//然后在willDisplayCell方法中加入如下代码:
- (void)tableView:(UITableView *)tableView willDisplayCell:(UITableViewCell *)cell forRowAtIndexPath:(NSIndexPath *)indexPath{
#pragma mark - b
    if ([cell respondsToSelector:@selector(setLayoutMargins:)]) {
        [cell setLayoutMargins:UIEdgeInsetsZero];
    }
}
方法二:
-(UITableViewCell *)tableView:(UITableView *)tableView cellForRowAtIndexPath:(NSIndexPath *)indexPath{
...
...
...
#pragma mark - a 调整view边距
    //1.调整(iOS8以上)tableView边距(与上面第2步等效,二选一即可)
    if ([cell respondsToSelector:@selector(setPreservesSuperviewLayoutMargins:)]) {
        cell.preservesSuperviewLayoutMargins = NO;
    }
    //2.调整(iOS8以上)view边距
    if ([cell respondsToSelector:@selector(setLayoutMargins:)]) {
        [cell setLayoutMargins:UIEdgeInsetsZero];
    }
    return cell;
}

#pragma mark - b 调整view边距
//然后在willDisplayCell方法中加入如下代码:
- (void)tableView:(UITableView *)tableView willDisplayCell:(UITableViewCell *)cell forRowAtIndexPath:(NSIndexPath *)indexPath{
#pragma mark - b
    if ([cell respondsToSelector:@selector(setSeparatorInset:)]) {
        [cell setSeparatorInset:UIEdgeInsetsZero];
    }
}
总结:系统自带的cell的分割线,满足我们大部分的需求,但在有些情况下,我们需要使用样式二中得cell的分割线样式。
同时,我们也可以自定义cell的分割线。通过1个像素宽的图片或者view添加到cell中;
或者设置背景图片为灰色,同时设置cell之间的间距为1个像素即可实现;
同样的样式,我们可以通过很多种方法去实现,我这里只是列举了个别几种,欢迎大家补充,谢谢。


 4787
4787

 被折叠的 条评论
为什么被折叠?
被折叠的 条评论
为什么被折叠?
 到【灌水乐园】发言


