


本篇博文最后修改时间:2016年5月8日,23:37。
一、简介
本篇介绍体验活动的生命周期。
二、实验平台
系统版本:Windows7 家庭普通版 32位操作系统。
三、版权声明
博主:思跡
声明:喝水不忘挖井人,转载请注明出处。
原文地址:http://blog.csdn.net/omoiato
联系方式:315878825@qq.com
Java零基础入门交流群:541462902
四、体验活动的生命周期
1、关闭ActivityTest 项目,新建一个ActivityLifeCycleTest 项目
详细流程见:【Android】2、编写第一个安卓app——HelloWorld
http://blog.csdn.net/omoiato/article/details/50951450
2、创建两个子活动,NormalActivity 和DialogActivity
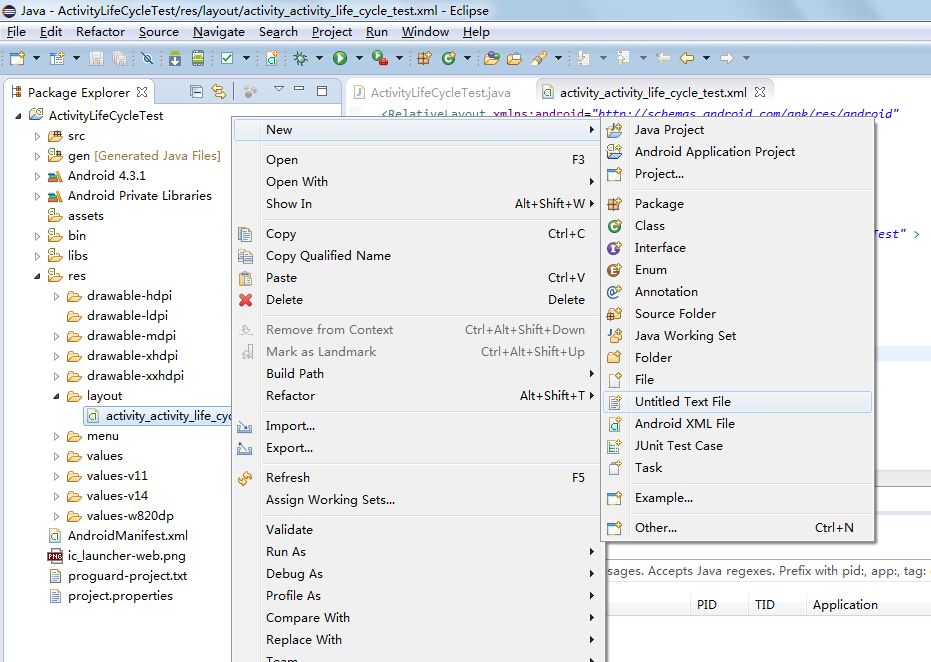
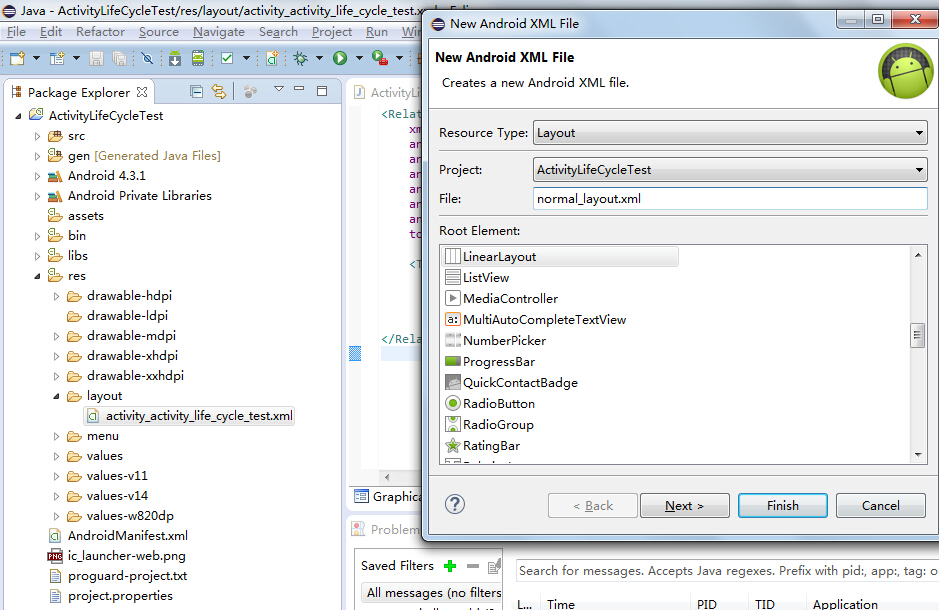
①新建normal_layout.xml 文件
<?xml version="1.0" encoding="utf-8"?>
<LinearLayout xmlns:android="http://schemas.android.com/apk/res/android"
	android:layout_width="match_parent"
	android:layout_height="match_parent"
	android:orientation="vertical" >
	<TextView
		android:layout_width="match_parent"
		android:layout_height="wrap_content"
		android:text="This is a normal activity"
	/>

</LinearLayout>
这个布局中我们就非常简单地使用了一个TextView,用于显示一行文字。
在下一章中将会学到更多关于TextView 的用法。
②再新建一个dialog_layout.xml 文件
<?xml version="1.0" encoding="utf-8"?>
<LinearLayout xmlns:android="http://schemas.android.com/apk/res/android"
android:layout_width="match_parent"
android:layout_height="match_parent"
android:orientation="vertical" >
<TextView
android:layout_width="match_parent"
android:layout_height="wrap_content"
android:text="This is a dialog activity"
/>
</LinearLayout><strong>
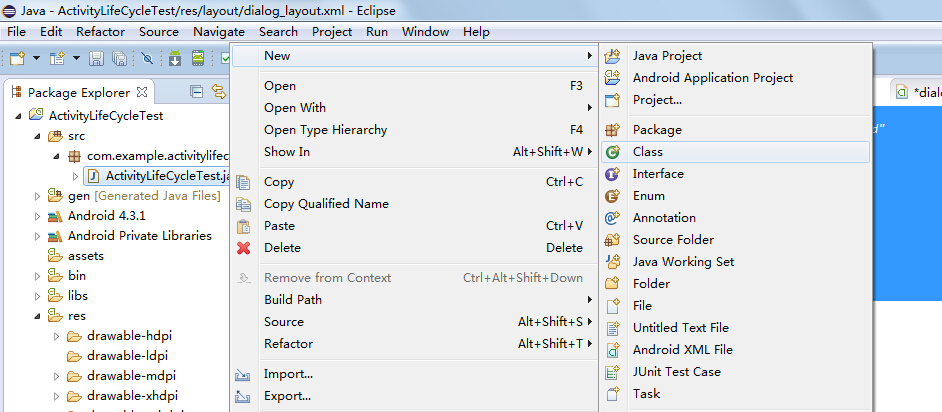
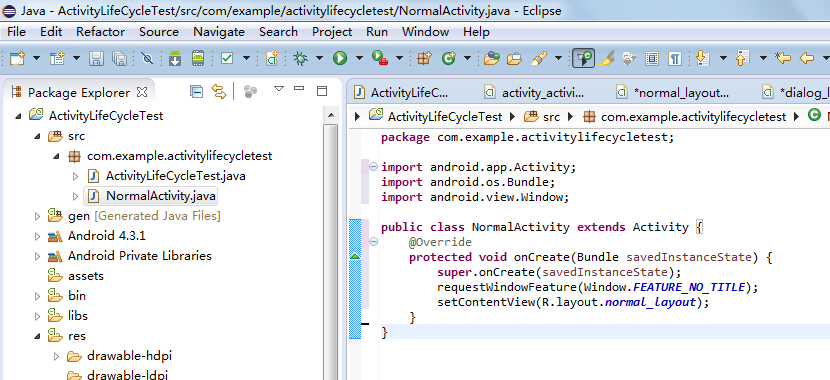
</strong>3、新建NormalActivity 继承自Activity
public class NormalActivity extends Activity {
	@Override
	protected void onCreate(Bundle savedInstanceState) {
		super.onCreate(savedInstanceState);
		requestWindowFeature(Window.FEATURE_NO_TITLE);
		setContentView(R.layout.normal_layout);
	}
}
4、新建DialogActivity 继承自Activity
public class DialogActivity extends Activity {
	@Override
	protected void onCreate(Bundle savedInstanceState) {
		super.onCreate(savedInstanceState);
		requestWindowFeature(Window.FEATURE_NO_TITLE);
		setContentView(R.layout.dialog_layout);
	}
}
我们在DialogActivity 中加载了dialog_layout 这个布局。
其实从名字上你就可以看出,这两个活动一个是普通的活动,一个是对话框式的活动。
可是现在不管怎么看,这两个活动的代码都几乎都是一模一样的,在哪里有体现出将活动设
成对话框式的呢?别着急,下面我们马上开始设置。
5、在AndroidManifest.xml 的<activity>标签中添加如下代码:
<activity android:name=".NormalActivity" >
</activity>
<activity android:name=".DialogActivity" android:theme="@android:style/Theme.Dialog" >
</activity>
这里分别为两个活动进行注册,但是DialogActivity 的注册代码有些不同,
它使用了一个android:theme 属性,这是用于给当前活动指定主题的,
Android 系统内置有很多主题可以选择,当然我们也可以定制自己的主题,
而这里@android:style/Theme.Dialog 则毫无疑问是让DialogActivity 使用对话框式的主题。


 380
380


 被折叠的 条评论
为什么被折叠?
被折叠的 条评论
为什么被折叠?
 到【灌水乐园】发言


