


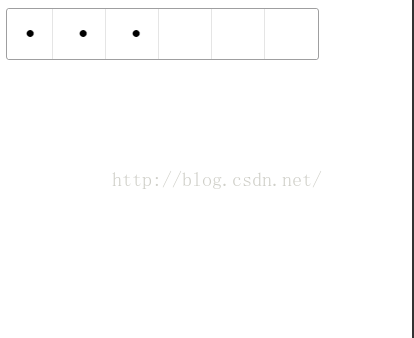
好了,直接上图片了,看到这个,是不是又让我们想到,发红包,或者是支付宝付款了,这场面我们太熟悉不过了,简单明了,如果我们用html 5该如何实现呢,或许我一下子就想到了给我来六个密码框,我直接布局上就可以了,这样想就对了,确实就应该是这样的,可是我们再一想,如果我们傻傻的这样做了,效果是实现了,但实际操作中,每个文本框的切换都要调用onblur 这样的事件,如果用户操作过快,甚至手机卡死的情况都会发生,这样的设计对用户的体验是很差的,当然了,我们不能够这样的,也不应该这样,如果我们放一个文本框就好了,只要用户一有输入,我们根据文本框的变化,把输入的内容显示到一个密码框中,这样就可以避免我们频繁的调用onblur让整个页面卡死的毛病了,自始至终都是在一个文本框中操作的。
相信大家都迫不及待了,我们现在就放出代码:
<!DOCTYPE html>
<html>
<head>
<script src="http://zeptojs.com/zepto.min.js"></script>
  <title>手机端六位密码输入</title>
<style>
.pwd-box{
	    width:310px;
	    padding-left: 1px;
	    position: relative;
	    border: 1px solid #9f9fa0;
	    border-radius: 3px;
over-flow:hidden
	}
	.pwd-box input[type="tel"]{
		width: 99%;
	    height: 45px;
	    color: transparent;
	    position: absolute;
	    top: 0;
	    left: 0;
	    border: none;
	    font-size: 18px;
	    opacity: 0;
	    z-index: 1;
	    letter-spacing: 35px;
	}
	.fake-box input{
		width: 44px;
	    height: 48px;
	    border: none;
	    border-right: 1px solid #e5e5e5;
	    text-align: center;
	    font-size: 30px;
	}
	.fake-box input:nth-last-child(1){
		border:none;
	}
</style>
</head>
<body>
<div class="pwd-box">
	<input type="tel" maxlength="6" class="pwd-input" id="pwd-input">
	<div class="fake-box">
		<input type="password" readonly="">
		<input type="password" readonly="">
		<input type="password" readonly="">
		<input type="password" readonly="">
		<input type="password" readonly="">
		<input type="password" readonly="">
	</div>
</div>
<script>
var $input = $(".fake-box input");
			$("#pwd-input").on("input", function() {
				var pwd = $(this).val().trim();
				for (var i = 0, len = pwd.length; i < len; i++) {
					$input.eq("" + i + "").val(pwd[i]);
				}
				$input.each(function() {
					var index = $(this).index();
					if (index >= len) {
						$(this).val("");
					}
				});
				if (len == 6) {
					//执行其他操作
				}
			});
</script>
</body>
</html>


 6238
6238

 被折叠的 条评论
为什么被折叠?
被折叠的 条评论
为什么被折叠?
 到【灌水乐园】发言


