


(本文转自杨小事er,原博客地址:http://blog.csdn.net/qq_25936689/article/details/53044178)
昨天小程序第一天公测,就下载个小程序自带IDE玩了玩,看了看API,撸出了个登录界面给大家分享下。
下面是主界面和代码。
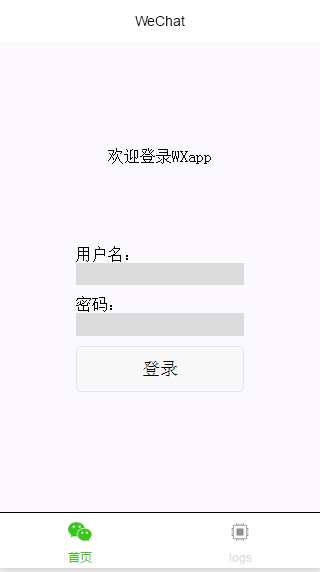
index.wxml
- <view class="container">
- <view class="usermotto">
- <text class="user-motto">{{motto}}</text>
- 用户名:
- <input type="text" bindinput="userNameInput"/>
- 密码:
- <input type="text" bindinput="userPasswordInput" password="true"/>
- <button bindtap="logIn">登录</button>
- </view>
- </view>
- var app = getApp()
- Page({
- data: {
- motto: '欢迎登录WXapp',
- userName:'',
- userPassword:'',
- id_token:'',//方便存在本地的locakStorage
- response:'' //存取返回数据
- },
- userNameInput:function(e){
- this.setData({
- userName: e.detail.value
- })
- },
- userPasswordInput:function(e){
- this.setData({
- userPassword: e.detail.value
- })
- console.log(e.detail.value)
- },
- logIn:function(){
- var that = this
- wx.request({
- url: 'http://localhost:8000/admin',
- data: {
- username: this.data.userName,
- password: this.data.userPassword,
- },
- method: 'GET',
- success: function (res) {
- that.setData({
- id_token: res.data.id_token,
- response:res
- })
- try {
- wx.setStorageSync('id_token', res.data.id_token)
- } catch (e) {
- }
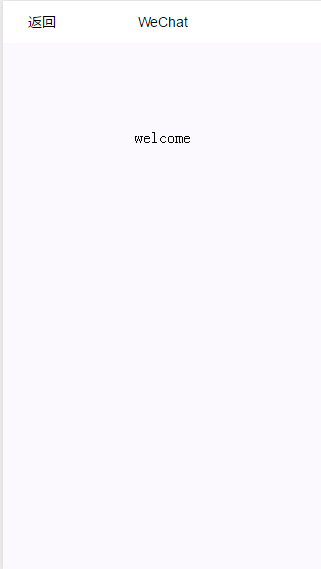
- wx.navigateTo({
- url: '../components/welcome/welcome'
- })
- console.log(res.data);
- },
- fail: function (res) {
- console.log(res.data);
- console.log('is failed')
- }
- })
- }
- })
源码都放在这里了,https://github.com/Yangzhedi/myBlog-wxapp,欢迎star,issue呦~
代码就是以上那些,个人感觉小程序和react真的很像,不亏于小程序源码中imoort react的这一句。所以有react基础的会更好上手小程序的吧~
js文件里Page里的data就类似与React中的state的机制,
之后在js文件中想要调用data里的数据就必须才才用this.data.XXX;
但是在wxml中想要绑定data里的数据,就才用双括号的方法,而且!不需要!this.data。直接就是{{XXX}}。
在回到代码里看,wxml中主要就是两个input框和一个button。通过小程序input的原生API - bindInput (文档:小程序input),就可以获取input的值,
然后在data里定义两个(userName和userPassword)来存取这两个input的输入值。
再通过button的 bindTap绑定js文件中的logIn函数。(文档:小程序button)
在logIn函数中,就通过this.data.userName和this.data.userPassword来获取曾经输入的两个值。
在通过调用微信的发送请求API,把两个值放在请求中,这就有点像ajax发送请求了。
再在success中写下成功之后想要做的事情,比如这个例子里,就跳转到welcom页面。


 2万+
2万+

 被折叠的 条评论
为什么被折叠?
被折叠的 条评论
为什么被折叠?
 到【灌水乐园】发言


