


前后端数据传输的编码格式(contentType)
# 我们只研究post请求方式的编码格式:
get请求方式没有编码格式-- index?useranme=&password=
get请求方式没有请求体,参数直接在url地址的后面拼接着# 有哪些方式可以提交post请求:form表单、Ajax、api工具
# 研究form表单的post请求:
默认的编码格式:urlencoded
数据传输的形式:title=dasdas&price=2312&date=&publish=2&authors=3# 对于Django后端是如何接收数据的:
把提交过来的数据都封装到了request.POST中
# 提交文件数据:enctype:form-data
# 数据传输的形式:
title=dasdas&price=2312&date=&publish=2&authors=3--------------binary-----------------------------
文件数据# 对于Django后端接收数据的:
普通数据还是在request.POST中
文件数据呢还是在request.FILES中
能在POST和FILES中接收数据,是因为Django已封装了,提交过来的数据并不是queryDICT# ajax提交post请求:
默认情况下,Ajax提交的数据后端还是在request.POST中接收的
默认的编码格式:urlencoded
需要修改contentType类型:json格式的"""对于符合urlencoded格式的数据后端都是在request.POST中接收数据的"""
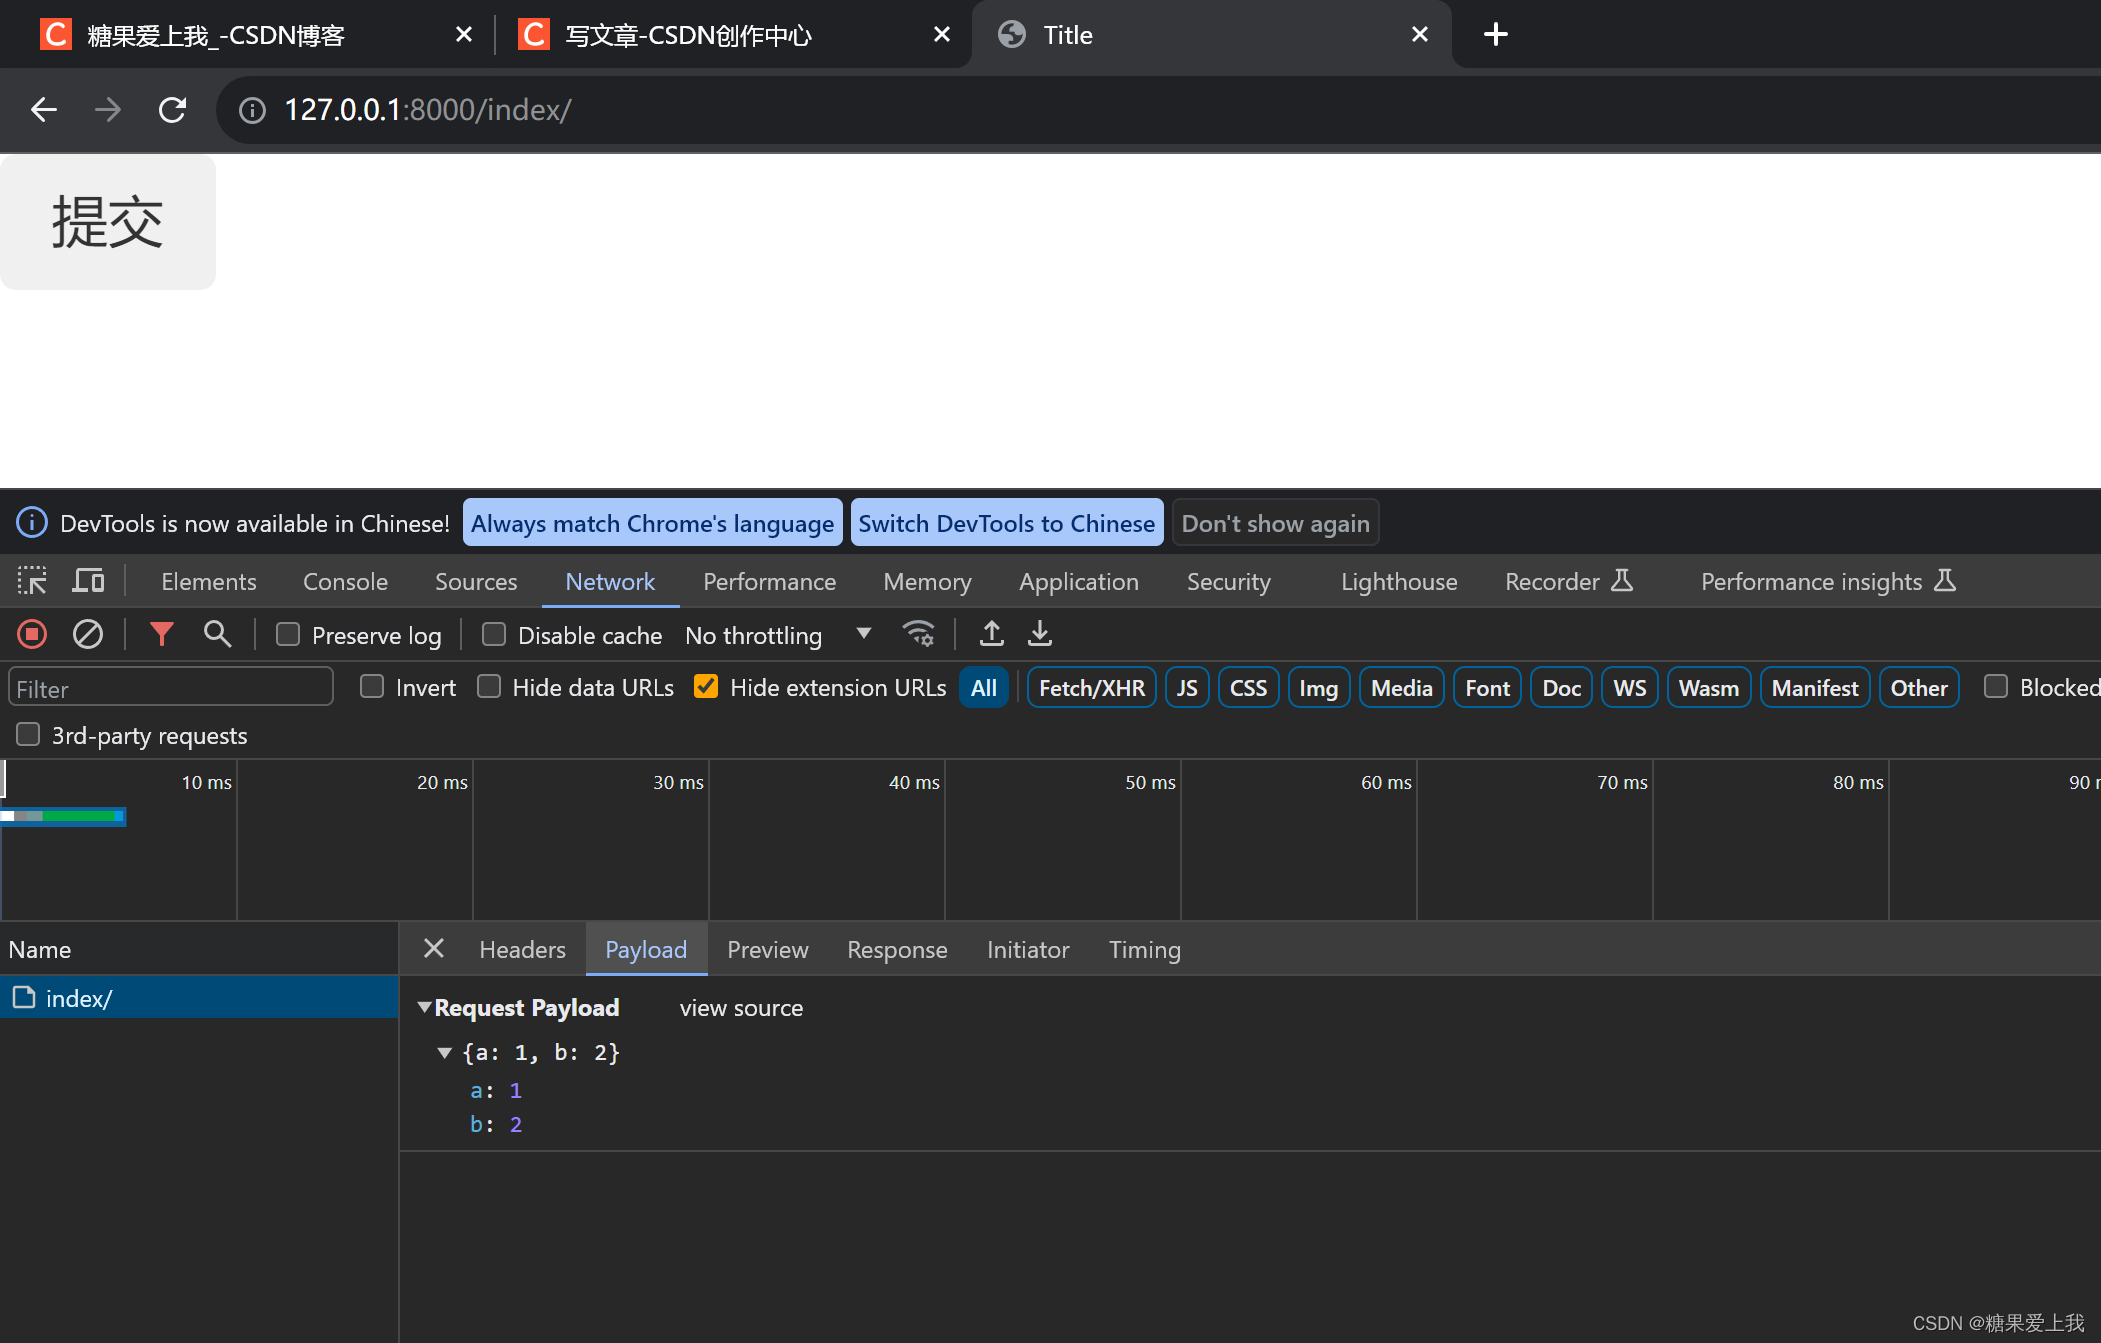
Ajax提交json格式的数据
views.py
def index(request):
    if request.method == 'POST':
        print(request.POST)    #<QueryDict: {}>
        print(request.body)    #b'{"a":1,"b":2}'
        json_bytes=request.body    # 接收浏览器发过来纯原生的数据,二进制,需要自己做封装
        # json_str=json_bytes.decode('utf-8')
        # print(json_str,type(json_str))   # {"a":1,"b":2} <class 'str'>
        import json
        # json_dict = json.loads(json_str)
        # print(json_dict,type(json_dict))    # {'a': 1, 'b': 2} <class 'dict'>
        json_dict = json.loads(json_bytes)
        print(json_dict,type(json_dict))      # {'a': 1, 'b': 2} <class 'dict'>
    return render(request,'index.html')
index.html <body> <button class="btn">提交</button> <script> $(".btn").click(function () { $.ajax({ url:'', type:'post', data:JSON.stringify({a:1,b:2}), //序列化 contentType:'application/json', //json格式的 success:function (res){ } }) }) </script> </body>前端提交到后端,后端json解码

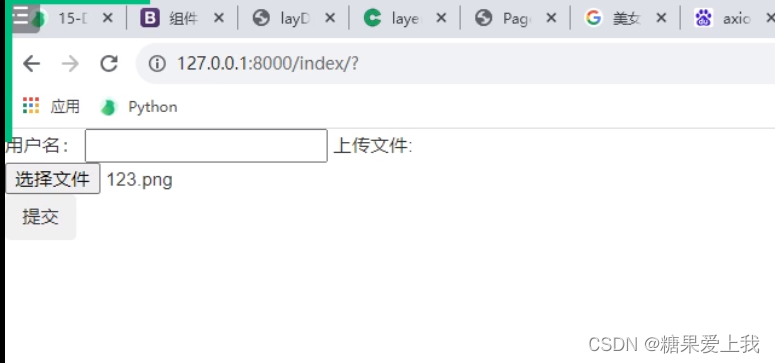
Ajax提交文件数据
index.html
<body>
<form action="">
    用户名: <input type="text" id="username">
    上传文件: <input type="file" id="myfile">
    <button class="btn">提交</button>
<script>
    $(".btn").click(function (ev) {
        console.log(123);
        // 要获取到文件数据,
        {#console.log($("#myfile")[0].files[0]) // C:\fakepath\123.png#}
        // 提交文件数据需要借助于formdata对象
        var myFormDataObj = new FormData;
        var username = $("#username").val();
        var myfile = $("#myfile")[0].files[0];
        myFormDataObj.append('username', username);
        myFormDataObj.append('myfile',myfile);

        $.ajax({
            url: '',
            type: 'post',
            {#data: JSON.stringify({a: 1, b: 2}), // 序列化的     "{"a":1, "b":2}"#}
            data: myFormDataObj, // 序列化的     "{"a":1, "b":2}"
            {#contentType: 'application/json', // json格式的#}
            contentType:false, // 告诉浏览器不要给我的编码格式做任何的处理
            processData: false, //
            success: function (res) {

            }
        })
    })
</script>
</body>
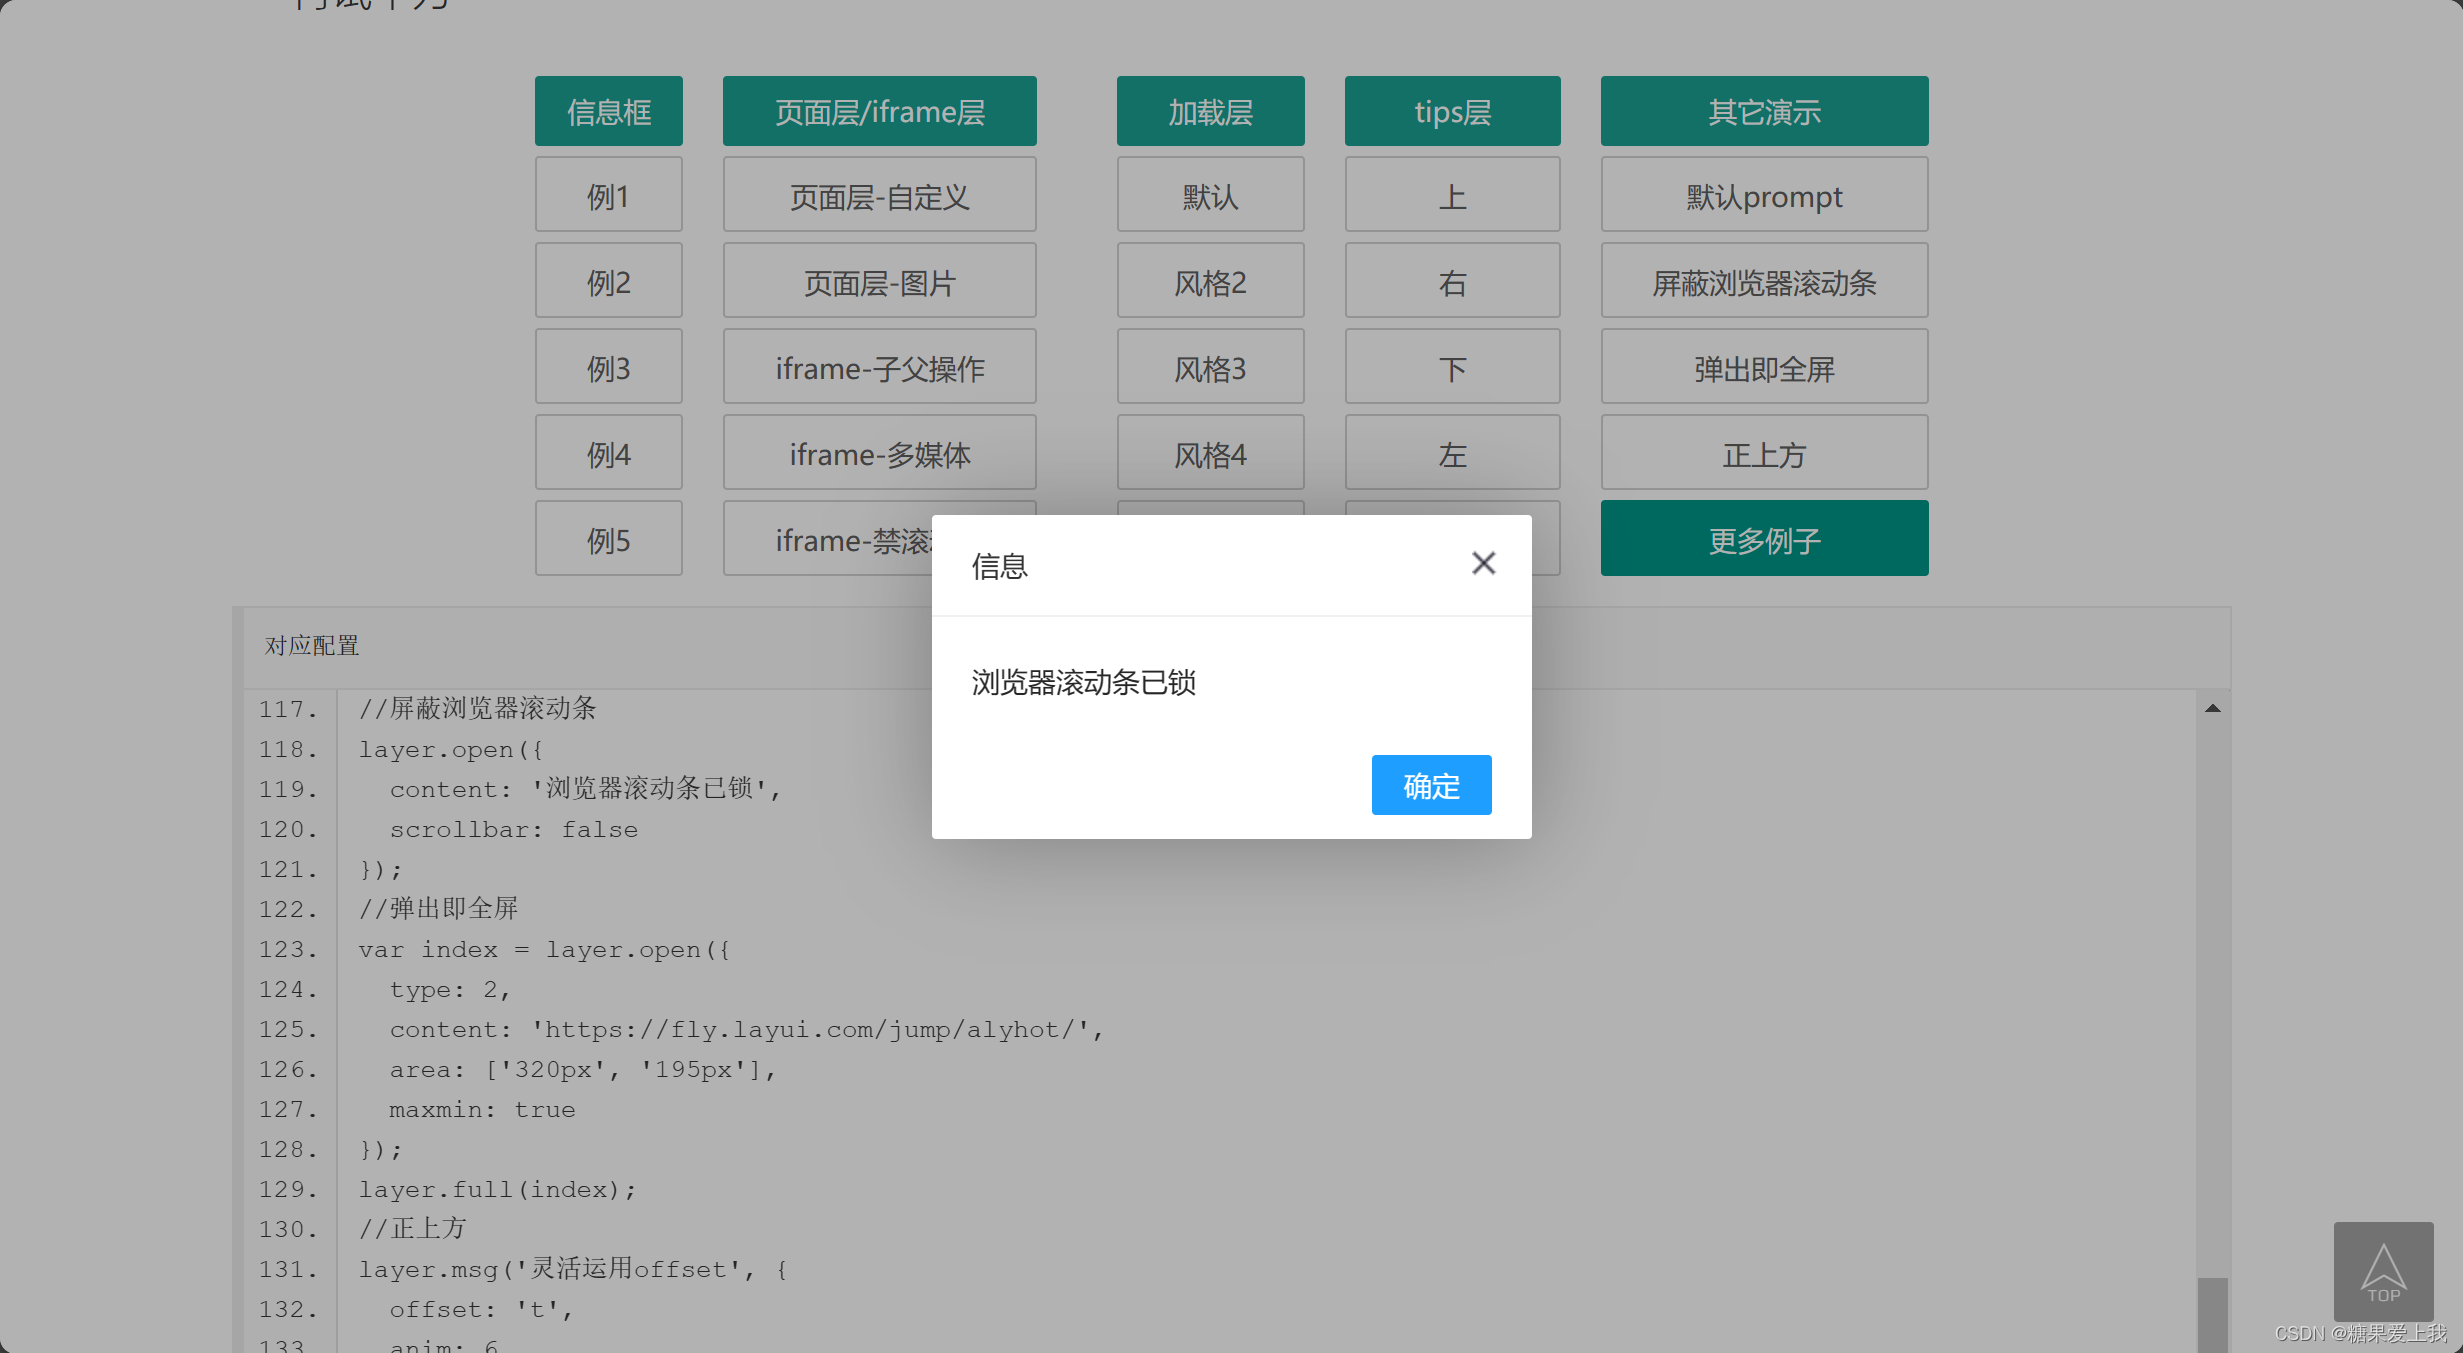
Ajax结合layer 弹出层组件
layer 弹出层组件 - jQuery 弹出层插件 (layuiweb.com)
批量插入数据
bulk_list = []
for i in range(10000):
    user_obj=models.UserInfo(username='kevin%s' %i)
    bulk_list.append(user_obj)
models.UserInfo.objects.bulk_create(bulk_list)
# 循环之后得到了一个列表,10000个对象
# 数据库的优化, 同样的功能,不同的sql执行的效率差距很大
# 优化查询速度的时候,首先想到的是,加索引、优化sql语句,有的sql走做引、有的sql不走索引
分页的原理及推导
当查询的数据太多的时候,一页展示不完,分页码展示
总数据 每页展示 总页数 100 10 10
101 10 11 99 10 10 怎么计算出来总页数: 总数据 / 每页展示 = 总页数 divmod
有余数+1
没有余数=商
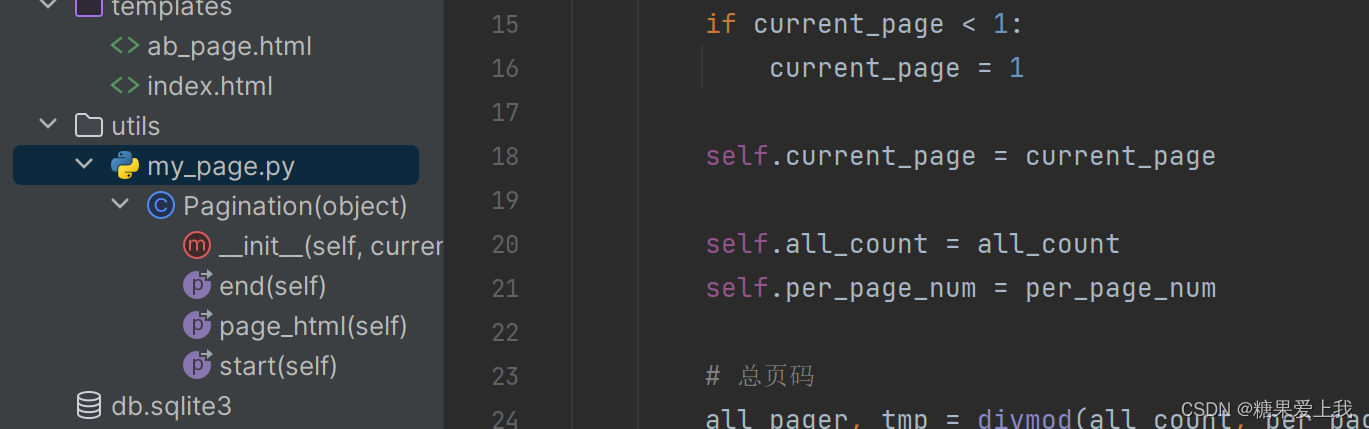
分页类
以后使用直接导入文件用就行,已经封装好,需配置路由和链接数据库使用
utils/my_page.py
class Pagination(object):
    def __init__(self, current_page, all_count, per_page_num=2, pager_count=11):
        """
        封装分页相关数据
        :param current_page: 当前页
        :param all_count:    数据库中的数据总条数
        :param per_page_num: 每页显示的数据条数
        :param pager_count:  最多显示的页码个数
        """
        try:
            current_page = int(current_page)
        except Exception as e:
            current_page = 1

        if current_page < 1:
            current_page = 1

        self.current_page = current_page

        self.all_count = all_count
        self.per_page_num = per_page_num

        # 总页码
        all_pager, tmp = divmod(all_count, per_page_num)
        if tmp:
            all_pager += 1
        self.all_pager = all_pager

        self.pager_count = pager_count
        self.pager_count_half = int((pager_count - 1) / 2)

    @property
    def start(self):
        return (self.current_page - 1) * self.per_page_num

    @property
    def end(self):
        return self.current_page * self.per_page_num

    @property
    def page_html(self):
        # 如果总页码 < 11个:
        if self.all_pager <= self.pager_count:
            pager_start = 1
            pager_end = self.all_pager + 1
        # 总页码  > 11
        else:
            # 当前页如果<=页面上最多显示11/2个页码
            if self.current_page <= self.pager_count_half:
                pager_start = 1
                pager_end = self.pager_count + 1

            # 当前页大于5
            else:
                # 页码翻到最后
                if (self.current_page + self.pager_count_half) > self.all_pager:
                    pager_end = self.all_pager + 1
                    pager_start = self.all_pager - self.pager_count + 1
                else:
                    pager_start = self.current_page - self.pager_count_half
                    pager_end = self.current_page + self.pager_count_half + 1

        page_html_list = []
        # 添加前面的nav和ul标签
        page_html_list.append('''
                    <nav aria-label='Page navigation>'
                    <ul class='pagination'>
                ''')
        first_page = '<li><a href="?page=%s">首页</a></li>' % (1)
        page_html_list.append(first_page)

        if self.current_page <= 1:
            prev_page = '<li class="disabled"><a href="#">上一页</a></li>'
        else:
            prev_page = '<li><a href="?page=%s">上一页</a></li>' % (self.current_page - 1,)

        page_html_list.append(prev_page)

        for i in range(pager_start, pager_end):
            if i == self.current_page:
                temp = '<li class="active"><a href="?page=%s">%s</a></li>' % (i, i,)
            else:
                temp = '<li><a href="?page=%s">%s</a></li>' % (i, i,)
            page_html_list.append(temp)

        if self.current_page >= self.all_pager:
            next_page = '<li class="disabled"><a href="#">下一页</a></li>'
        else:
            next_page = '<li><a href="?page=%s">下一页</a></li>' % (self.current_page + 1,)
        page_html_list.append(next_page)

        last_page = '<li><a href="?page=%s">尾页</a></li>' % (self.all_pager,)
        page_html_list.append(last_page)
        # 尾部添加标签
        page_html_list.append('''
                                           </nav>
                                           </ul>
                                       ''')
        return ''.join(page_html_list)
ab_page.html <body> {% for foo in userlist %} <p> {{ foo.username }} </p> {% endfor %} {{ html|safe }} </body>views.py from django.shortcuts import render from app01 import models def ab_page(request): from utils.my_page import Pagination try: current_page = int(request.GET.get('page')) except: current_page = 1 user_queryset = models.UserInfo.objects.all() all_count = user_queryset.count() page_obj = Pagination(current_page, all_count, per_page_num=10) userlist = user_queryset[page_obj.start:page_obj.end] html = page_obj.page_html return render(request, 'ab_page.html', locals()) """ per_page_num=10 current_page start_page end_page 1 0 10 2 10 20 3 20 30 start_page=(current_page - 1) * per_page_num end_page=current_page*per_page_num """


 被折叠的 条评论
为什么被折叠?
被折叠的 条评论
为什么被折叠?
 到【灌水乐园】发言


