


1.注明出处 http://tengj.top/2017/02/26/springboot1/
2.自动生成项目,推荐Spring Initializr,它从本质上来说就是一个Web应用程序,它能为你生成Spring Boot项目结构。访问地址 http://start.spring.io/
3.Spring Initializr有几种用法:
3.1 通过Web界面使用
3.1.1选择构建工具Maven Project、Spring Boot版本1.5.9以及一些工程基本信息,可参考下图所示
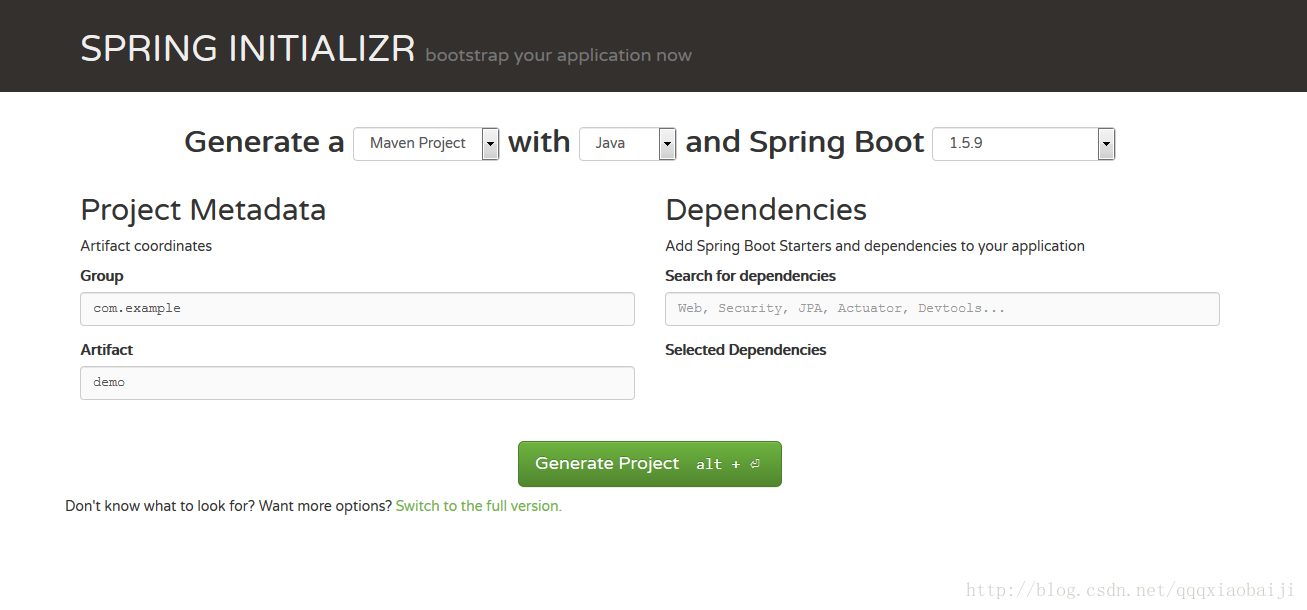
3.1.2点击Generate Project下载项目压缩包
3.1.3导入到你的工程,如果是IDEA,则需要:
    a.菜单中选择File–>New–>Project from Existing Sources...
    b.选择解压后的项目文件夹,点击OK
    c.点击Import project from external model并选择Maven,点击Next到底为止。
    d.若你的环境有多个版本的JDK,注意到选择Java SDK的时候请选择Java 7以上的版本
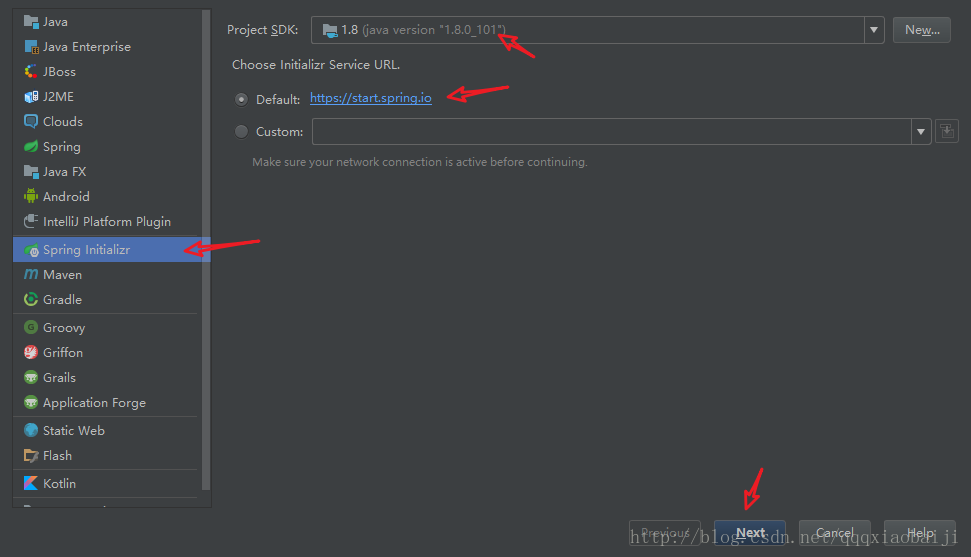
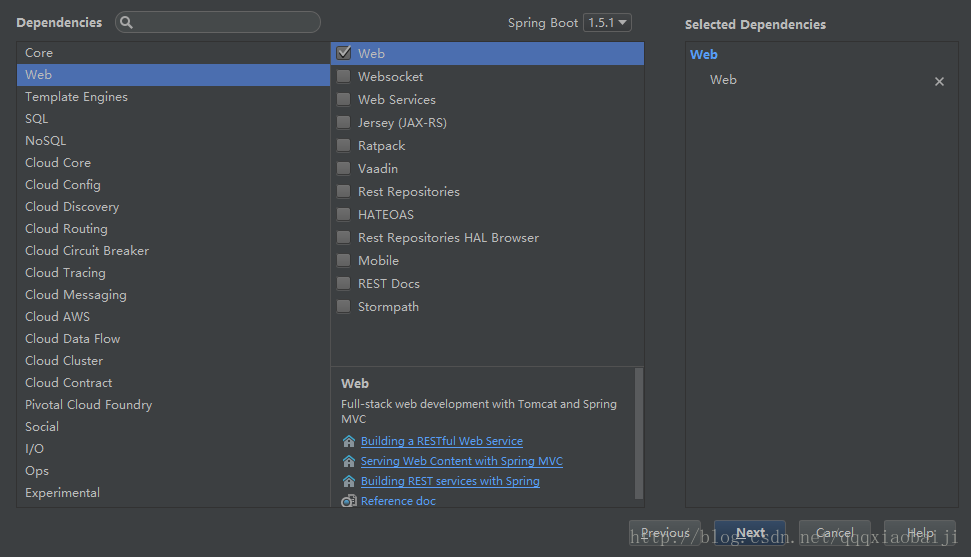
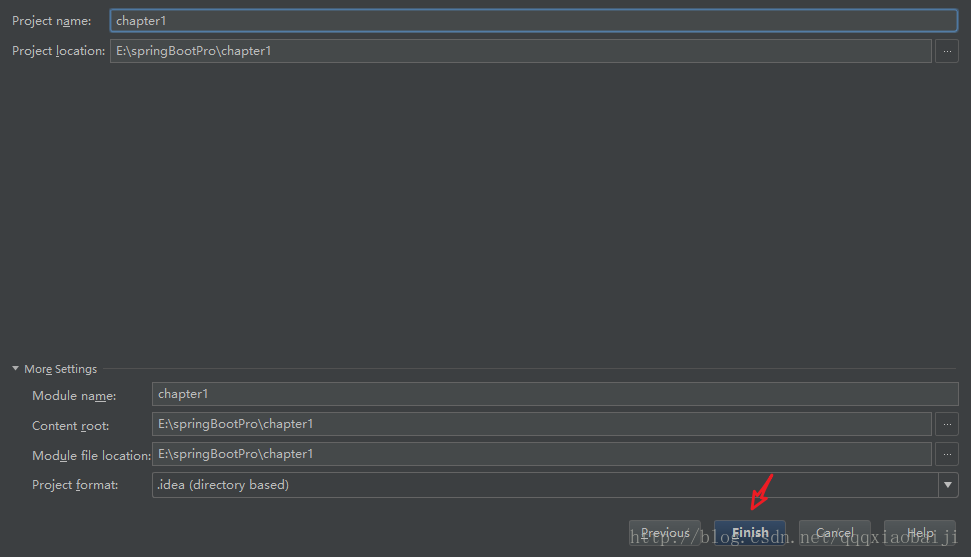
3.2通过IntelliJ IDEA使用(idea内部集成自动生成)
    3.2.1.在File菜单里面选择 New > Project,然后选择Spring Initializr,接着如下图一步步操作即可。

4.启动项目,编写程序入口类
package com.test;

import org.springframework.boot.SpringApplication;
import org.springframework.boot.autoconfigure.SpringBootApplication;
import org.springframework.web.bind.annotation.RequestMapping;
import org.springframework.web.bind.annotation.RestController;

@RestController
@SpringBootApplication
public class Chapter1Application {

    @RequestMapping("/")
    public String index(){
        return "Hello Spring Boot";
    }
    public static void main(String[] args) {
        SpringApplication.run(Chapter1Application.class, args);
    }
}运行该类,打开浏览器访问http://localhost:8080
5.使用springboot自带tomcat运行,运行jsp页面
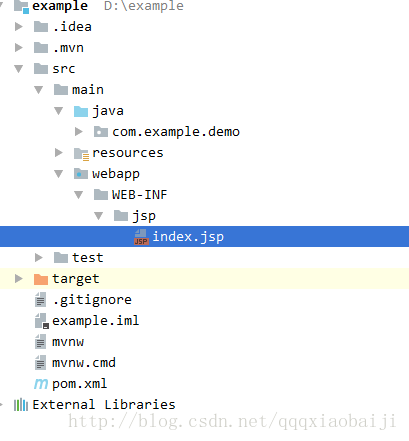
5.1新建webapp文件夹及WEB-INF文件夹jsp文件夹,webapp文件夹名固定
5.2pom.xml导入包
<!--WEB支持-->
<dependency>
    <groupId>org.springframework.boot</groupId>
    <artifactId>spring-boot-starter-web</artifactId>
</dependency>

<!--jsp页面使用jstl标签-->
<dependency>
    <groupId>javax.servlet</groupId>
    <artifactId>jstl</artifactId>
</dependency>

<!--用于编译jsp-->
<dependency>
    <groupId>org.apache.tomcat.embed</groupId>
    <artifactId>tomcat-embed-jasper</artifactId>
</dependency>
5.3 application.properties配置
spring.mvc.view.prefix: /WEB-INF/jsp/
spring.mvc.view.suffix: .jsp
5.4 编写一个访问类
@Controller
@RequestMapping("/learn")
public class LearnController {

    @RequestMapping("/index")
    public String index(){
        return "index";
    }
}
5.6 启动程序入口类,访问http://localhost:8080/learn/index
6.在外部tomcat上运行
6.1修改pom.xml

    a. 打包修改为war包
<packaging>war</packaging> b.移除内部tomcat的依赖
<dependency>
    <groupId>org.springframework.boot</groupId>
    <artifactId>spring-boot-starter-web</artifactId>
    <exclusions>
        <exclusion>
            <groupId>org.springframework.boot</groupId>
            <artifactId>spring-boot-starter-tomcat</artifactId>
        </exclusion>
    </exclusions>
</dependency>
c.修改scope必须是provided
<dependency>
    <groupId>org.apache.tomcat.embed</groupId>
    <artifactId>tomcat-embed-jasper</artifactId>
    <scope>provided</scope>
</dependency>
7.修改程序入口类
@SpringBootApplication
public class DemoApplication extends SpringBootServletInitializer {

    @Override
    protected SpringApplicationBuilder configure(
            SpringApplicationBuilder application) {
        return application.sources(DemoApplication.class);
    }


    public static void main(String[] args) {
        SpringApplication.run(DemoApplication.class, args);
    }
}
8.idea Edit Configuration配置,启动项目
9.另一种方法
9.1修改打包方式为war
9.2直接添加依赖
<dependency>
    <groupId>org.springframework.boot</groupId>
    <artifactId>spring-boot-starter-tomcat</artifactId>
    <scope>provided</scope>
</dependency>
9.3修改程序入口类
10. 启动项目


 6万+
6万+

 被折叠的 条评论
为什么被折叠?
被折叠的 条评论
为什么被折叠?
 到【灌水乐园】发言


