


友盟是中国最大的移动开发者服务平台,为移动开发者提供免费的应用统计分析、社交分享、消息推送、自动更新、在线参数、移动推广效果分析、微社区等app开发和运营解决方案。
如何快速集成友盟推送功能:
1. 注册友盟账号
友盟开发者账号的注册地址:http://www.umeng.com/users/sign_up
2. 创建推送应用
首先进入友盟消息推送的应用中心,创建一个应用,链接地址为:http://message.umeng.com/appList。
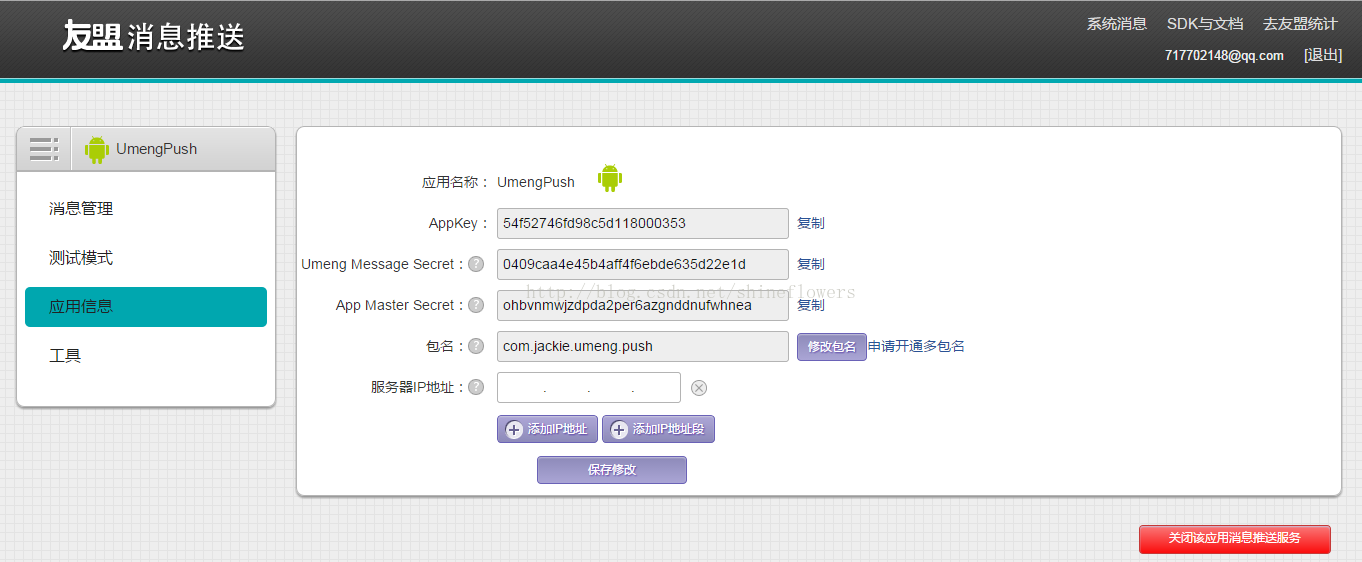
应用创建完成后,点击应用名称进入应用详情页面,进入“应用信息”页面,可以看到应用的AppKey和AppMasterSecret。
3. 下载Android SDK
友盟消息推送android SDK下载地址:
http://dev.umeng.com/push/ios/sdk-download
4. 集成开发
参考http://dev.umeng.com/push/android/integration进行集成开发。
4.1 导入SDK所需的jar包
导入jar包的过程中,如果是ADT 17或者以上的版本,只需要将com.umeng.message.lib.jar直接复制到项目的libs下面,这样做之后,ADT能自动找到所有在libs文件夹下的JAR包,把他们加到工程的依赖路径中,并直接显示在Android Dependecies分类下。
切记,右键Properties -> Java Build Path -> Libraries,然后点击Add External JARs... 选择指向jar的路径,点击OK,这种方式导入后,会出现异常,具体原因请参考http://blog.csdn.net/luckily01/article/details/8566956
4.2 配置AndroidManifest.xml,添加相应的权限

4.3 添加组件
在application标签下,注意将[应用包名]换成自己的应用的包名:
<receiver
    android:name="com.umeng.message.NotificationProxyBroadcastReceiver"
    android:exported="false" >
</receiver>
<receiver android:name="com.umeng.message.RegistrationReceiver" >
    <intent-filter>
        <action android:name="android.net.conn.CONNECTIVITY_CHANGE" />
    </intent-filter>
    <intent-filter>
        <action android:name="android.intent.action.PACKAGE_REMOVED" />

        <data android:scheme="package" />
    </intent-filter>


    <intent-filter>
        <action android:name="android.intent.action.BOOT_COMPLETED" />
    </intent-filter>

</receiver>
<receiver android:name="com.umeng.message.UmengBroadcastReceiver" >
    <intent-filter>
        <action android:name="org.agoo.android.intent.action.RECEIVE" />
    </intent-filter>
    <intent-filter>
        <action android:name="【应用包名】.intent.action.COMMAND" />
    </intent-filter>
    <intent-filter>
        <action android:name="org.agoo.android.intent.action.RE_ELECTION_V2" />
    </intent-filter>
</receiver>
<receiver android:name="com.umeng.message.BootBroadcastReceiver" >
    <intent-filter>
       <action android:name="android.intent.action.BOOT_COMPLETED" />
   </intent-filter>
</receiver>
可以根据需要自行设置 android:label 中的服务名 :
<service
android:name="com.umeng.message.UmengService"
android:label="PushService"
android:exported="true"
android:process=":pushService_v1" > <intent-filter>
<action android:name="【应用包名】.intent.action.START" />
</intent-filter>
<intent-filter>
<action android:name="【应用包名】.intent.action.COCKROACH" />
</intent-filter>
<intent-filter>
<action android:name="org.agoo.android.intent.action.PING" />
</intent-filter>
</service>
<service
android:name="org.android.agoo.service.ElectionService"
android:exported="true"
android:process=":pushService_v1" >
<intent-filter>
<action android:name="org.agoo.android.intent.action.ELECTION_V2" />
</intent-filter>
</service>
<service android:name="com.umeng.message.UmengIntentService" />
<!-- V1.3.0添加的service,负责下载通知的资源 -->
<service android:name="com.umeng.message.UmengDownloadResourceService" />4.4 添加AppKey和Umeng Message Secret
在<application>标签下:
<meta-data
    android:name="UMENG_APPKEY"
    android:value="你的APPKEY" >
</meta-data>
<meta-data
    android:name="UMENG_MESSAGE_SECRET"
    android:value="你的Umeng Message Secret" >
</meta-data>
5. 添加代码,编译测试
5.1 在应用的主Activity onCreate() 函数中开启推送服务
PushAgent mPushAgent = PushAgent.getInstance(context);
mPushAgent.enable();
5.2 获取设备的Device Token(可选)
如果在测试或其他使用场景中,需要获取设备的Device Token,可以使用下面的方法。
String device_token = UmengRegistrar.getRegistrationId(context)5.3 添加测试设备说明
- Device Token为友盟生成的用于标识设备的id,长度为44位,不能定制和修改。同一台设备上每个应用对应的Device Token不一样。
- 获取Device Token的代码需要放在
mPushAgent.enable();后面,注册成功以后调用才能获得Device Token。- 如果返回值为空, 说明设备还没有注册成功, 需要等待几秒钟,同时请确保测试手机网络畅通。
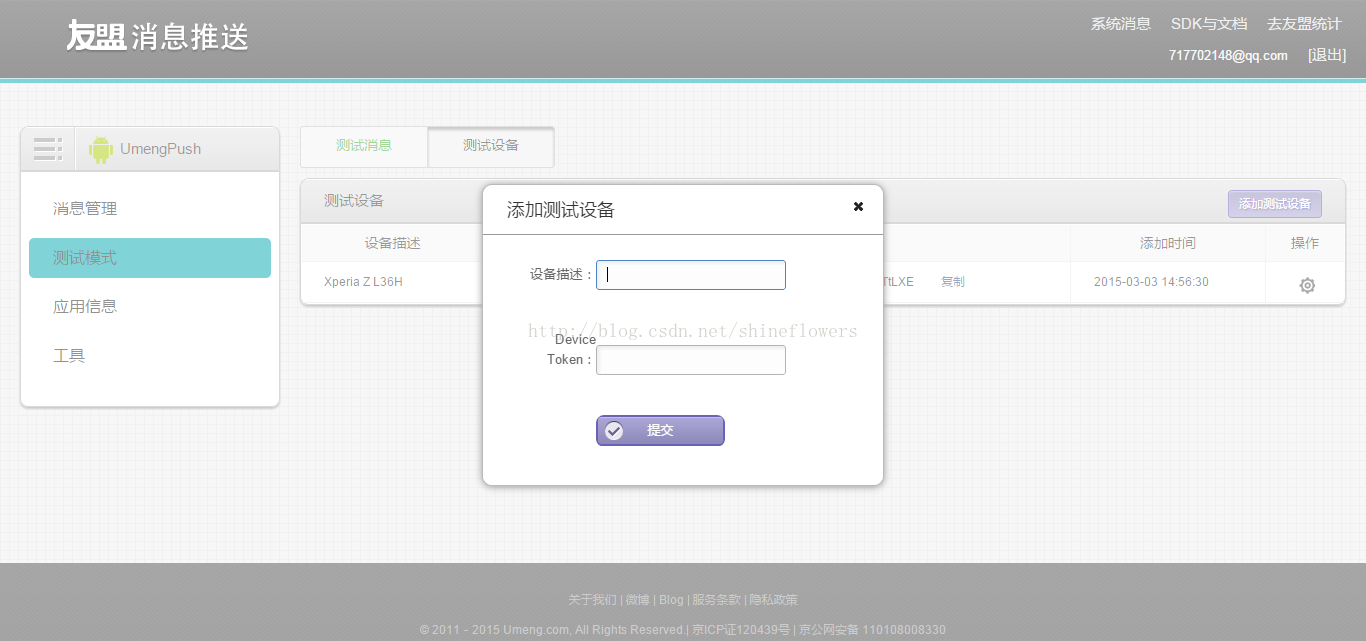
Device Token可以通过5.2的步骤获取
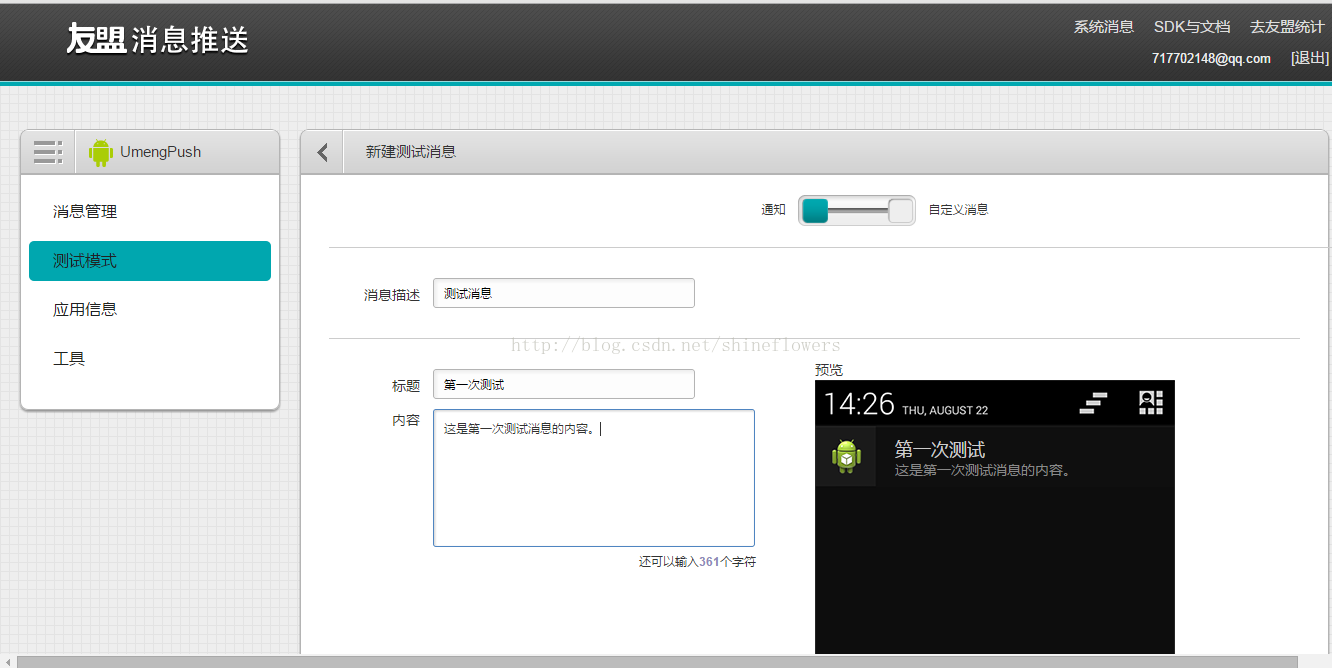
5.4 发送测试消息
在测试消息下新建测试消息:
确保测试设备网络畅通后,消息推送成功:
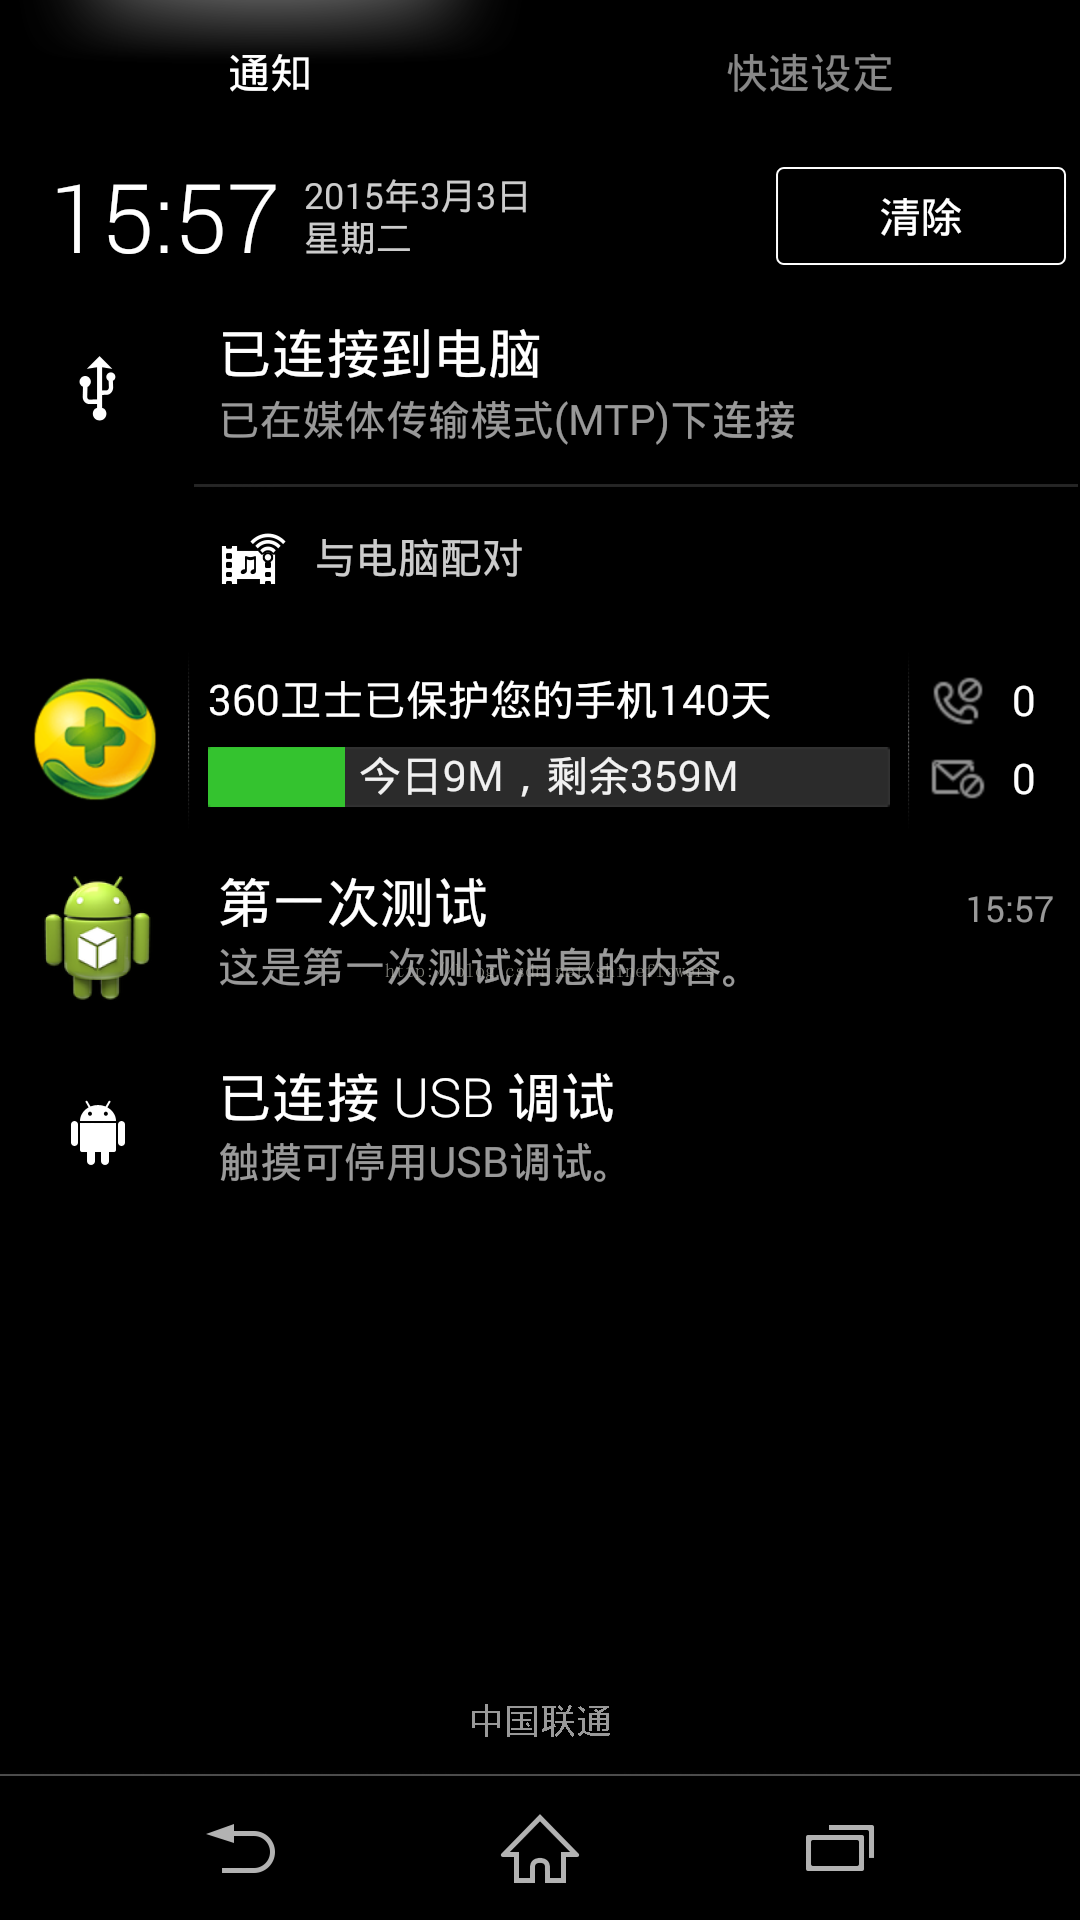
测试成功!


 1262
1262


 被折叠的 条评论
为什么被折叠?
被折叠的 条评论
为什么被折叠?
 到【灌水乐园】发言


