


A 安装Vim
sudo apt-get install vimB 在用户主目录创建bundle文件夹
mkdir -p ~/.vim/bundleC 安装Vundle
git clone https://github.com/gmarik/vundle.git ~/.vim/bundle/vundle D 创建或编辑用户目录下的.vimrc文件,添加如下内容:
    set nocompatible
    set rtp+=~/.vim/bundle/vundle/
    call vundle#rc()

    " let Vundle manage Vundle
    " required!
    Bundle 'gmarik/vundle'

    " The bundles you install will be listed here
    Bundle 'scrooloose/nerdtree'
    Bundle 'davidhalter/jedi-vim'

    filetype plugin indent on

    " The rest of your config follows here.

    augroup vimrc_autocmds
    autocmd!
    " highlight characters past column 120
    autocmd FileType python highlight Excess ctermbg=DarkGrey guibg=Black
    autocmd FileType python match Excess /\%120v.*/
    autocmd FileType python set nowrap
    augroup END

    " NerdTree Shortcut.
    map <f2> :NERDTreeToggle<cr>

    " automatically change window’s cwd to file’s dir
    set autochdir
    autocmd vimenter * NERDTree  " 当打开vim时就显示NERDTree 可以通过F2来打开或关闭它

    " Prefer spaces to tabs
    set tabstop=4
    set shiftwidth=4
    set expandtab
    set nu!
E 打开vim,键入命令“:BundleInstall”,等待自动安装插件完成(下面显示“done”)
F 使用方法
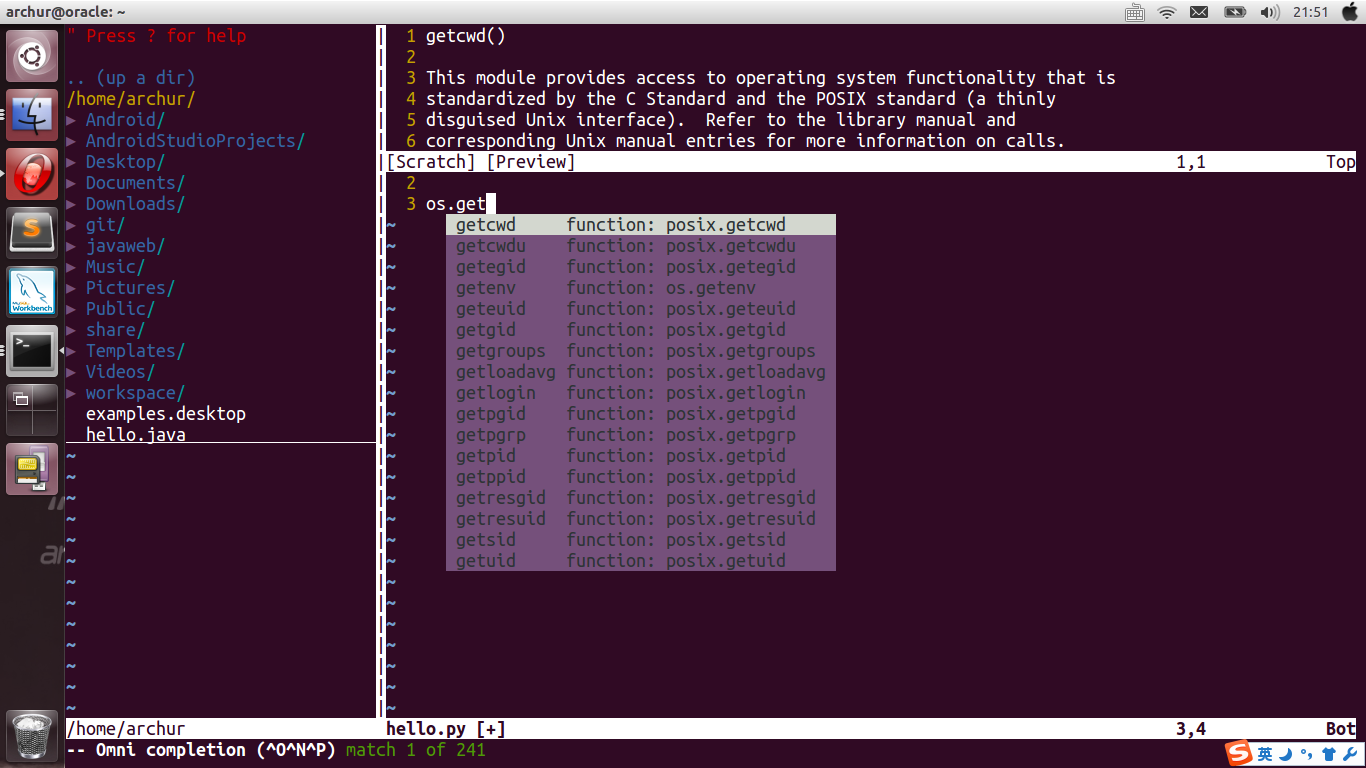
例如: vim hello.py
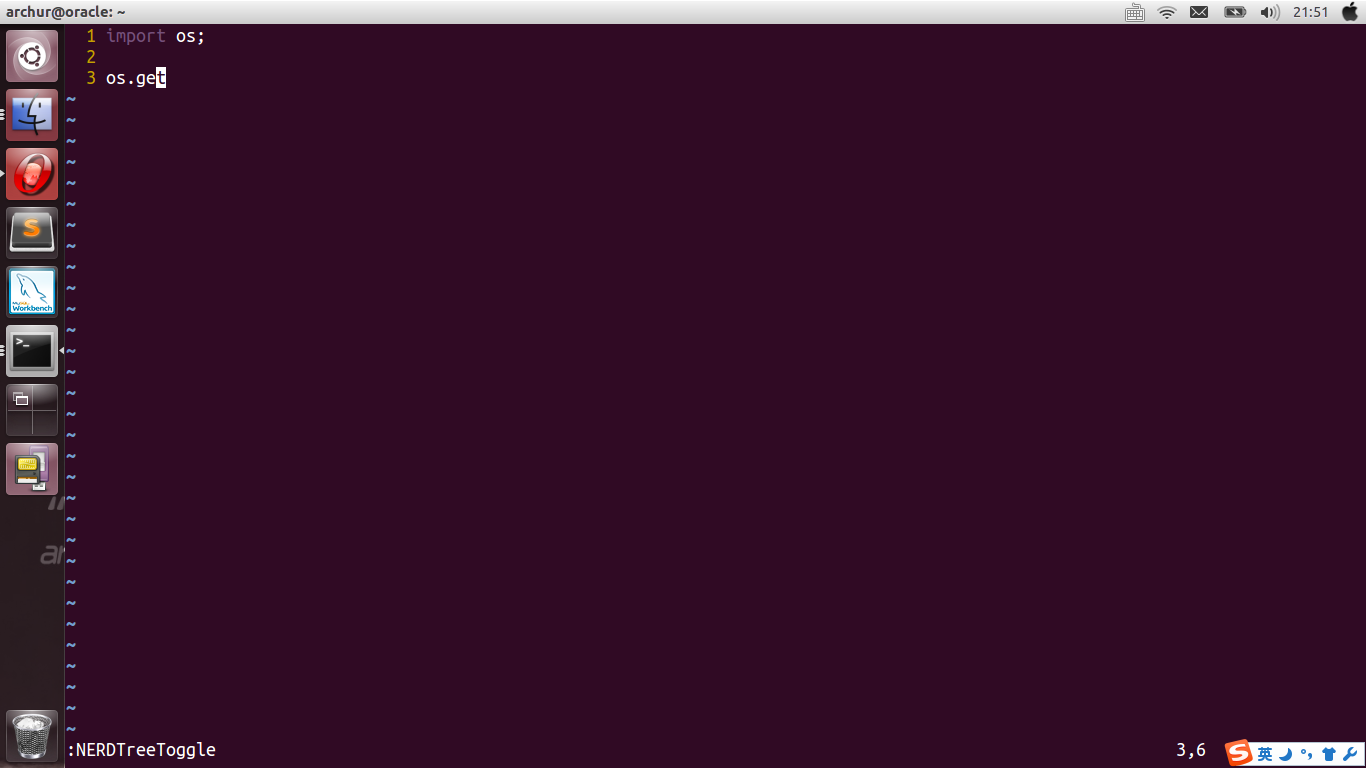
当按下F2时就可以关掉NERDTree(如果你屏幕小的话),如下:


 5649
5649

 被折叠的 条评论
为什么被折叠?
被折叠的 条评论
为什么被折叠?
 到【灌水乐园】发言


