


这里的定义View是创建全新的View
下面有2个实例
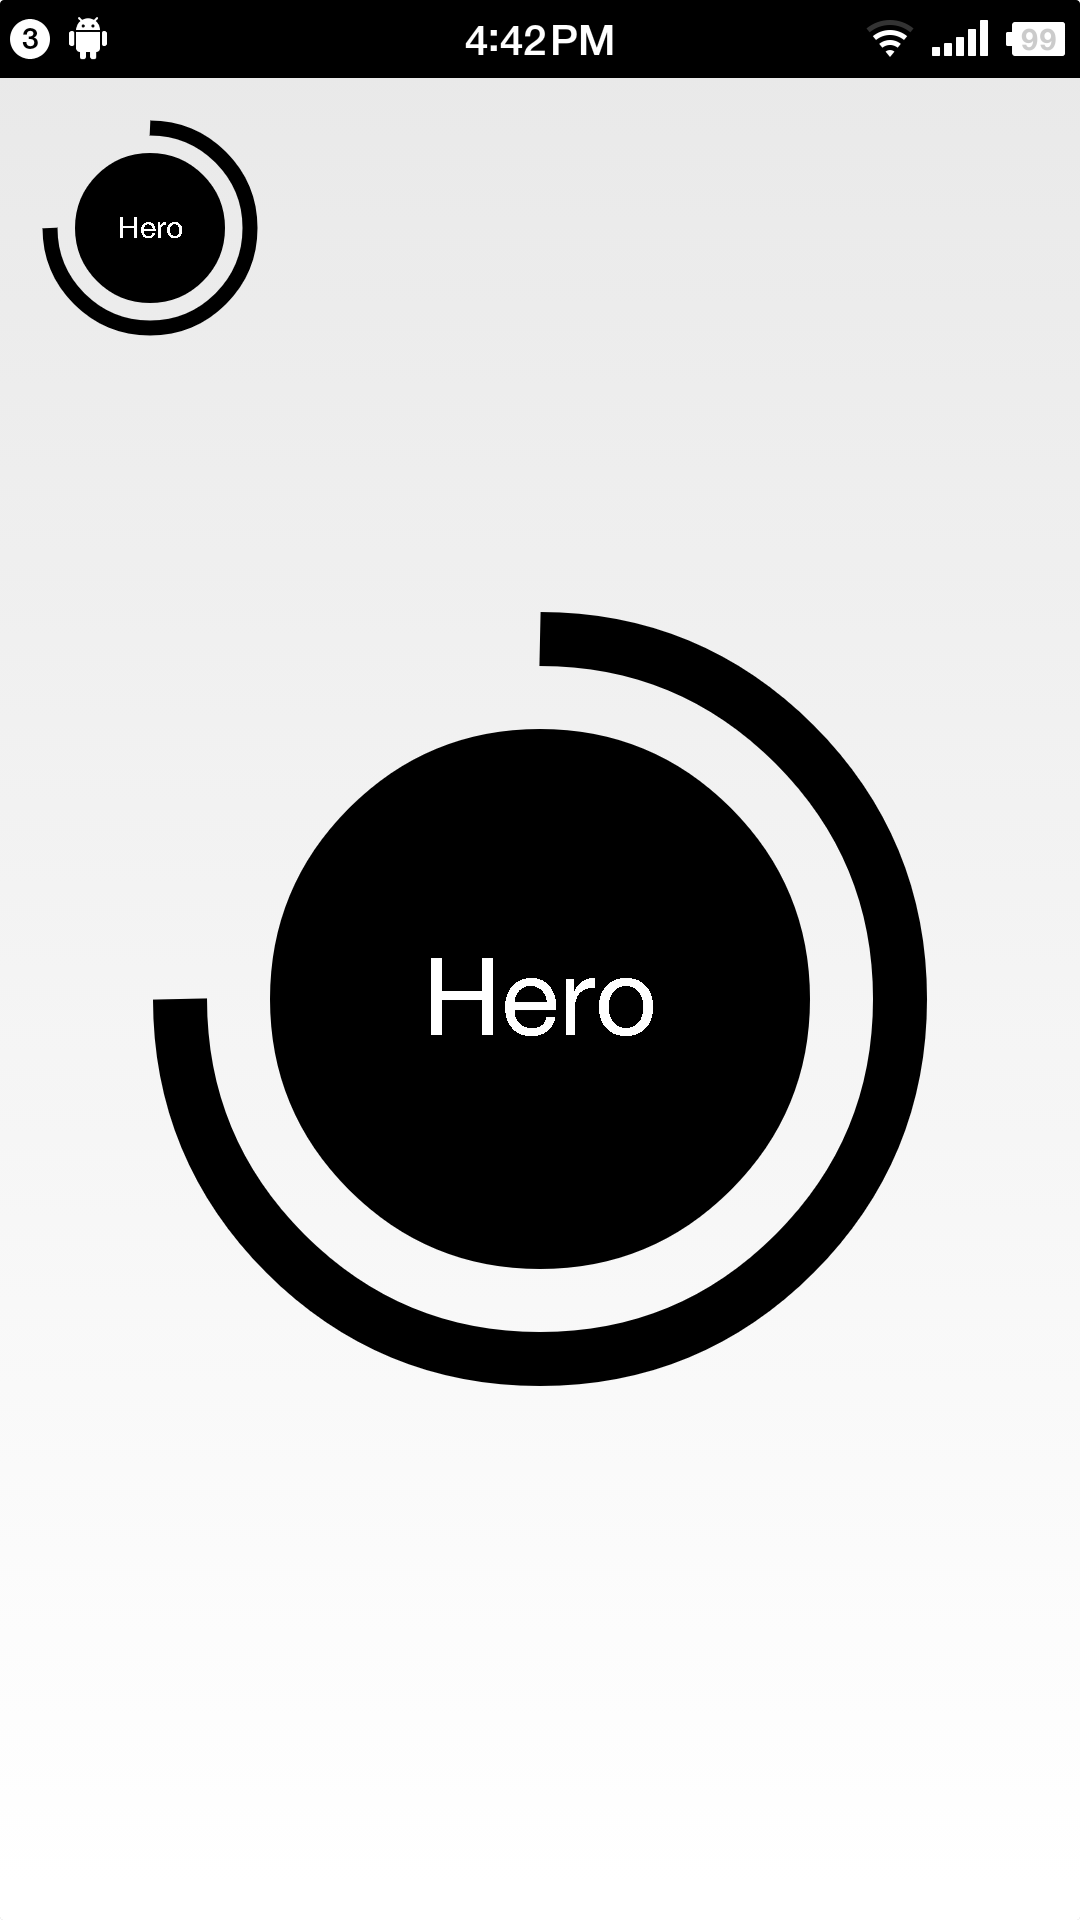
1.带弧形的
(1)重写onMeasure(),获得View的长和高
(2)根据获得的长和高来画图
1.ArcView.java
package com.example.day0113.ui.view;

import android.R.color;
import android.annotation.SuppressLint;
import android.content.Context;
import android.graphics.Canvas;
import android.graphics.Color;
import android.graphics.Paint;
import android.graphics.Paint.FontMetrics;
import android.graphics.Paint.Style;
import android.graphics.RectF;
import android.util.AttributeSet;
import android.util.Log;
import android.view.View;

public class ArcView extends View{

    private Paint paint;
    private Paint whitePaint;
    private Paint arcPaint;
    private int width;
    private int height;
    private float x;//中心点x
    private float y;//中心点y
    private float radius;
    private float fontHeight;//文字的高度
    private RectF mrectf;
    private float arcRadius;
    private int mTextSize;
    private int mArcWidth;
    public ArcView(Context context, AttributeSet attrs) {
        super(context, attrs);

//      width = getResources().getDisplayMetrics().widthPixels;
//      height = getResources().getDisplayMetrics().heightPixels;
    }


    private void init() {
        x = width/2;
        y = height/2;
        radius = width/4;
        arcRadius = width/3;
        mTextSize = width/10;
        mArcWidth = width/20;

        paint = new Paint();
        paint.setColor(Color.BLACK);
        paint.setStyle(Style.FILL);
        paint.setAntiAlias(true);//设置抗锯齿
        whitePaint = new Paint();
        whitePaint.setColor(Color.WHITE);
        whitePaint.setStyle(Style.FILL);
        whitePaint.setTextSize(mTextSize);
        whitePaint.setTextAlign(Paint.Align.CENTER);//让Text水平居中
        FontMetrics fontMetrics = whitePaint.getFontMetrics();
        // 计算文字高度
        fontHeight = fontMetrics.bottom - fontMetrics.top; //用来让Text垂直居中

        arcPaint = new Paint();
        arcPaint.setColor(Color.BLACK);
        arcPaint.setStyle(Style.STROKE);//设置空心
        arcPaint.setStrokeWidth(mArcWidth);//设置画笔的粗细
        arcPaint.setAntiAlias(true);//设置抗锯齿
        mrectf = new RectF((float)(x-arcRadius), (float)(y-arcRadius), (float)(x+arcRadius), (float)(y+arcRadius));
    }

    @Override
    protected void onMeasure(int widthMeasureSpec, int heightMeasureSpec) {
        super.onMeasure(widthMeasureSpec, heightMeasureSpec);
        width = measureWidth(widthMeasureSpec);//得到View的宽
        height = measureHight(heightMeasureSpec);//得到View的高
        setMeasuredDimension(width,height);

        init();//初始化
    }

    private int measureWidth(int widthMeasureSpec) {
        int result = 0;
        int specMode = MeasureSpec.getMode(widthMeasureSpec);
        int specSize = MeasureSpec.getSize(widthMeasureSpec);
        if (specMode == MeasureSpec.EXACTLY) {
            result = specSize;
        } else {
            result = 200;
            if (specMode == MeasureSpec.AT_MOST) {
                result = Math.min(result, specSize);
            }
        }
        return result;
    }

    private int measureHight(int heightMeasureSpec) {
        int result = 0;
        int specMode = MeasureSpec.getMode(heightMeasureSpec);
        int specSize = MeasureSpec.getSize(heightMeasureSpec);
        if (specMode == MeasureSpec.EXACTLY) {
            result = specSize;
        } else {
            result = 200;
            if (specMode == MeasureSpec.AT_MOST) {
                result = Math.min(result, specSize);
            }
        }
        return result;
    }
    @Override
    protected void onDraw(Canvas canvas) {
        super.onDraw(canvas);

        //画圆
        canvas.drawCircle(x, y, radius, paint);
        //画字
        canvas.drawText("Hero", x, y+(fontHeight/4), whitePaint);
        //画弧线
        canvas.drawArc(mrectf, 270, 270, false, arcPaint);
        //canvas.drawArc(外接矩阵, 开始的角度, 弧线的范围,360为圆, 弧线有无连线, 画笔);
    }

}
xml
<FrameLayout
    android:layout_width="fill_parent"
    android:layout_height="fill_parent"
    xmlns:android="http://schemas.android.com/apk/res/android">


    <com.example.day0113.ui.view.ArcView
        android:layout_width="match_parent"
        android:layout_height="match_parent"
        />
    <com.example.day0113.ui.view.ArcView
        android:layout_width="100dp"
        android:layout_height="100dp"
        />

</FrameLayout>
效果:
2.模拟音频条形图
AudioView.java
package com.example.day0113.ui.view;

import android.content.Context;
import android.graphics.Canvas;
import android.graphics.Color;
import android.graphics.LinearGradient;
import android.graphics.Paint;
import android.graphics.Shader;
import android.util.AttributeSet;
import android.util.Log;
import android.view.View;

public class AudioView extends View{

    private int width;
    private int height;
    private int rectCount = 10;
    private Paint paint;
    private int offset;
    private int rectWidth;

    public AudioView(Context context, AttributeSet attrs) {
        super(context, attrs);
        // TODO Auto-generated constructor stub
    }

    @Override
    protected void onDraw(Canvas canvas) {
        super.onDraw(canvas);
        //画矩形
        for (int i=0;i<rectCount;i++) {
            canvas.drawRect((float)(width*0.1+rectWidth*i+offset), (float)getRectHight(), (float)(width*0.1+rectWidth*(i+1)), (float)height, paint);
        }

        postInvalidateDelayed(300);//300毫秒刷新
    }


    private double getRectHight() {
        double h = 0;
        h = Math.random()*height;
        return h;
    }

    private void init() {
        paint = new Paint();
        paint.setColor(Color.YELLOW);
        rectWidth = width/15;
        offset = width/30;
    }

    @Override
    protected void onMeasure(int widthMeasureSpec, int heightMeasureSpec) {
        // TODO Auto-generated method stub
        super.onMeasure(widthMeasureSpec, heightMeasureSpec);
        width = measureWidth(widthMeasureSpec);//得到View的宽
        height = measureHight(heightMeasureSpec);//得到View的高
        setMeasuredDimension(width,height);
        init();//初始化
    }

    private int measureWidth(int widthMeasureSpec) {
        int result = 0;
        int specMode = MeasureSpec.getMode(widthMeasureSpec);
        int specSize = MeasureSpec.getSize(widthMeasureSpec);
        if (specMode == MeasureSpec.EXACTLY) {
            result = specSize;
        } else {
            result = 200;
            if (specMode == MeasureSpec.AT_MOST) {
                result = Math.min(result, specSize);
            }
        }
        return result;
    }

    private int measureHight(int heightMeasureSpec) {
        int result = 0;
        int specMode = MeasureSpec.getMode(heightMeasureSpec);
        int specSize = MeasureSpec.getSize(heightMeasureSpec);
        if (specMode == MeasureSpec.EXACTLY) {
            result = specSize;
        } else {
            result = 200;
            if (specMode == MeasureSpec.AT_MOST) {
                result = Math.min(result, specSize);
            }
        }
        return result;
    }

}
xml
<FrameLayout
    android:layout_width="fill_parent"
    android:layout_height="fill_parent"
    xmlns:android="http://schemas.android.com/apk/res/android">


    <com.example.day0113.ui.view.AudioView
        android:layout_width="match_parent"
        android:layout_height="match_parent"
        />
    <com.example.day0113.ui.view.AudioView
        android:layout_width="100dp"
        android:layout_height="100dp"
        />

</FrameLayout>
效果
2016/2/19更新
如何自定义控件?
1.自定义属性的声明与获取
2.测量onMeasure
3.布局onLayout(ViewGroup)
4.绘制onDraw
5.onTouchEvent
6.onInterceptTouchTvent(ViewGroup)
测量onMeasure
1.EXACTLY, AT_MOST, UNSPECIFIED//exactly是精确,比如30dp,at_most是大致,一般用于warp_content,指最大不能超过父控件传下来的值(MeasureSpec.getSize(heightMeasureSpec)),unspecified是没有限制,要多大就多大,一般用于listview,scrollview
2.MeasureSpec //辅助类 ,得到模式和值
3.setMeasuredDimension//设置自身宽高
4.requestLayout()//会调用onMeasure和布局,但不调用onDraw
布局onLayout(ViewGroup)
1.决定子View的位置
2.尽可能将onMeasure中一些操作移动到此方法中
3.requestLayout()
绘制onDraw
1.绘制内容区域
2.invaildate()
3.Canvas.drawXXX
4.translate,rotate,scale,skew
5.save(),restore()
onTouchEvent
1.ACTION_DOWN,ACTION_MOVE,ACTION_UP
2.ACTION_POINTER_DOWN,ACTION_POINTER_UP
3.parent.requestDisallow-interceptTouchEvent(true);//告诉父控件不要拦截子控件的触发事件
4.VelocityTracker
onInterceptTouchEvent(ViewGroup)
1.ACTION_DOWN,ACTION_MOVE,ACTION_UP
2.ACTION_POINTER_DOWN,ACTION_POINTER_UP
3.决定是否拦截该手势//这就是为什么listview可以滚动,尽管item可能有触发事件,但是会被拦截(在MOVE事件里做判断)


 7267
7267

 被折叠的 条评论
为什么被折叠?
被折叠的 条评论
为什么被折叠?
 到【灌水乐园】发言


