


基于Spring实现WebSerivces远程调用.底层基于soap传输协议,wsdl对象描述规范
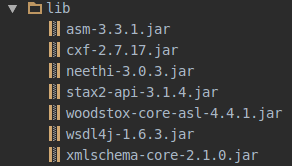
依赖的jar包, cxf版本:apache-cxf-2.7.17
1.配置: applicationContext.xml
<?xml version="1.0" encoding="UTF-8"?>
<beans xmlns="http://www.springframework.org/schema/beans"
    xmlns:xsi="http://www.w3.org/2001/XMLSchema-instance"
    xmlns:jaxws="http://cxf.apache.org/jaxws"
    xsi:schemaLocation="
http://www.springframework.org/schema/beans http://www.springframework.org/schema/beans/spring-beans.xsd
http://cxf.apache.org/jaxws http://cxf.apache.org/schemas/jaxws.xsd">

    <!-- 导入CXF框架的spring 注入文件-->
    <import resource="classpath:META-INF/cxf/cxf.xml" />
    <import resource="classpath:META-INF/cxf/cxf-servlet.xml" />

    <!-- 发布服务 -->
    <jaxws:endpoint implementor="com.ysdit.dtx.service.AdminInfoServiceImpl"
        address="/InfoPort" />

</beans>
2.创建接口:IAdminInfoService.java
import com.ysdit.dtx.entity.User;

import javax.jws.WebService;

@WebService
public interface IAdminInfoService {
    User getPwd();
}
3.创建实现类:AdminInfoServiceImpl.java
import com.ysdit.dtx.entity.User;

import javax.jws.WebService;

@WebService(endpointInterface = "com.ysdit.dtx.service.IAdminInfoService")
public class AdminInfoServiceImpl implements IAdminInfoService {
    @Override
    public User getPwd() {

        return new User();
    }
}
4.配置:web.xml
<?xml version="1.0" encoding="UTF-8"?>
<web-app xmlns:xsi="http://www.w3.org/2001/XMLSchema-instance" xmlns="http://java.sun.com/xml/ns/javaee" xsi:schemaLocation="http://java.sun.com/xml/ns/javaee http://java.sun.com/xml/ns/javaee/web-app_3_0.xsd" version="3.0">
  <display-name>cxf-server</display-name>
  <listener>
    <listener-class>org.springframework.web.context.ContextLoaderListener</listener-class>
  </listener>
  <context-param>
    <param-name>contextConfigLocation</param-name>
    <param-value>classpath:applicationContext.xml</param-value>
  </context-param>

  <servlet>
        <servlet-name>cxf</servlet-name>
        <servlet-class>org.apache.cxf.transport.servlet.CXFServlet</servlet-class>
        <load-on-startup>1</load-on-startup>
    </servlet>

    <servlet-mapping>
        <servlet-name>cxf</servlet-name>
        <url-pattern>/services/*</url-pattern>
    </servlet-mapping>
</web-app>配置Tomcat或其它容器启动即可.我的访问路径:https://www.dtxzw.com/services/InfoPort?wsdl
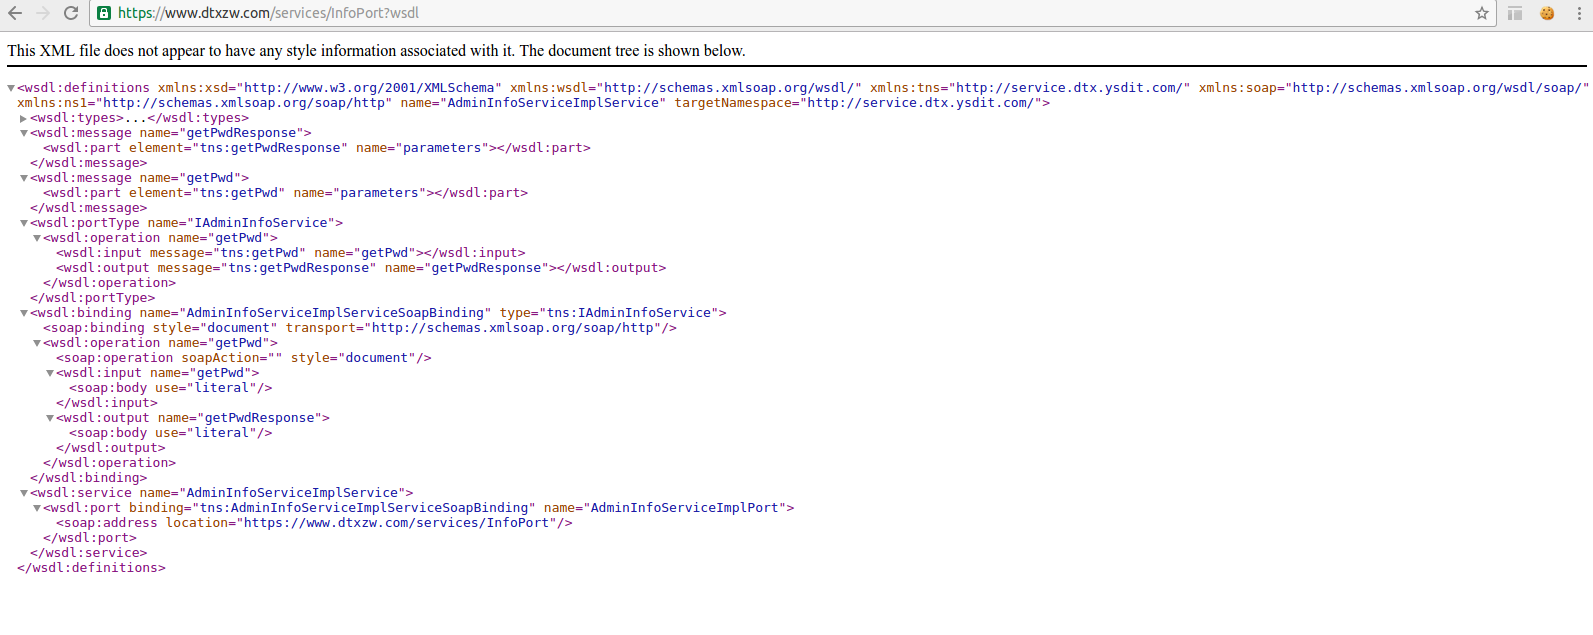
看到这个,表示服务端配置成功.
但是有了这个,我们如何访问呢.我们可以利用cxf框架自带的命令给我生成能够解析这段xml语言的js文件,实现访问.
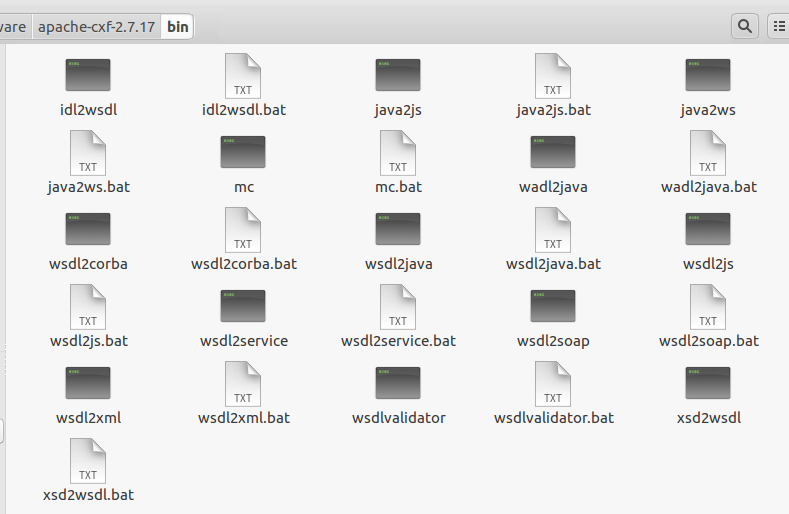
我们用到这个 wsdl2js
wsdl2js http://localhost:8080/cxf-server/services/weatherPort?wsdl
会在当前目录生成js文件,才页面中引用这个文件即可
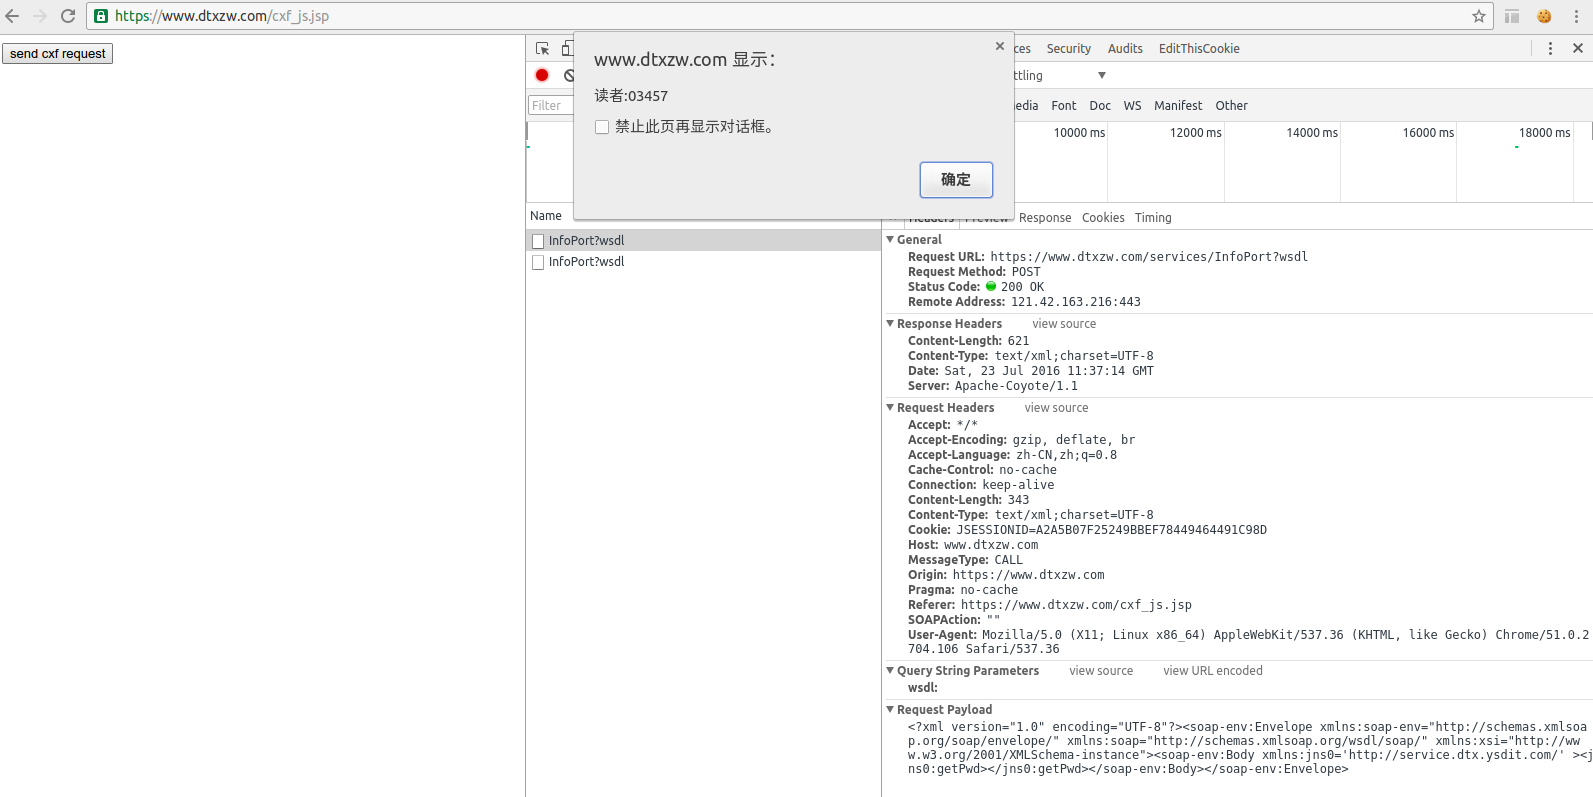
js调用页面:cxf_js.jsp
<%@ page language="java" import="java.util.*" pageEncoding="utf-8"%>
<%
    String path = request.getContextPath();
    String basePath = request.getScheme() + "://"
            + request.getServerName() + ":" + request.getServerPort()
            + path + "/";
%>

<!DOCTYPE HTML PUBLIC "-//W3C//DTD HTML 4.01 Transitional//EN">
<html>
<head>
<base href="<%=basePath%>">

<title>My JSP 'cxf_js.jsp' starting page</title>

<meta http-equiv="pragma" content="no-cache">
<meta http-equiv="cache-control" content="no-cache">
<meta http-equiv="expires" content="0">
<script src="<%=basePath%>services/InfoPort?js"></script>
<script>
    function getInfo() {
        if(confirm('确定send吗?')){
            var wt = new service_dtx_ysdit_com__IAdminInfoService();
            wt.url = "<%=basePath%>services/InfoPort?wsdl";
            wt.getPwd(function(client) {
                alert(client._return._nickname);
            }, function(error) {
                alert(error);
            });
        }
    }
</script>
</head>

<body>
    <input type="button" value="send cxf request" onclick="getInfo()"  />
</body>
</html>
这里访问的是对象额.
完毕
百度云盘分享:http://pan.baidu.com/s/1i4Sr03N(cxf下载),http://pan.baidu.com/s/1jIjQuKA(示例下载)


 203
203

 被折叠的 条评论
为什么被折叠?
被折叠的 条评论
为什么被折叠?
 到【灌水乐园】发言


