


今天的主题
为 iOS 编译 FFmpeg3.1.1版本, 并且导入 xcode 工程.
环境
1.Mac OS X 10.11.5
2.xcode7.3.1
3.Homebrew 0.9.9
4.FFmpeg3.1.1
安装 Homebrew
可以自行到其官网参考安装说明.
安装 FFmpeg 需要的编译和依赖
brew install automake fdk-aac git lame libass libtool libvorbis libvpx \ opus sdl shtool texi2html theora wget x264 xvid yasm
下载并执行编译脚本
下载脚本:gas-preprocessor
将下载后的文件 gas-preprocessor.pl 复制到 /usr/local/bin 下.
打开终端, 执行
1. cd /usr/local/bin
2. chmod 777 gas-preprocessor.pl解压到你认为合适的磁盘位置即可.
打开终端, 执行
1. chmod +x build-ffmpeg.sh
2. ./build-ffmpeg.sh 开始下载 FFmpeg3.1.1版本的源码, 然后开始编译.
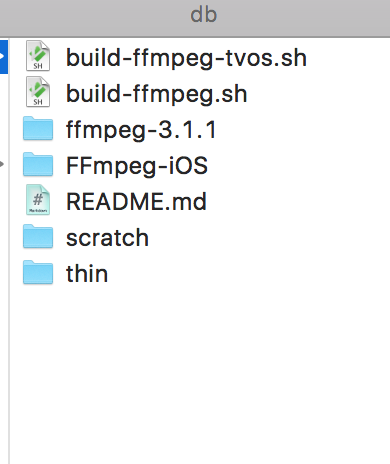
编译成功后, 会生成FFmpeg-iOS目录.
将 FFmpeg-iOS 加入 xcode 工程
我的 xcode 工程目录结构如下
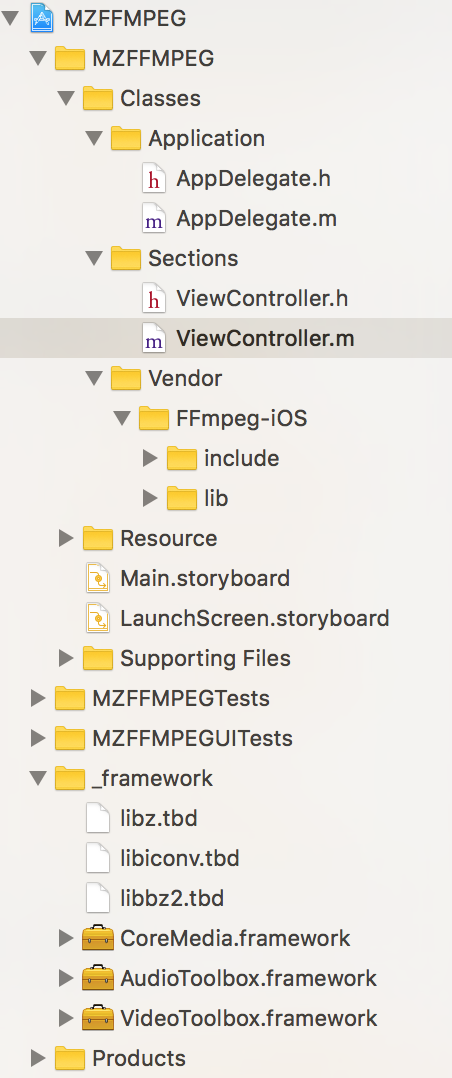
设置工程的 Header search path

添加 framework 和 tbd.
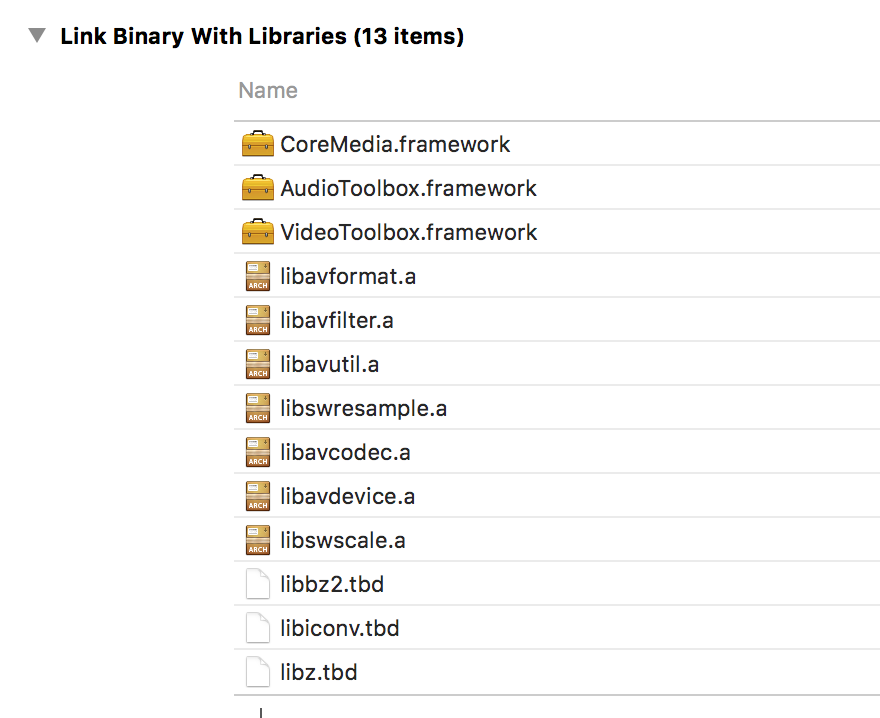
检查一下自己是否和我添加的一样.
修改ViewController 代码
#import "ViewController.h"

#include "avcodec.h"
#include "avutil.h"

@interface ViewController ()

@property (strong, nonatomic) IBOutlet UILabel *lbVersion;

@property (strong, nonatomic) IBOutlet UIImageView *ffmpegImg;

@end

@implementation ViewController

- (void)viewDidLoad
{
    [super viewDidLoad];

    avcodec_register_all();

    // 获取 ffmpeg 版本号
    const char *version = av_version_info();
    NSLog(@"version: %s", version);

    self.lbVersion.text = [NSString stringWithFormat:@"FFmpeg Version:%@",
                           [NSString stringWithUTF8String:version]];
}

@end
运行效果

工程可以下载.


 1484
1484

 被折叠的 条评论
为什么被折叠?
被折叠的 条评论
为什么被折叠?
 到【灌水乐园】发言


