


我们先来看看Eclipse提供的属性页
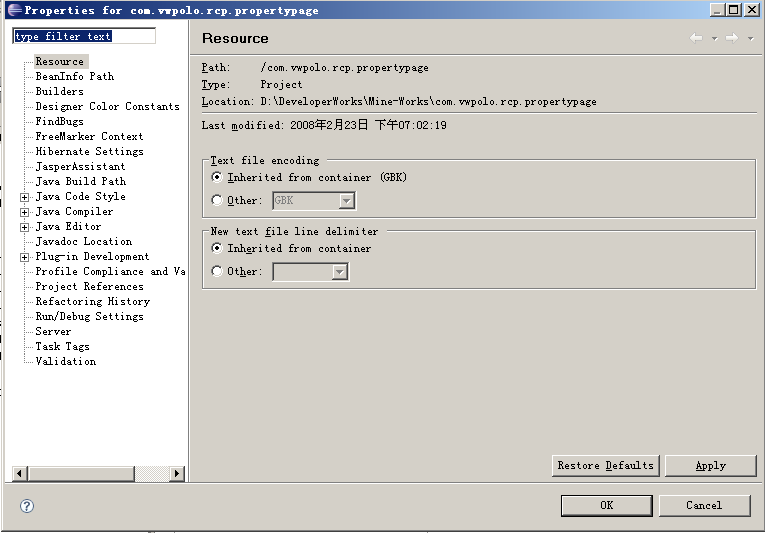
通过这个属性页我们可以更详细的了解一些属性的详细内容,而且可以将这些展示的界面集中起来,统一管理,非常方便,而且可以让界面的风格可以统一
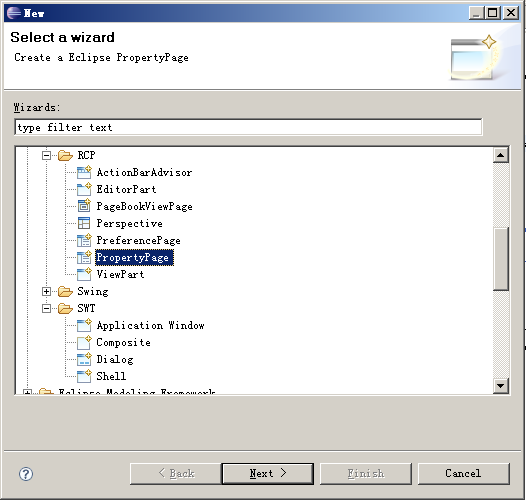
我们新建一个RCP工程,名称为com.vwpolo.rcp.propertypage,然后在新建一个 PropertyPage 类,
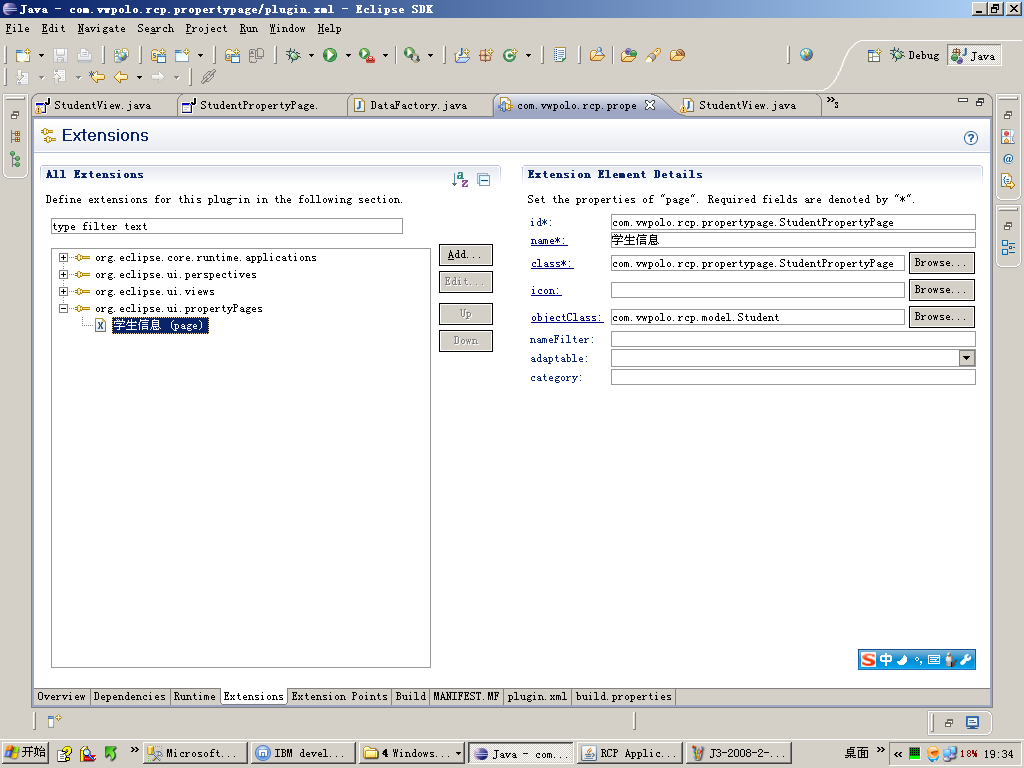
打开这个项目的plugin.xml文件,切换到 Extensions 选项卡,添加org.eclipse.ui.propertyPage 扩展点,添加属性页,具体信息如下图所示
我们来看下对应plugin.xml文件中的代码
point ="org.eclipse.ui.propertyPages" >
< page
class ="com.vwpolo.rcp.propertypage.StudentPropertyPage"
id ="com.vwpolo.rcp.propertypage.StudentPropertyPage"
name ="学生信息"
objectClass ="com.vwpolo.rcp.model.Student" >
</ page >
</ extension >
这里指定的属性页类为 " com.vwpolo.rcp.propertypage.StudentPropertyPage " ,属性页ID为" com.vwpolo.rcp.propertypage.StudentPropertyPage ",属性页的名称为 "学生信息",这里的 objectClass 这个属性是指定适配的对象,也就是说当传入数据是 objectClass 指定的类或及子类时,这个属性页才可能会弹出,反之则不弹出属性页,
我们通过以下代码调用属性页打开Action
过程非常简单,有兴趣的话可以自己试试,对了,在这里说明一下,如果不想显示默认和应用按钮可以在构造方法中调用 noDefaultAndApplyButton 方法
menuItem.addSelectionListener( new SelectionAdapter() {
@SuppressWarnings( " deprecation " )
public void widgetSelected(SelectionEvent e) {
PropertyDialogAction action = new PropertyDialogAction(getSite().getShell(), tableViewer);
action.run();
}
});
menuItem.setText( " 属性 " );
通过这样我们就可以打开属性页
我们还要在 StudentPropertyPage.java 这个类处理显示属性页之前的操作,我们这里在显示属性页之前将出入的对象填充到属性页的文本框中去,下面是这个属性页的完整源代码
import org.eclipse.swt.SWT;
import org.eclipse.swt.layout.GridData;
import org.eclipse.swt.layout.GridLayout;
import org.eclipse.swt.widgets.Composite;
import org.eclipse.swt.widgets.Control;
import org.eclipse.swt.widgets.Label;
import org.eclipse.swt.widgets.Text;
import org.eclipse.ui.dialogs.PropertyPage;
import com.vwpolo.rcp.model.Student;
public class StudentPropertyPage extends PropertyPage {
private Text sexText;
private Text addressText;
private Text ageText;
private Text nameText;
private Text idText;
/**
* Create the property page
*/
public StudentPropertyPage() {
super ();
setDescription( " 学生详细信息 " );
setTitle( " 学生属性 " );
noDefaultAndApplyButton();
}
/**
* Create contents of the property page
* @param parent
*/
@Override
public Control createContents(Composite parent) {
Composite container = new Composite(parent, SWT.NULL);
final GridLayout gridLayout = new GridLayout();
gridLayout.numColumns = 4 ;
container.setLayout(gridLayout);
final Label label = new Label(container, SWT.NONE);
label.setText( " 学号 " );
idText = new Text(container, SWT.BORDER);
final GridData gd_idText = new GridData(SWT.FILL, SWT.CENTER, true , false );
idText.setLayoutData(gd_idText);
final Label label_1 = new Label(container, SWT.NONE);
label_1.setText( " 姓名 " );
nameText = new Text(container, SWT.BORDER);
final GridData gd_nameText = new GridData(SWT.FILL, SWT.CENTER, true , false );
nameText.setLayoutData(gd_nameText);
final Label label_2 = new Label(container, SWT.NONE);
label_2.setText( " 年龄 " );
ageText = new Text(container, SWT.BORDER);
final GridData gd_ageText = new GridData(SWT.FILL, SWT.CENTER, true , false );
ageText.setLayoutData(gd_ageText);
final Label label_3 = new Label(container, SWT.NONE);
label_3.setText( " 性别 " );
sexText = new Text(container, SWT.BORDER);
final GridData gd_sexText = new GridData(SWT.FILL, SWT.CENTER, true , false );
sexText.setLayoutData(gd_sexText);
final Label label_4 = new Label(container, SWT.NONE);
label_4.setText( " 家庭地址 " );
addressText = new Text(container, SWT.BORDER);
final GridData gd_addressText = new GridData(SWT.FILL, SWT.CENTER, true , false , 3 , 1 );
addressText.setLayoutData(gd_addressText);
new Label(container, SWT.NONE);
new Label(container, SWT.NONE);
//
updateStudentText();
return container;
}
/**
* <p>更新/填充学生信息。</p>
* @author 刘尧兴
*/
private void updateStudentText() {
Student student = ((Student)getElement().getAdapter(Student. class ));
if (student == null )
return ;
idText.setText(student.getId());
nameText.setText(student.getName());
ageText.setText(student.getAge() + "" );
sexText.setText(student.getSex());
addressText.setText(student.getAddress());
}
}
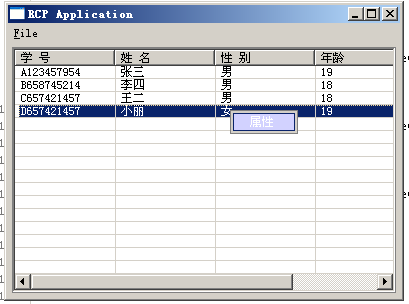
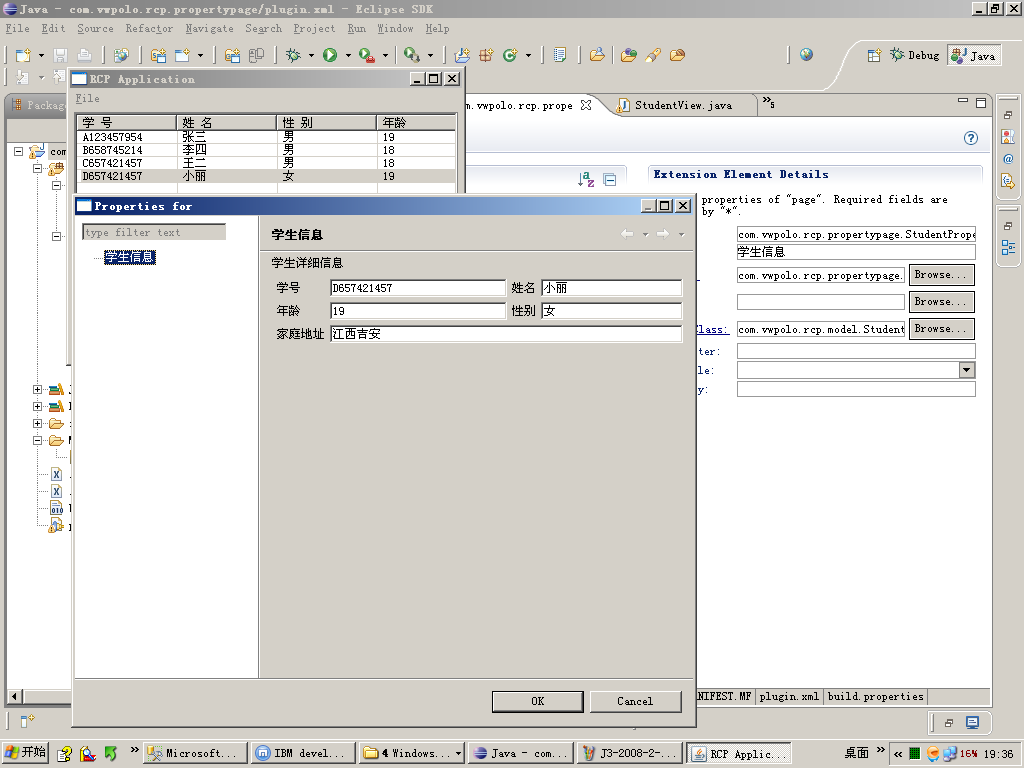
我们通过 Student student = ((Student)getElement().getAdapter(Student. class ));
这段代码取得数据提供者,通过适配一个Student对象,得到传入到属性页中的对象,然后就填充相应的属性了,下面看最终的效果


 2276
2276

 被折叠的 条评论
为什么被折叠?
被折叠的 条评论
为什么被折叠?
 到【灌水乐园】发言


