


一、Django简介
- Django是python中目前风靡的Web Framework, 那么什么叫做Framework呢, 框架能够帮助你把程序的整体架构搭建好, 而我们所需要做的工作就是填写逻辑, 而框架能够在合适的时候调用你写的逻辑, 而不需要我们自己去调用逻辑, 让Web开发变的更敏捷.
- Django是一个高级Python Web框架, 鼓励快速,简洁, 以程序设计的思想进行开发. 通过使用这个框架, 可以减少很多开发麻烦,
使你更专注于编写自己的app, 而不需要重复造轮子. Django免费并且开源. - Django特点:
完全免费并开源源代码、快速高效开发、使用MTV架构(熟悉Web开发的应该会说是MVC架构) 强大的可扩展性.

- 用户在浏览器中输入URL后的回车, 浏览器会对URL进行检查, 首先判断协议,如果是http就按照 Web 来处理, 然互调用DNS查询, 将域名转换为IP地址, 然后经过网络传输到达对应Web服务器, 服务器对url进行解析后, 调用View中的逻辑(MTV中的V), 其中又涉及到Model(MTV中的M), 与数据库的进行交互, 将数据发到Template(MTV中的T)进行渲染, 然后发送到浏览器中, 浏览器以合适的方式呈现给用户
- 备注:上面内容摘自极客学院Django简介:http://wiki.jikexueyuan.com/project/django-set-up-blog/introduction.html
二、安装Django
- 安装Django,它是Python Web应用程序框架。
[1]  安装一些软件包    .
# install from EPEL
[root@linuxprobe ~]# yum --enablerepo=epel -y install python-virtualenv

[2]  在Virtualenv环境下安装Django,它可以为任何普通用户,这里使用root,建议使用普通用户。
[root@linuxprobe ~]$ virtualenv venv
[root@linuxprobe ~]$ cd ~/venv
[root@linuxprobe venv]$ source bin/activate
(venv)[root@linuxprobe venv]$ pip install django
Downloading/unpacking django
  Downloading Django-1.10.2.tar.gz (7.7MB): 7.7MB downloaded
  Running setup.py egg_info for package django

    no previously-included directories found matching 'django/contrib/admin/bin'
    warning: no previously-included files matching '__pycache__' found anywhere in distribution
Installing collected packages: django
  Running setup.py install for django

    no previously-included directories found matching 'django/contrib/admin/bin'
    warning: no previously-included files matching '__pycache__' found anywhere in distribution
    changing mode of build/scripts-2.7/django-admin.py from 644 to 755
    changing mode of /root/venv/bin/django-admin.py to 755
    Installing django-admin script to /root/venv/bin
Successfully installed django
Cleaning up...
# 上面的警告不是问题
(venv)[root@linuxprobe venv]# django-admin --version
1.10.2
# 退出virtualenv
(venv)[root@linuxprobe venv]# deactivate
[3] 创建测试项目
[root@linuxprobe ~]$ cd ~/venv
[root@linuxprobe venv]$ source bin/activate
# create "testproject"
(venv)[root@linuxprobe venv]$ django-admin startproject testproject
(venv)[root@linuxprobe venv]$ cd testproject
# configure database (default is SQLite)
(venv)[root@linuxprobe testproject]$ python manage.py migrate
Operations to perform:
Apply all migrations: admin, auth, contenttypes, sessions
Running migrations:
Applying contenttypes.0001_initial... OK
Applying auth.0001_initial... OK
Applying admin.0001_initial... OK
Applying admin.0002_logentry_remove_auto_add... OK
Applying contenttypes.0002_remove_content_type_name... OK
Applying auth.0002_alter_permission_name_max_length... OK
Applying auth.0003_alter_user_email_max_length... OK
Applying auth.0004_alter_user_username_opts... OK
Applying auth.0005_alter_user_last_login_null... OK
Applying auth.0006_require_contenttypes_0002... OK
Applying auth.0007_alter_validators_add_error_messages... OK
Applying auth.0008_alter_user_username_max_length... OK
Applying sessions.0001_initial... OK
# create admin user
(venv)[root@linuxprobe testproject]# python manage.py createsuperuser
Username (leave blank to use 'root'): root
Email address: root@linuxprobe.org
Password:
Password (again):
Superuser created successfully.
# start server
(venv)[root@linuxprobe testproject]# python manage.py runserver 0.0.0.0:8000
Performing system checks...
System check identified no issues (0 silenced).
October 31, 2016 - 14:03:16
Django version 1.10.2, using settings 'testproject.settings'
Starting development server at http://0.0.0.0:8000/
Quit the server with CONTROL-C.[4]从客户端计算机访问“http://(服务器的主机名或IP地址):8000 /”。如果以下网站正常显示,表示启动成功。 
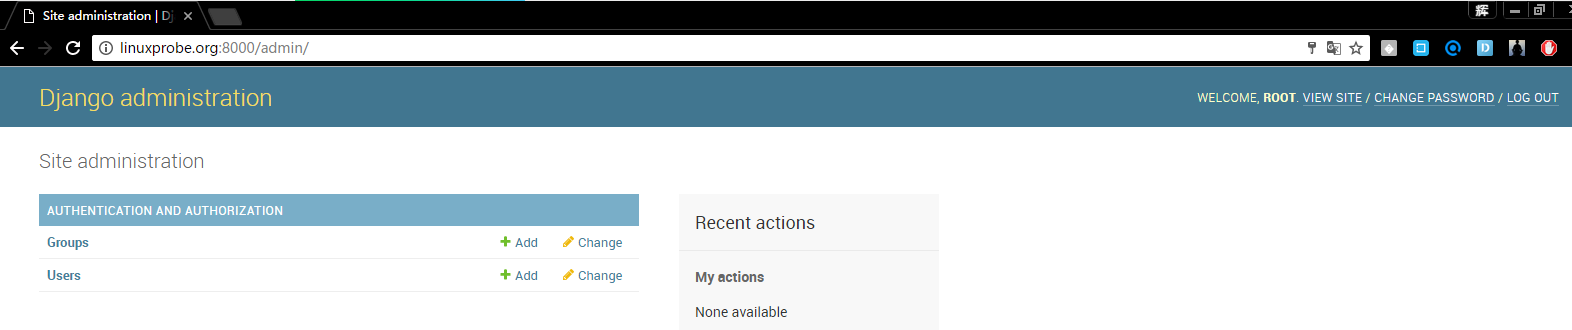
[5]用户管理网站可以在“http://(服务器的主机名或IP地址):8000 / admin”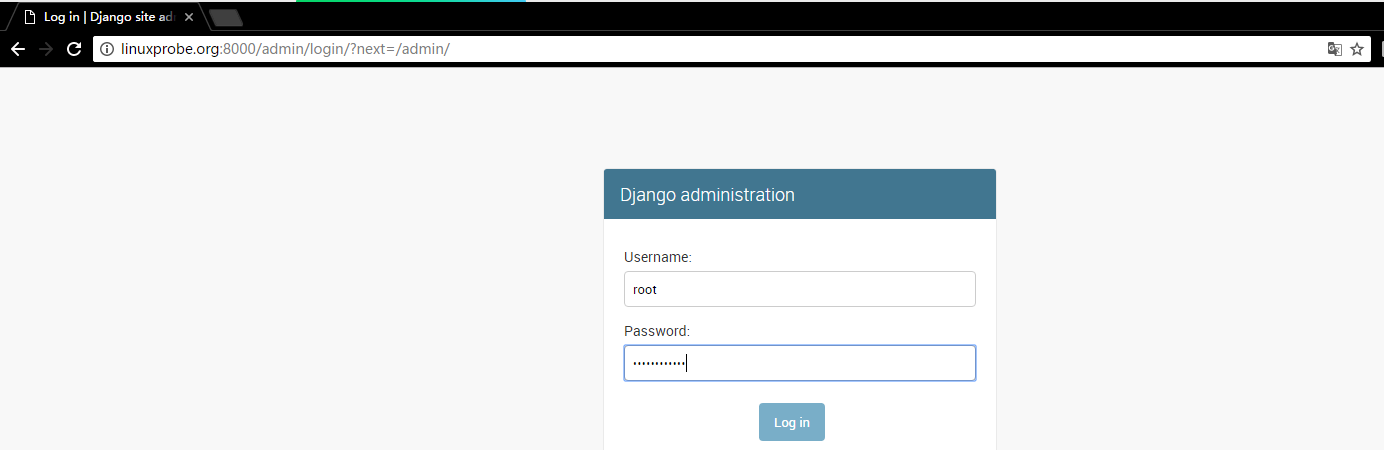
[6]创建测试应用程序[root@linuxprobe ~]# cd venv/
[root@linuxprobe venv]# source bin/activate
(venv)[root@linuxprobe venv]# cd testproject/
(venv)[root@linuxprobe testproject]# python manage.py startapp testapp
(venv)[root@linuxprobe testproject]# vi testapp/views.py
#
# add to the end
from django.http import HttpResponse
def main(request):
html = '<html>\n' \
'<body>\n' \
'<div style="width: 100%; font-size: 40px; font-weight: bold; text-align: center;">\n' \
'Django Test Page\n' \
'</div>\n' \
'</body>\n' \
'</html>\n'
return HttpResponse(html)
#
(venv)[root@linuxprobe testproject]# mv testproject/urls.py testproject/urls.py.org
(venv)[root@linuxprobe testproject]# vi testproject/urls.py
#
# create new
from django.conf.urls import patterns, url
urlpatterns = patterns('',
url(r'^testapp/$', 'testapp.views.main'),
)
#
(venv)[root@linuxprobe testproject]# vi testproject/settings.py
# end add testapp
INSTALLED_APPS = (
'django.contrib.admin',
'django.contrib.auth',
'django.contrib.contenttypes',
'django.contrib.sessions',
'django.contrib.messages',
'django.contrib.staticfiles',
'testapp',
)
#
(venv)[root@linuxprobe testproject]$ python manage.py runserver 0.0.0.0:8000[7]从客户端计算机访问“http://(服务器的主机名或IP地址):8000 / testapp /”。如果testapp正常显示,就OK了。 Django 1.10文档中文版
第一部分传送门
(http://www.cnblogs.com/feixuelove1009/p/5910384.html#top)
第二部门传送门
http://www.cnblogs.com/feixuelove1009/p/5922347.htm
第三部分传送门
(http://www.cnblogs.com/feixuelove1009/p/5931445.html)


 3798
3798


 被折叠的 条评论
为什么被折叠?
被折叠的 条评论
为什么被折叠?
 到【灌水乐园】发言


