


我们之前构造过的 SpringMVC的框架为基础,我们在这个项目的基础上进行修改配置,使它能根据maven的参数输入使用不同的配置文件。
SpringMVC的框架下载地址
普通配置
首先需要新建配置文件webconfig.properties,路径如图:
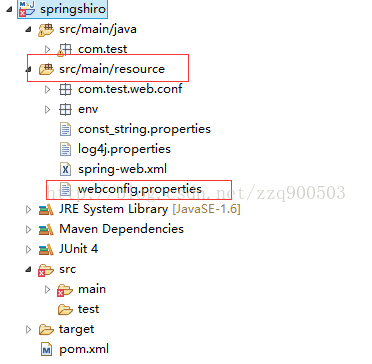
webconfig.properties内容为:
version.name=test当我们在项目中使用配置文件时,一般引用方式(可放在任意xml文件中):
<!-- 导入Properties文件的使用方法 -->
	<bean id="propertyPlaceholderConfigurer"
		class="org.springframework.beans.factory.config.PropertyPlaceholderConfigurer">
		<property name="locations">
			<list>
				<value>classpath:webconfig.properties</value>
			</list>
		</property>
	</bean>
	 <bean class="org.springframework.beans.factory.config.PropertyPlaceholderConfigurer">
        <property name="location" value="classpath:webconfig.properties"></property>
    </bean>
在IndexController中引用配置文件中的参数值,代码如下:
package com.test.web.controller;

import java.io.IOException;

import org.springframework.beans.factory.annotation.Value;
import org.springframework.stereotype.Controller;
import org.springframework.ui.Model;
import org.springframework.web.bind.annotation.RequestMapping;

/**
 * IndexController
 *
 *
 */
@Controller
public class IndexController {


	@Value("${version.name:}")
	private String version;

	@RequestMapping("/")
	public String index(Model model) throws IOException {
          model.addAttribute("version", version);
		return "/index";
	}

}
index.jsp页面显示 参数,代码如下:
<div class="row">
<div class="col-md-12">
<h1 class="page-header">
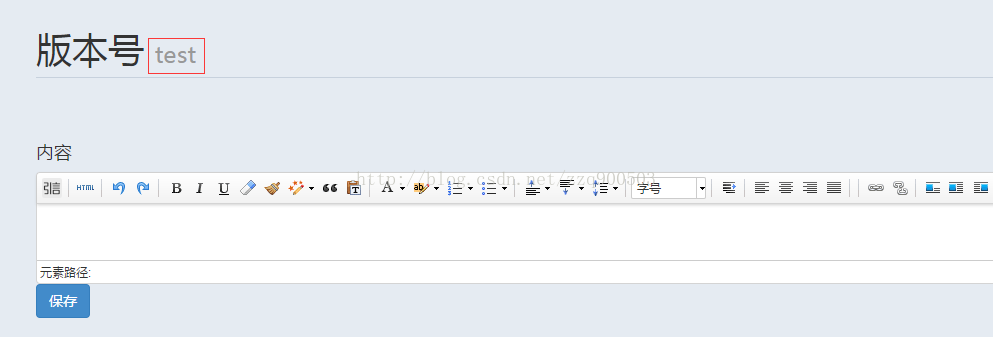
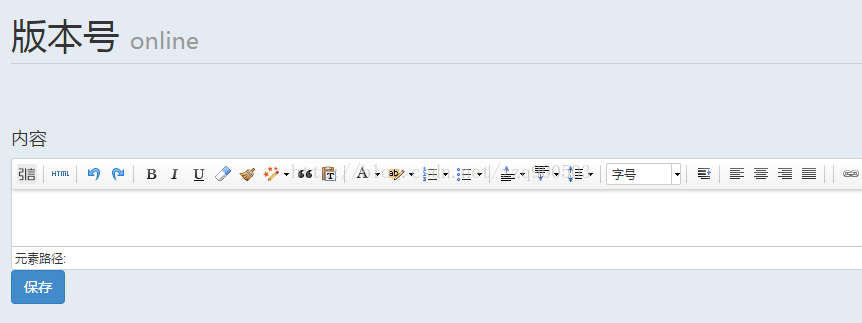
版本号 <small>${version}</small>
</h1>
</div>
</div>则效果如图:
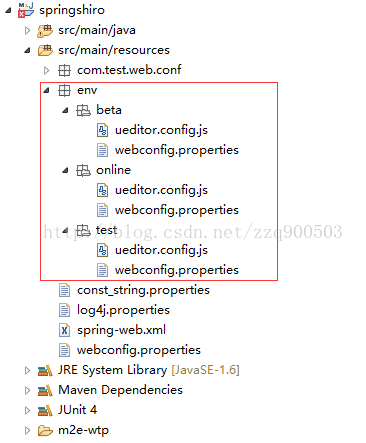
因为正式版,内测版,测试版的配置不同,所以我们新建了3种配置,每次发版本之前 都需要手动修改代码。
路径如图:
引用的地方路径需要相应修改对应:比如
测试版
<!-- 导入Properties文件的使用方法 -->
	<bean id="propertyPlaceholderConfigurer"
		class="org.springframework.beans.factory.config.PropertyPlaceholderConfigurer">
		<property name="locations">
			<list>
				<value>classpath:/env/test/webconfig.properties</value>
			</list>
		</property>
</bean><!-- 导入Properties文件的使用方法 -->
<bean id="propertyPlaceholderConfigurer"
class="org.springframework.beans.factory.config.PropertyPlaceholderConfigurer">
<property name="locations">
<list>
<value>classpath:/env/beta/webconfig.properties</value>
</list>
</property>
</bean>正式版
<!-- 导入Properties文件的使用方法 -->
	<bean id="propertyPlaceholderConfigurer"
		class="org.springframework.beans.factory.config.PropertyPlaceholderConfigurer">
		<property name="locations">
			<list>
				<value>classpath:/env/online/webconfig.properties</value>
			</list>
		</property>
	</bean>
这种方式不友好,所以需要调整成根据maven 打包时的 参数输入 使用 不同的配置文件。
动态配置
调整成根据maven 打包时的 参数输入 使用 不同的配置文件。
主要是通过修改项目中的pom.xml文件里的build配置实现的。
我们这里使用maven-war-plugin来设置。
第一步增加build
在pom.xml中增加build代码如下:
<build>
        <finalName>ROOT</finalName>
        <plugins>
            <plugin>
                <groupId>org.eclipse.jetty</groupId>
                <artifactId>jetty-maven-plugin</artifactId>
            </plugin>
            <plugin>
                <groupId>org.apache.maven.plugins</groupId>
                <artifactId>maven-war-plugin</artifactId>
                <configuration>
                    <webResources>
                        <resource>
                            <directory>src/main/resources/env/${env}</directory>
                            <targetPath>WEB-INF/classes</targetPath>
                            <filtering>true</filtering>
                            <excludes>
                                <exclude>ueditor.config.js</exclude>
                            </excludes>
                        </resource>
                        <resource>
                            <directory>src/main/resources/env/${env}</directory>
                            <targetPath>ueditor</targetPath>
                            <filtering>true</filtering>
                            <includes>
                                <include>ueditor.config.js</include>
                            </includes>
                        </resource>
                    </webResources>
                </configuration>
            </plugin>
        </plugins>
    </build>
说明:
directory 表示获取这个路径下的资源
targetPath 表示 获取的资源发布 的目标路径
filtering 为ture 表示 当原路径下已经有文件时会强制替换
excludes 排除 获取资源里的 某个文件,不做发布
includes 表示 只 获取资源里的某个文件做发布
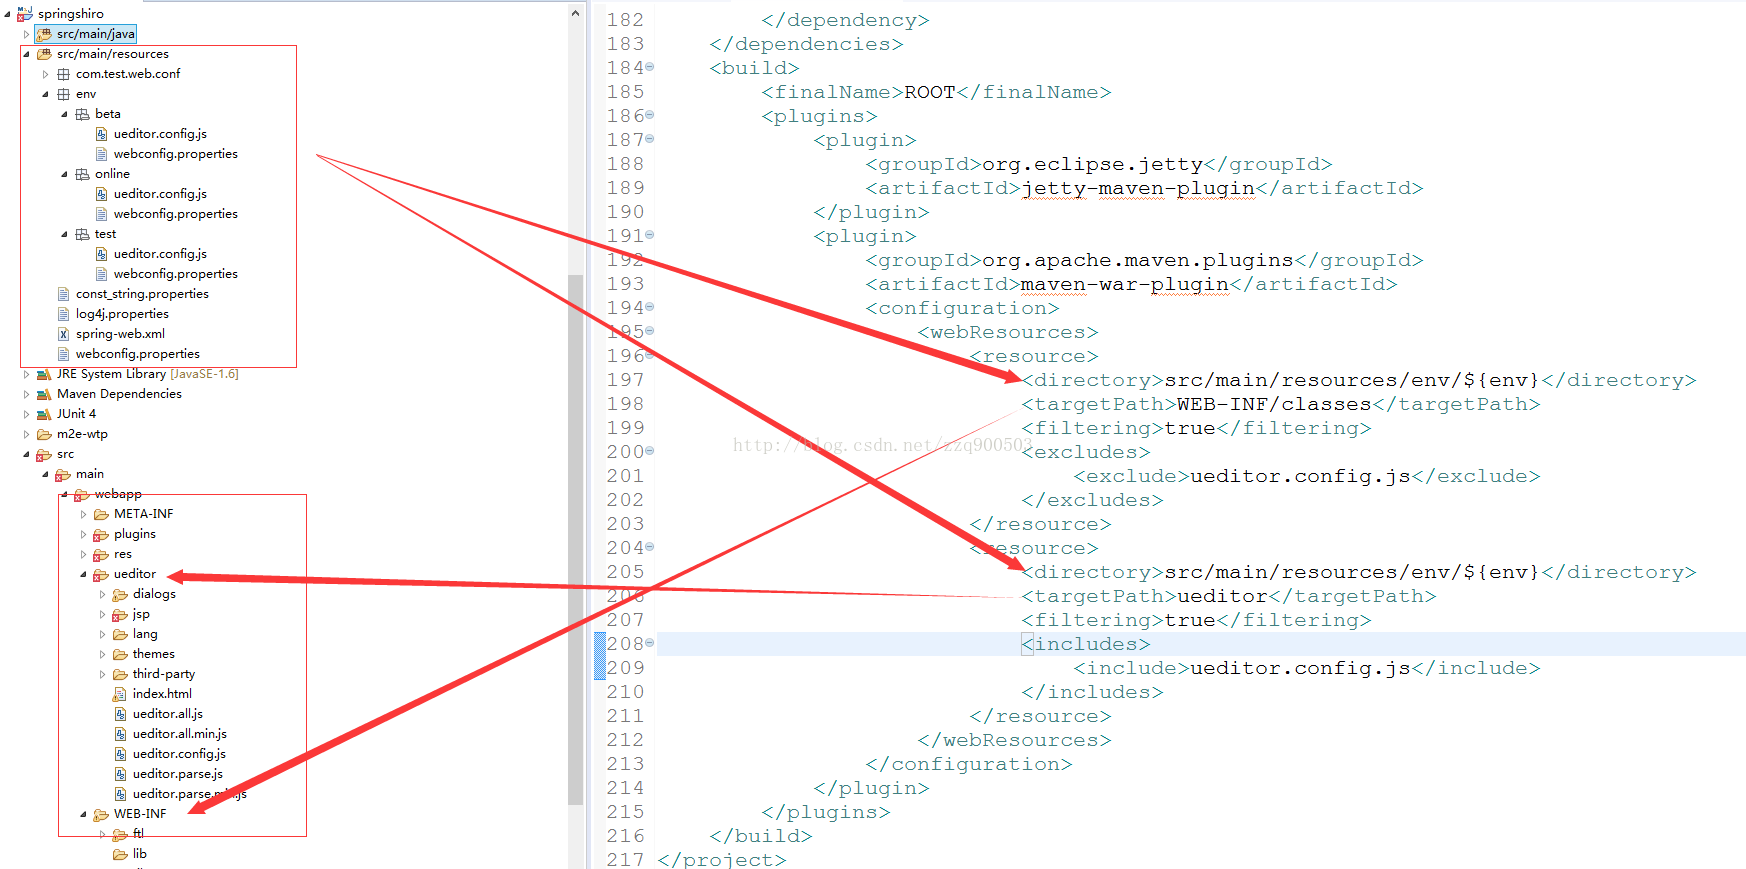
也就是说 我们这里的代码实现的是 获取src/main/resources/env/${env} 路径下的资源,把除了ueditor.config.js之外的文件发布到WEB-INF/classes,强制替换。
获取src/main/resources/env/${env} 路径下的资源,只把ueditor.config.js文件发布到ueditor,强制替换。
结构如图:
定义默认参数
我们一般会在pom.xml中使用properties来定义静态变量。
src/main/resources/env/${env} 中env就是使用的变量。
所以env需要我们来定义默认值。
<properties>
		 <env>test</env>

</properties>引用位置修改
使用配置文件时,引用方式(可放在任意xml文件中):
<!-- 导入Properties文件的使用方法 -->
	<bean id="propertyPlaceholderConfigurer"
		class="org.springframework.beans.factory.config.PropertyPlaceholderConfigurer">
		<property name="locations">
			<list>
				<value>classpath:webconfig.properties</value>
			</list>
		</property>
</bean> <bean class="org.springframework.beans.factory.config.PropertyPlaceholderConfigurer">
<property name="location" value="classpath:webconfig.properties"></property>
</bean>动态打包命令
使用命令
mvn clean install -D env=online 打包正式版
mvn clean install -D env=beta 打包内测版
mvn clean install -D env=test 打包测试版
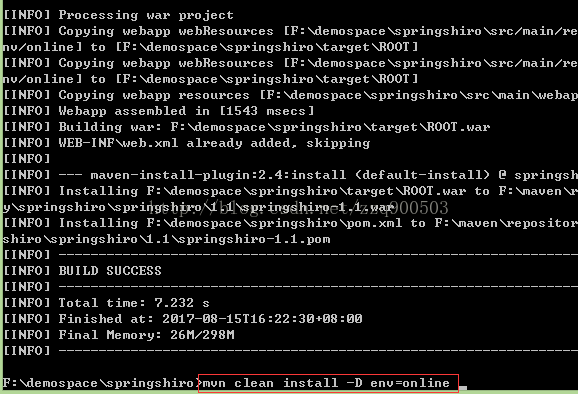
运行效果如图:


 2580
2580


 被折叠的 条评论
为什么被折叠?
被折叠的 条评论
为什么被折叠?
 到【灌水乐园】发言


