


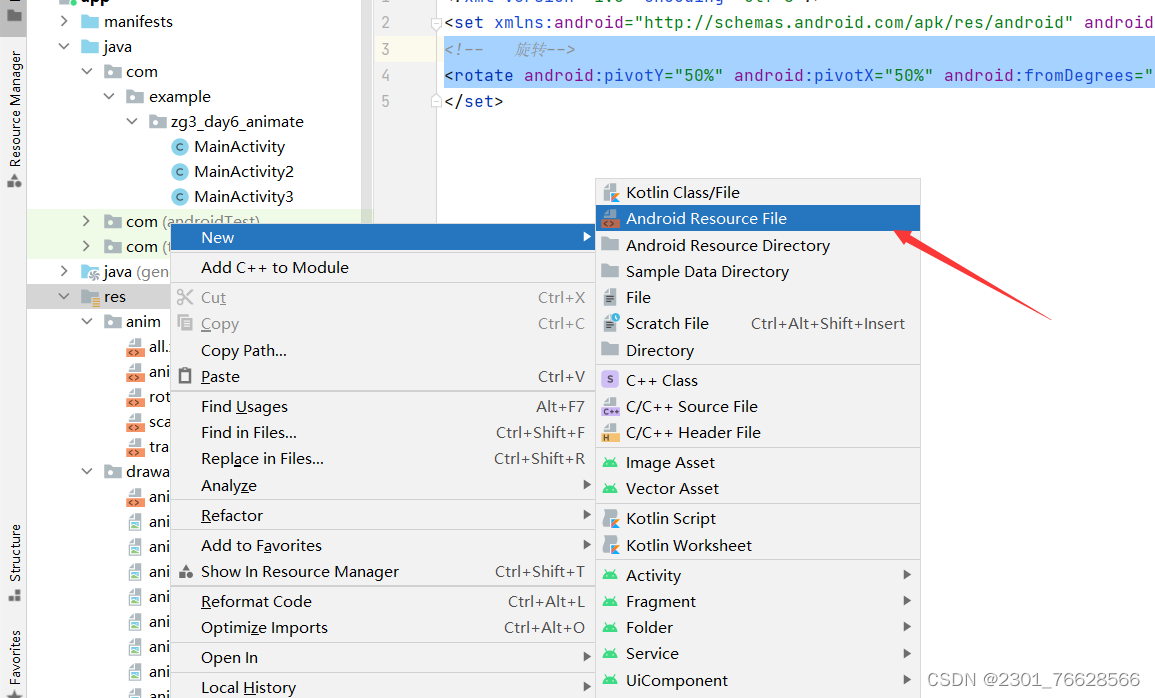
创建文件
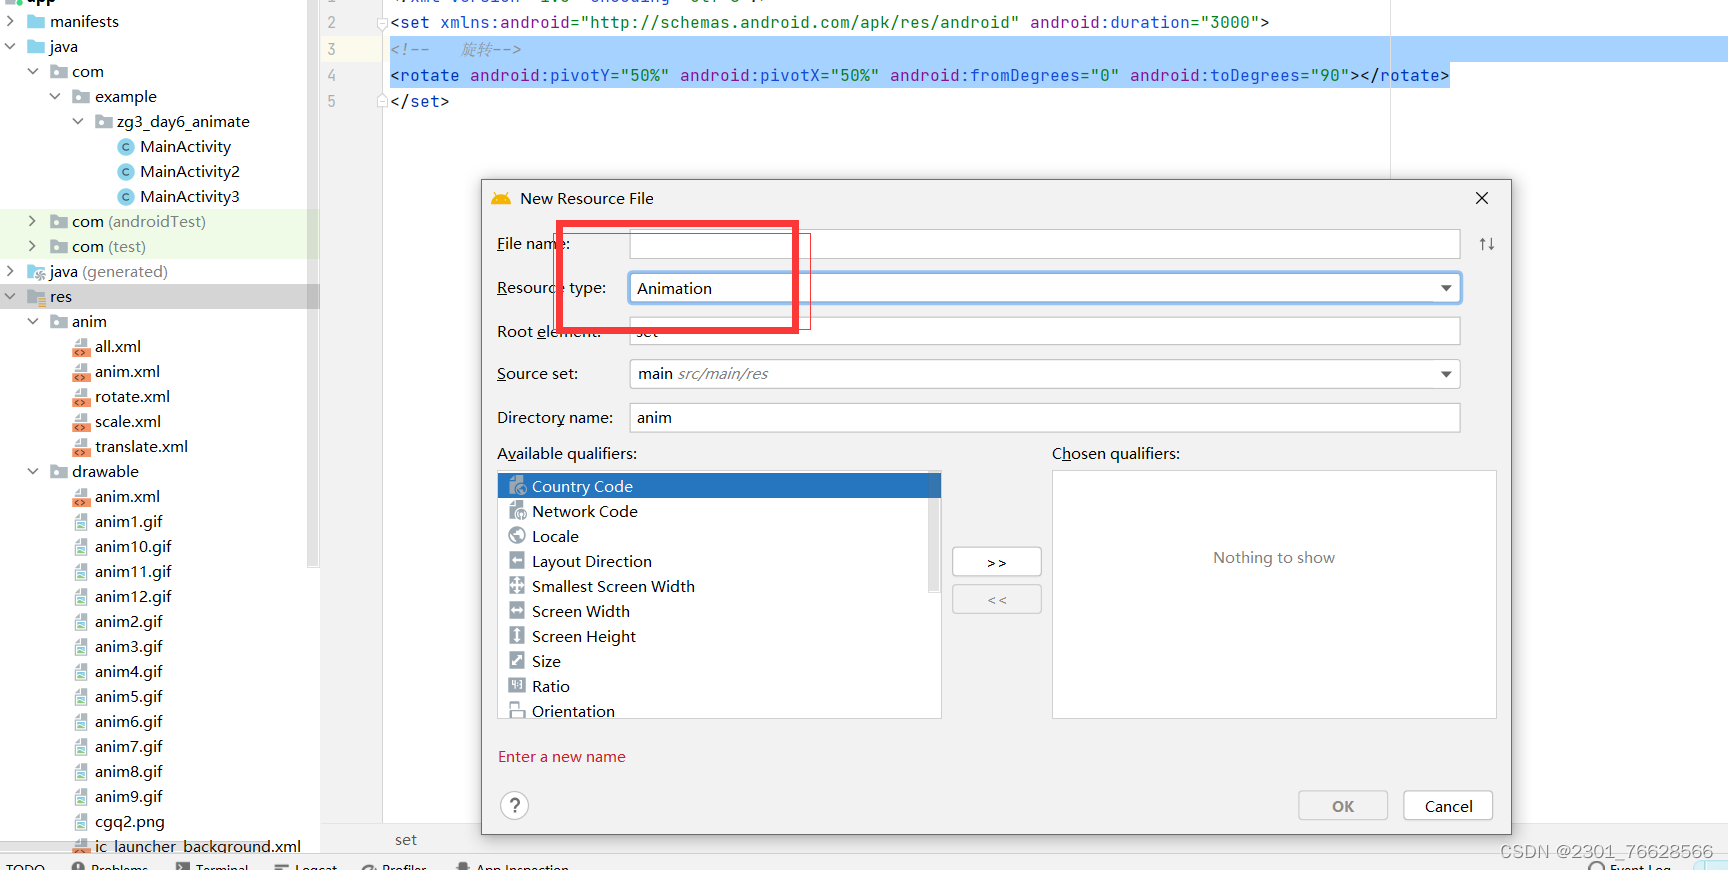
实现自定义动画--一定要设置时间
1.旋转
<set xmlns:android="http://schemas.android.com/apk/res/android" android:duration="3000">
<!--   旋转-->
<rotate android:pivotY="50%" android:pivotX="50%" android:fromDegrees="0" android:toDegrees="90"></rotate>
</set>
2.透明
<set xmlns:android="http://schemas.android.com/apk/res/android" android:duration="3000">
<!--    透明度-->
<alpha android:fromAlpha="1" android:toAlpha="0.5"></alpha>
</set>
3.平移
<set xmlns:android="http://schemas.android.com/apk/res/android" android:duration="3000">
<translate android:fromXDelta="0" android:fromYDelta="0" android:toXDelta="300" android:toYDelta="300"></translate>
</set>
4.缩放
<set xmlns:android="http://schemas.android.com/apk/res/android" android:duration="3000">
<!--    缩放-->
<scale android:pivotX="50%" android:pivotY="50%" android:fromXScale="1" android:fromYScale="1" android:toXScale="2" android:toYScale="2"></scale>
</set>
点击实现动画效果和差值器
public void alpha(View view) {//透明度

    Animation animation = AnimationUtils.loadAnimation(this, R.anim.anim);
    iv.startAnimation(animation);
}

public void translate(View view) {//移动
    Animation animation = AnimationUtils.loadAnimation(this, R.anim.translate);
    animation.setInterpolator(new BounceInterpolator());//设置差值器--用来控制变化的状态
    animation.setFillAfter(true);//显示最终的状态


    iv.startAnimation(animation);
}

public void scale(View view) {//缩放
    Animation animation = AnimationUtils.loadAnimation(this, R.anim.scale);
    iv.startAnimation(animation);
}

public void rotate(View view) {//旋转
    Animation animation = AnimationUtils.loadAnimation(this, R.anim.rotate);
    iv.startAnimation(animation);
}

private void initView() {
    iv = (ImageView) findViewById(R.id.iv);
}

public void all(View view) {
    Animation animation = AnimationUtils.loadAnimation(this, R.anim.all);
    iv.startAnimation(animation);
}
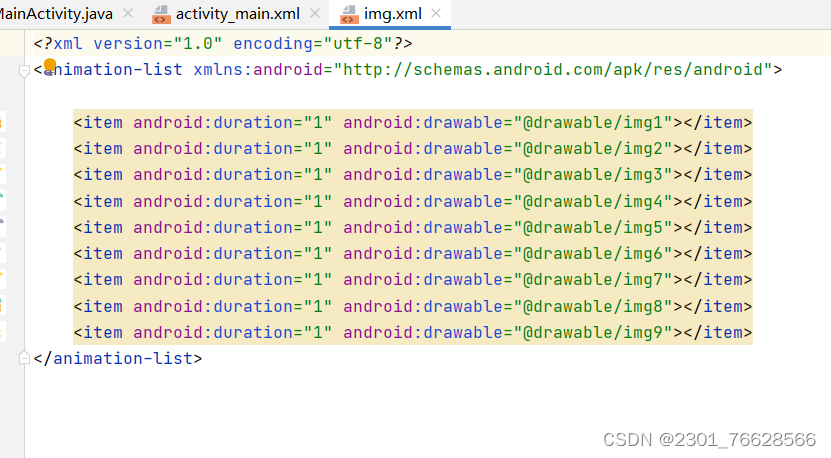
设置背景图片的自定义动画
用到帧动画
先将图片加到drawer里面
然后写一个总的img将图片放进去
在主页面中 设置ImageView控件
然后加个background将img放进去
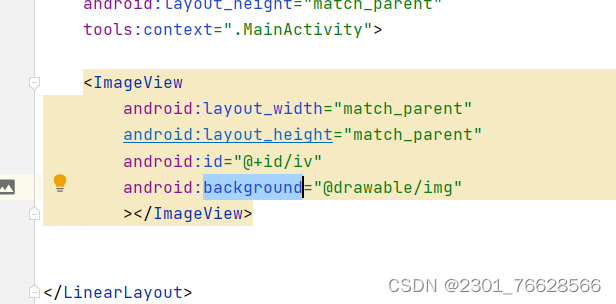
设置控件实现动画效果
AnimationDrawable background = (AnimationDrawable) imageView.getBackground();//实现动画效果
background.start();
设置指纹识别
@RequiresApi(api = Build.VERSION_CODES.P)
public void finger(View view) {
    if(Build.VERSION.SDK_INT<Build.VERSION_CODES.M)
    {
        Toast.makeText(MainActivity3.this, "不支持指纹识别", Toast.LENGTH_SHORT).show();
        return;
    }
    //获取指纹识别的管理器
    FingerprintManager manager= (FingerprintManager) getSystemService(FINGERPRINT_SERVICE);
    if(!manager.isHardwareDetected())
    {
        Toast.makeText(MainActivity3.this, "没有设置指纹敏感区", Toast.LENGTH_SHORT).show();
        return;
    }
    if(!manager.hasEnrolledFingerprints())
    {
        Toast.makeText(MainActivity3.this, "没有录入指纹", Toast.LENGTH_SHORT).show();
        return;
    }
    //执行器
    Executor executor = ContextCompat.getMainExecutor(this);
    //指纹识别弹出框
    BiometricPrompt prompt = new BiometricPrompt.Builder(this)
            .setTitle("指纹支付")
            .setDescription("正在识别中...")
            .setNegativeButton("取消", executor, new DialogInterface.OnClickListener() {
                @Override
                public void onClick(DialogInterface dialog, int which) {
                    Toast.makeText(MainActivity3.this, "正在取消", Toast.LENGTH_SHORT).show();
                }
            })
            .build();
    //进行指纹识别验证
    prompt.authenticate(new CancellationSignal(), executor, new BiometricPrompt.AuthenticationCallback() {
        @Override
        public void onAuthenticationError(int errorCode, CharSequence errString) {
            super.onAuthenticationError(errorCode, errString);
            Toast.makeText(MainActivity3.this, "识别错误", Toast.LENGTH_SHORT).show();
        }

        @Override
        public void onAuthenticationHelp(int helpCode, CharSequence helpString) {
            super.onAuthenticationHelp(helpCode, helpString);
            Toast.makeText(MainActivity3.this, "指纹识别帮助", Toast.LENGTH_SHORT).show();
        }

        @Override
        public void onAuthenticationSucceeded(BiometricPrompt.AuthenticationResult result) {
            super.onAuthenticationSucceeded(result);
            Toast.makeText(MainActivity3.this, "支付成功", Toast.LENGTH_SHORT).show();
        }

        @Override
        public void onAuthenticationFailed() {
            super.onAuthenticationFailed();
            Toast.makeText(MainActivity3.this, "指纹识别失败", Toast.LENGTH_SHORT).show();
        }
    });

}


 5163
5163


 被折叠的 条评论
为什么被折叠?
被折叠的 条评论
为什么被折叠?
 到【灌水乐园】发言


