


最后
金三银四到了,送上一个小福利!


    </dependency>

    <!-- https://mvnrepository.com/artifact/com.alibaba/druid -->
    <dependency>
        <groupId>com.alibaba</groupId>
        <artifactId>druid-spring-boot-starter</artifactId>
        <version>1.2.8</version>
    </dependency>
    <!-- https://mvnrepository.com/artifact/mysql/mysql-connector-java -->
    <dependency>
        <groupId>mysql</groupId>
        <artifactId>mysql-connector-java</artifactId>
    </dependency>

    <!-- https://mvnrepository.com/artifact/org.springframework.boot/spring-boot-starter-jdbc -->
    <dependency>
        <groupId>org.springframework.boot</groupId>
        <artifactId>spring-boot-starter-jdbc</artifactId>
    </dependency>
    <dependency>
        <groupId>org.springframework.boot</groupId>
        <artifactId>spring-boot-devtools</artifactId>
        <scope>runtime</scope>
        <optional>true</optional>
    </dependency>

    <!-- https://mvnrepository.com/artifact/org.projectlombok/lombok -->
    <dependency>
        <groupId>org.projectlombok</groupId>
        <artifactId>lombok</artifactId>
        <optional>true</optional>
    </dependency>

    <!-- https://mvnrepository.com/artifact/org.springframework.boot/spring-boot-starter-test -->
    <dependency>
        <groupId>org.springframework.boot</groupId>
        <artifactId>spring-boot-starter-test</artifactId>
        <scope>test</scope>
    </dependency>

</dependencies>
##### 编写yml文件
server:
port: 8001
spring:
application:
name: cloud-payment-service
#数据库配置
datasource:
type: com.alibaba.druid.pool.DruidDataSource
#mysql5.x的没有cj
driver-class-name: com.mysql.cj.jdbc.Driver
#记得先创建数据库
url: jdbc:mysql://localhost:3306/db2020?useUnicode=true&characterEncoding=utf-8&useSSL=false
username: root
password: 123456
#mybatis配置
mybatis:
mapper-locations: classpath:mapper/*.xml
type-aliases-package: com.zhao.springcloud.entities #所有Entity别名类所在包
##### 编写主启动类
@SpringBootApplication
public class PaymentMain8001 {
public static void main(String[] args) {
SpringApplication.run(PaymentMain8001.class);
}
}
##### 编写业务类


**1.创建数据库**
CREATE TABLE payment(
id BIGINT(20) NOT NULL AUTO_INCREMENT COMMENT ‘ID’,
serial VARCHAR(200) DEFAULT ‘’,
PRIMARY KEY(id)
)ENGINE=INNODB AUTO_INCREMENT=1 DEFAULT CHARSET=utf8;
INSERT INTO payment(serial)VALUES(“xxx”);
**2.创建实体类**
@Data
@AllArgsConstructor
@NoArgsConstructor
public class PayMent implements Serializable {
private Long id;
private String serial;
}
返回前端的json数据对象
@Data
@AllArgsConstructor
@NoArgsConstructor
public class CommonResult {
private Integer code;
private String message;
private T data;
public CommonResult(Integer code, String message) {
    this.code = code;
    this.message = message;
}
}
**3.持久化层(dao)**
 持久化层接口:
@Mapper
public interface PaymentDao {
int add(Payment payment);

// 加上@Param注解,mapper中就可以采用#{}的方式把@Param注解括号内的参数进行引用
Payment getPaymentById(@Param("id") Long id);
}
mapper.xml文件
<insert id="add" parameterType="com.zhao.springcloud.entities.Payment" useGeneratedKeys="true" keyProperty="id">
    insert into payment(serial) value (#{serial})
</insert>

<select id="getPaymentById" parameterType="long" resultMap="BaseResultMap">
    select * from payment where id = #{id}
</select>
<resultMap id="BaseResultMap" type="com.zhao.springcloud.entities.Payment">
    <!--column 数据库字段   property Java字段-->
    <id column="id" property="id" jdbcType="BIGINT"></id>
    <result column="serial" property="serial" jdbcType="VARCHAR" />
</resultMap>
**4.服务层(service)**
 服务层接口
public interface PaymentService {
int add(Payment payment);

Payment getPaymentById(@Param("id") Long id);
}
实现类
@Service
public class PaymentServiceImpl implements PaymentService {
@Resource
private PaymentDao paymentDao;

@Override
public int add(Payment payment) {
    return paymentDao.add(payment);
}

@Override
public Payment getPaymentById(Long id) {
    return paymentDao.getPaymentById(id);
}
}
**5.控制器(controller)**
@RestController
@Slf4j
public class PaymentController {
@Resource
private PaymentService paymentService;
@PostMapping("/payment/add")
public CommonResult<Payment> add(@RequestBody Payment payment){
    int result = paymentService.add(payment);
    log.info("\*\*\*\*\*\*插入结果:"+result);
    if (result>0){
        return new CommonResult(200,"插入数据库成功",result);
    }else {
        return new CommonResult(444,"插入数据库失败",null);
    }
}

@GetMapping("/payment/get/{id}")
public CommonResult<Payment> getPaymentById(@PathVariable("id") Long id){
    Payment payment = paymentService.getPaymentById(id);
    log.info("\*\*\*\*\*\*插入结果:"+payment);
    if (payment != null){
        return new CommonResult(200,"查询成功",payment);
    }else {
        return new CommonResult(444,"没有当前查询记录,查询id"+id,null);
    }
}
}
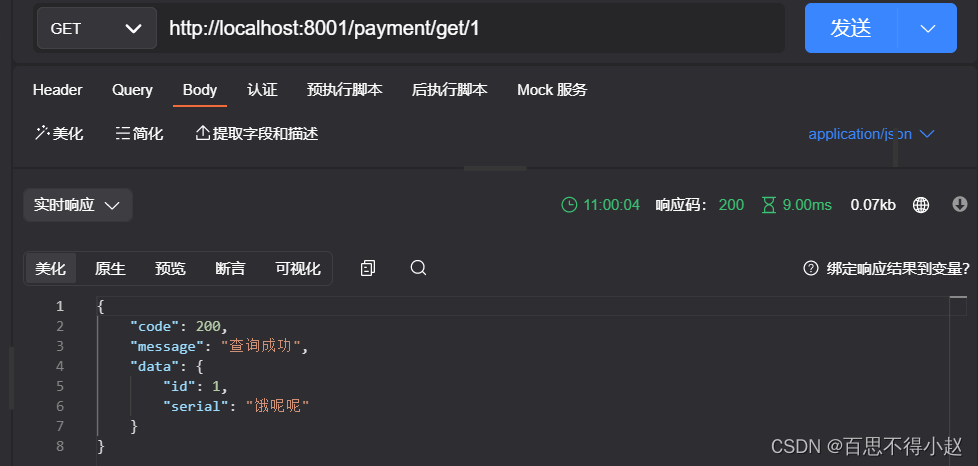
##### 测试
启动项目,浏览器输入`http://localhost:8001/payment/get/1`,查询成功

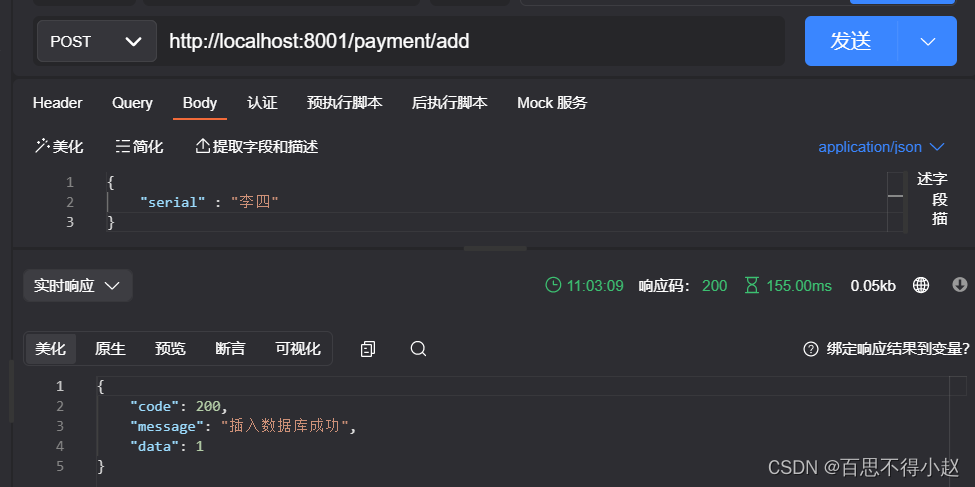
因为浏览器一般不支持直接发送post请求,所以,需要使用工具apiPost进行测试
输入`http://localhost:8001/payment/add`发送post请求,往数据库中插入一条数据,需要把数据写到body中。
#### 2.热部署Dev-tools
子工程添加依赖
    <dependency>
        <groupId>org.springframework.boot</groupId>
        <artifactId>spring-boot-devtools</artifactId>
        <scope>runtime</scope>
        <optional>true</optional>
    </dependency>
父工程添加插件
<build>
    <plugins>
        <plugin>
            <groupId>org.springframework.boot</groupId>
            <artifactId>spring-boot-maven-plugin</artifactId>
            <configuration>
                <fork>true</fork>
                <addResources>true</addResources>
            </configuration>
        </plugin>
    </plugins>
</build>
开启自动编译的权限

热键注册开启
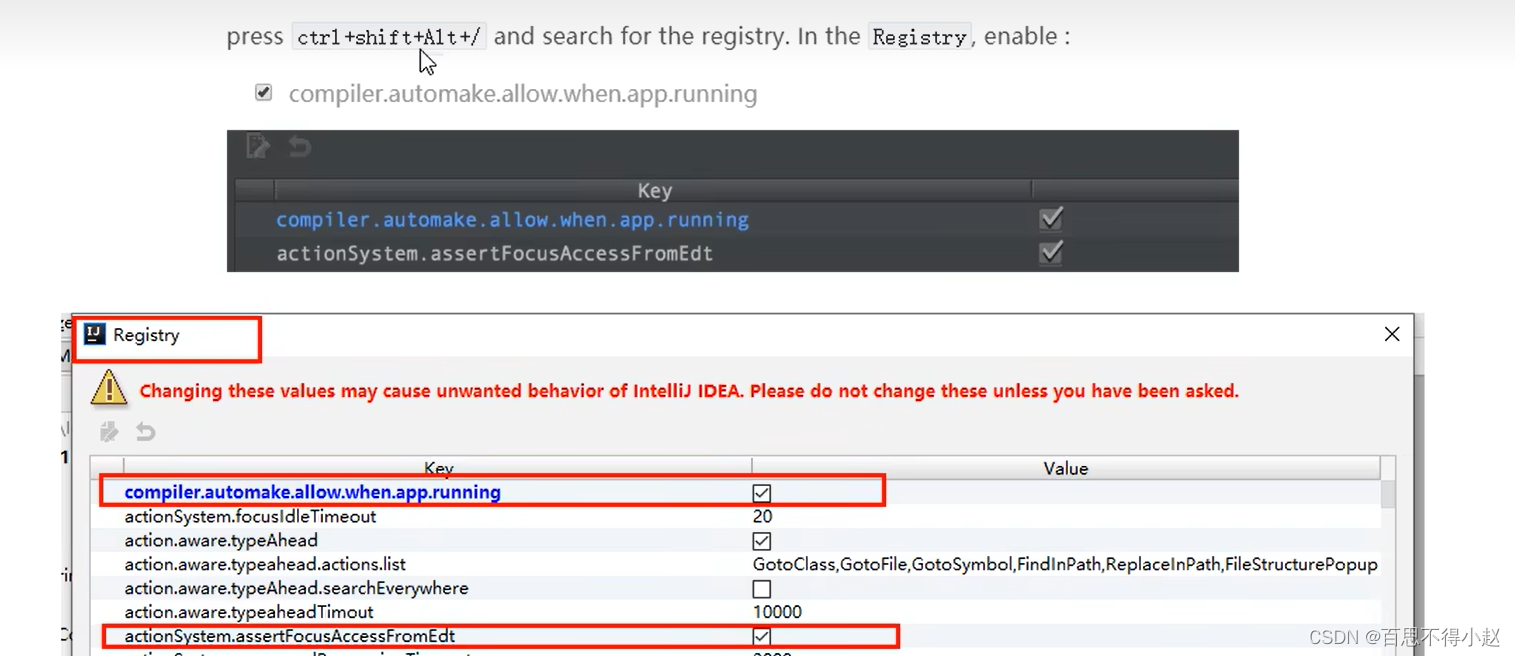
重启IDEA即可生效!!
#### 3.微服务消费者订单module模块cloud-consumer-order80
**新建模块**
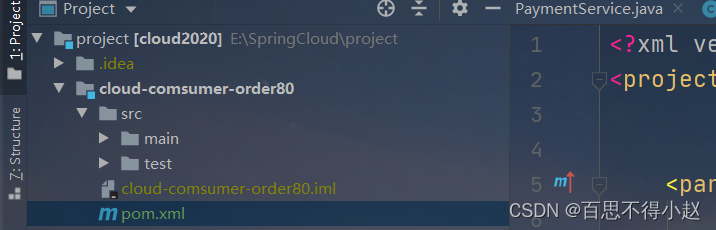
**添加依赖**
**新建yml文件**
server:
port: 80
**主启动类**
@SpringBootApplication
public class OrderMain80 {
public static void main(String[] args) {
SpringApplication.run(OrderMain80.class);
}
}
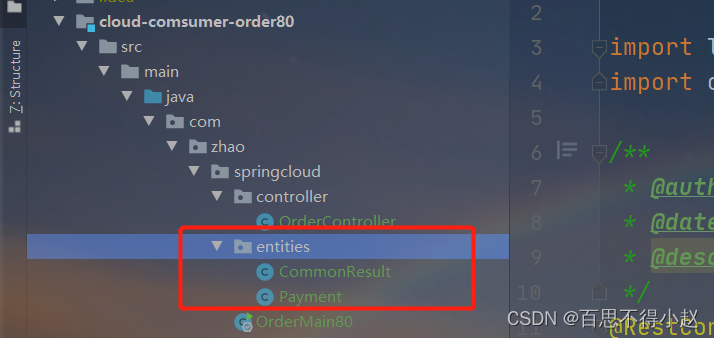
**业务类**
① 复制cloud-provider-payment8001项目里的entities
② 添加配置类
@Configuration
public class ApplicationContextConfig {
@Bean
public RestTemplate getRestTemplate(){
    return new RestTemplate();
}
}
③ 创建controller
@RestController
@Slf4j
public class OrderController {
public static final String PAYMENT_URL = "http://localhost:8001";

@Resource
private RestTemplate restTemplate;

@GetMapping("/consumer/payment/add")
public CommonResult<Payment> add(Payment payment){
    return restTemplate.postForObject(PAYMENT_URL+"/payment/add",payment,CommonResult.class);
}

@GetMapping("/consumer/payment/get/{id}")
public CommonResult<Payment> getPayment(@PathVariable("id") Long id){
    return restTemplate.getForObject(PAYMENT_URL+"/payment/get"+id,CommonResult.class);
}
}
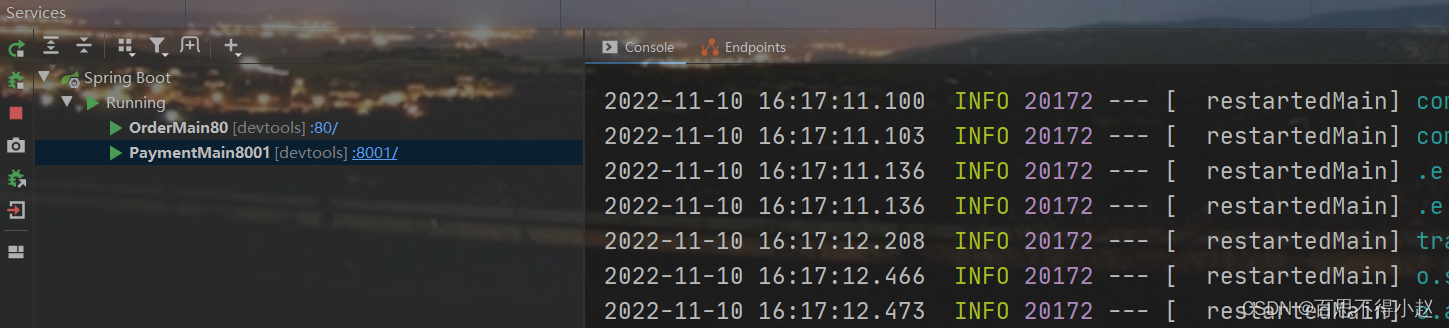
**测试**
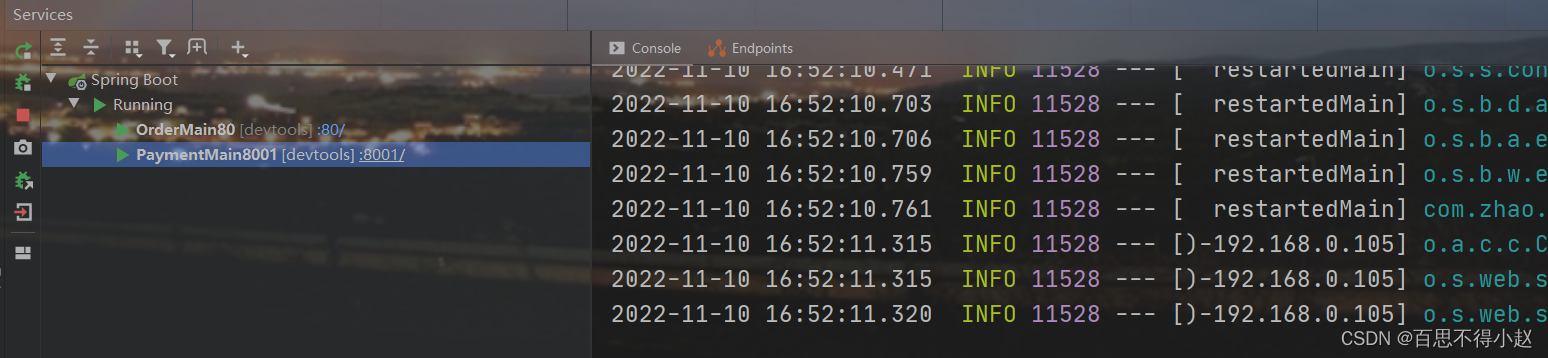
启动两个项目进行测试,两个都启动后,右下角会弹出个services提示,点击show。
用户支付订单,服务与服务之间的调用,输入地址`http://localhost/consumer/payment/get/1`,查询成功

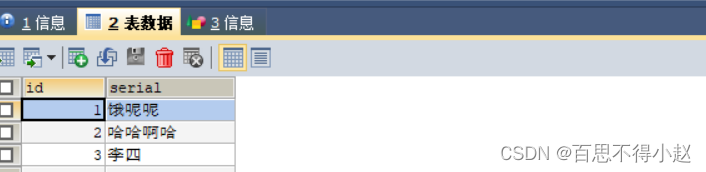
添加操作在页面上显示添加成功,查看数据库数据正常


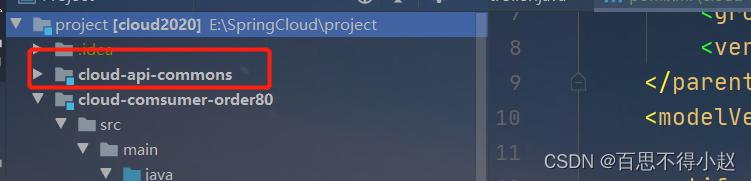
#### 4.工程重构
由于目前构建的两个微服务项目有重复的部分,需要将其提取出来,一次打包,到处运行,所以将项目进行重构。
**新建模块**
**添加依赖**
**将实体类放入commons模块**
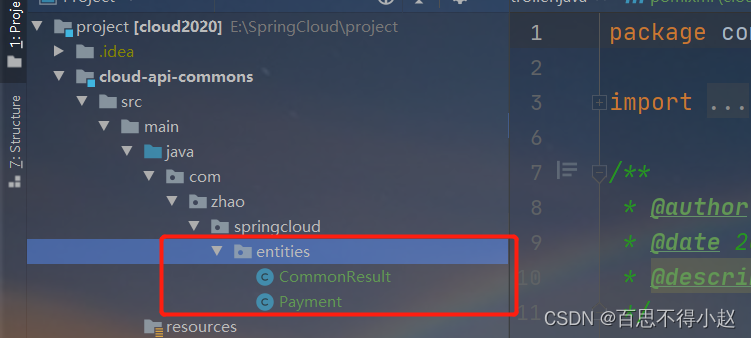
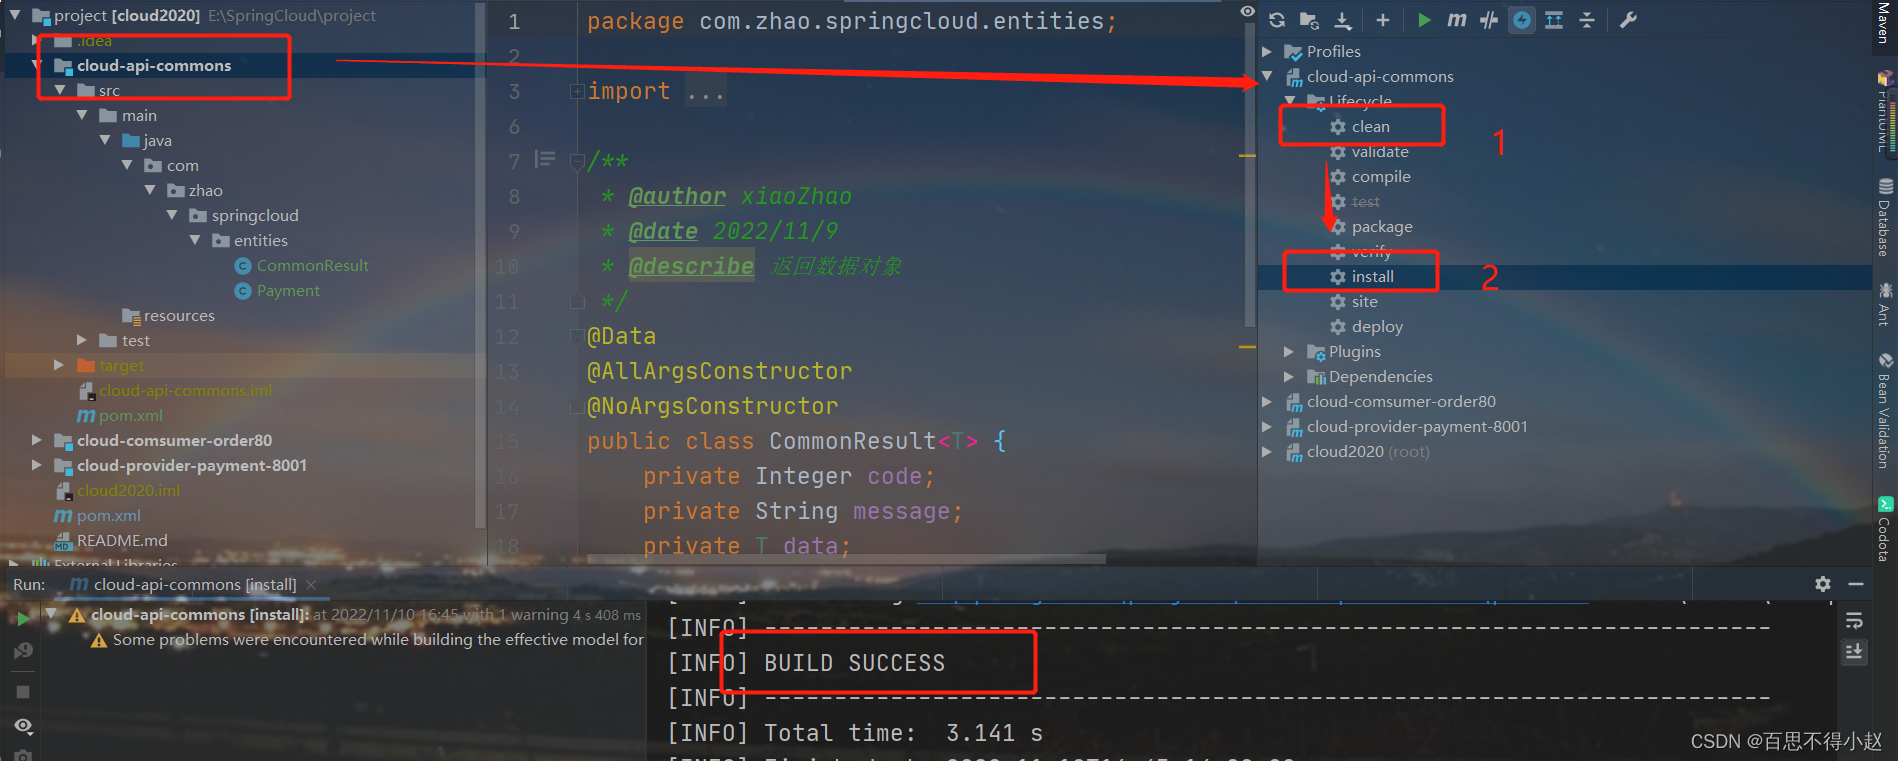
**本项目进行打包**
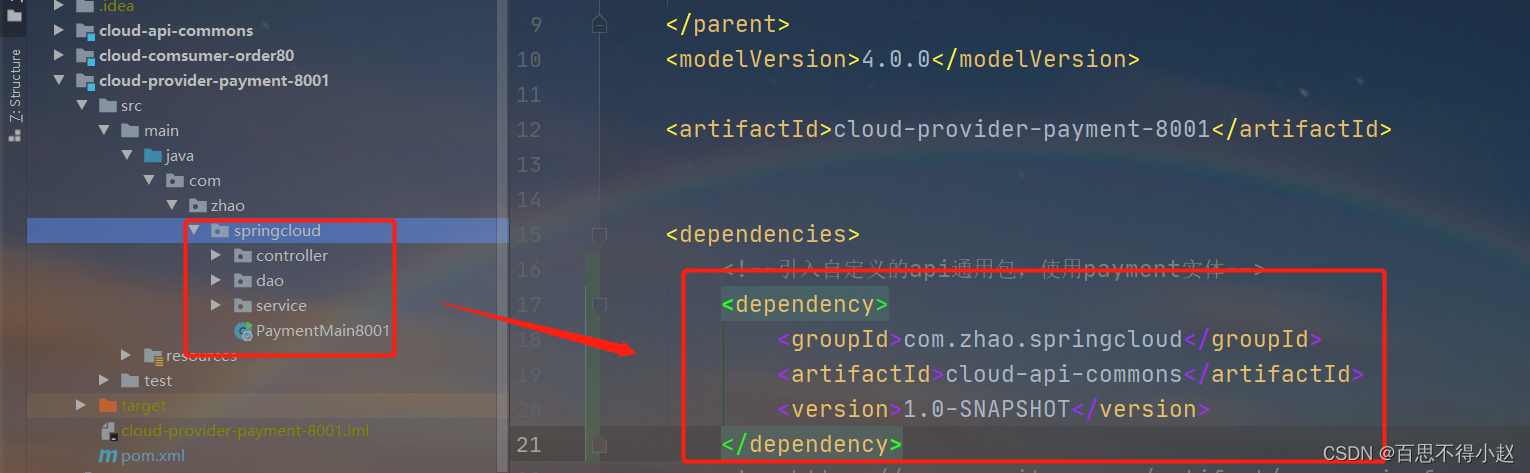
**删除 80 和 8001中的实体,引入自定义的依赖**
    <!--引入自定义的api通用包,使用payment实体-->
    <dependency>
        <groupId>com.zhao.springcloud</groupId>
        <artifactId>cloud-api-commons</artifactId>
        <version>1.0-SNAPSHOT</version>
    </dependency>
**重新启动,并测试**
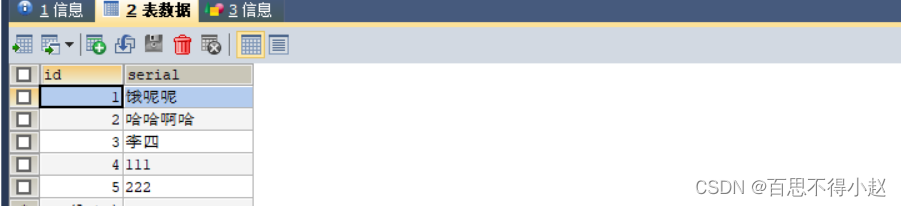
查询数据成功!

插入数据成功!

### 最后
给大家送一个小福利
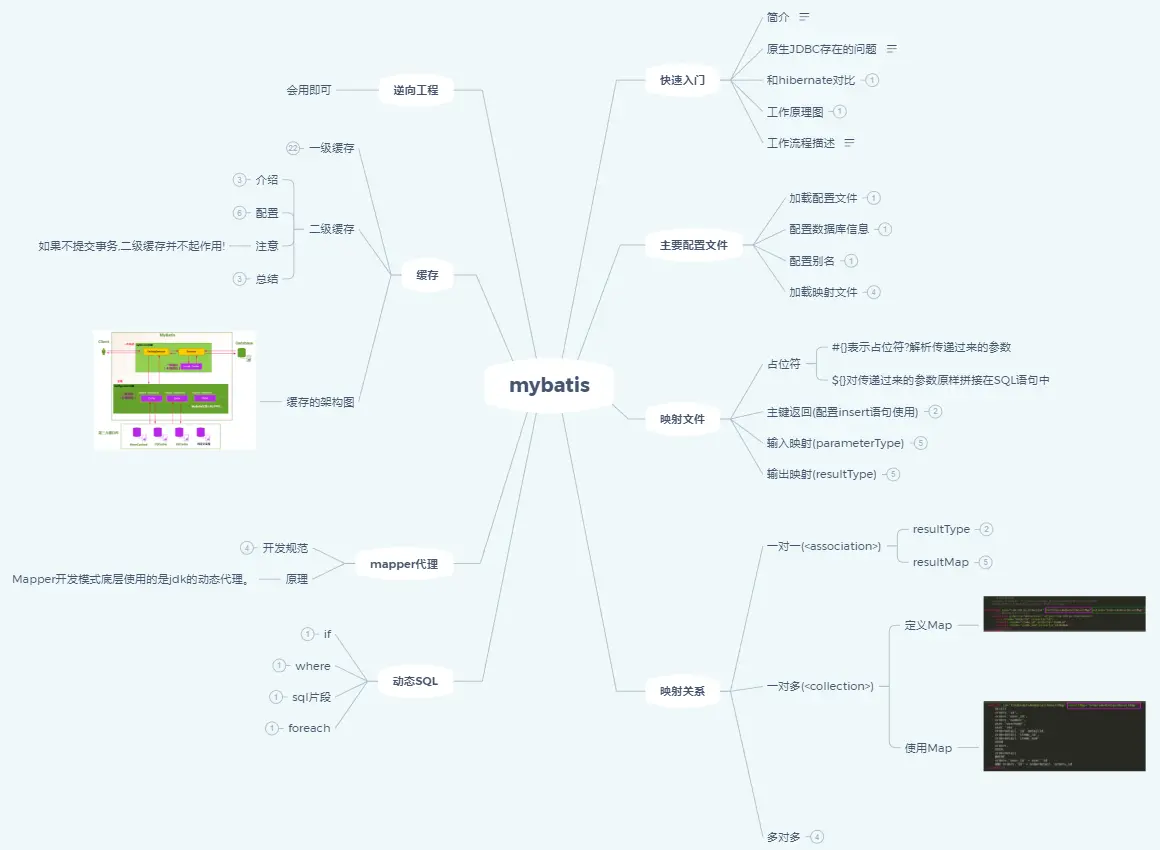
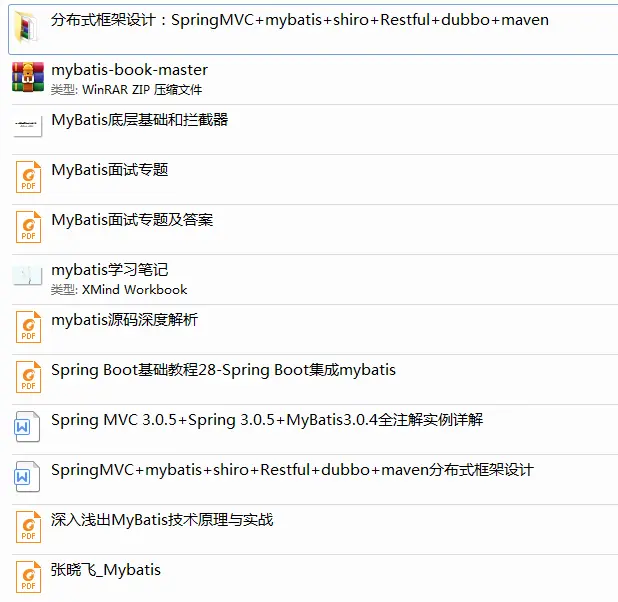
附高清脑图,高清知识点讲解教程,以及一些面试真题及答案解析。送给需要的提升技术、准备面试跳槽、自身职业规划迷茫的朋友们。
> **本文已被[CODING开源项目:【一线大厂Java面试题解析+核心总结学习笔记+最新讲解视频+实战项目源码】](https://bbs.csdn.net/forums/4f45ff00ff254613a03fab5e56a57acb)收录**
**[需要这份系统化的资料的朋友,可以点击这里获取](https://bbs.csdn.net/forums/4f45ff00ff254613a03fab5e56a57acb)**
ng)
插入数据成功!


### 最后
给大家送一个小福利
[外链图片转存中...(img-z4S6TIFk-1715466137548)]
附高清脑图,高清知识点讲解教程,以及一些面试真题及答案解析。送给需要的提升技术、准备面试跳槽、自身职业规划迷茫的朋友们。
[外链图片转存中...(img-kVkhSUVA-1715466137549)]
> **本文已被[CODING开源项目:【一线大厂Java面试题解析+核心总结学习笔记+最新讲解视频+实战项目源码】](https://bbs.csdn.net/forums/4f45ff00ff254613a03fab5e56a57acb)收录**
**[需要这份系统化的资料的朋友,可以点击这里获取](https://bbs.csdn.net/forums/4f45ff00ff254613a03fab5e56a57acb)**


 3万+
3万+


 被折叠的 条评论
为什么被折叠?
被折叠的 条评论
为什么被折叠?
 到【灌水乐园】发言


