


一、解决数据乱码问题🍉
在上篇文章中我们整合了redis,当我们存入一个对象时会发现redis中的数据存在乱码问题,这是jdk编码的问题

springboot整合redis时提供了两个模板工具类,StringRedisTemplate和RedisTemplate.
1.使用RedisTemplate时需要为key和value设置序列化🥝
package com.lzq.config;
import com.fasterxml.jackson.annotation.JsonAutoDetect;
import com.fasterxml.jackson.annotation.PropertyAccessor;
import com.fasterxml.jackson.databind.ObjectMapper;
import org.springframework.context.annotation.Bean;
import org.springframework.context.annotation.Configuration;
import org.springframework.data.redis.connection.RedisConnectionFactory;
import org.springframework.data.redis.core.RedisTemplate;
import org.springframework.data.redis.serializer.Jackson2JsonRedisSerializer;
import org.springframework.data.redis.serializer.StringRedisSerializer;
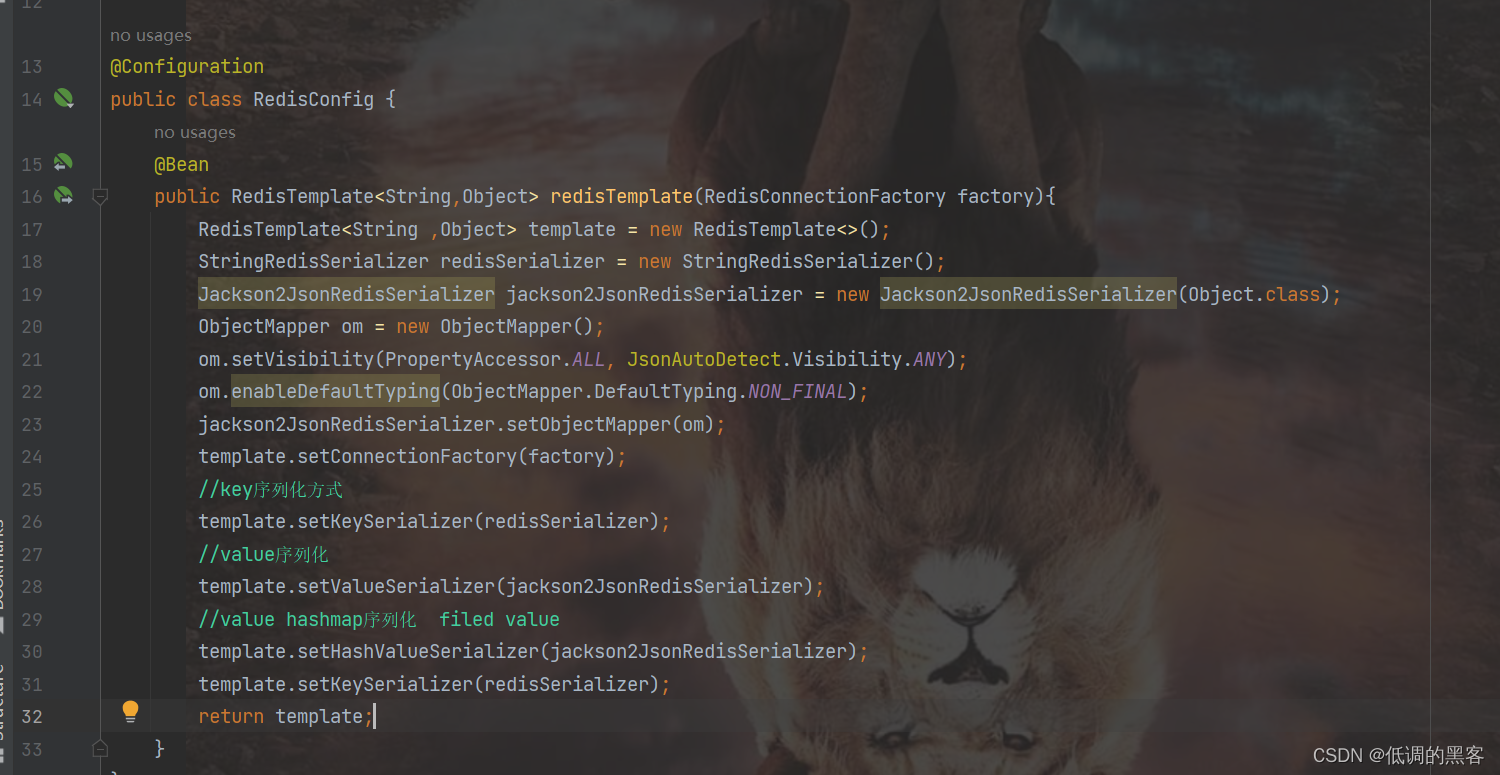
@Configuration
public class RedisConfig {
@Bean
public RedisTemplate<String,Object> redisTemplate(RedisConnectionFactory factory){
RedisTemplate<String ,Object> template = new RedisTemplate<>();
StringRedisSerializer redisSerializer = new StringRedisSerializer();
Jackson2JsonRedisSerializer jackson2JsonRedisSerializer = new Jackson2JsonRedisSerializer(Object.class);
ObjectMapper om = new ObjectMapper();
om.setVisibility(PropertyAccessor.ALL, JsonAutoDetect.Visibility.ANY);
om.enableDefaultTyping(ObjectMapper.DefaultTyping.NON_FINAL);
jackson2JsonRedisSerializer.setObjectMapper(om);
template.setConnectionFactory(factory);
//key序列化方式
template.setKeySerializer(redisSerializer);
//value序列化
template.setValueSerializer(jackson2JsonRedisSerializer);
//value hashmap序列化 filed value
template.setHashValueSerializer(jackson2JsonRedisSerializer);
template.setKeySerializer(redisSerializer);
return template;
}
}
2.测试🥝
当我们配置好序列化文件之后就不需要转换类型或者在进行序列化操作,直接可以向redis中填入对象类型也不存在编码问题,方便了我们的编码操作
package com.lzq;
import com.lzq.pojo.User;
import org.junit.jupiter.api.Test;
import org.springframework.beans.factory.annotation.Autowired;
import org.springframework.boot.test.context.SpringBootTest;
import org.springframework.data.redis.core.RedisTemplate;
import org.springframework.data.redis.core.ValueOperations;
import org.springframework.data.redis.serializer.GenericJackson2JsonRedisSerializer;
import org.springframework.data.redis.serializer.StringRedisSerializer;
@SpringBootTest
class RedisSpringbootApplicationTests {
@Autowired
private RedisTemplate redisTemplate;
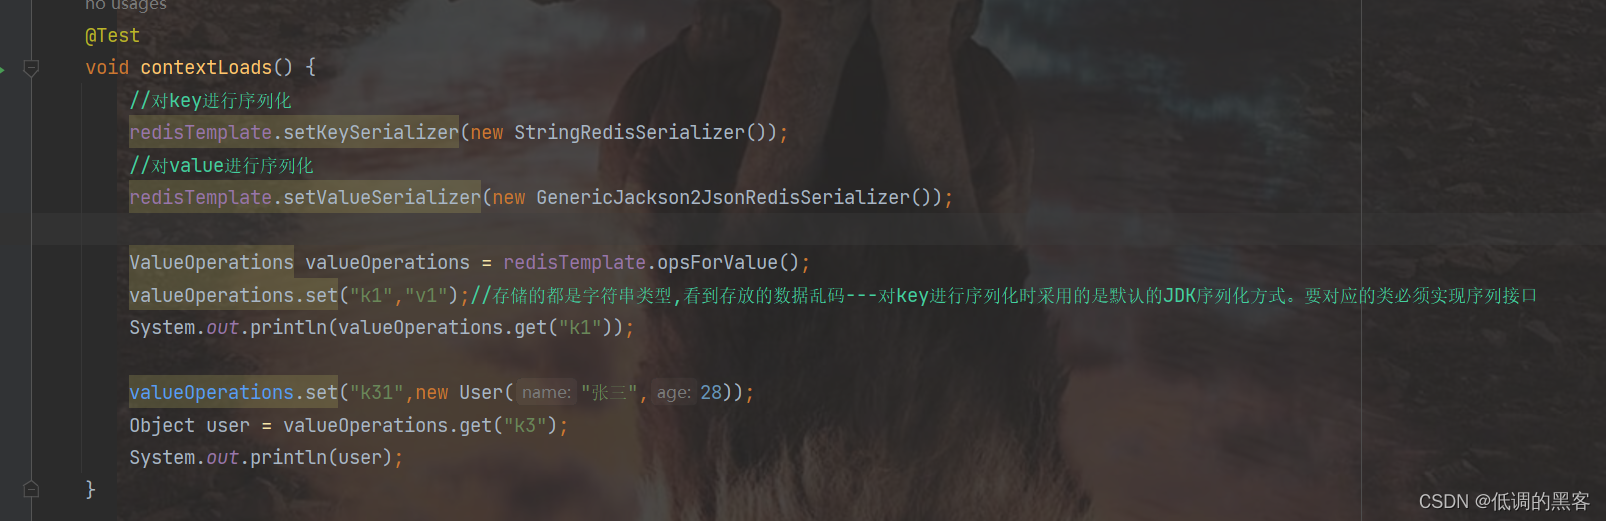
@Test
void contextLoads() {
//对key进行序列化
redisTemplate.setKeySerializer(new StringRedisSerializer());
//对value进行序列化
redisTemplate.setValueSerializer(new GenericJackson2JsonRedisSerializer());
ValueOperations valueOperations = redisTemplate.opsForValue();
valueOperations.set("k1","v1");//存储的都是字符串类型,看到存放的数据乱码---对key进行序列化时采用的是默认的JDK序列化方式。要对应的类必须实现序列接口
System.out.println(valueOperations.get("k1"));
valueOperations.set("k31",new User("张三",28));
Object user = valueOperations.get("k3");
System.out.println(user);
}
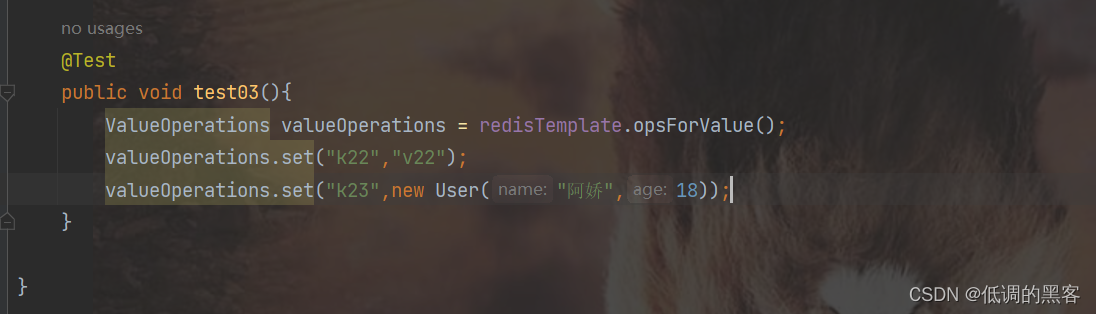
@Test
public void test03(){
ValueOperations valueOperations = redisTemplate.opsForValue();
valueOperations.set("k22","v22");
valueOperations.set("k23",new User("阿娇",18));
}
}
二、 springboot使用redis集群模式🍉
1.更改配置文件🥝

2.打开redis集群模式🥝


3.测试连接🥝
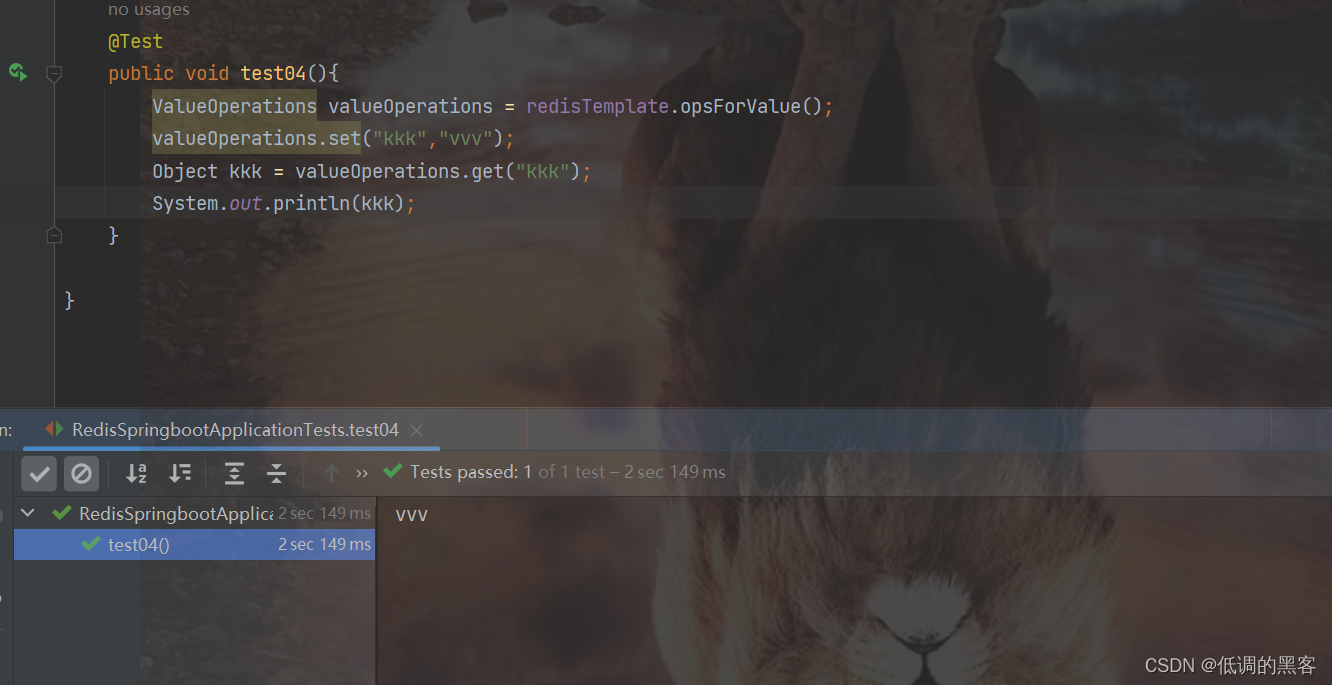
  @Test
    public void test04(){
        ValueOperations valueOperations = redisTemplate.opsForValue();
        valueOperations.set("kkk","vvv");
        Object kkk = valueOperations.get("kkk");
        System.out.println(kkk);
    }
三、使用redis作为缓存🍉

Redis因为其自身高性能的数据读取能力,因此会经常被应用到缓存的场景中
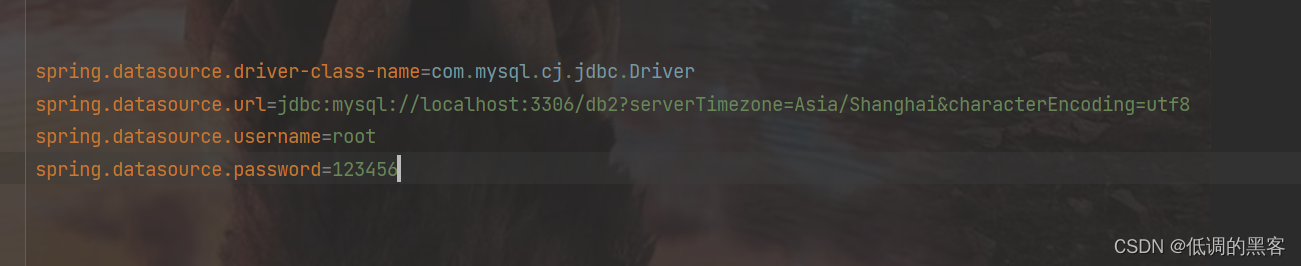
1.连接数据库配置数据源🥝
#redis?????--??
#spring.redis.host=192.168.179.129
#spring.redis.port=6379
# nginx??redis??
spring.redis.cluster.nodes=192.168.179.129:7001,192.168.179.129:7002,192.168.179.129:7003,192.168.179.129:7004,192.168.179.129:7005,192.168.179.129:7006


spring.datasource.driver-class-name=com.mysql.cj.jdbc.Driver
spring.datasource.url=jdbc:mysql://localhost:3306/db2?serverTimezone=Asia/Shanghai&characterEncoding=utf8
spring.datasource.username=root
spring.datasource.password=123456

2.实现单表操作的缓存🥝
package com.lzq.service;
import com.lzq.dao.StudentDao;
import com.lzq.pojo.Student;
import javafx.scene.DepthTest;
import org.springframework.beans.factory.annotation.Autowired;
import org.springframework.data.redis.core.RedisTemplate;
import org.springframework.data.redis.core.ValueOperations;
import org.springframework.stereotype.Service;
import java.util.concurrent.TimeUnit;
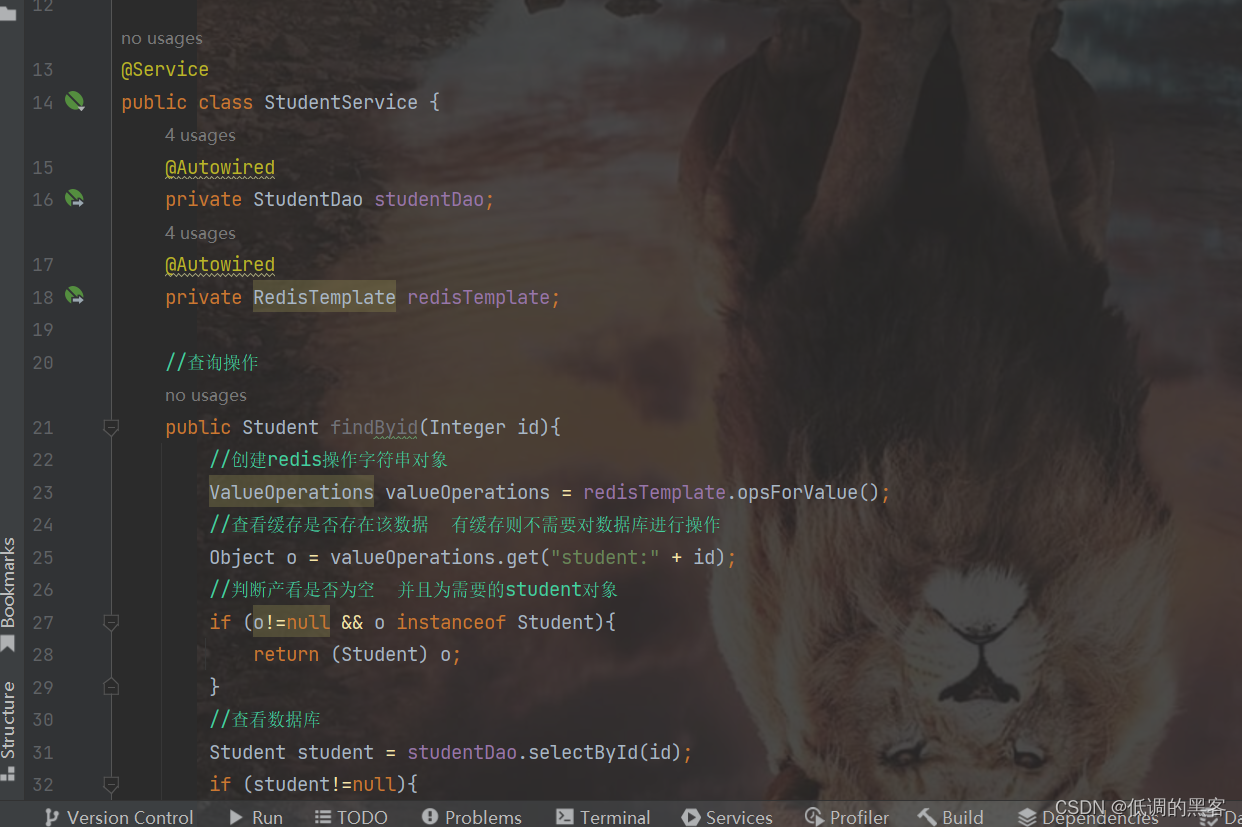
@Service
public class StudentService {
@Autowired
private StudentDao studentDao;
@Autowired
private RedisTemplate redisTemplate;
//查询操作
public Student findByid(Integer id){
//创建redis操作字符串对象
ValueOperations valueOperations = redisTemplate.opsForValue();
//查看缓存是否存在该数据 有缓存则不需要对数据库进行操作
Object o = valueOperations.get("student:" + id);
//判断产看是否为空 并且为需要的student对象
if (o!=null && o instanceof Student){
return (Student) o;
}
//查看数据库
Student student = studentDao.selectById(id);
if (student!=null){
//把查出的数据放到缓存中 key value 过期时间 过期单位
valueOperations.set("student:"+id,student,30, TimeUnit.HOURS);
}
return student;
}
//修改操作
public Student update(Student student){
ValueOperations valueOperations = redisTemplate.opsForValue();
//先删除数据库中的缓存
redisTemplate.delete("student:"+student.getSid());
//再修改数据库中的数据
studentDao.updateById(student);
return student;
}
//添加操作
public Student insert(Student student){
studentDao.insert(student);
return student;
}
//删除操作
public int delete(int id){
//先删除缓存数据
redisTemplate.delete("student:"+id);
//再对数据库进行操作
int i = studentDao.deleteById(id);
return i;
}
}
思考: AOP—可以把一些非核心业务代码抽象----抽取为一个切面类@Aspect. 在结合一些注解完成相应的切面功能。 Spring框也能想到,Spring在3.0以后提高了缓存注解。可以帮你把功能抽取。
3.使用注解简化缓存操作🥝
1)配置缓存配置🍓
package com.lzq.config;
import com.fasterxml.jackson.annotation.JsonAutoDetect;
import com.fasterxml.jackson.annotation.PropertyAccessor;
import com.fasterxml.jackson.databind.ObjectMapper;
import org.springframework.cache.CacheManager;
import org.springframework.context.annotation.Bean;
import org.springframework.context.annotation.Configuration;
import org.springframework.data.redis.cache.RedisCacheConfiguration;
import org.springframework.data.redis.cache.RedisCacheManager;
import org.springframework.data.redis.connection.RedisConnectionFactory;
import org.springframework.data.redis.core.RedisTemplate;
import org.springframework.data.redis.serializer.Jackson2JsonRedisSerializer;
import org.springframework.data.redis.serializer.RedisSerializationContext;
import org.springframework.data.redis.serializer.RedisSerializer;
import org.springframework.data.redis.serializer.StringRedisSerializer;
import java.time.Duration;
@Configuration
public class RedisConfig {
@Bean
public RedisTemplate<String,Object> redisTemplate(RedisConnectionFactory factory){
RedisTemplate<String ,Object> template = new RedisTemplate<>();
StringRedisSerializer redisSerializer = new StringRedisSerializer();
Jackson2JsonRedisSerializer jackson2JsonRedisSerializer = new Jackson2JsonRedisSerializer(Object.class);
ObjectMapper om = new ObjectMapper();
om.setVisibility(PropertyAccessor.ALL, JsonAutoDetect.Visibility.ANY);
om.enableDefaultTyping(ObjectMapper.DefaultTyping.NON_FINAL);
jackson2JsonRedisSerializer.setObjectMapper(om);
template.setConnectionFactory(factory);
//key序列化方式
template.setKeySerializer(redisSerializer);
//value序列化
template.setValueSerializer(jackson2JsonRedisSerializer);
//value hashmap序列化 filed value
template.setHashValueSerializer(jackson2JsonRedisSerializer);
template.setKeySerializer(redisSerializer);
return template;
}
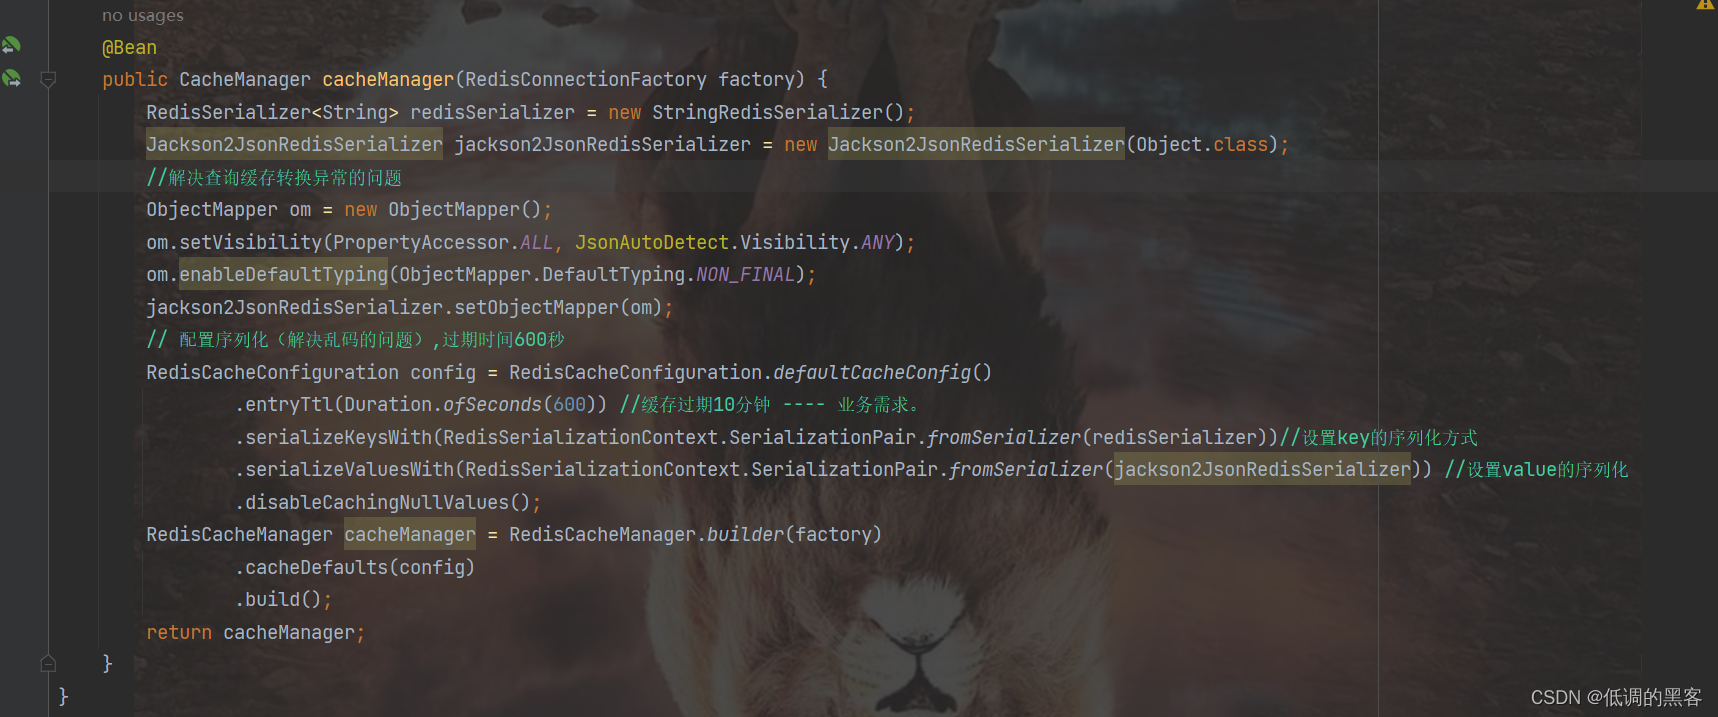
@Bean
public CacheManager cacheManager(RedisConnectionFactory factory) {
RedisSerializer<String> redisSerializer = new StringRedisSerializer();
Jackson2JsonRedisSerializer jackson2JsonRedisSerializer = new Jackson2JsonRedisSerializer(Object.class);
//解决查询缓存转换异常的问题
ObjectMapper om = new ObjectMapper();
om.setVisibility(PropertyAccessor.ALL, JsonAutoDetect.Visibility.ANY);
om.enableDefaultTyping(ObjectMapper.DefaultTyping.NON_FINAL);
jackson2JsonRedisSerializer.setObjectMapper(om);
// 配置序列化(解决乱码的问题),过期时间600秒
RedisCacheConfiguration config = RedisCacheConfiguration.defaultCacheConfig()
.entryTtl(Duration.ofSeconds(600)) //缓存过期10分钟 ---- 业务需求。
.serializeKeysWith(RedisSerializationContext.SerializationPair.fromSerializer(redisSerializer))//设置key的序列化方式
.serializeValuesWith(RedisSerializationContext.SerializationPair.fromSerializer(jackson2JsonRedisSerializer)) //设置value的序列化
.disableCachingNullValues();
RedisCacheManager cacheManager = RedisCacheManager.builder(factory)
.cacheDefaults(config)
.build();
return cacheManager;
}
}
2)开启缓存注解🍓
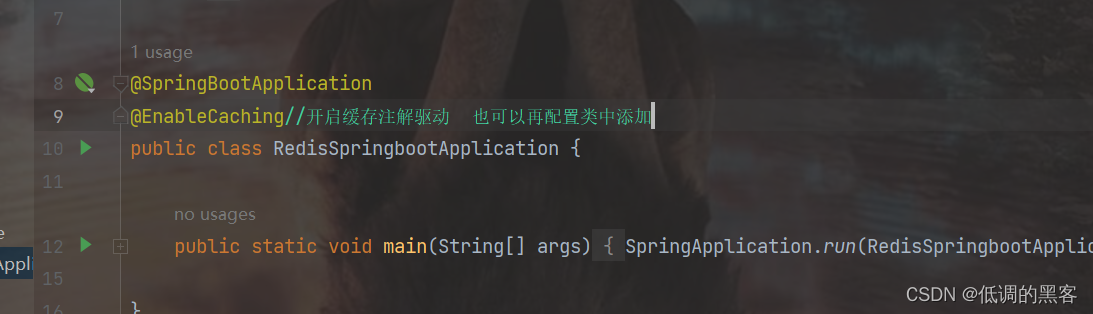
@EnableCaching//开启缓存注解驱动 也可以再配置类中添加
3)使用缓存注解🍓
package com.lzq.service;
import com.lzq.dao.StudentDao;
import com.lzq.pojo.Student;
import javafx.scene.DepthTest;
import org.springframework.beans.factory.annotation.Autowired;
import org.springframework.cache.annotation.CacheEvict;
import org.springframework.cache.annotation.CachePut;
import org.springframework.cache.annotation.Cacheable;
import org.springframework.data.redis.core.RedisTemplate;
import org.springframework.data.redis.core.ValueOperations;
import org.springframework.stereotype.Service;
import java.util.concurrent.TimeUnit;
@Service
public class StudentService {
@Autowired
private StudentDao studentDao;
@Autowired
private RedisTemplate redisTemplate;
//查询操作
public Student findByid(Integer id){
//创建redis操作字符串对象
ValueOperations valueOperations = redisTemplate.opsForValue();
//查看缓存是否存在该数据 有缓存则不需要对数据库进行操作
Object o = valueOperations.get("student:" + id);
//判断产看是否为空 并且为需要的student对象
if (o!=null && o instanceof Student){
return (Student) o;
}
//查看数据库
Student student = studentDao.selectById(id);
if (student!=null){
//把查出的数据放到缓存中 key value 过期时间 过期单位
valueOperations.set("student:"+id,student,30, TimeUnit.HOURS);
}
return student;
}
//修改操作
public Student update(Student student){
ValueOperations valueOperations = redisTemplate.opsForValue();
//先删除数据库中的缓存
redisTemplate.delete("student:"+student.getSid());
//再修改数据库中的数据
studentDao.updateById(student);
return student;
}
//添加操作
public Student insert(Student student){
studentDao.insert(student);
return student;
}
//删除操作
public int delete(int id){
//先删除缓存数据
redisTemplate.delete("student:"+id);
//再对数据库进行操作
int i = studentDao.deleteById(id);
return i;
}
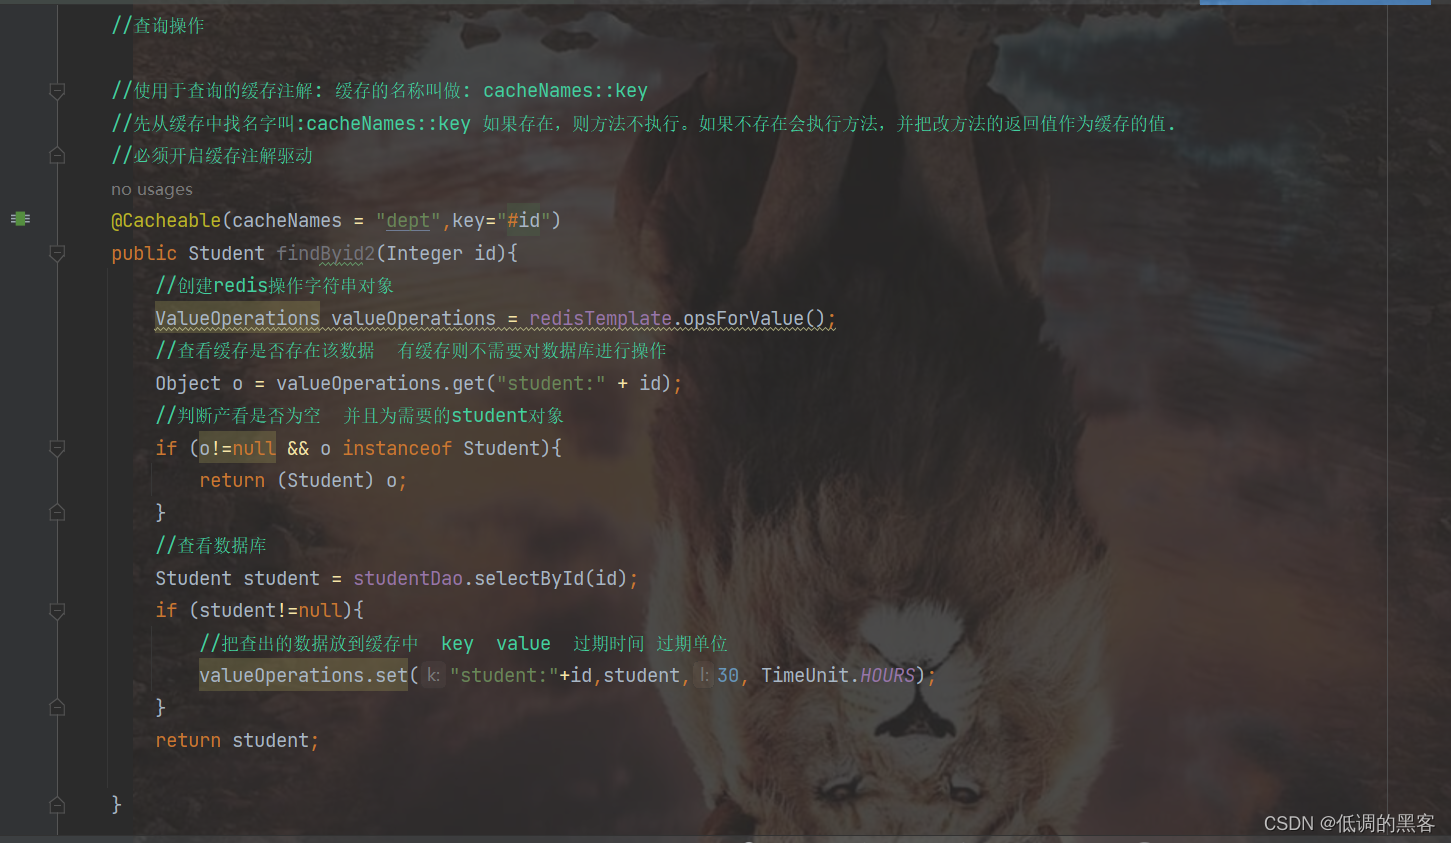
//查询操作
//使用于查询的缓存注解: 缓存的名称叫做: cacheNames::key
//先从缓存中找名字叫:cacheNames::key 如果存在,则方法不执行。如果不存在会执行方法,并把改方法的返回值作为缓存的值.
//必须开启缓存注解驱动
@Cacheable(cacheNames = "dept",key="#id")
public Student findByid2(Integer id){
//创建redis操作字符串对象
ValueOperations valueOperations = redisTemplate.opsForValue();
//查看缓存是否存在该数据 有缓存则不需要对数据库进行操作
Object o = valueOperations.get("student:" + id);
//判断产看是否为空 并且为需要的student对象
if (o!=null && o instanceof Student){
return (Student) o;
}
//查看数据库
Student student = studentDao.selectById(id);
if (student!=null){
//把查出的数据放到缓存中 key value 过期时间 过期单位
valueOperations.set("student:"+id,student,30, TimeUnit.HOURS);
}
return student;
}
//修改操作
//先执行方法体,并把方法的返回结果作为缓存的值。修改缓存的值。
@CachePut(cacheNames = "dept",key="#dept.id")
public Student update2(Student student){
ValueOperations valueOperations = redisTemplate.opsForValue();
//先删除数据库中的缓存
redisTemplate.delete("student:"+student.getSid());
//再修改数据库中的数据
studentDao.updateById(student);
return student;
}
//添加操作
public Student insert2(Student student){
studentDao.insert(student);
return student;
}
//删除操作
//删除缓存再执行方法体
@CacheEvict(cacheNames = "dept",key = "#id")
public int delete2(int id){
//先删除缓存数据
redisTemplate.delete("student:"+id);
//再对数据库进行操作
int i = studentDao.deleteById(id);
return i;
}
}


 463
463


 被折叠的 条评论
为什么被折叠?
被折叠的 条评论
为什么被折叠?
 到【灌水乐园】发言


