


目录
3.Spring、Spring Boot和Spring Cloud的关系
一 .Spring Boot开发入门
1.Spring Boot简介
Spring Boot是一款基于Spring框架的开源框架,旨在简化Spring应用程序的初始搭建和开发过程。它使用特定的方式进行配置,使开发人员不再需要定义样板化的配置。Spring Boot的目标是使Java EE开发更加容易,提供一种统一、高效的方式构造整个应用,并且可以将单层框架以最佳的组合揉和在一起建立一个连贯的体系。
2.Spring Boot特点
Spring Boot的主要特点包括:
1.简化依赖管理:Spring Boot通过自动配置和依赖注入简化了依赖管理,使得开发人员无需手动配置和导入各种依赖库。
2.嵌入式Web服务器:Spring Boot内置了Tomcat、Jetty等Web服务器,使得应用程序可以直接打包成JAR文件并独立运行。
3.约定优于配置:Spring Boot采用了“约定优于配置”的原则,通过约定大部分常见的配置,降低了开发人员的配置负担。
4.自动配置:Spring Boot根据项目中的依赖关系自动配置相关组件,减少了开发人员的配置工作。
5.易于测试:Spring Boot内置了JUnit、Mockito等测试工具的支持,使得测试变得更加简单。
6.开箱即用:Spring Boot提供了许多现成的Starter组件,使得开发人员可以快速构建自己的应用程序。
总之,Spring Boot为Java EE开发提供了一种更加简便、高效的方式,使得开发人员可以更专注于业务逻辑的实现
3.Spring、Spring Boot和Spring Cloud的关系
Spring、Spring Boot和Spring Cloud都是基于Spring框架的开源项目,它们之间的关系如下:
1.Spring框架:Spring是一个全面的开源框架,它提供了一套完整的编程和配置模型,用于构建企业级应用程序。Spring的核心功能包括依赖注入(IoC)和面向切面编程(AOP),这些功能使得开发人员可以更轻松地构建和维护复杂的应用程序。
2.Spring Boot:Spring Boot是在Spring框架基础上发展而来的,它旨在简化Spring应用程序的初始搭建和开发过程。Spring Boot通过自动配置和依赖注入简化了依赖管理,使得开发人员不再需要定义样板化的配置。此外,Spring Boot内置了Web服务器,可以直接打包成JAR文件并独立运行,提供了更便捷的开发体验。
3.Spring Cloud:Spring Cloud是一个基于Spring Boot的开源项目,它提供了一套用于构建企业级微服务应用程序的解决方案。Spring Cloud基于Spring Boot,并提供了多个组件,如服务发现、配置管理、路由和负载均衡等,以支持开发人员构建分布式系统和微服务架构的应用程序。
综上所述,Spring、Spring Boot和Spring Cloud之间的关系可以这样理解:Spring是基础框架,提供了依赖注入和面向切面编程等功能;Spring Boot是基于Spring框架的一种便捷开发方式,简化了Spring应用程序的开发过程;而Spring Cloud是在Spring Boot基础上提供了一套微服务开发解决方案。
二.Spring Boot核心配置
1.默认配置文件
在Spring Boot中,默认配置文件是application.properties或application.yml,它们通常位于项目的resources目录下。Spring Boot启动时会自动扫描并加载这个文件,作为应用程序的默认配置。
application.properties是一个标准的Java属性文件,每个属性由键和值组成,用冒号分隔。
例如:
# 设置服务器端口
server.port=8080
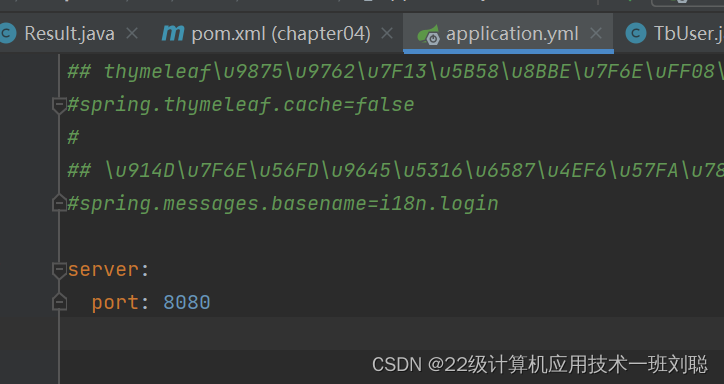
application.yml是一个YAML格式的配置文件,每个配置项由键和值组成,键和值之间用冒号分隔,不同的配置项之间用空行分隔。
例如:
server
port
8080
在实际使用中,可以根据项目的需要,在resources目录下创建多个application.properties或application.yml文件,Spring Boot会自动合并这些配置文件的内容,优先级高的配置会覆盖优先级低的配置。
具体的优先级规则如下:
1.文件越靠近项目的根目录,优先级越高。
2.在相同位置下,application.properties的优先级高于application.yml。
3.优先级相同的配置,如果存在重复,那么后面的配置会覆盖前面的配置。
通过以上规则,可以灵活地管理和配置Spring Boot应用程序的默认配置文件。
2.注入配置文件属性值
在Spring Boot中,可以通过以下方式注入配置文件属性值:
1.使用@Value注解:
在Spring Boot中,可以使用@Value注解将配置文件中的属性值注入到Java类的属性上。首先,在application.properties或application.yml文件中添加相应的属性配置。
例如:
my.property.value=Hello,World!
然后,在需要使用该属性的Java类中,使用@Value注解注入该属性。例如:
java
import org.springframework.beans.factory.annotation.Value;
import org.springframework.stereotype.Component;
@Component
public class MyComponent {
@Value("${my.property.value}")
private String propertyValue;
public void printPropertyValue() {
System.out.println("Property value
" + propertyValue);
}
}
2.使用Environment对象:
在Spring Boot中,可以通过Environment对象获取配置文件中的属性值。首先,注入Environment对象,然后使用getProperty方法获取属性值。
例如:
java
import org.springframework.beans.factory.annotation.Autowired;
import org.springframework.core.env.Environment;
import org.springframework.stereotype.Component;
@Component
public class MyComponent {
@Autowired
private Environment env;
public void printPropertyValue() {
String propertyValue = env.getProperty("my.property.value");
System.out.println("Property value
" + propertyValue);
}
}
通过以上两种方法,可以在Spring Boot应用程序中注入配置文件属性值。
3.自定义配置类
在Spring框架中,可以通过创建一个自定义配置类来自定义配置。这个类可以包含你想要配置的各种bean。然后,你可以在一个XML配置文件或者通过Java的配置类来加载你的自定义配置类。
以下是一个简单的步骤来说明如何创建和使用自定义配置类:
-
首先,创建一个新的Java类,例如
CustomConfig,并使用@Configuration注解标记它:
java复制代码
@Configuration | |
public class CustomConfig { | |
// 在这里定义你的beans | |
} |
-
在这个类中,你可以使用
@Bean注解来定义你想要注入到Spring容器中的bean。例如,如果你想要创建一个新的HelloWorldService实例,你可以这样做:
java@Configuration | |
public class CustomConfig { | |
@Bean | |
public HelloWorldService helloWorldService() { | |
return new HelloWorldService(); | |
} | |
} |
-
现在你已经有了一个定义了多个bean的配置类,下一步就是加载这个配置类。如果你正在使用XML配置,你可以使用
<bean>元素来加载配置类:
<beans xmlns="http://www.springframework.org/schema/beans" | |
xmlns:xsi="http://www.w3.org/2001/XMLSchema-instance" | |
xsi:schemaLocation="http://www.springframework.org/schema/beans | |
http://www.springframework.org/schema/beans/spring-beans-3.0.xsd"> | |
<bean class="com.example.CustomConfig"/> | |
</beans> |
如果你正在使用Java配置,你可以使用@Import注解来加载配置类:
java@Configuration | |
@Import({CustomConfig.class}) | |
public class AppConfig { | |
// other beans | |
} |
这样,当你的应用程序启动时,Spring框架会读取你的自定义配置类,并创建你在CustomConfig中定义的所有bean。然后,你可以在你的其他bean或者控制器中注入这些bean,例如:
java@Controller | |
public class HelloWorldController { | |
private final HelloWorldService helloWorldService; | |
@Autowired | |
public HelloWorldController(HelloWorldService helloWorldService) { | |
this.helloWorldService = helloWorldService; | |
} | |
// ... other code ... | |
} |
4.自定义配置文件
在Spring Boot中,使用自定义的配置文件可以通过以下步骤实现:
1.在项目的src/main/resources目录下,创建一个自定义的配置文件,例如custom.properties或custom.yml。
2.在自定义配置文件中,添加所需的配置项。
例如:
custom.property1=value1
custom.property2=value2
3.在Spring Boot应用程序中,通过@Configuration注解定义一个配置类,并使用@ConfigurationProperties注解将自定义配置文件中的属性绑定到该类的属性上。
例如:
java
import org.springframework.boot.context.properties.ConfigurationProperties;
import org.springframework.context.annotation.Configuration;
@Configuration
@ConfigurationProperties(prefix = "custom")
public class CustomProperties {
private String property1;
private String property2;
// getter和setter方法
}
4.在配置类中,使用@Autowired注解注入Environment对象,然后使用getProperty方法获取自定义配置文件中的属性值。例如:
java
import org.springframework.beans.factory.annotation.Autowired;
import org.springframework.core.env.Environment;
import org.springframework.stereotype.Component;
@Component
public class CustomPropertyReader {
@Autowired
private Environment env;
public String getProperty1() {
return env.getProperty("custom.property1");
}
public String getProperty2() {
return env.getProperty("custom.property2");
}
}
5.在需要使用自定义配置文件中的属性值的地方,注入CustomPropertyReader类,并调用其getProperty方法获取属性值。例如:
`java
import org.springframework.beans.factory.annotation.Autowired;
import org.springframework.stereotype.Service;
@Service
public class MyService {
@Autowired
private CustomPropertyReader customPropertyReader;
public void doSomething() {
String property1 = customPropertyReader.getProperty1();
String property2 = customPropertyReader.getProperty2();
// 利用属性值进行相应的操作
}
}
`
通过以上步骤,可以在Spring Boot应用程序中使用自定义的配置文件。
5.引用外部配置文件
在Spring框架中,可以使用@PropertySource注解来引用外部的配置文件。常见的配置文件格式包括.properties和.yml。
以下是一个使用@PropertySource引用外部.properties配置文件的示例:
java@Configuration | |||
@PropertySource("classpath:config.properties") | |||
public class AppConfig { | |||
private Environment env; | |||
public void configure() { | |||
String someProperty = env.getProperty("someProperty"); | |||
// 使用配置文件中的属性进行配置 | |||
} | |||
}
|
在上面的示例中,@PropertySource注解指定了配置文件的位置,即classpath:config.properties。这告诉Spring框架在类路径下查找一个名为config.properties的配置文件,并将其加载到Spring容器中。然后,可以使用Environment对象来访问配置文件中的属性。
如果使用.yml格式的配置文件,则需要使用@ConfigurationProperties注解来绑定配置文件中的属性到Java对象中。以下是一个示例:
java@Configuration | |
@ConfigurationProperties(locations = "classpath:config.yml") | |
public class AppConfig { | |
private SomeClass someProperty; | |
public void setSomeProperty(SomeClass someProperty) { | |
this.someProperty = someProperty; | |
} | |
// 其他配置代码... | |
} |
在上面的示例中,@ConfigurationProperties注解指定了配置文件的路径,即classpath:config.yml。这告诉Spring框架在类路径下查找一个名为config.yml的配置文件,并将其加载到Spring容器中。然后,可以使用Java类的属性来访问配置文件中的属性,并使用setter方法进行配置。注意,这里的SomeClass应该是一个符合Java Bean规范的类,以便能够被正确地序列化和反序列化。
6.多环节配置
在Spring框架中,可以使用多环节配置来管理不同环境下的配置信息。这可以通过使用不同的配置文件或通过使用Spring的@Profile注解来实现。
使用不同的配置文件可以根据不同的环境来配置不同的属性值。可以根据不同的环境来创建不同的配置文件,例如application-dev.properties、application-test.properties和application-prod.properties,并在其中定义不同的属性值。然后,在Spring的配置类中使用@PropertySource注解来引用这些配置文件。例如:
java@Configuration | |
@PropertySource("classpath:application-${spring.profiles.active}.properties") | |
public class AppConfig { | |
// 其他配置代码... | |
} |
在上面的示例中,spring.profiles.active属性用于指定当前激活的环境。然后,通过在属性文件名中使用${spring.profiles.active}来引用当前激活的环境的配置文件。
另一种方法是使用Spring的@Profile注解来管理不同环境下的配置信息。可以使用@Profile注解来标记特定的bean,只有在指定环境激活时才会创建该bean。例如:
java@Configuration | |
public class DevConfig { | |
@Bean | |
@Profile("dev") | |
public SomeBean someBean() { | |
return new SomeBean(); | |
} | |
} |
在上面的示例中,@Profile("dev")注解表示只有在"dev"环境激活时才会创建someBean()。可以创建多个配置类,每个配置类对应一个环境,并在其中定义不同环境的配置信息。然后,通过在配置文件中设置spring.profiles.active属性来激活不同环境的配置信息。例如,在application.properties文件中设置spring.profiles.active=dev来激活"dev"环境的配置信息。
二、运行Spring boot项目
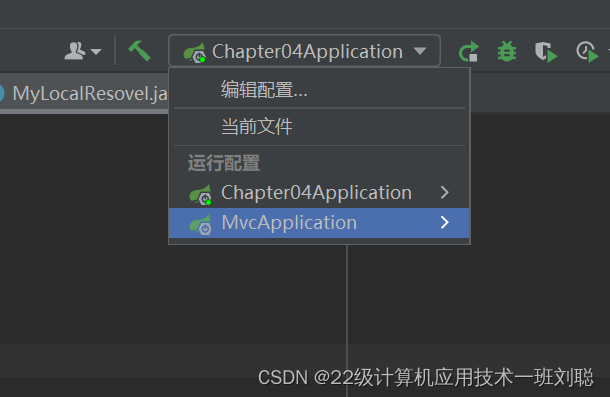
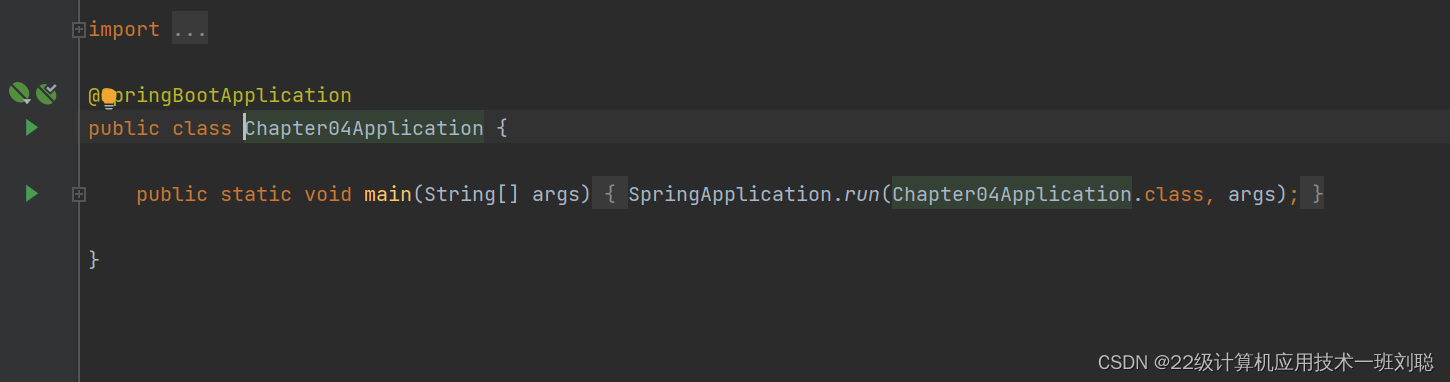
1.运行Spring项目要注意运行的启动类,需要运行的项目要运行其对应的启动类,不然会出问题
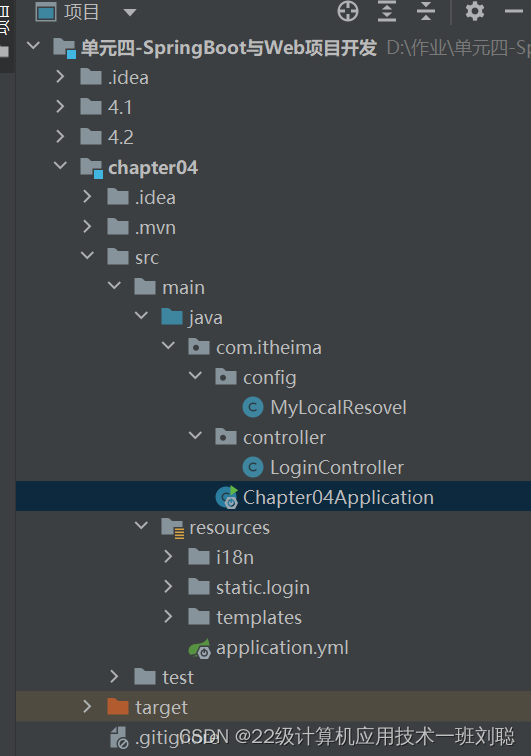
2.如图,我们需要运行的是Chapter04Application,而不是MvcAppliCation,因为启动类的名称是Chapter04Application
3.运行的各个包需要与启动类在同一个包里,不然会报错
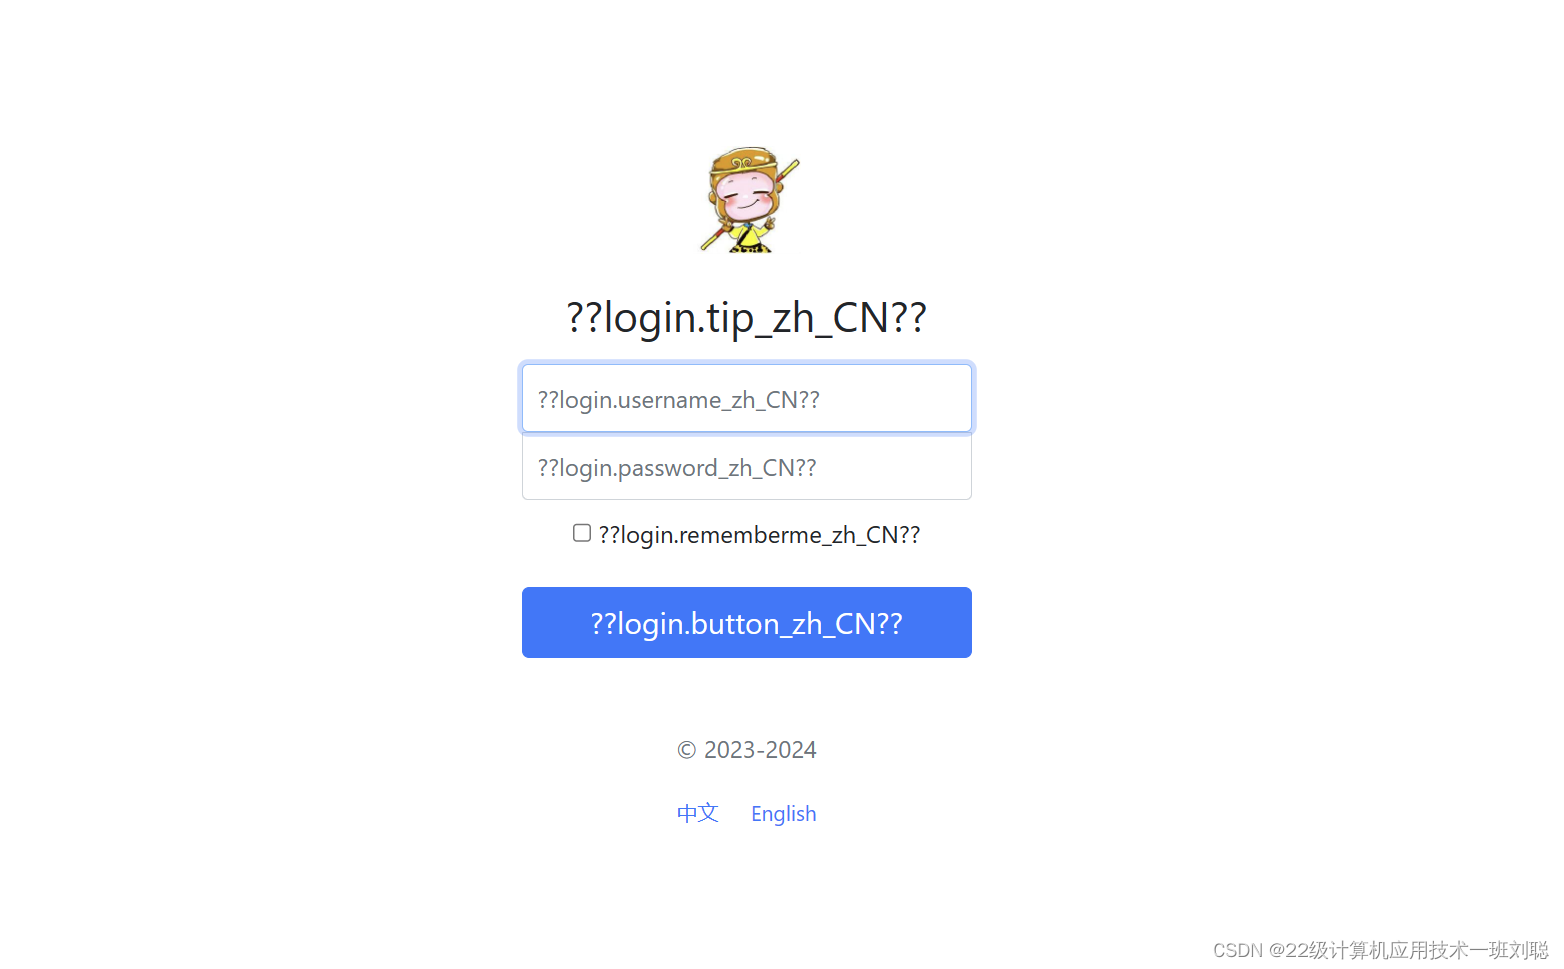
三、查询运行结果的链接
查询运行结果,需要与Controller层设置的属性一样
输入localhost:8080/toLoginPage
不能只输入localhost:8080,也不能出现错字漏字,大小写不一致。
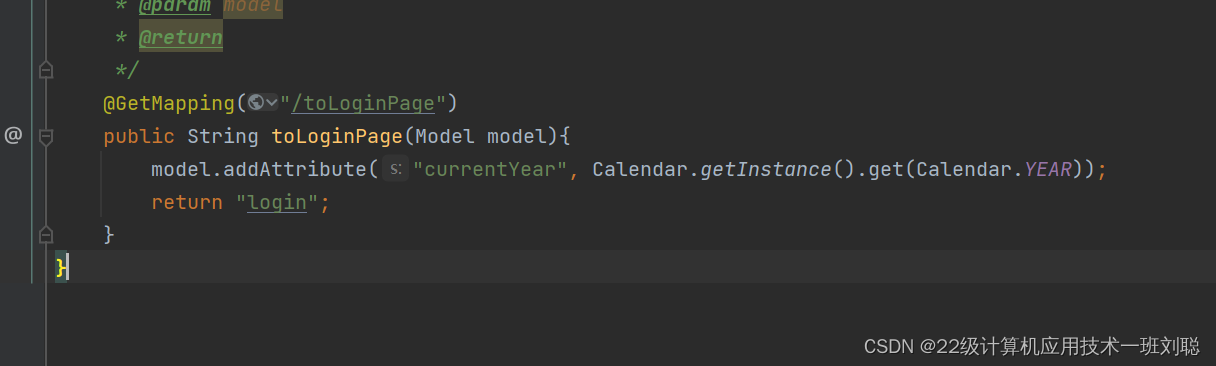
最终运行结果为


 56万+
56万+


 被折叠的 条评论
为什么被折叠?
被折叠的 条评论
为什么被折叠?
 到【灌水乐园】发言


