


最后的话
最近很多小伙伴找我要Linux学习资料,于是我翻箱倒柜,整理了一些优质资源,涵盖视频、电子书、PPT等共享给大家!
资料预览
给大家整理的视频资料:

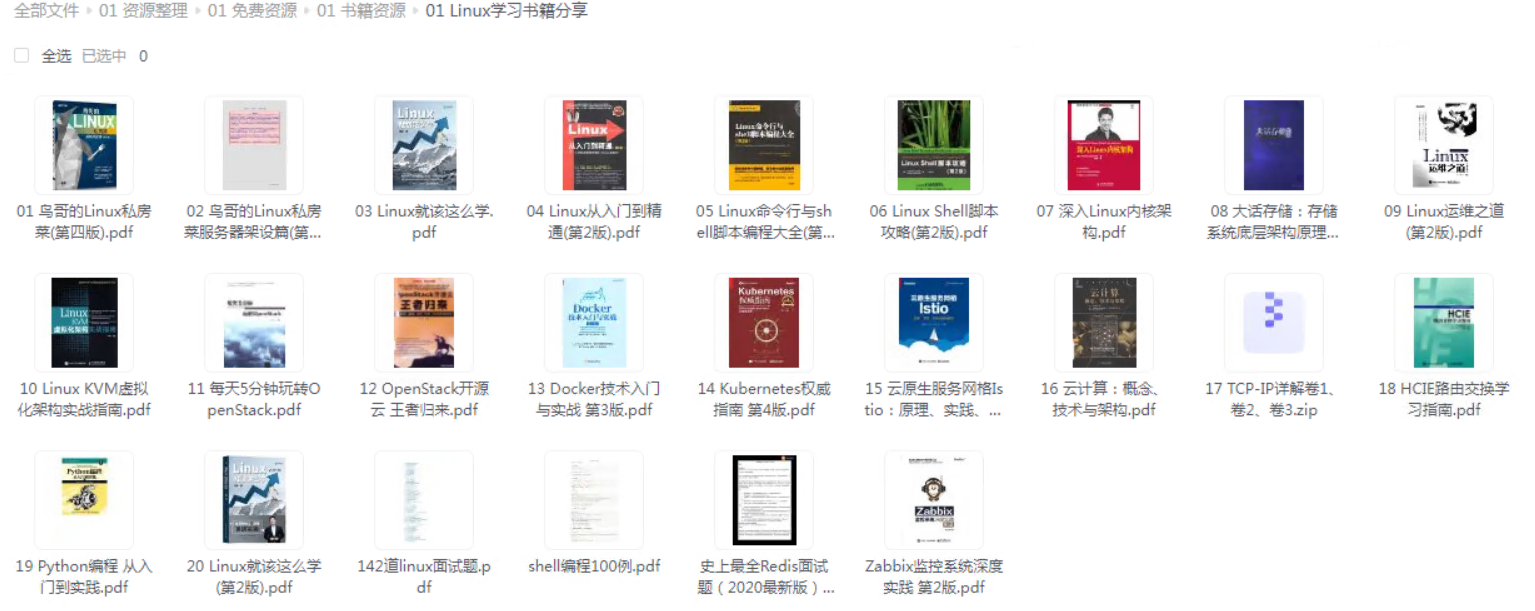
给大家整理的电子书资料:
如果本文对你有帮助,欢迎点赞、收藏、转发给朋友,让我有持续创作的动力!
网上学习资料一大堆,但如果学到的知识不成体系,遇到问题时只是浅尝辄止,不再深入研究,那么很难做到真正的技术提升。
一个人可以走的很快,但一群人才能走的更远!不论你是正从事IT行业的老鸟或是对IT行业感兴趣的新人,都欢迎加入我们的的圈子(技术交流、学习资源、职场吐槽、大厂内推、面试辅导),让我们一起学习成长!
多线程编程与资源同步
在Windows下,主线程退出后,子线程也会被关闭;
在Linux下,主线程退出后,系统不会关闭子线程,这样就产生了僵尸进程
3.2.1创建线程
- Linux 线程的创建
#include <unistd.h>
#include <stdio.h>
#include <pthread.h>
void\* threadfunc(void\* arg)
{
    while (1)
    {
        sleep(1);
        printf("I am a new thread!!!\n");
    }
    return NULL;
}

int main()
{
    pthread_t threadid;
    pthread\_create(&threadid, NULL,threadfunc, NULL);
    while (1)
    {

    }
    return 0;
}
- Windows CRT1提供的线程创建函数
#include <process.h>
#include <stdio.h>
unsigned int __stdcall threadfun(void\* args)
{
	while (true)
	{
		printf("I am new thread!");
	}
	return 0;
}
int main(int argc,char\* argv[])
{
	unsigned int threadid;
	\_beginthreadex(0, 0, threadfun, 0, 0, &threadid);

	while (true)//不让主线程退出
	{

	}
	return 0;
}
- C++ 提供的
std::thread类
#include <iostream>
#include <thread>

void threadproc1()
{
	while (true)
	{
		printf("I am aNew Thread!!");
	}
}

void threadproc2(int a,int b)
{
	while (true)
	{
		printf("I an Thread2");
	}
}

int main()
{
	std::thread t1(threadproc1);
	std::thread t2(threadproc2, 1, 2);
	while (true)
	{

	}
}
这种方法容易出错,原因如下:
#include <iostream>
#include <thread>

void threadproc1()
{
	while (true)
	{
		printf("I am aNew Thread!!");
	}
}

void func()
{
	std::thread t(threadproc1);
}
int main()
{
	func();
	while (true)
	{

	}
}
这段代码实际上试运行不了的,在vs2019 release模式下结果:
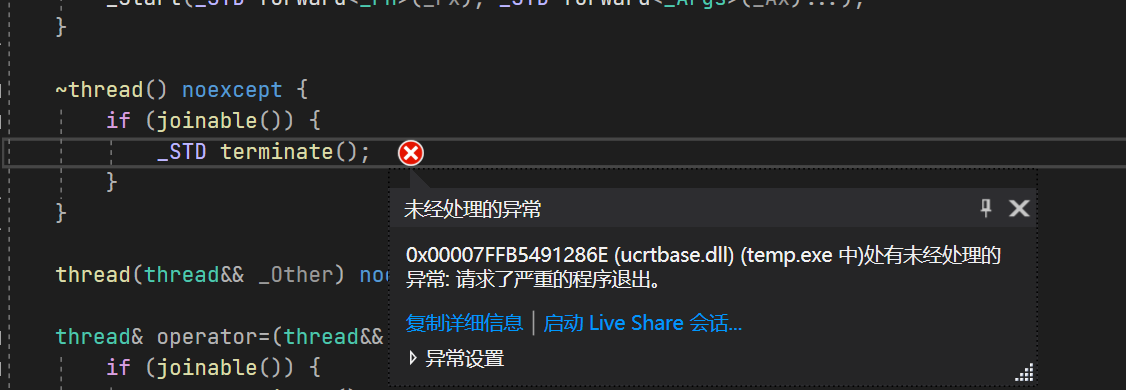
在func函数调用完成后,func中的局部变量t被销毁,而此时线程函数仍然在运行.所以使用std::thread创建线程必须保证线程函数运行期间,线程对象始终有效!!
当然,我们也可以使用detach方法解决这个问题,使线程函数和线程对象脱离
...
void func()
{
	std::thread t(threadproc1);
    t.detach();
}
...
这样就可以运行了,但是不推进这样做,因为我们需要线程对象对线程进行管理
3.2.2线程ID
下面介绍一下Linux系统线程ID本质
- Linux系统线程ID本质
在Linux系统中有三种方法可以获取一个线程的ID
+ 调用`pthread_create`函数时,可以通过第一个参数获取线程ID
+ 在需要获取ID的线程中调用`pthread_self`函数获取
+ **通过系统调用获取线程ID**其中,方法一和方法二获取线程ID的结果都是一样的,都是`pthread_t`类型
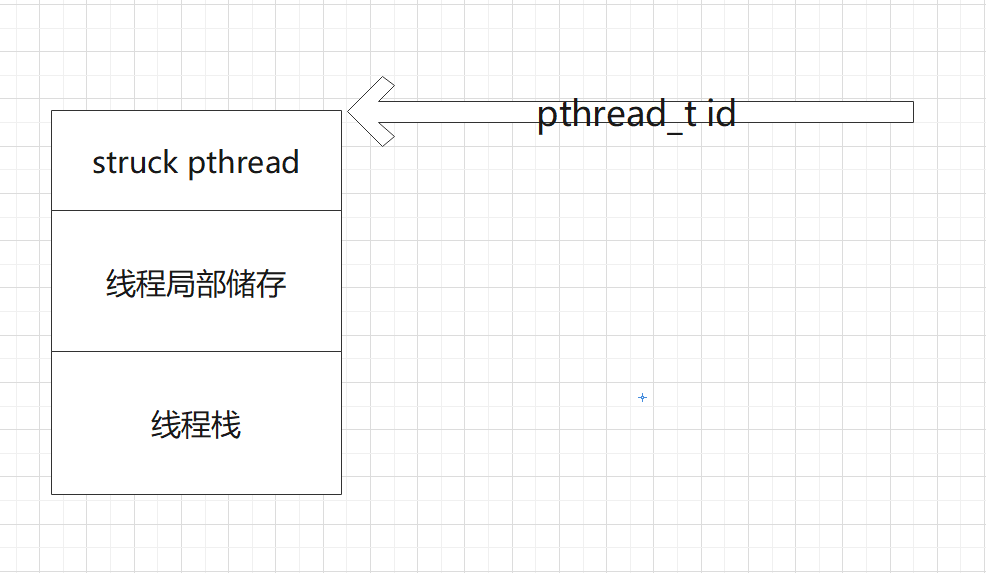
不同的进程可能有同样的地址内存块(共享内存),所以通过方法一和方法二获取到的线程ID可能不是全系统唯一的,而方法三获取的线程ID是全系统唯一的,就是LWP(轻量级进程)2
- C++ 获取线程ID的方法
#include <thread>
#include <iostream>
#include <sstream>
void worker\_thread\_func()
{
    while (true)
    {

    }
}

int main()
{
    //获取线程t的id
    std::thread t(worker_thread_func);
    std::thread::id worker_thread_id=t.get\_id();
    std::cout<<worker_thread_id<<std::endl;
    //获取主线程的id
    std::thread::id main_thread_id = std::this_thread::get\_id();
    std::cout<<main_thread_id<<std::endl;
    while (true)
    {
    }
}
运行结果(ubuntu20):

3.2.3 等待线程结束
- 在Linux下等待线程结束
Linux 线程库提供了pthread_join函数,用来等待某线程的退出并接收他的返回值
这种操作被称为汇接(join)
Declared in: pthread.h
static int pthread\_join(pthread_t __th, void \* \*__thread_return)
参数__th是需要等待的线程ID;参数__thread__return是输出参数,用于接受被等待线程的退出码,
可以再调用pthread_exit()时指定退出码
Declared in: pthread.h
static void pthread\_exit(void \*__retval)
其中__retval可以通过__thread_return参数获得
下面来展示一个实例,在程序启动时开启一个工作线程,工作线程将当前系统时间写入一个文件后,主线程等待工作线程退出后,从文件中读取时间,并将其输出
#include <cstdio>
#include <string>
#include <pthread.h>
#include <cstring>
#define TIME\_FILENAME "time.txt"
void\* fileThreadFunc(void\* arg)
{
    time_t now = time(nullptr);
    tm\* t = localtime(&now);
    char timeStr[32]={0};
    snprintf(timeStr,32,"%04d/%02d %02d:%02d:%02d",
             t->tm_year+1900,
             t->tm_mon+1,
             t->tm_mday,
             t->tm_hour,
             t->tm_min,
             t->tm_sec);
    FILE\* fp = fopen(TIME_FILENAME,"w");
    if(fp == nullptr)
    {
        printf("打开文件(time.txt)失败\n");
        return nullptr;
    }
    size_t sizeToWrite=strlen(timeStr) +1;
    size_t ret = fwrite(timeStr,1,sizeToWrite,fp);
    if(ret != sizeToWrite)
    {
        printf("写入错误!\n");
    }
    fclose(fp);
    return nullptr;
}

int main()
{
    pthread_t fileThreadID;
    int ret = pthread\_create(&fileThreadID, nullptr,fileThreadFunc, nullptr);
    if(ret != 0)
    {
        printf("创建线程失败\n");
        return -1;
    }
    int\* retval;
    pthread\_join(fileThreadID,(void\*\*)&retval);
    FILE\* fp = fopen(TIME_FILENAME,"r");
    if(fp == nullptr)
    {
        printf("打开文件失败!\n");
        return -2;
    }

    char  buf[32] = {0};
    int sizeRead = fread(buf,1,32,fp);
    if(sizeRead == 0)
    {
        printf("读取文件失败");
        fclose(fp);
        return -3;
    }

    printf("Current time is: %s.\n",buf);

    fclose(fp);
    return 0;

}
执行结果如下:

- Windows 等待线程结束
在Windows下我们可以使用WaitForSingleObject function (synchapi.h)和WaitForMultipleObjects function (synchapi.h)
- C++11提供的等待线程结束的函数
#include <cstdio>
#include <cstring>
#include <thread>
#define TIME\_FILENAME "time.txt"
void fileThreadFunc()
{
    time_t now = time(nullptr);
    tm\* t = localtime(&now);
    char timeStr[32]={0};
    snprintf(timeStr,32,"%04d/%02d %02d:%02d:%02d",
             t->tm_year+1900,
             t->tm_mon+1,
             t->tm_mday,
             t->tm_hour,
             t->tm_min,
             t->tm_sec);
    FILE\* fp = fopen(TIME_FILENAME,"w");
    if(fp == nullptr)
    {
        printf("打开文件(time.txt)失败\n");
        return ;
    }
    size_t sizeToWrite=strlen(timeStr) +1;
    size_t ret = fwrite(timeStr,1,sizeToWrite,fp);
    if(ret != sizeToWrite)
    {
        printf("写入错误!\n");
    }
    fclose(fp);
    return;
}

int main()
{
    std::thread t(fileThreadFunc);
    if(t.joinable()) t.join();

    FILE\* fp = fopen(TIME_FILENAME,"r");
    if(fp == nullptr)
    {
        printf("打开文件失败!\n");
        return -2;
    }
    char  buf[32] = {0};
    int sizeRead = fread(buf,1,32,fp);
    if(sizeRead == 0)
    {
        printf("读取文件失败");
        fclose(fp);
        return -3;
    }
    printf("Current time is: %s.\n",buf);

    fclose(fp);
    return 0;
}
3.4.3 C++11 对整型变量原子操作的支持
最全的Linux教程,Linux从入门到精通
======================
-
linux从入门到精通(第2版)
-
Linux系统移植
-
Linux驱动开发入门与实战
-
LINUX 系统移植 第2版
-
Linux开源网络全栈详解 从DPDK到OpenFlow
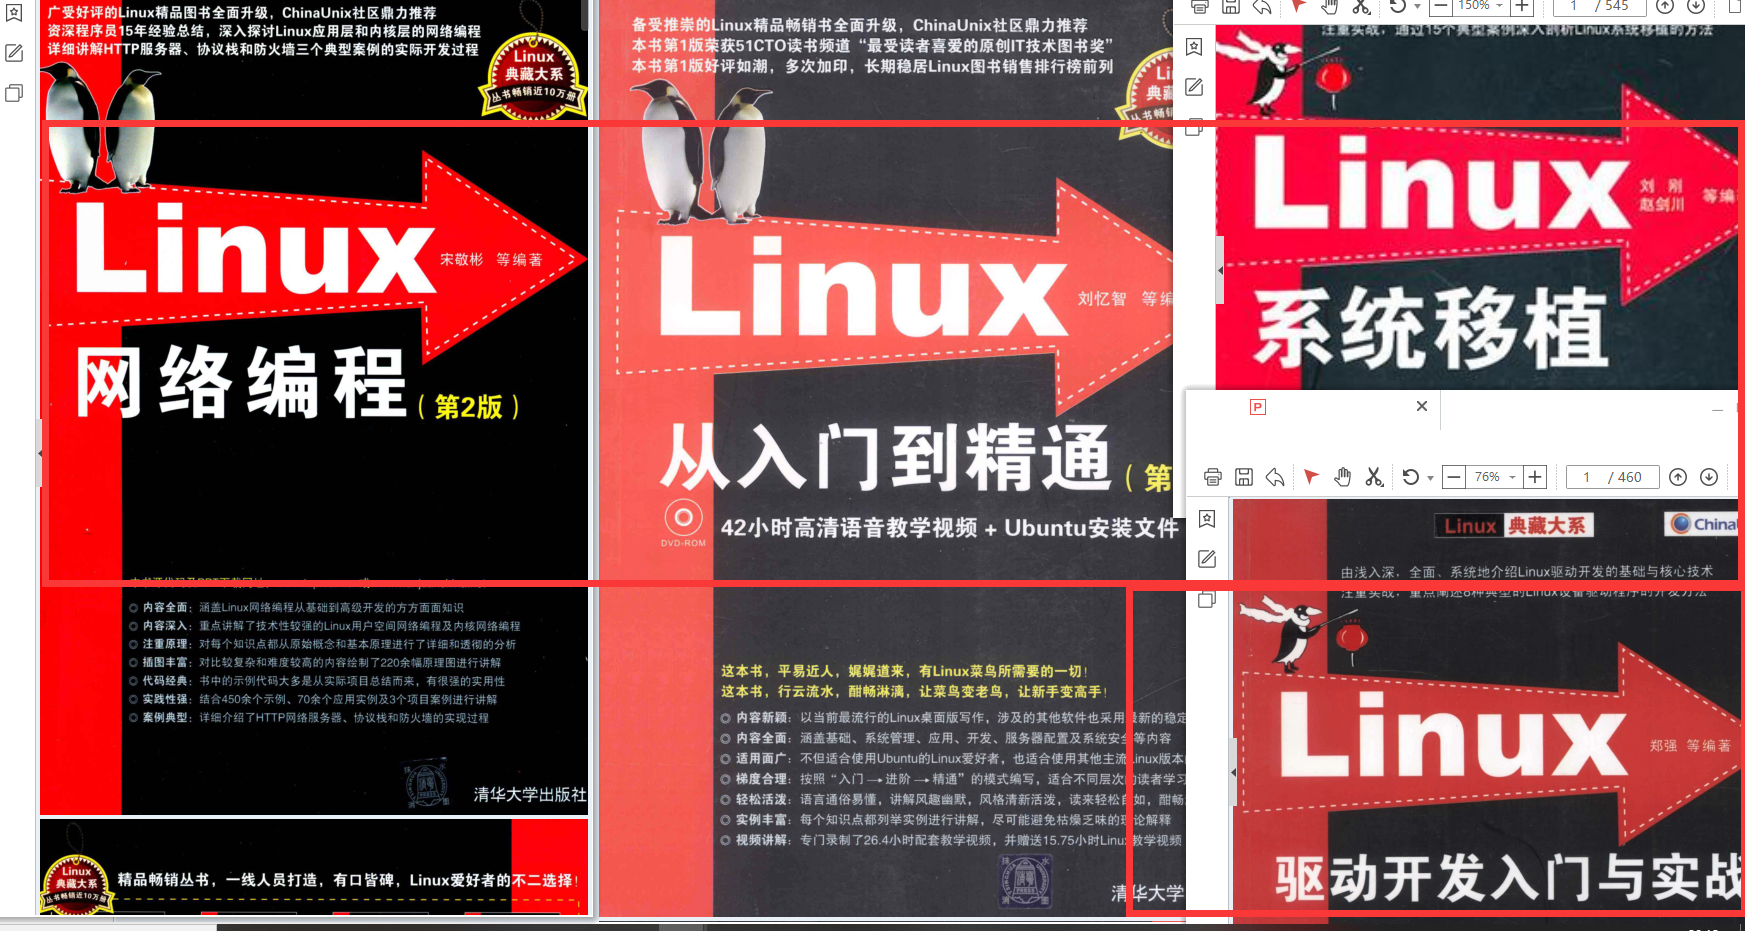
第一份《Linux从入门到精通》466页
====================
内容简介
====
本书是获得了很多读者好评的Linux经典畅销书**《Linux从入门到精通》的第2版**。本书第1版出版后曾经多次印刷,并被51CTO读书频道评为“最受读者喜爱的原创IT技术图书奖”。本书第﹖版以最新的Ubuntu 12.04为版本,循序渐进地向读者介绍了Linux 的基础应用、系统管理、网络应用、娱乐和办公、程序开发、服务器配置、系统安全等。本书附带1张光盘,内容为本书配套多媒体教学视频。另外,本书还为读者提供了大量的Linux学习资料和Ubuntu安装镜像文件,供读者免费下载。

本书适合广大Linux初中级用户、开源软件爱好者和大专院校的学生阅读,同时也非常适合准备从事Linux平台开发的各类人员。
需要《Linux入门到精通》、《linux系统移植》、《Linux驱动开发入门实战》、《Linux开源网络全栈》电子书籍及教程的工程师朋友们劳烦您转发+评论
网上学习资料一大堆,但如果学到的知识不成体系,遇到问题时只是浅尝辄止,不再深入研究,那么很难做到真正的技术提升。
一个人可以走的很快,但一群人才能走的更远!不论你是正从事IT行业的老鸟或是对IT行业感兴趣的新人,都欢迎加入我们的的圈子(技术交流、学习资源、职场吐槽、大厂内推、面试辅导),让我们一起学习成长!
g.cn/img_convert/9d4aefb6a92edea27b825e59aa1f2c54.png)
本书适合广大Linux初中级用户、开源软件爱好者和大专院校的学生阅读,同时也非常适合准备从事Linux平台开发的各类人员。
需要《Linux入门到精通》、《linux系统移植》、《Linux驱动开发入门实战》、《Linux开源网络全栈》电子书籍及教程的工程师朋友们劳烦您转发+评论
网上学习资料一大堆,但如果学到的知识不成体系,遇到问题时只是浅尝辄止,不再深入研究,那么很难做到真正的技术提升。
一个人可以走的很快,但一群人才能走的更远!不论你是正从事IT行业的老鸟或是对IT行业感兴趣的新人,都欢迎加入我们的的圈子(技术交流、学习资源、职场吐槽、大厂内推、面试辅导),让我们一起学习成长!


 1747
1747


 被折叠的 条评论
为什么被折叠?
被折叠的 条评论
为什么被折叠?
 到【灌水乐园】发言


