


项目结构
spring boot项目有三个模块,分别是
- src/main/java路径:主要编写业务程序
- src/main/resources路径:存放静态文件和配置文件
- src/test/java路径:主要编写测试程序

启动spring boot
spring boot创建好之后有一个启动类只要运行这个类中的main方法就可以启动spring boot,这个启动类上有一个注解@SpringBootApplication只要是被这个注解注释的就是spring boot的启动类
package com.example.demo;

import org.springframework.boot.SpringApplication;
import org.springframework.boot.autoconfigure.SpringBootApplication;

@SpringBootApplication
public class Demo2Application {
	public static void main(String[] args) {
		SpringApplication.run(Demo2Application.class, args);
	}
}
spring boot对返回的数据进行数据封装
在spring boot框架下把返回的数据包装成json格式不需要程序员手动的去编写代码进行封装,spring boot提供@RestController注解对返回的数据进行自动的封装,我们只需要在Controller类上打上@RestController注解,spring boot会自动的对返回的数据进行封装。springboot使用的默认Json框架技术是jackson
代码实例
@RestController
@RequestMapping("/test")
public class TestController {
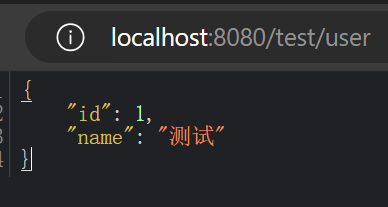
@RequestMapping("/user")
public User getUser() {
return new User(1, "测试");
}
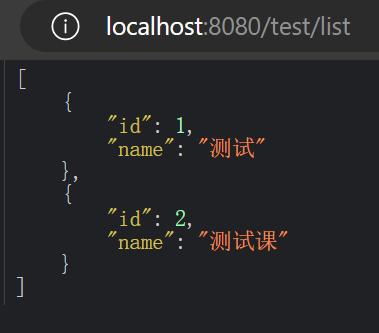
@RequestMapping("/list")
public List<User> getUserList() {
List<User> userList = new ArrayList<>();
User user1 = new User(1, "测试");
User user2 = new User(2, "测试课");
userList.add(user1);
userList.add(user2);
return userList;
}
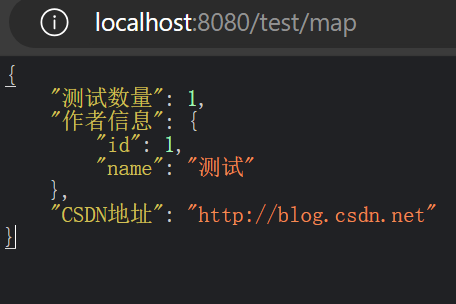
@RequestMapping("/map")
public Map<String, Object> getMap() {
Map<String, Object> map = new HashMap<>(3);
User user = new User(1, "测试");
map.put("作者信息", user);
map.put("CSDN地址", "http://blog.csdn.net");
map.put("测试数量", 001);
return map;
}
}public class User {
private Integer id;
private String name;
public User(Integer id, String name) {
this.id = id;
this.name = name;
}
public User() {
}
}
import com.fasterxml.jackson.core.JsonGenerator;
import com.fasterxml.jackson.databind.JsonSerializer;
import com.fasterxml.jackson.databind.ObjectMapper;
import com.fasterxml.jackson.databind.SerializerProvider;
import org.springframework.boot.autoconfigure.condition.ConditionalOnMissingBean;
import org.springframework.context.annotation.Bean;
import org.springframework.context.annotation.Configuration;
import org.springframework.context.annotation.Primary;
import org.springframework.http.converter.json.Jackson2ObjectMapperBuilder;
import java.io.IOException;
@Configuration
public class JacksonConfig {
@Bean
@Primary
@ConditionalOnMissingBean(ObjectMapper.class)
public ObjectMapper jacksonObjectMapper(Jackson2ObjectMapperBuilder builder) {
ObjectMapper objectMapper = builder.createXmlMapper(false).build();
objectMapper.getSerializerProvider().setNullValueSerializer(new JsonSerializer<Object>() {
@Override
public void serialize(Object o, JsonGenerator jsonGenerator, SerializerProvider serializerProvider) throws IOException {
jsonGenerator.writeString("");
}
});
return objectMapper;
}
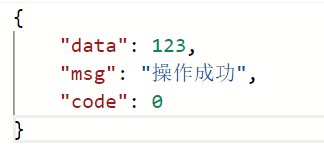
}在实际项目中,除了要封装数据之外,我们往往需要在返回的 json 中添加一些其他信息,比如返回一些状态码 code ,返回一些 msg 给调用者,这样调用者可以根据 code 或者 msg 做一些逻辑判断。所以在实际项目中,我们需要封装一个统一的 json 返回结构存储返回信息。
package com.example.demo.utils;

public class Result<T> {
    private T data;
    private String msg;
    private Integer code;

    public Result() {
    }

    public Result(T data, String msg, Integer code) {
        this.data = data;
        this.msg = msg;
        this.code = code;
    }

    public static <T> Result<T> success(T object){
        Result<T> result=new Result();
        result.setData(object);
        result.setCode(0);
        result.setMsg("操作成功");
        return result;
    }

    public static <T> Result error(){
        Result result=new Result();
        result.setCode(0);
        result.setMsg("操作失败");
        return result;
    }

    public static <T> Result error(Integer code,String msg){
        Result<T> result=new Result();
        result.setCode(code);
        result.setMsg(msg);
        return result;
    }

    public T getData() {
        return data;
    }

    public void setData(T data) {
        this.data = data;
    }

    public String getMsg() {
        return msg;
    }

    public void setMsg(String msg) {
        this.msg = msg;
    }

    public Integer getCode() {
        return code;
    }

    public void setCode(Integer code) {
        this.code = code;
    }
}
spring boot中的MVC注解
Spring Boot 的 MVC 支持主要来介绍实际项目中最常用的几个注解,包括 @RestController、 @RequestMapping、@PathVariable、@RequestParam 以及 @RequestBody。主要介绍这几个注解常用的使用方式和特点。
@RestController
@Target({ElementType.TYPE})
@Retention(RetentionPolicy.RUNTIME)
@Documented
@Controller
@ResponseBody
public @interface RestController {
    @AliasFor(
        annotation = Controller.class
    )
    String value() default "";
}
可以看到@RestController注解包含了@Controller和@ResponseBody注解:
@Controller
在 Spring Boot 中,@Controller 注解用于标记一个类作为 Spring MVC 的控制器。它主要处理 HTTP 请求,并将其映射到相应的业务逻辑。

@ResponseBody
在Spring Boot中,@ResponseBody 注解是将返回的数据结构转换为 Json 格式,通常与@Controller注解配合使用
@RequestMapping
@RequestMapping 是一个用来处理请求地址映射的注解,它可以用于类上,也可以用于方法上。在类的级别上的注解会将一个特定请求或者请求模式映射到一个控制器之上,表示类中的所有响应请求的方法都是以该地址作为父路径;在方法的级别表示进一步指定到处理方法的映射关系。
该注解有6个属性,一般在项目中比较常用的有三个属性:value、method 和 produces。
value 属性:指定请求的实际地址,value 可以省略不写
method 属性:指定请求的类型,主要有 GET、PUT、POST、DELETE,默认为 GET
produces属性:指定返回内容类型,如 produces = “application/json; charset=UTF-8”
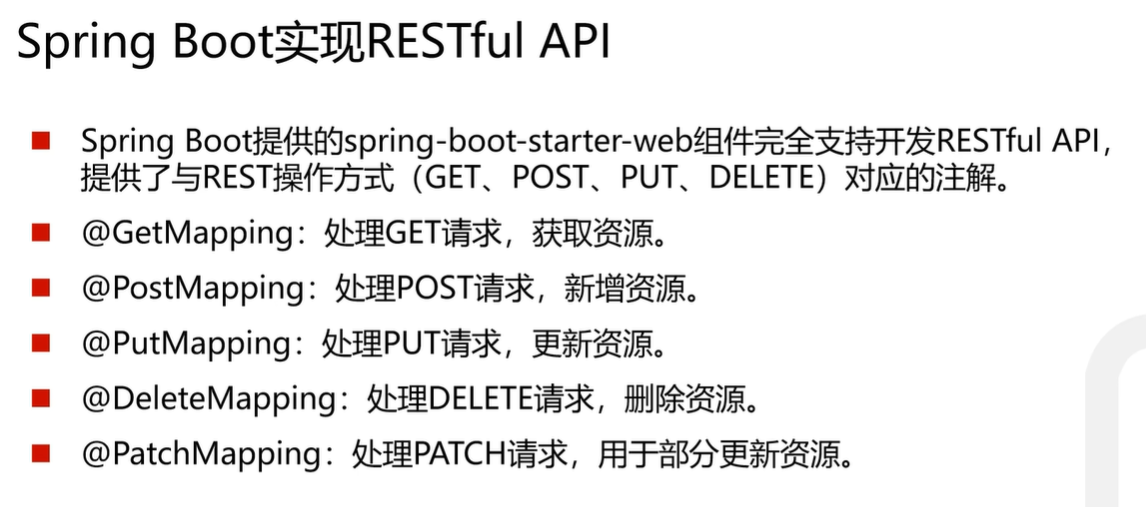
@RequestMapping:用于定义请求路径和 HTTP 方法。@GetMapping、@PostMapping、@PutMapping、@DeleteMapping:用于处理不同类型的 HTTP 请求。
@PathVariable
作用:
- 用于提取 URL 中的路径变量。
- 常用于 RESTful API 中,将 URL 中的部分作为参数传递给处理方法。
例:
前端访问代码
http://localhost:8080/test/getId/123

@GetMapping("/getId/{id}")
public Result<Integer> getId(@PathVariable("id") Integer id){
    return Result.success(id);
}
@RequestParam
作用:
- 用于提取 URL 查询参数。
- 常用于从请求的查询字符串中提取数据,支持默认值和是否为必需参数的设置。
例:
前端访问
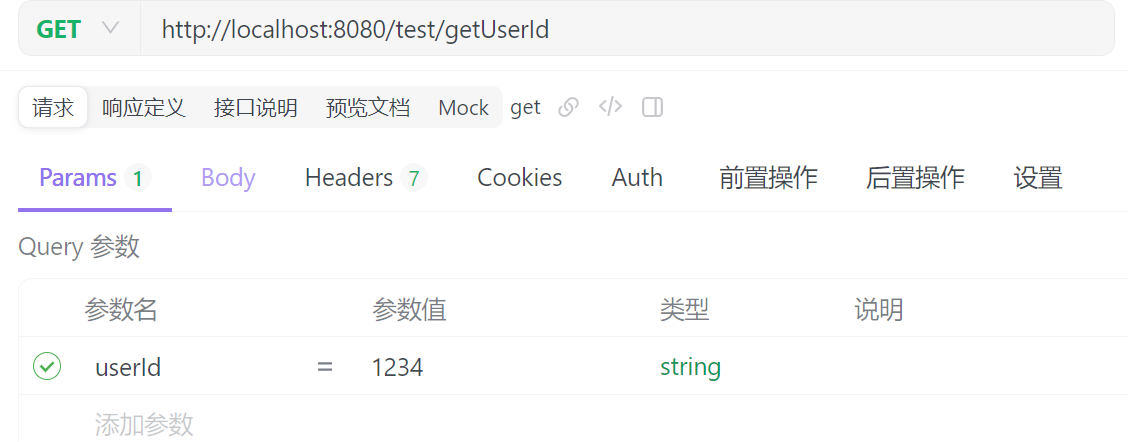
@GetMapping("/getUserId")
public Result<Integer> getUserId(@RequestParam("userId") Integer userId){
    return Result.success(userId);
}
//如果请求url是/getUserId?userId=123那么userId的值为123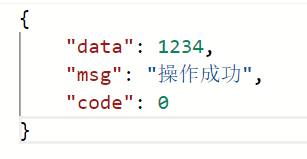
@RequestBody
作用:
- 用于将 HTTP 请求体中的数据绑定到方法的参数上。
- 常用于处理 POST 或 PUT 请求中的 JSON、XML 或其他格式的数据。
例:
前端访问
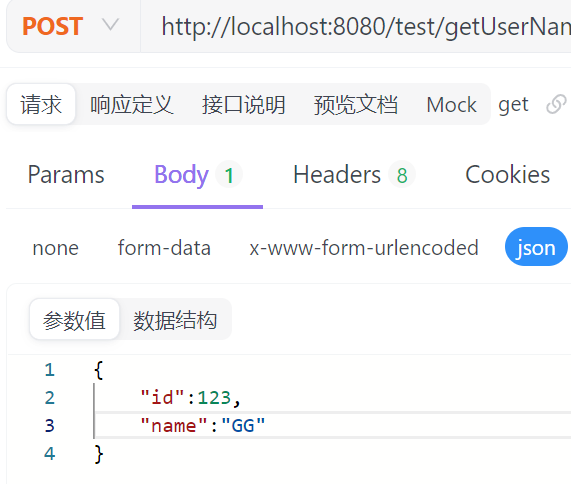
@PostMapping("/getUserName")
public Result<User> getUserName(@RequestBody User user){
    return Result.success(user);
}
//用于获取前端传输的json格式的对象,@RequestBody注解能且只能使用一个。
方法参数中只能使用一个 @RequestBody 注解,因为它用于处理请求体的数据。
如果方法有多个参数且需要从请求体中提取数据,应该将这些数据组合成一个对象,然后用 @RequestBody 注解这个对象。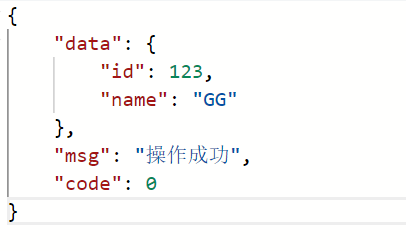
文件上传
前端:使用FormData以键值对的形式把文件保存起来然后通过axios把FormData发送到后端去,在发送之前要把消息头'Content-Type'设置为multipart/form-data
后端:使用框架没有特殊的注解需要添加只需要使用MultipartFile类直接接收就行,文件接收后并不会立马下载到本地,而是先由Tomcat服务器暂时保存文件,而Tomcat服务器对于单个文件大小和单次请求中的文件总大小有限制,如果超过该限制则无法完成文件上传,如有需求则需自己进行配置。
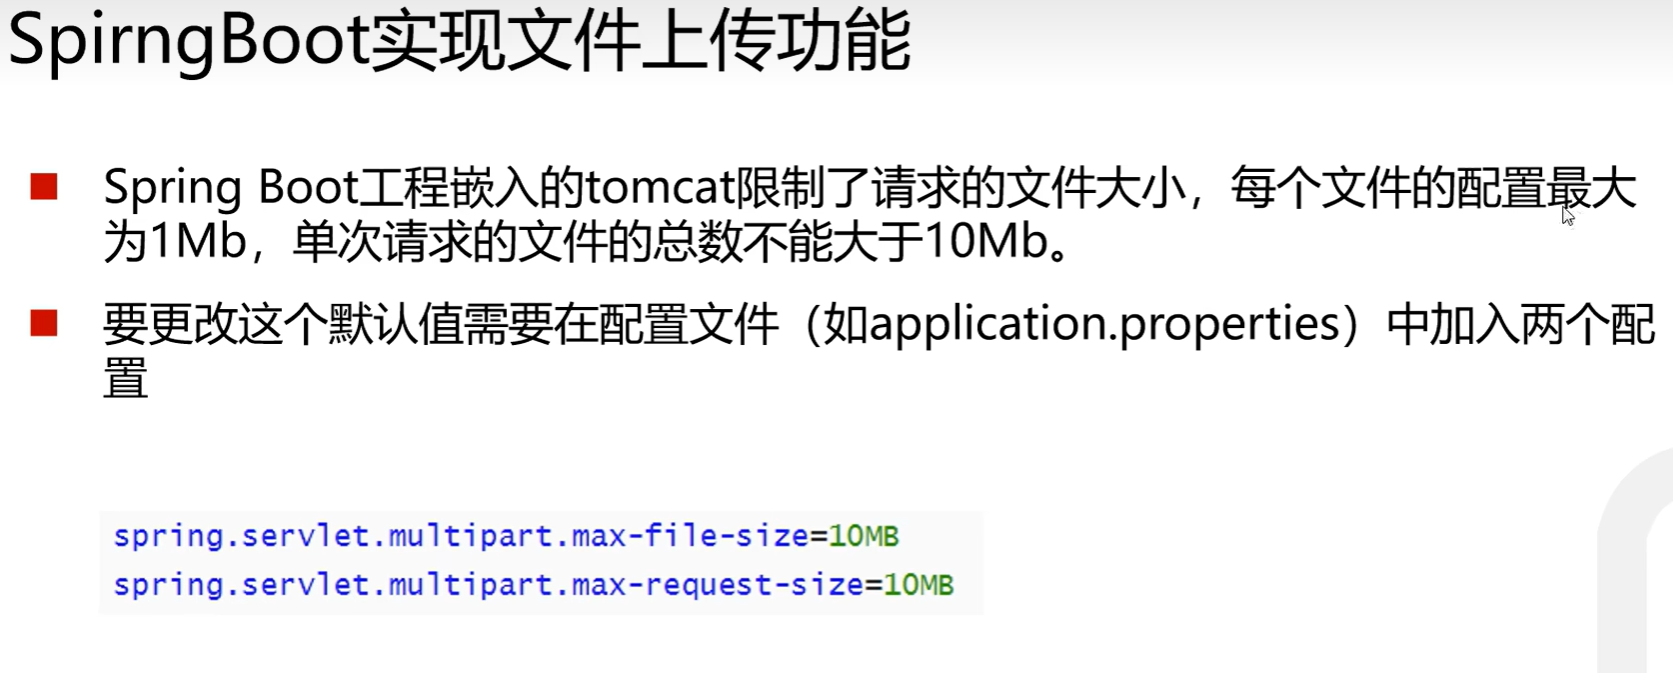
@PostMapping("/saveFile")
public Result saveFile(@RequestParam MultipartFile file) throws IOException {
    File filePath=new File("D:\\javadata\\demo2\\src\\main\\resources\\templates\\"+file.getOriginalFilename());
    file.transferTo(filePath);
    return Result.success("succeed");
}
拦截器
定义
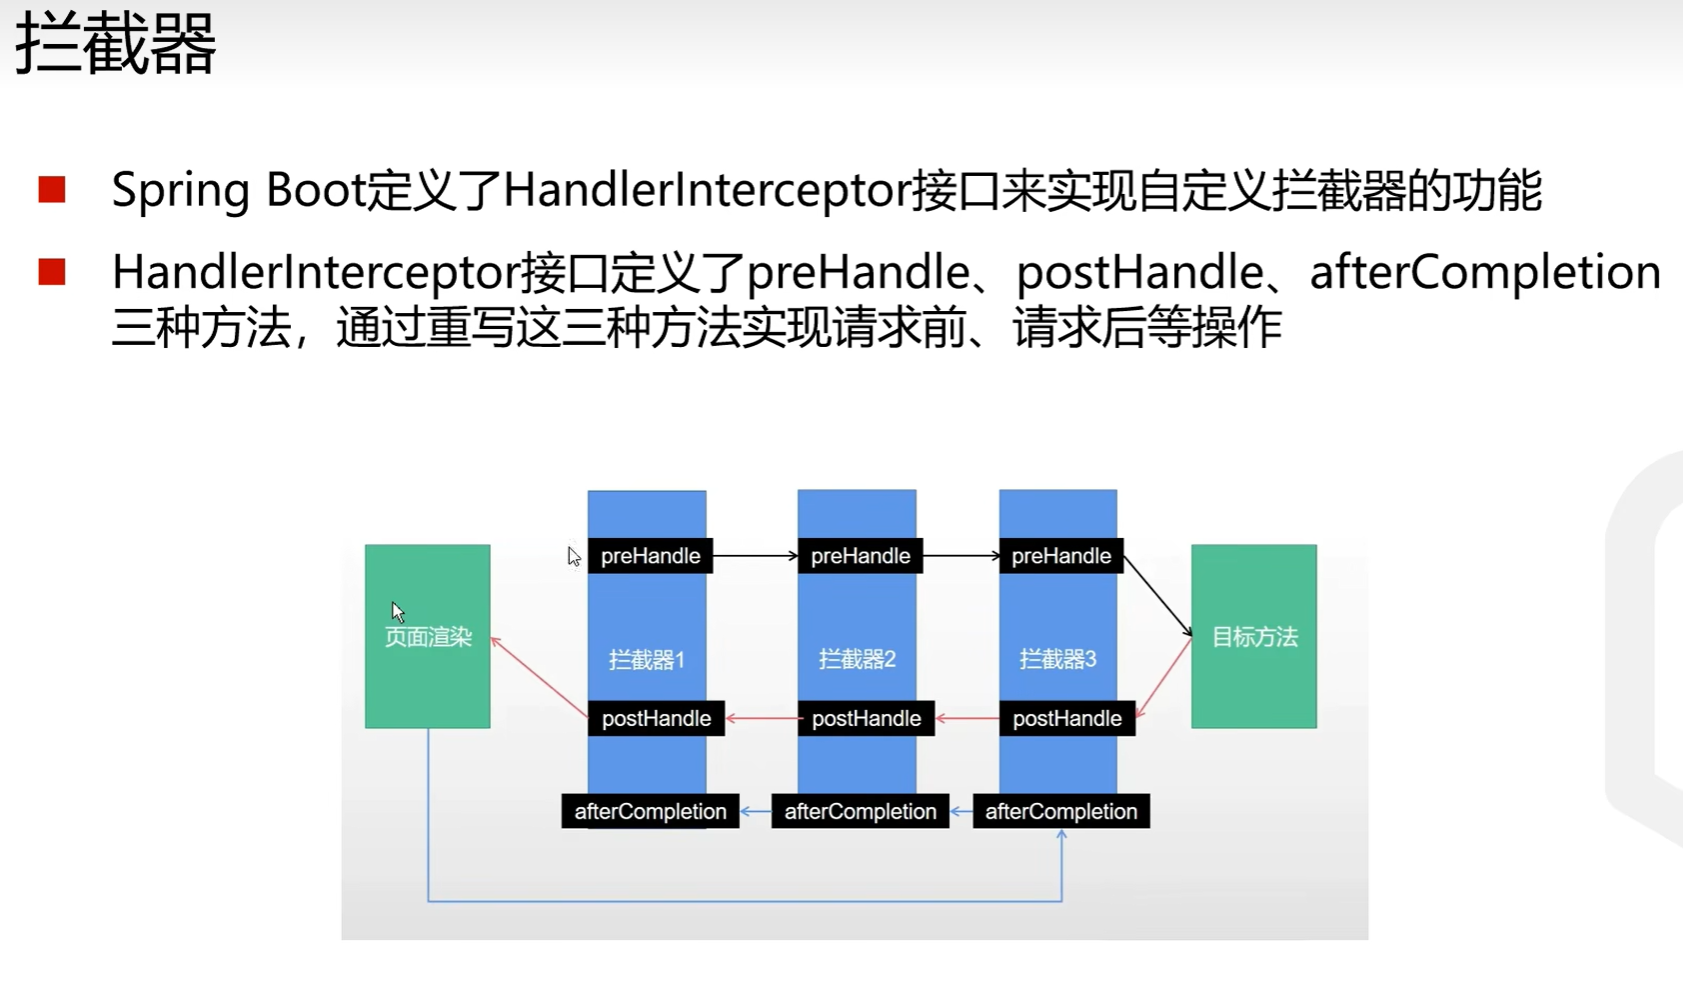
SpringBoot实现拦截器需要类去实现HandlerInterceptor接口,实现其中的preHandle、postHandle、afterCompletion方法
package com.example.demo;
import jakarta.servlet.http.HttpServletRequest;
import jakarta.servlet.http.HttpServletResponse;
import org.springframework.lang.Nullable;
import org.springframework.web.servlet.HandlerInterceptor;
import org.springframework.web.servlet.ModelAndView;
public class Filter implements HandlerInterceptor {
@Override
public boolean preHandle(HttpServletRequest request, HttpServletResponse response, Object handler) throws Exception {
// 处理请求前逻辑
System.out.println("被拦截到了");
return true;// 返回 false 会阻止请求继续
}
public void postHandle(HttpServletRequest request, HttpServletResponse response, Object handler, @Nullable ModelAndView modelAndView) throws Exception {
// 处理请求后逻辑,但在视图渲染之前
}
public void afterCompletion(HttpServletRequest request, HttpServletResponse response, Object handler, @Nullable Exception ex) throws Exception {
// 完全请求处理后执行
}
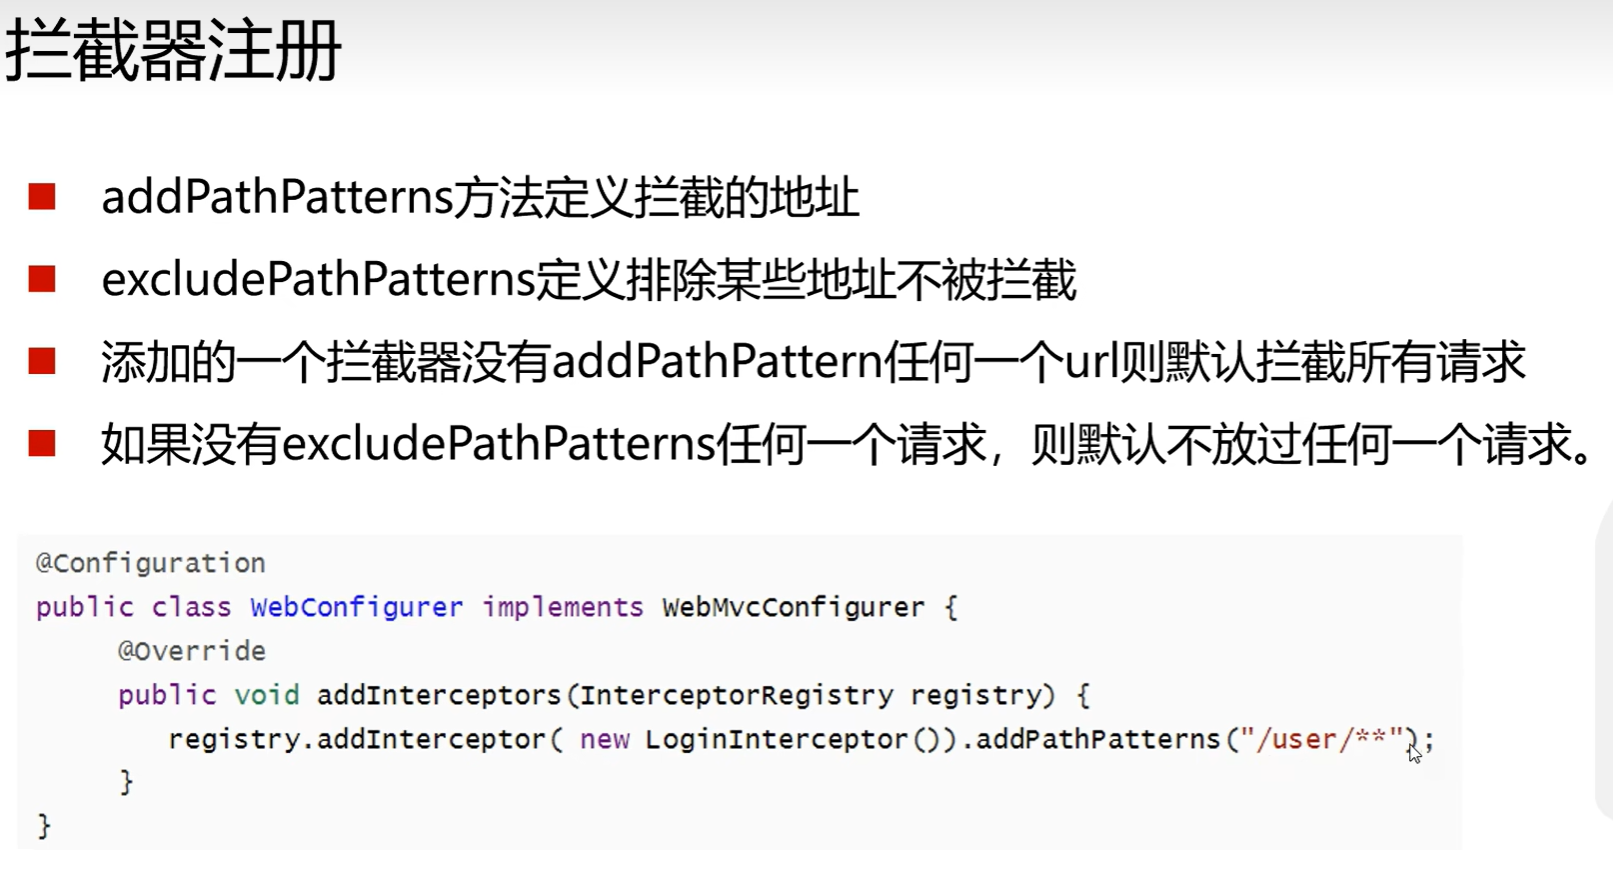
}注册
package com.example.demo.config;

import com.example.demo.Filter;
import org.springframework.context.annotation.Configuration;
import org.springframework.web.servlet.config.annotation.InterceptorRegistry;
import org.springframework.web.servlet.config.annotation.WebMvcConfigurer;

@Configuration
public class WebConfig implements WebMvcConfigurer {

    @Override
    public void addInterceptors(InterceptorRegistry registry) {
        registry.addInterceptor(new Filter())
                .addPathPatterns("/test/**")  // 设定拦截的 URL 模式
                .excludePathPatterns("/text/**");  // 排除不需要拦截的 URL
    }
}
RESTful服务和Swagger
RESTful服务
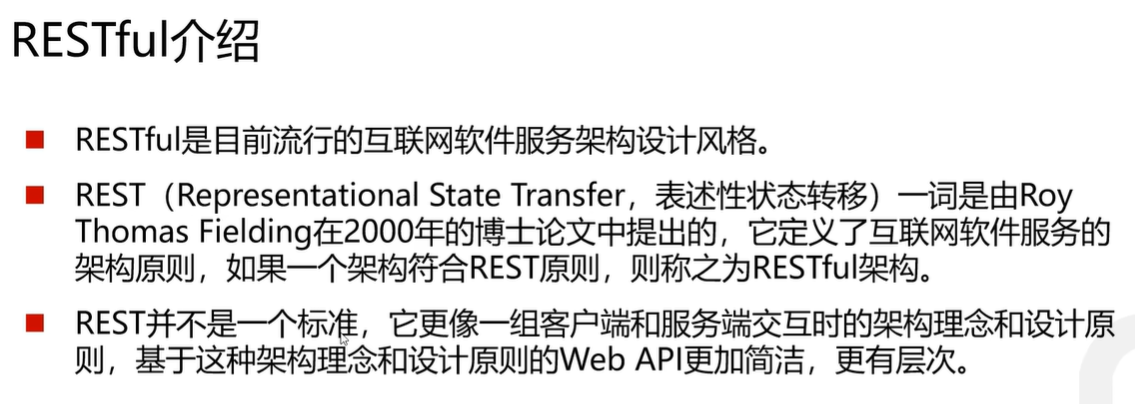
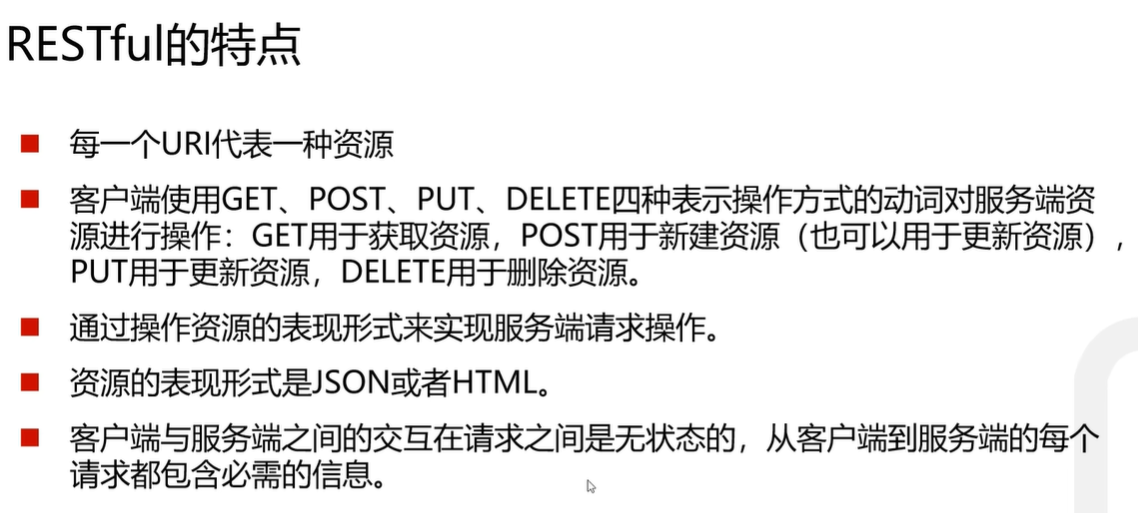
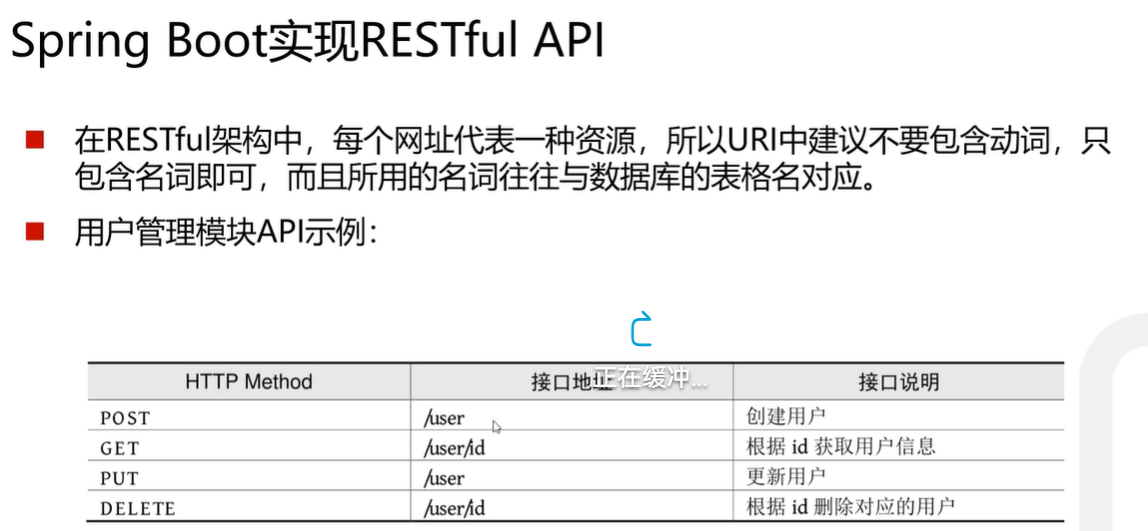
RESTful是一种代码风格,这种风格的特点是每一个请求方式对应一种操作类型使得接口更规范更容易理解,不是必须的没有强制要求但最好使用。与其对应的的是只使用get和post来完成所有操作。
@GetMapping("/user/{id}")
public String getUserById(@PathVariable Integer id){
    return "根据Id获取用户";
}
@PostMapping("/user")
public String save(@RequestBody User user){
    return "添加用户";
}

@PutMapping("/user")
public String update(@RequestBody User user){
    return "添加用户";
}

@DeleteMapping("/user/{id}")
public String deleteById(@PathVariable Integer id){
    return "删除用户";
}
Swagger
使用Swagger可以自动对你写的Contorller进行扫描并生成接口文档并提供测试,方便前端对接口进行使用。
Springdoc
因为Springboot的版本一直在更新,Swagger2已经因为版本差距过大无法使用所以提供了Springdoc来生成接口文档,
添加依赖
<dependency>
    <groupId>org.springdoc</groupId>
    <artifactId>springdoc-openapi-starter-webmvc-api</artifactId>
    <version>2.3.0</version>
</dependency>
<dependency>
    <groupId>org.springdoc</groupId>
    <artifactId>springdoc-openapi-starter-webmvc-ui</artifactId>
    <version>2.3.0</version>
</dependency>
配置文件
@Configuration
public class SwaggerConfig {
    @Bean
    public OpenAPI springShopOpenAPI() {
        return new OpenAPI()
                .info(new Info().title("SpringShop API")
                        .description("Spring shop sample application")
                        .version("v0.0.1")
                        .license(new License().name("Apache 2.0").url("http://springdoc.org")))
                .externalDocs(new ExternalDocumentation()
                        .description("SpringShop Wiki Documentation")
                        .url("https://springshop.wiki.github.org/docs"));
    }

    //以下可要可不要
    @Bean
    public GroupedOpenApi publicApi() {
        return GroupedOpenApi.builder()
                .group("springshop-public")
                .pathsToMatch("/test/**")    //扫描的类
                .build();
    }

}
修改SpringBoot的yml配置
springdoc:
  swagger-ui:
    # 禁止默认路径
    disable-swagger-s
常用的注解
@Tag: 用于给 API 接口或控制器打标签,以便进行分类。@Parameter: 描述接口的参数,包括名称、类型、位置等。@Hidden: 用于隐藏接口或参数,不显示在文档中。@Operation: 描述接口的操作,如摘要、详细描述、响应等。@RequestBody: 描述请求体的内容,包括类型和示例。@ApiResponse: 描述响应的状态码、描述和示例。@Schema: 描述模型属性,包括名称、类型、描述等。
访问自动生成的接口文档:访问路径+swagger-ui/index.html


 8万+
8万+

 被折叠的 条评论
为什么被折叠?
被折叠的 条评论
为什么被折叠?
 到【灌水乐园】发言


