


MongoDB分片部署实践指南
一、引言
随着现代应用程序数据量的爆炸式增长,单一的MongoDB实例逐渐难以满足性能和存储需求。在这种情况下,MongoDB的分片(Sharding)功能成为了一个强大的解决方案。分片允许我们将数据水平拆分成多个片段,并将这些片段分散到多个MongoDB实例上,从而实现数据的横向扩展,提高整个系统的吞吐量和存储容量。本文将详细介绍MongoDB分片部署的步骤,包括环境准备、配置服务器、添加分片、启用分片以及验证分片状态,并附带实际操作的代码示例和注意事项。
二、MongoDB分片概述
在MongoDB中,分片是将数据水平拆分成多个片段,并将这些片段存储在不同的MongoDB实例上。每个片段称为一个分片(Shard),多个分片组成了一个分片集群。分片集群中还包括路由节点(mongos)和配置服务器(config servers),用于管理分片的路由和配置信息。当客户端向分片集群发送请求时,mongos会根据请求中的分片键和分片集群的配置信息,将数据路由到相应的分片上进行处理。
三、分片部署步骤
部署shard【副本集群】
关于MongoDB副本集群部署更多信息,请查看:
MongoDB副本集在Windows环境下的部署-CSDN博客
部署两个shard分片块,数据存储的地方。
1. 准备环境
在开始分片部署之前,我们需要准备相应的环境。首先,确保你已经安装了MongoDB,并且拥有足够的MongoDB实例来构成分片集群。通常,我们需要一个或多个配置服务器实例、多个分片实例以及一个或多个路由节点实例。此外,你还需要考虑网络的连接性、防火墙设置以及安全性等方面的要求。
| 分片 | 节点(实例) | 端口 | 路径 |
| 1 | shard11(主) | 4006 | dbpath:D:\shard1\shard11\data logpath:D:\shard1\shard11\log |
| shard12(从) | 4007 | dbpath:D:\shard1\shard12\data logpath:D:\shard1\shard12\log | |
| 2 | shard21(主) | 4008 | dbpath:D:\shard2\shard21\data logpath:D:\shard2\shard21\log |
| shard22(从) | 4009 | dbpath:D:\shard2\shard22\data logpath:D:\shard2\shard22\log |
创建一个shard1与shard2文件夹

再在shard1和shard2中分别创建shard11,shard12和shard21,shard22
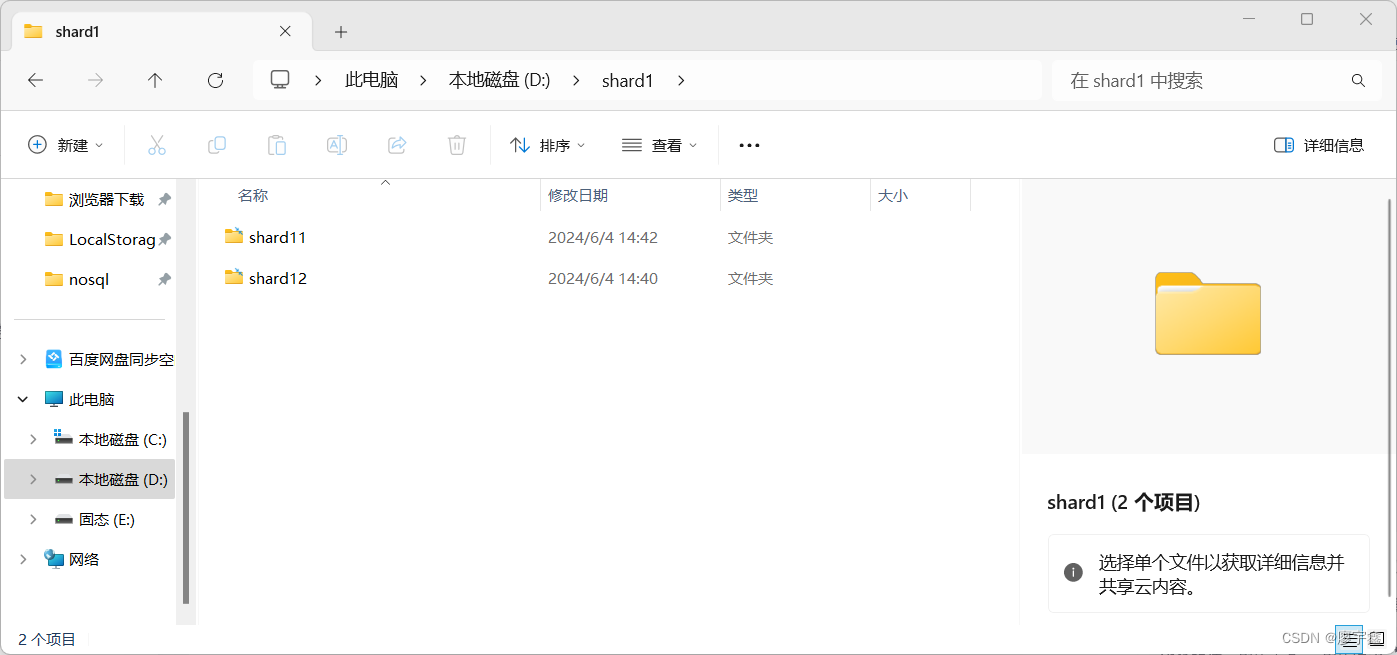
随后在shard11和shard12中创建data和log两个文件夹存放数据库数据和日志数据

2. 启动分片服务
启动shard1(shard11,12)
shard11:
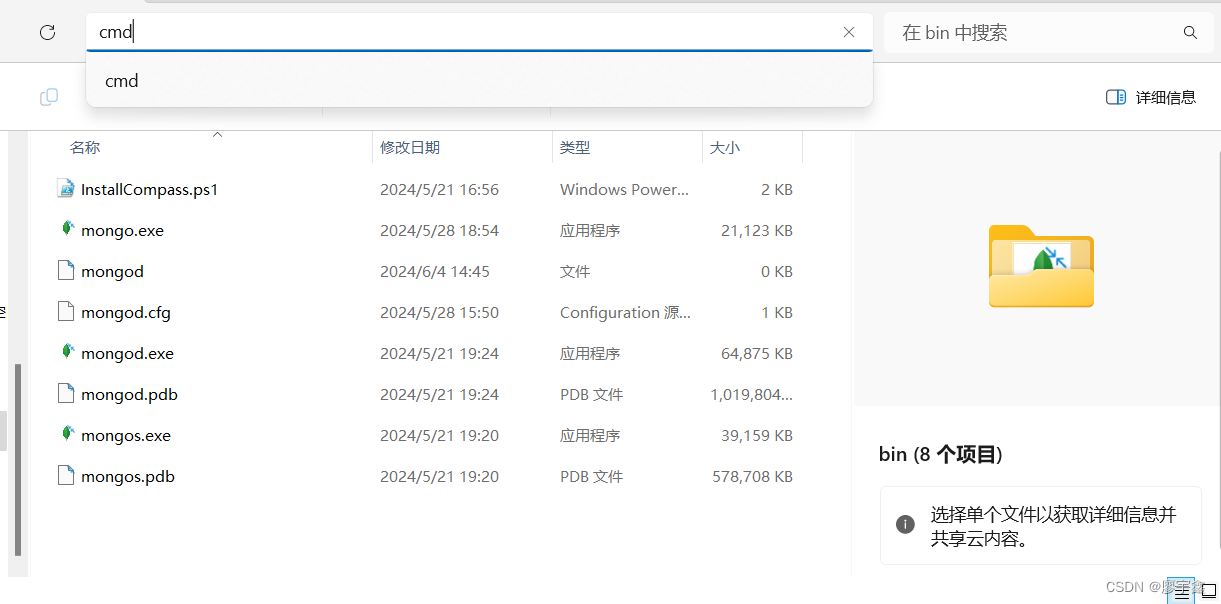
首先进到shard1打开shard11,再在shard11中找到bin目录

再打开bin目录在上方输入cmd打开命令行
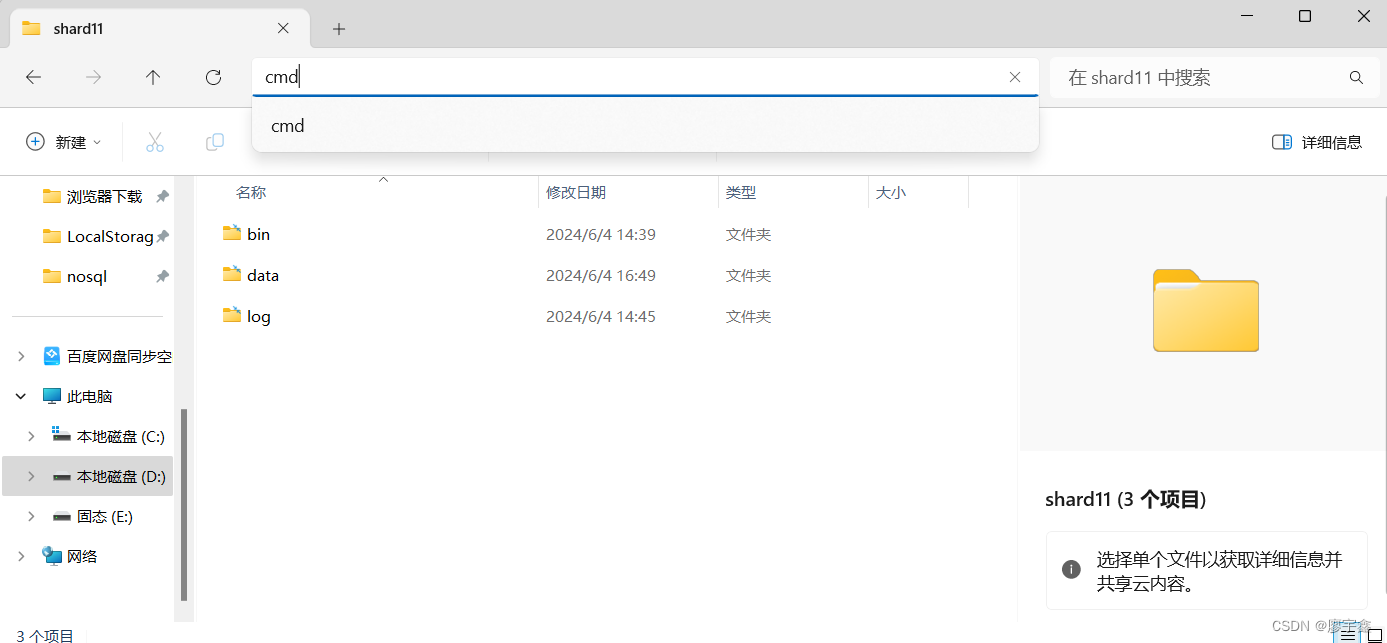
打开命令行后输入指令
mongod --shardsvr --replSet shard1 -port 4006 -dbpath D:\shard1\shard11\data -logpath D:\shard1\shard11\log\shard11.log
当命令一直保持运行状态则说明服务运行成功,此服务为一次性服务,不要关闭此窗口,最小化即可。
在上面的命令中,我们使用--dbpath参数指定数据文件的存储路径,--port参数指定实例的监听端口,--logpath参数用于指定日志文件的存储路径。
shard12:
mongod --shardsvr --replSet shard1 -port 4007 -dbpath D:\shard1\shard12\data -logpath D:\shard1\shard12\log\shard12.log
shard2(shard21,22)
shard21:
mongod --shardsvr --replSet shard2 -port 4008 -dbpath D:\shard2\shard21\data -logpath D:\shard2\shard21\log\shard21.logshard22:
mongod --shardsvr --replSet shard2 -port 4009 -dbpath D:\shard2\shard22\data -logpath D:\shard2\shard22\log\shard22.log3. 配置分配集群(shard1和shard2)
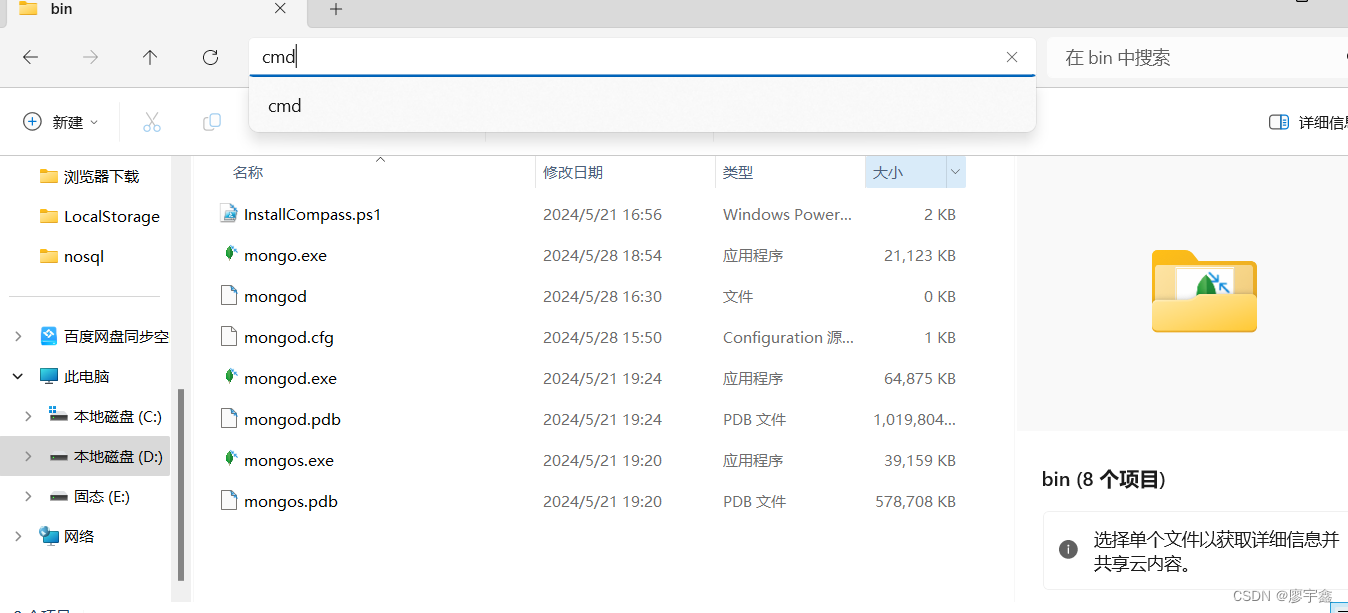
进入到shard1的任意一个文件夹(shard11或shard12都行)
打开bin目录
![]()
cmd启动
use admin

config={_id:"shard1",members:[
... {_id:0,host:"localhost:4006",priority:2},
... {_id:1,host:"localhost:4007",priority:1}
... ]}


 rs.initiate(config)
接下来进入到shard2的任意文件夹中
![]()
use admin

config={_id:"shard2",members:[
... {_id:0,host:"localhost:4008",priority:2},
... {_id:1,host:"localhost:4009",priority:1}
... ]}


 rs.initiate(config)
这样两个集群就配置完成了
部署config server
1.环境准备
在 MongoDB 3.4 版本后 config 服务必须配置为 副本集,这里设置为一主一从。
| config实例 | 端口 | 数据路径 | 日志路径 |
| config1(主) | 4002 | D:\config\config1\data | D:\config\config1\log |
| config1(主) | 4003 | D:\config\config2\data | D:\config\config2\log |
仍然是在文件夹中创建data与log文件夹

2.启动config server
启动config1
打开config1,打开bin目录,启动cmd

mongod --configsvr --replSet confset -port 4002 -dbpath D:\config\config1\data -logpath D:\config\config1\log\conf1.log启动config2
打开config2,打开bin目录,启动cmd
mongod --configsvr --replSet confset -port 4003 -dbpath D:\config\config2\data -logpath D:\config\config2\log\conf2.log
3.配置config server集群
进入到config1或congfig2
打开bin目录
mongo -port 4002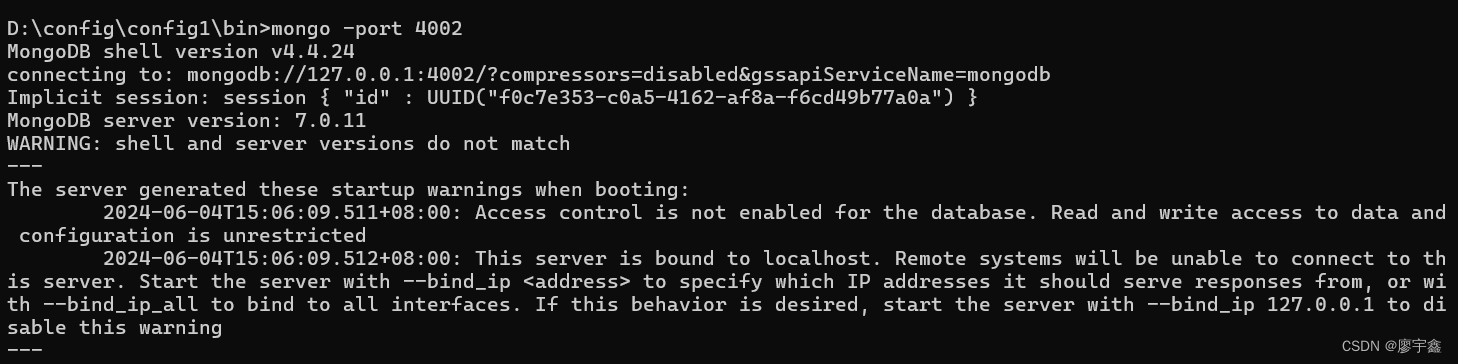
 use admin


 config={_id:"confset",configsvr:true,members:[
... {_id:0,host:"localhost:4002"},
... {_id:1,host:"localhost:4003"}
... ]}


 rs.initiate(config)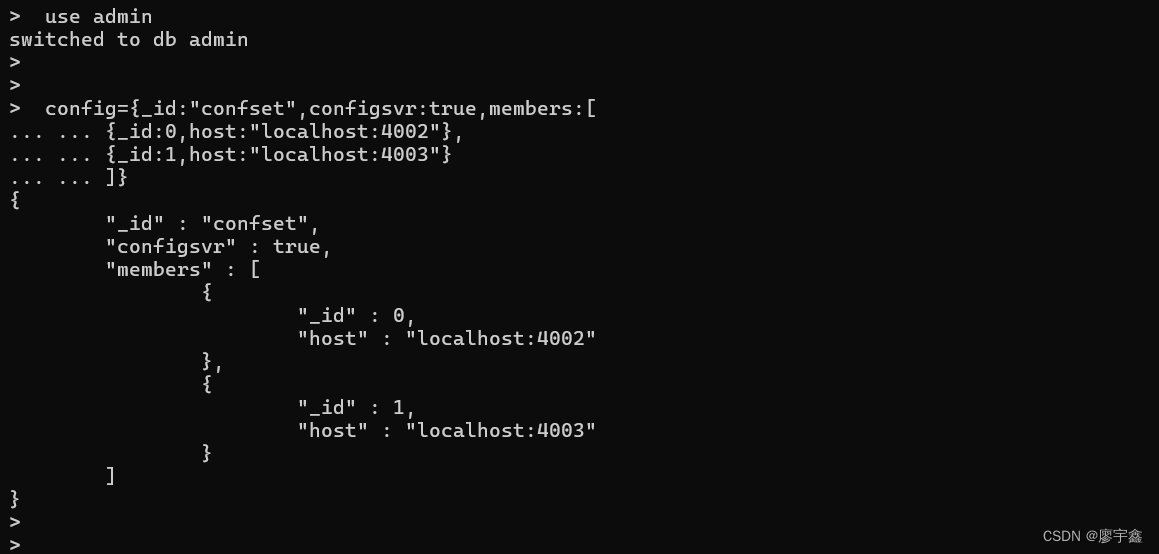
rs.status()部署路由服务器
创建一个文件夹用来存放日志

再进入MongoDB的bin目录中打开cmd

mongos --configdb confset/localhost:4002,localhost:4003 -logpath D:\mongos\log\mongos.log -port 4000
配置分片信息
bin 目录下使用 MongoDB Shell 登录到 mongos ,添加 Shard 节点
mongo -port 4000
sh.addShard("shard1/localhost:4006,localhost:4007")
sh.addShard("shard2/localhost:4008,localhost:4009")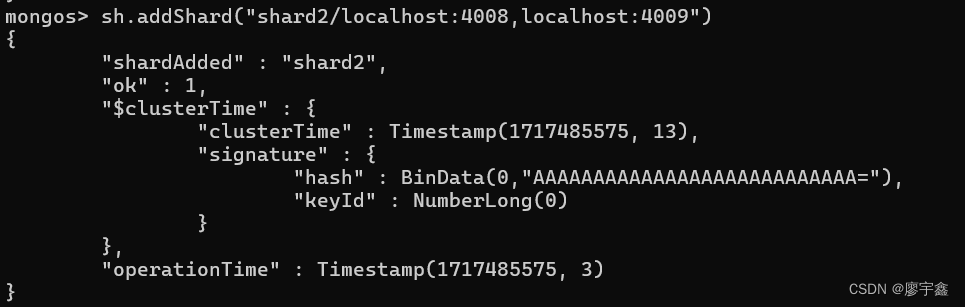
测试分片
指定要分片的数据库,以下指令指定分片数据库为test
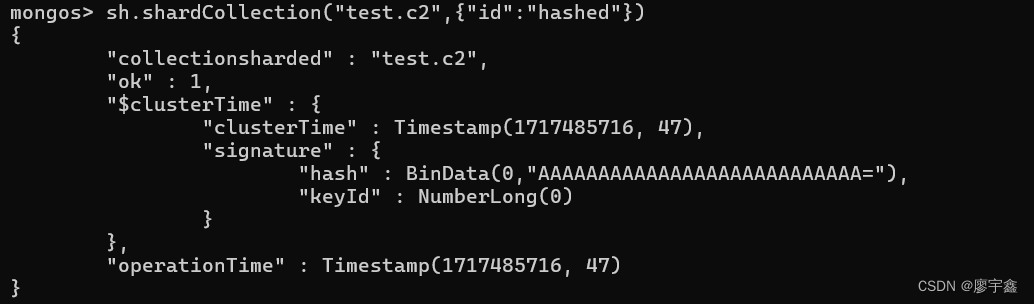
sh.enableSharding("test")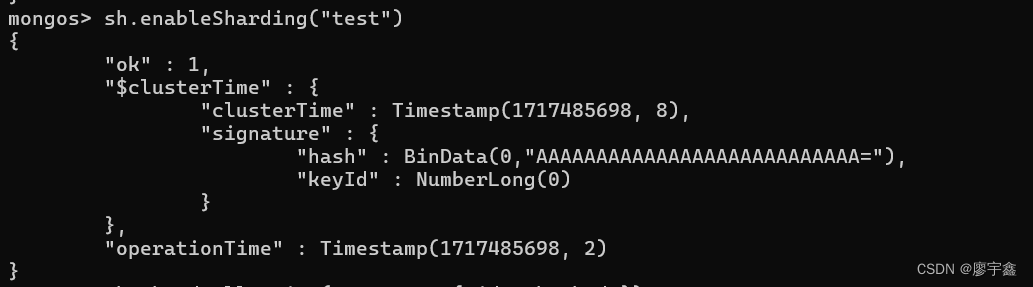
指定数据库里需要分片的集合和片键,片键根据实际情况选择
sh.shardCollection("test.c1",{"id":"hashed"})上述指令指定分片集合为c1,分片字段为“id”,分片形式是哈希分片,若改成“1”则为范围分片
插入10000条数据验证,数据必须包含分片键:id

查看分片状态
输入sh.status()

两个shard都有数据分布,说明分片成功。


 334
334

 被折叠的 条评论
为什么被折叠?
被折叠的 条评论
为什么被折叠?
 到【灌水乐园】发言


