


先自我介绍一下,小编浙江大学毕业,去过华为、字节跳动等大厂,目前阿里P7
深知大多数程序员,想要提升技能,往往是自己摸索成长,但自己不成体系的自学效果低效又漫长,而且极易碰到天花板技术停滞不前!
因此收集整理了一份《2024年最新Linux运维全套学习资料》,初衷也很简单,就是希望能够帮助到想自学提升又不知道该从何学起的朋友。
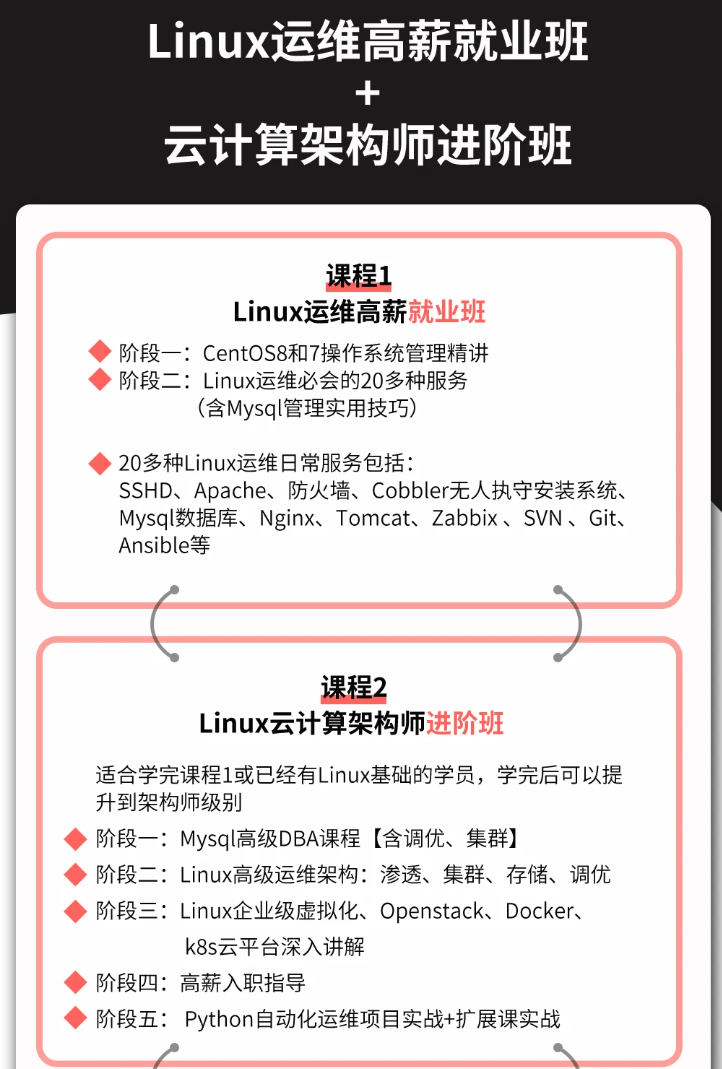

既有适合小白学习的零基础资料,也有适合3年以上经验的小伙伴深入学习提升的进阶课程,涵盖了95%以上运维知识点,真正体系化!
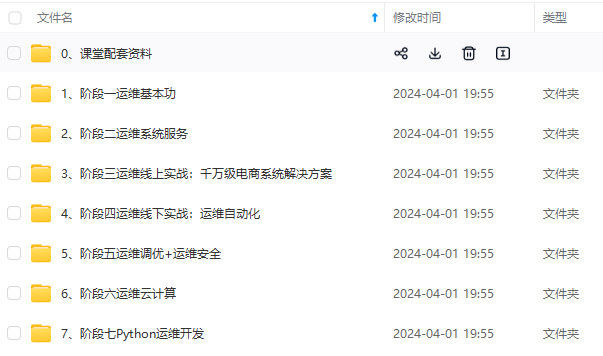
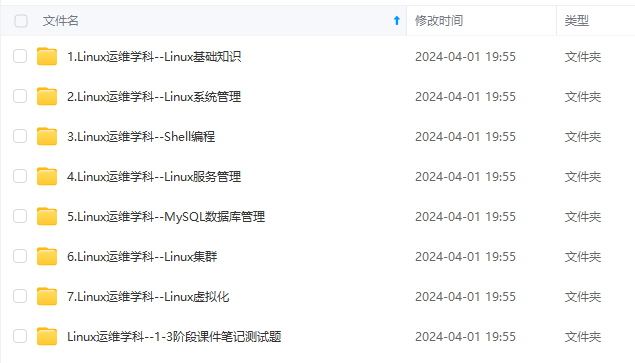
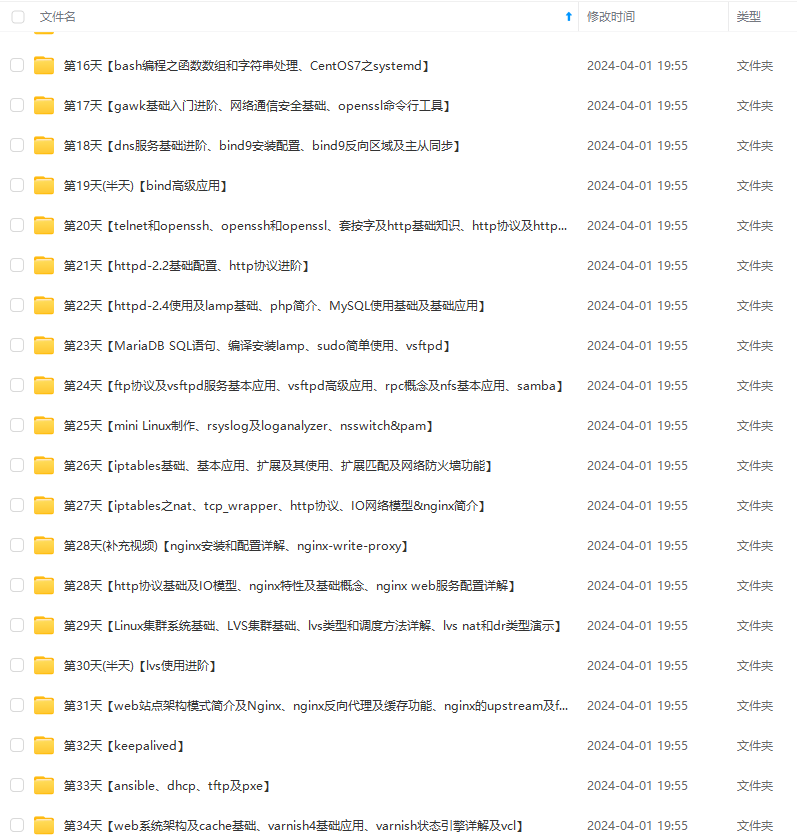
由于文件比较多,这里只是将部分目录截图出来,全套包含大厂面经、学习笔记、源码讲义、实战项目、大纲路线、讲解视频,并且后续会持续更新
如果你需要这些资料,可以添加V获取:vip1024b (备注运维)

正文
docker-18.09.8.tgz
2、安装docker
复制docker-18.09.8.tgz到 /usr/bin下(usr/bin是环境变量目录,在路径下可以直接运行docker命令)
解压
tar xvf docker-18.09.8.tgz
ls -l docker
cp docker/* /usr/bin
rm -rf docker docker-18.09.8.tgz

配置docker服务
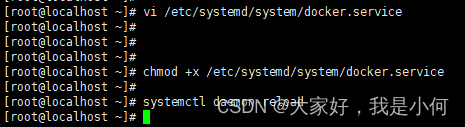
vim /etc/systemd/system/docker.service
添加
[Unit]
Description=Docker Application Container Engine
Documentation=https://docs.docker.com
After=network-online.target firewalld.service
Wants=network-online.target
[Service]
Type=notify
ExecStart=/usr/bin/dockerd
ExecReload=/bin/kill -s HUP $MAINPID
LimitNOFILE=infinity
LimitNPROC=infinity
TimeoutStartSec=0
Delegate=yes
KillMode=process
Restart=on-failure
StartLimitBurst=3
StartLimitInterval=60s
[Install]
WantedBy=multi-user.target
赋执行权限
chmod +x /etc/systemd/system/docker.service
systemctl daemon-reload
3. docker 命令
开机启动
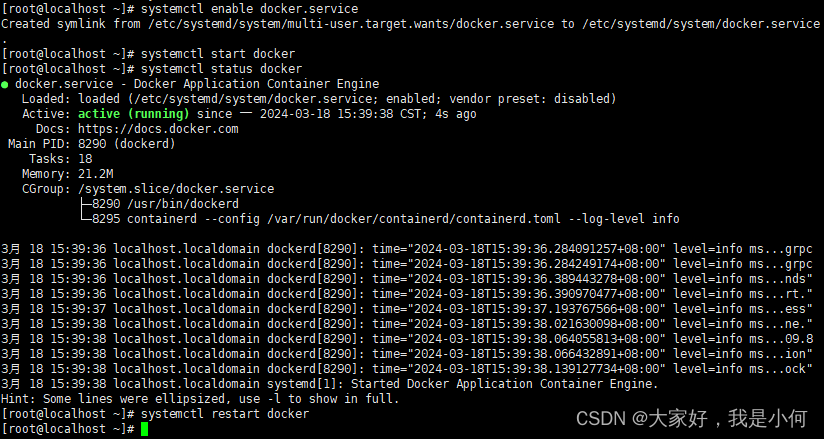
systemctl enable docker.service
启动docker
systemctl start docker
docker状态
systemctl status docker
重启docker服务
systemctl restart docker
二、docker-compose 离线安装
1. 下载离线包
- 下载离线包
https://github.com/docker/compose/releases
- 下载的最新版本(这里要展开才能看到)
docker-compose-linux-x86_64
2. 安装docker-compose
- 上传安装包
改名为docker-compose 复制到 /usr/local/bin/下
cp -f ./docker-compose-linux-x86_64 /usr/local/bin/docker-compose
赋执行权限
chmod +x /usr/local/bin/docker-compose

三、 docker 离线镜像
1、在有网络的环境下下载镜像
redis 镜像
docker pull redis:5.0.14

2、导出镜像
docker save redis:5.0.14 -o redis5014.tar

2、上传离线环境导入镜像
docker load -i redis5014.tar
3、查看镜像
docker images

4、创建redis管理目录,方便后期管理
mkdir data
5、编辑redis.conf配置文件
vim redis.conf
Redis configuration file example.
#
# Note that in order to read the configuration file, Redis must be
# started with the file path as first argument:
#
# ./redis-server /path/to/redis.conf
# Note on units: when memory size is needed, it is possible to specify
# it in the usual form of 1k 5GB 4M and so forth:
#
# 1k => 1000 bytes
# 1kb => 1024 bytes
# 1m => 1000000 bytes
# 1mb => 1024*1024 bytes
# 1g => 1000000000 bytes
# 1gb => 1024*1024*1024 bytes
#
# units are case insensitive so 1GB 1Gb 1gB are all the same.
################################## INCLUDES ###################################
# Include one or more other config files here. This is useful if you
# have a standard template that goes to all Redis servers but also need
# to customize a few per-server settings. Include files can include
# other files, so use this wisely.
#
# Notice option “include” won’t be rewritten by command “CONFIG REWRITE”
# from admin or Redis Sentinel. Since Redis always uses the last processed
# line as value of a configuration directive, you’d better put includes
# at the beginning of this file to avoid overwriting config change at runtime.
#
# If instead you are interested in using includes to override configuration
# options, it is better to use include as the last line.
#
# include /path/to/local.conf
# include /path/to/other.conf
################################## MODULES #####################################
# Load modules at startup. If the server is not able to load modules
# it will abort. It is possible to use multiple loadmodule directives.
#
# loadmodule /path/to/my_module.so
# loadmodule /path/to/other_module.so
################################## NETWORK #####################################
# By default, if no “bind” configuration directive is specified, Redis listens
# for connections from all the network interfaces available on the server.
# It is possible to listen to just one or multiple selected interfaces using
# the “bind” configuration directive, followed by one or more IP addresses.
#
# Examples:
#
# bind 192.168.1.100 10.0.0.1
# bind 127.0.0.1 ::1
#
# ~~~ WARNING ~~~ If the computer running Redis is directly exposed to the
# internet, binding to all the interfaces is dangerous and will expose the
# instance to everybody on the internet. So by default we uncomment the
# following bind directive, that will force Redis to listen only into
# the IPv4 lookback interface address (this means Redis will be able to
# accept connections only from clients running into the same computer it
# is running).
#
# IF YOU ARE SURE YOU WANT YOUR INSTANCE TO LISTEN TO ALL THE INTERFACES
# JUST COMMENT THE FOLLOWING LINE.
# ~~~~~~~~~~~~~~~~~~~~~~~~~~~~~~~~~~~~~~~~~~~~~~~~~~~~~~~~~~~~~~~~~~~~~~~~
# bind 127.0.0.1
# Protected mode is a layer of security protection, in order to avoid that
# Redis instances left open on the internet are accessed and exploited.
#
# When protected mode is on and if:
#
# 1) The server is not binding explicitly to a set of addresses using the
# “bind” directive.
# 2) No password is configured.
#
# The server only accepts connections from clients connecting from the
# IPv4 and IPv6 loopback addresses 127.0.0.1 and ::1, and from Unix domain
# sockets.
#
# By default protected mode is enabled. You should disable it only if
# you are sure you want clients from other hosts to connect to Redis
# even if no authentication is configured, nor a specific set of interfaces
# are explicitly listed using the “bind” directive.
protected-mode no
# Accept connections on the specified port, default is 6379 (IANA #815344).
# If port 0 is specified Redis will not listen on a TCP socket.
port 6379
# TCP listen() backlog.
#
# In high requests-per-second environments you need an high backlog in order
# to avoid slow clients connections issues. Note that the Linux kernel
# will silently truncate it to the value of /proc/sys/net/core/somaxconn so
# make sure to raise both the value of somaxconn and tcp_max_syn_backlog
# in order to get the desired effect.
tcp-backlog 511
# Unix socket.
#
# Specify the path for the Unix socket that will be used to listen for
# incoming connections. There is no default, so Redis will not listen
# on a unix socket when not specified.
#
# unixsocket /tmp/redis.sock
# unixsocketperm 700
# Close the connection after a client is idle for N seconds (0 to disable)
timeout 0
# TCP keepalive.
#
# If non-zero, use SO_KEEPALIVE to send TCP ACKs to clients in absence
# of communication. This is useful for two reasons:
#
# 1) Detect dead peers.
# 2) Take the connection alive from the point of view of network
# equipment in the middle.
#
# On Linux, the specified value (in seconds) is the period used to send ACKs.
# Note that to close the connection the double of the time is needed.
# On other kernels the period depends on the kernel configuration.
#
# A reasonable value for this option is 300 seconds, which is the new
# Redis default starting with Redis 3.2.1.
tcp-keepalive 300
################################# GENERAL #####################################
# By default Redis does not run as a daemon. Use ‘yes’ if you need it.
# Note that Redis will write a pid file in /var/run/redis.pid when daemonized.
daemonize yes
# If you run Redis from upstart or systemd, Redis can interact with your
# supervision tree. Options:
# supervised no - no supervision interaction
# supervised upstart - signal upstart by putting Redis into SIGSTOP mode
# supervised systemd - signal systemd by writing READY=1 to $NOTIFY_SOCKET
# supervised auto - detect upstart or systemd method based on
# UPSTART_JOB or NOTIFY_SOCKET environment variables
# Note: these supervision methods only signal “process is ready.”
# They do not enable continuous liveness pings back to your supervisor.
supervised no
# If a pid file is specified, Redis writes it where specified at startup
# and removes it at exit.
#
# When the server runs non daemonized, no pid file is created if none is
# specified in the configuration. When the server is daemonized, the pid file
# is used even if not specified, defaulting to “/var/run/redis.pid”.
#
# Creating a pid file is best effort: if Redis is not able to create it
# nothing bad happens, the server will start and run normally.
pidfile /var/run/redis_
 最低0.47元/天 解锁文章


 2472
2472


 被折叠的 条评论
为什么被折叠?
被折叠的 条评论
为什么被折叠?
 到【灌水乐园】发言


