


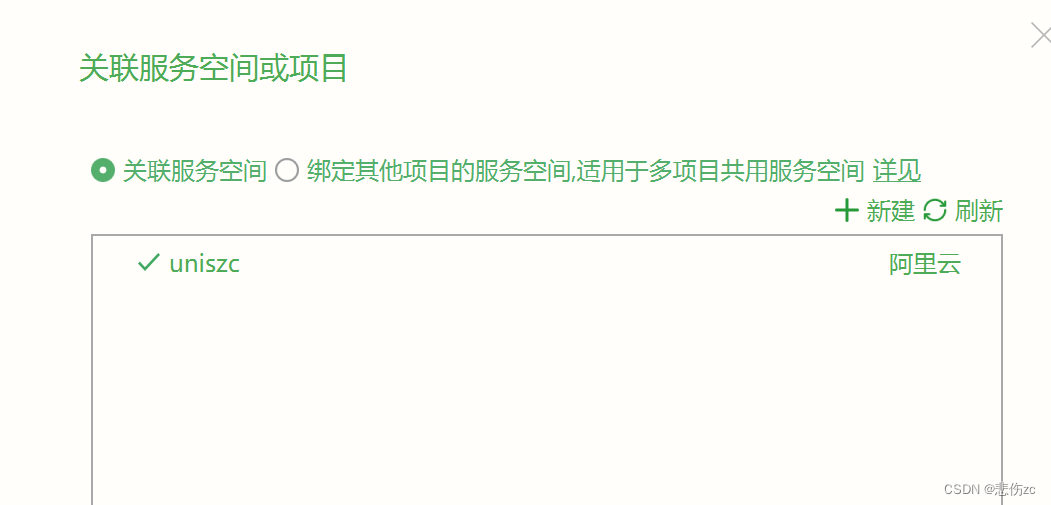
1.先关联好云服务空间
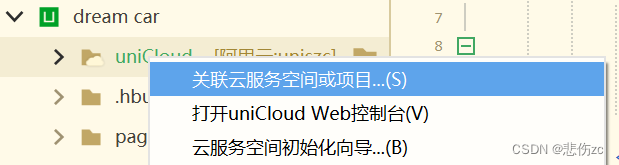
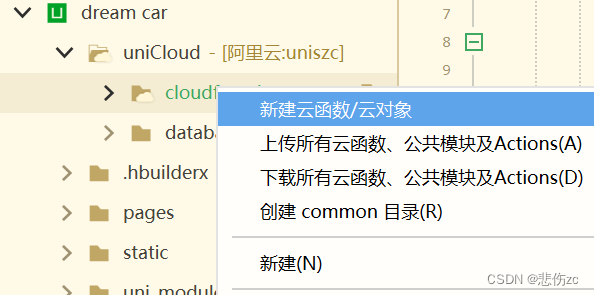
2.打开unicloud web控制台
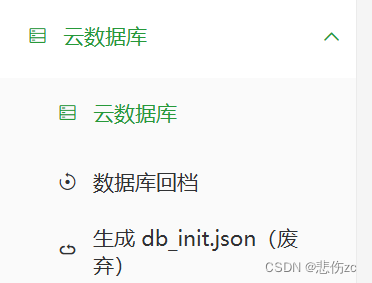
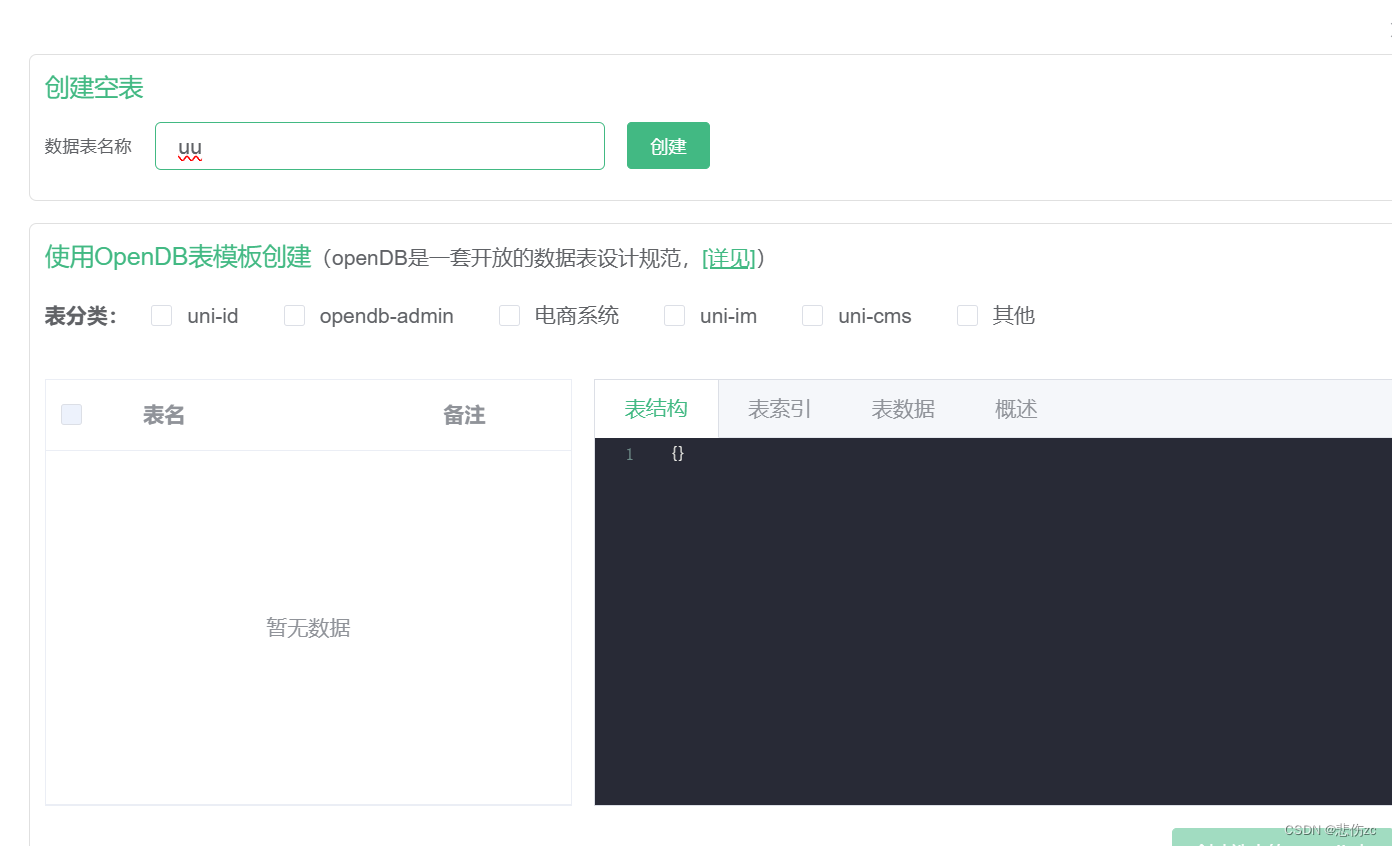
先建一个数据库方便于存图片
3.建立一个云函数并绑定数据库
在云函数里写代码绑定刚建好的数据库
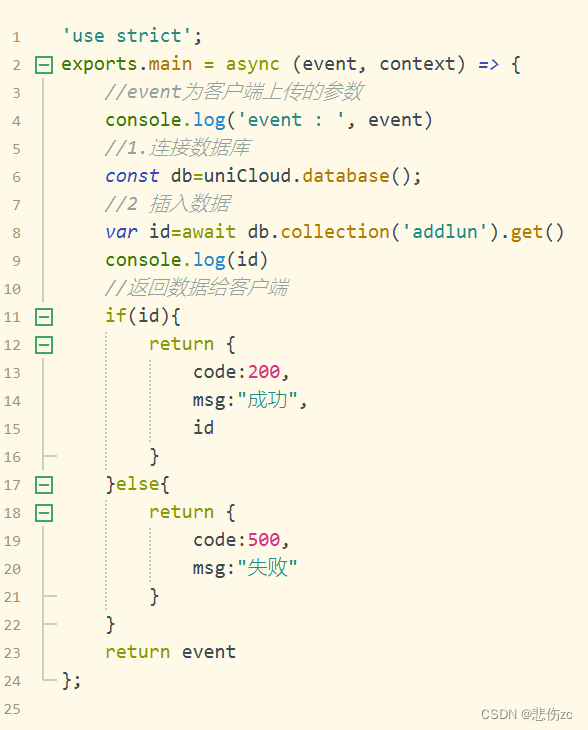
'use strict';
exports.main = async (event, context) => {
//event为客户端上传的参数
console.log('event : ', event)
//1.连接数据库
const db=uniCloud.database();
//2 插入数据
var id=await db.collection('addlun').get()
console.log(id)
//返回数据给客户端
if(id){
return {
code:200,
msg:"成功",
id
}
}else{
return {
code:500,
msg:"失败"
}
}
return event
};
###注意'addlun'是你建数据库的表明
4.现在就写页面端传数据的代码
<template>
<view class="add-leave">
<view class="user-info">
</view>
<view class="upload-img">
<view class="title">
上传图片
</view>
<view class="example-body">
<uni-file-picker limit="3" @select="OnSelect" :auto-upload="false"></uni-file-picker>
</view>
<view class="tip">
最多可上传三张图片
</view>
</view>
<button class="but-color" @tap="addLeave">确定提交 </button>
</view>
</template>
###上面已经写完框架了就还有方法
<script>
export default {
data() {
return {
imgs:[]
}
},
onLoad() {
console.log(this.date);
},
methods: {
addLeave(){
uniCloud.callFunction({
name: "addlun",
data:{
attchement:this.imgs[0]
}
success: (res) => {
console.log(res);
if(res.result.code==200){
uni.showToast({
title:"成功了",
icon:"none",
duration:3000
})
uni.switchTab({
url:"/pages/index/index"
})
}
}
})
},
OnSelect(e){
console.log("选择了图标")
uniCloud.uploadFile({
//filePath要上传的文件对象
filePath:e.tempFilePaths[0],
//cloudPath 文件夹/时间戳+文件名
cloudPath:Date.now()+e.tempFiles[0].name,
// cloudPathAsRealPath:true,
success: (res) => {
console.log(res);
this.imgs.push(res.fileID)
}
})
}
}
}
</script>
###方法也写完了,最后就是调格式了
<style lang="scss" scoped>
.add-leave {
padding: 15px;
background-color: #F8F8F8;
height: 100vh;
.user-info {
view {
color: #3e515c;
}
view:first-child {
margin-bottom: 3px;
font-size: 28px;
}
text {
font-weight: bold;
font-size: 30px;
}
}
.upload-img {
margin-top: 15px;
.title {
font-weight: bold;
margin-bottom: 10px;
color: #3e515c;
}
.tip {
font-size: 24px;
margin: 15px 0;
color: gray;
}
/deep/ .file-picker__box-content {
background-color: white;
border-color: white !important;
}
}
###页面也写好了
5.最后就是储存成功就可以在云数据库里面看见了
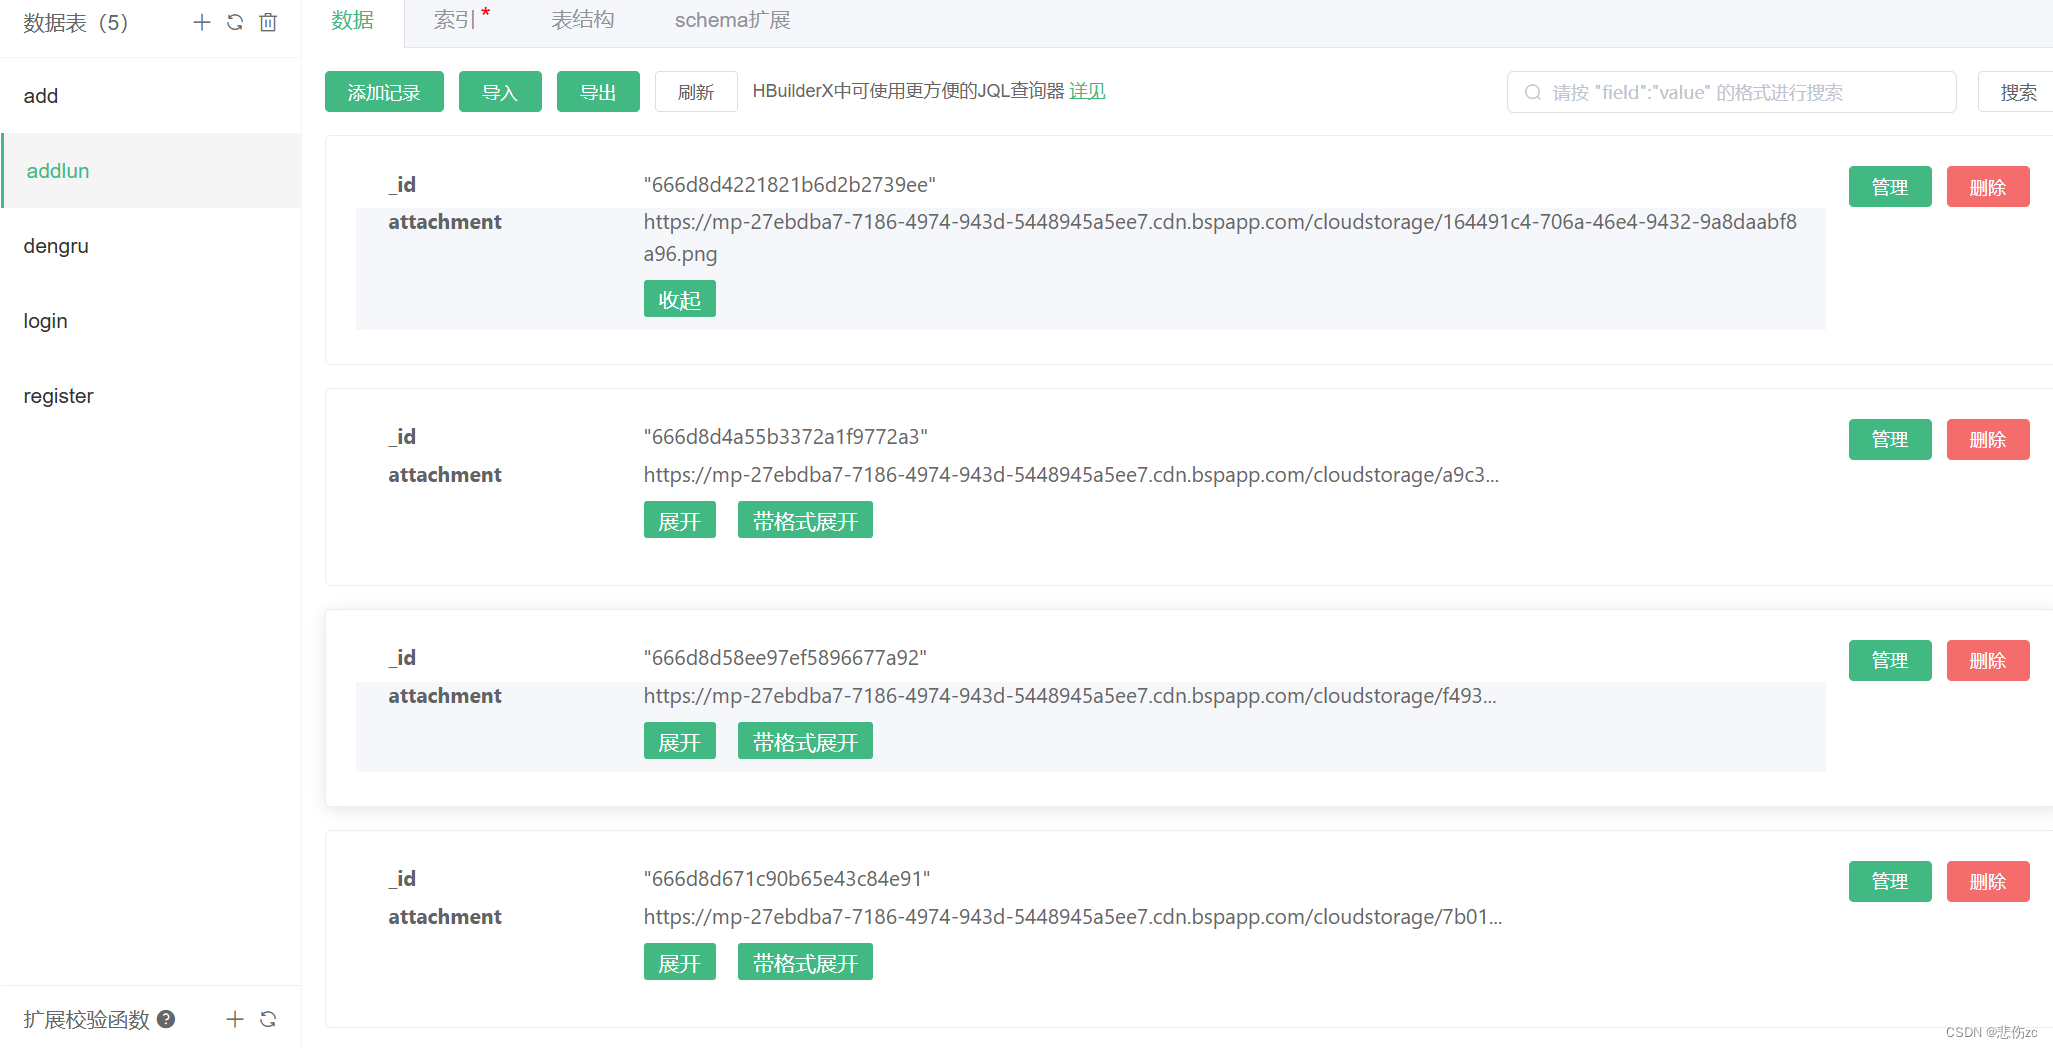
表里的id是自动生成的不需要额外添加,attachment就是你存的图片了
6.也可以在你的页面使用v-for把它编练出来
我把它做成了轮播图
<!-- <!-- 轮播图 -->
<swiper class="Carousel" :indicator-dots="false" :autoplay="true" :interval="3000" :duration="1000">
<swiper-item v-for="(item,index) in traverse">
<image :src="item.attachment" mode=""></image>
</swiper-item>
</swiper>
export default {
data() {
return {
traverse: [],
}
},
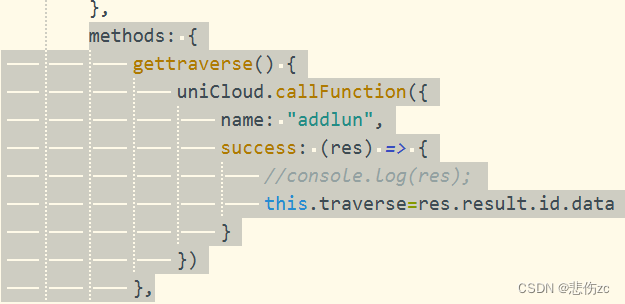
###这是方法
methods: {
gettraverse() {
uniCloud.callFunction({
name: "addlun",
success: (res) => {
//console.log(res);
this.traverse=res.result.id.data
}
})
},
ok已做完了可以去动手试试了


 652
652

 被折叠的 条评论
为什么被折叠?
被折叠的 条评论
为什么被折叠?
 到【灌水乐园】发言


