


 本文详细描述了如何在Linux服务器上搭建论坛环境,包括修改Apache配置、上传并解压Discuz!X3.5包、安装MySQL/MariaDB、设置权限和配置数据库,确保论坛环境正常运行。
搭建一个论坛
—接上篇博客
改名/etc/httpd/conf.d/vhosts.conf ===》/etc/httpd/conf.d/vhosts.conf.bak
[root@localhost conf.d]# mv /etc/httpd/conf.d/vhosts.conf /etc/httpd/conf.d/vhosts.conf.bak
此时的vhosts.conf是一个新创建的文件,之前的vhosts.conf已经改名为vhosts.conf.bak
[root@localhost conf.d]# vim /etc/httpd/conf.d/vhosts.conf
<Virtualhost 192.168.126.140>
        DocumentRoot /luntan
        ServerName 192.168.126.140
</Virtualhost>
<Directory /luntan>
        AllowOverride none
        Require all granted
</Directory>
创建资源目录
将Discuz! X3.5包通过xftp传输至/luntan/目录下
[root@localhost ~]#  /luntan/
[root@localhost ~]# cd /luntan/
[root@localhost luntan]# ll
total 11324
-rw-r--r--. 1 root root 11593050 Apr 19 20:45 Discuz_X3.5_SC_UTF8_20231221.zip
解压此包
[root@localhost luntan]# unzip Discuz_X3.5_SC_UTF8_20231221.zip
[root@localhost luntan]# ll
total 11448
-rw-r--r--.  1 root root 11593050 Apr 19 20:45 Discuz_X3.5_SC_UTF8_20231221.zip
-rw-r--r--.  1 root root     8181 Dec 21 16:24 LICENSE
-rw-r--r--.  1 root root    33294 Dec 21  2022 qqqun.png
drwxr-xr-x.  2 root root      124 Dec 21 19:28 readme
-rw-r--r--.  1 root root    70226 Mar 16  2023 readme.html	#可以先读取该界面
drwxr-xr-x. 12 root root     4096 Dec 21 19:29 upload
[root@localhost luntan]# cd upload/
[root@localhost upload]# ll
total 72
-rw-r--r--.  1 root root 2869 Dec 21 19:29 admin.php
drwxr-xr-x. 10 root root  149 Dec 21 19:28 api
-rw-r--r--.  1 root root  727 Dec 21 19:29 api.php
drwxr-xr-x.  2 root root   23 Dec 21 19:28 archiver
drwxr-xr-x.  2 root root   90 Dec 21 19:28 config
-rw-r--r--.  1 root root 1040 Dec 21 19:29 connect.php
-rw-r--r--.  1 root root  106 Dec 21 19:29 crossdomain.xml
drwxr-xr-x. 12 root root  178 Dec 21 19:28 data
-rw-r--r--.  1 root root 5558 Dec 21 16:24 favicon.ico
-rw-r--r--.  1 root root 2357 Dec 21 19:29 forum.php
-rw-r--r--.  1 root root  906 Dec 21 19:29 group.php
-rw-r--r--.  1 root root 1325 Dec 21 19:29 home.php
-rw-r--r--.  1 root root 6920 Dec 21 19:29 index.php	#主页面
drwxr-xr-x.  5 root root   64 Dec 21 19:28 install
-rw-r--r--.  1 root root  998 Dec 21 19:29 member.php
-rw-r--r--.  1 root root 2410 Dec 21 19:29 misc.php
-rw-r--r--.  1 root root 1790 Dec 21 19:29 plugin.php
-rw-r--r--.  1 root root 1086 Dec 21 19:29 portal.php
-rw-r--r--.  1 root root  639 Dec 21 19:29 robots.txt
-rw-r--r--.  1 root root 1755 Dec 21 19:29 search.php
drwxr-xr-x. 10 root root  168 Dec 21 19:28 source
drwxr-xr-x.  7 root root   86 Dec 21 19:29 static
drwxr-xr-x.  3 root root   38 Dec 21 19:29 template
drwxr-xr-x.  8 root root  146 Dec 21 19:29 uc_client
drwxr-xr-x. 13 root root 4096 Dec 21 19:29 uc_server
[root@localhost upload]# systemctl restart httpd
[root@localhost upload]# yum install php* -y
安装mariadb
mariadb和mysql底层原理一样,默认监听端口也是同一个
[root@localhost upload]# yum install mariadb-server
[root@localhost upload]# systemctl restart mariadb
[root@localhost upload]# mysql_secure_installation  #mariadb提供的用户密码初始化

NOTE: RUNNING ALL PARTS OF THIS SCRIPT IS RECOMMENDED FOR ALL MariaDB
      SERVERS IN PRODUCTION USE!  PLEASE READ EACH STEP CAREFULLY!

In order to log into MariaDB to secure it, we'll need the current
password for the root user. If you've just installed MariaDB, and
haven't set the root password yet, you should just press enter here.

#设置数据库的root用户密码
Enter current password for root (enter for none):
OK, successfully used password, moving on...

Setting the root password or using the unix_socket ensures that nobody
can log into the MariaDB root user without the proper authorisation.

You already have your root account protected, so you can safely answer 'n'.


Switch to unix_socket authentication [Y/n] y
Enabled successfully!
Reloading privilege tables..
 ... Success!


You already have your root account protected, so you can safely answer 'n'.

Change the root password? [Y/n] y
New password: 						#输入	redhat
Re-enter new password:
Password updated successfully!
Reloading privilege tables..
 ... Success!

#下面的选项直接回车即可
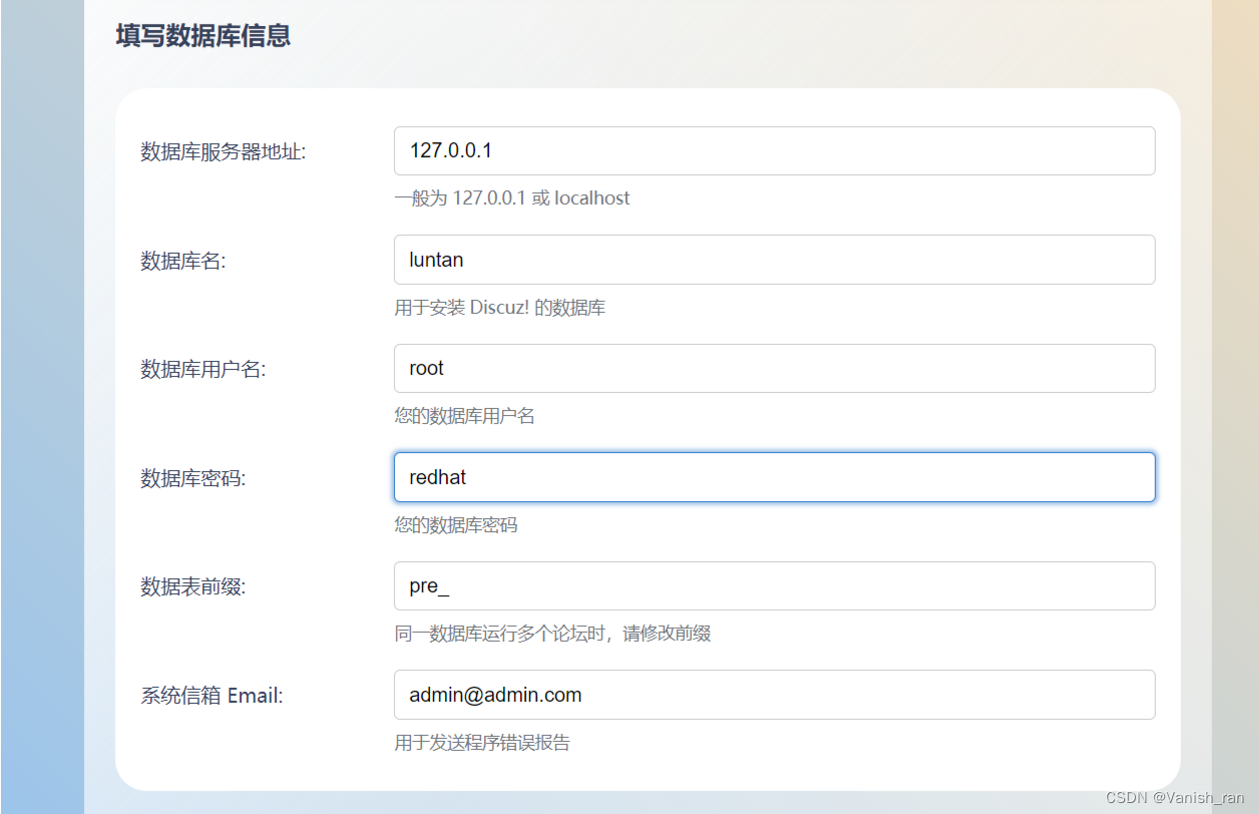
连接到数据库
[root@localhost upload]# mysql -uroot -predhat
MariaDB [(none)]> create database luntan;
Query OK, 1 row affected (0.000 sec)

MariaDB [(none)]> use luntan;
Database changed
MariaDB [luntan]> show tables;
Empty set (0.000 sec)

MariaDB [luntan]> exit
[root@localhost upload]# systemctl restart mariadb.service
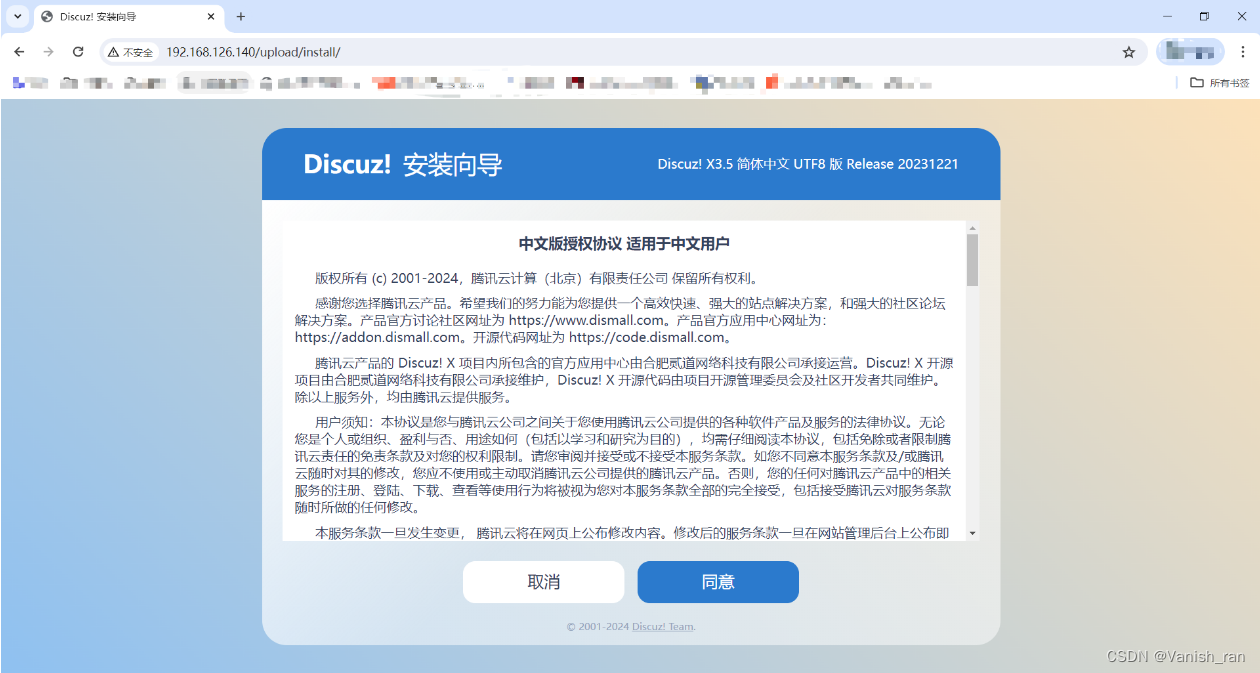
点击同意
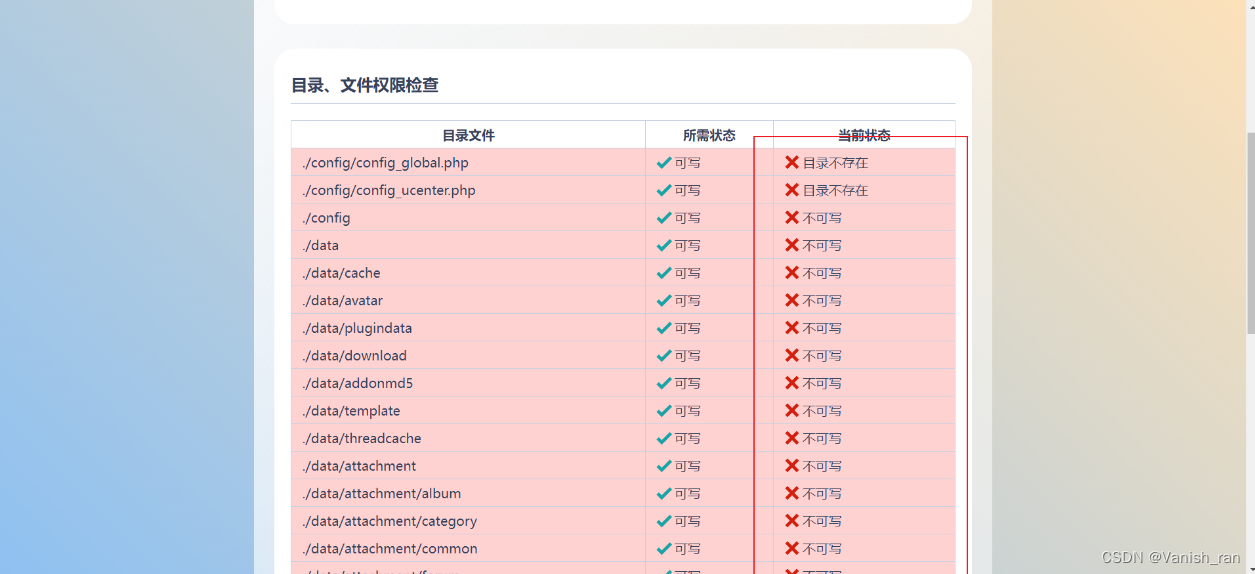
#给下面几个目录及其目录里的文件权限
[root@localhost upload]# chmod 777 config data uc_* -R
这时,浏览器刷新后环境检测这块就没问题了,
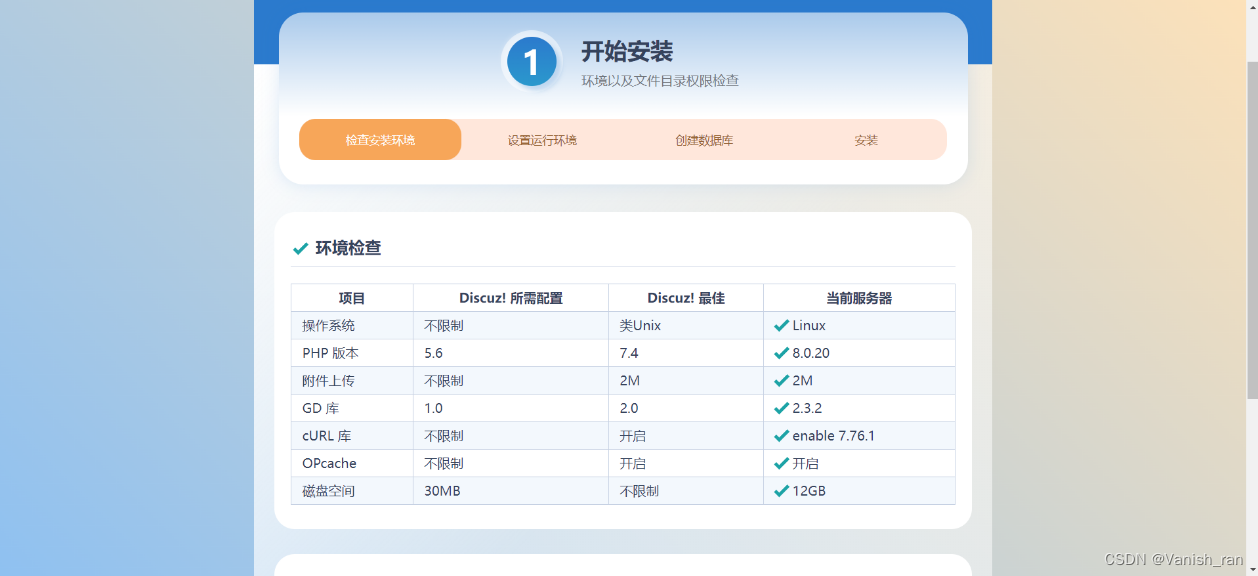
然后点击此页面底部的“下一步”
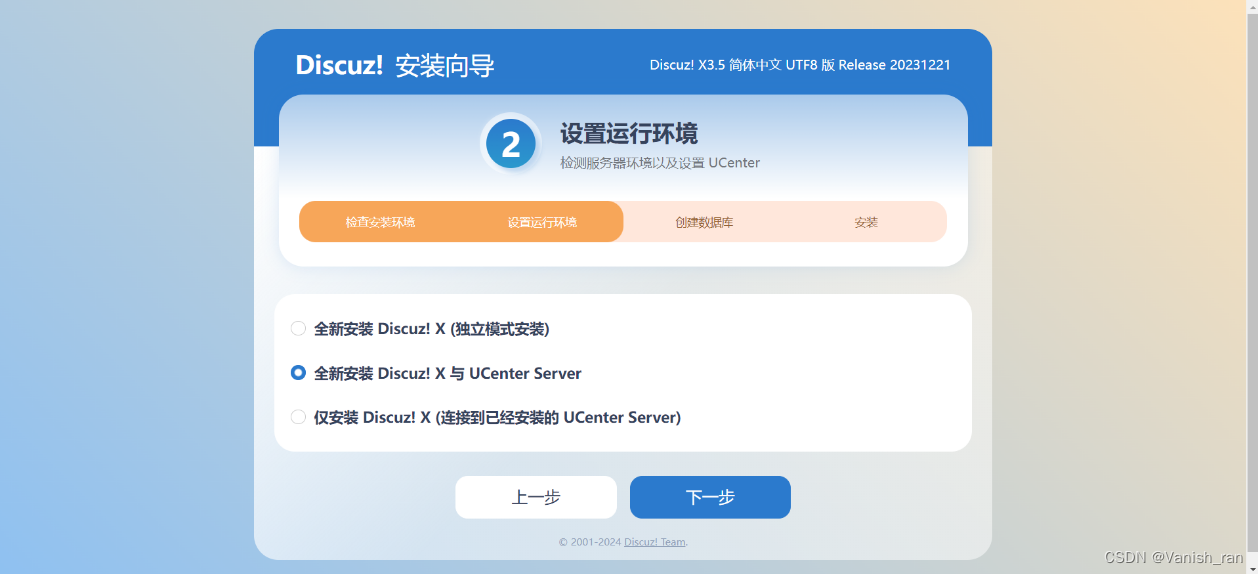
下一步

下一步
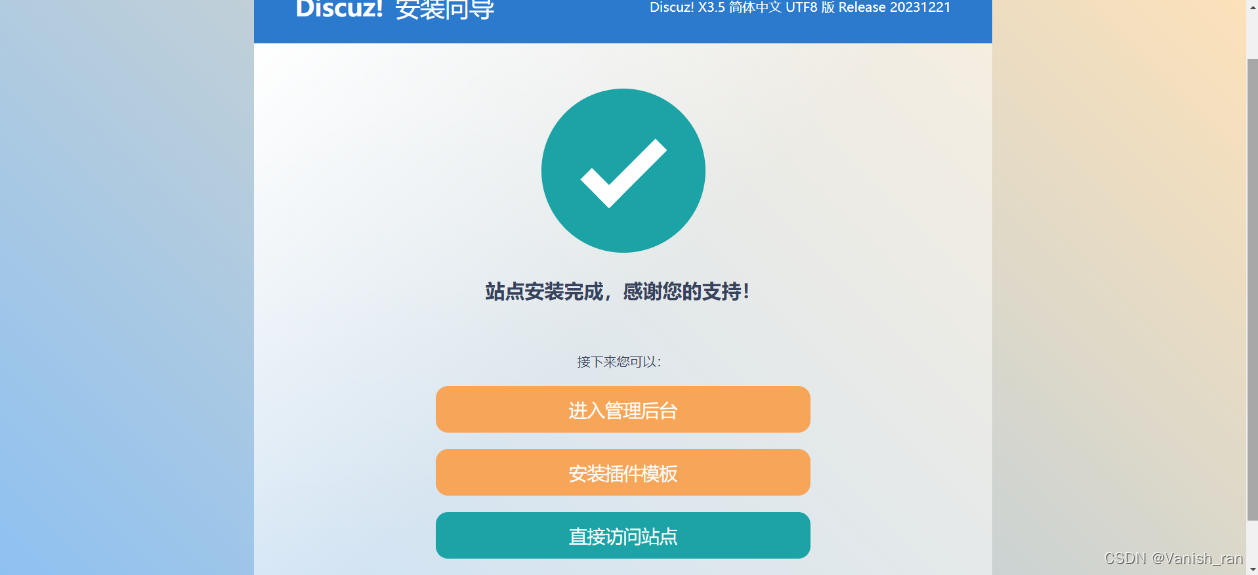
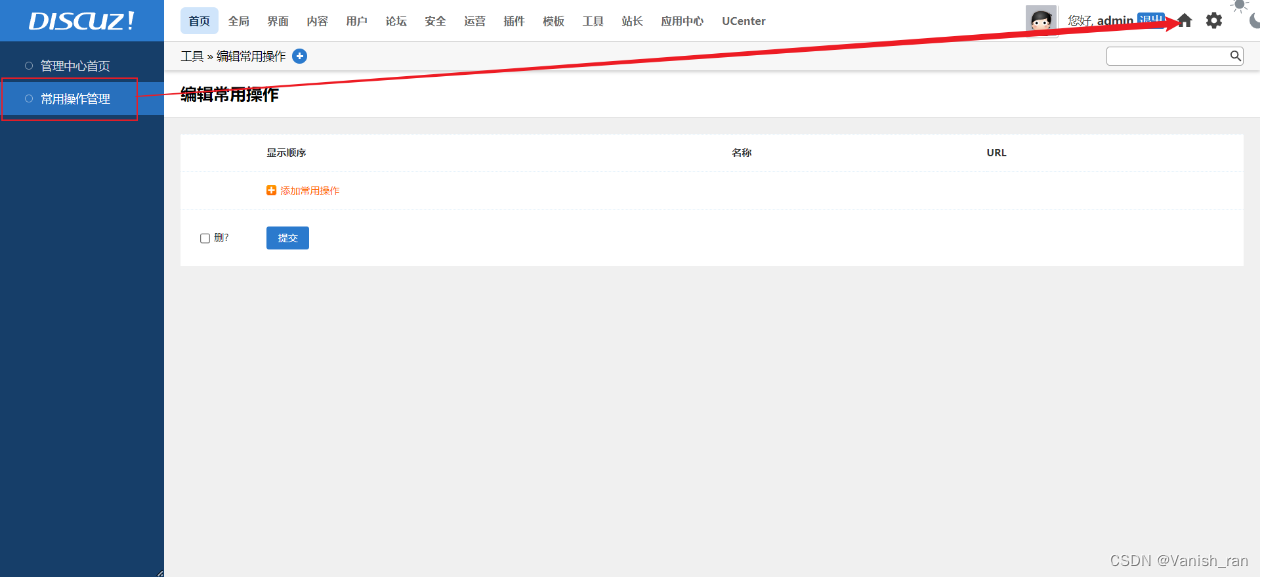
点击”进入管理后台“
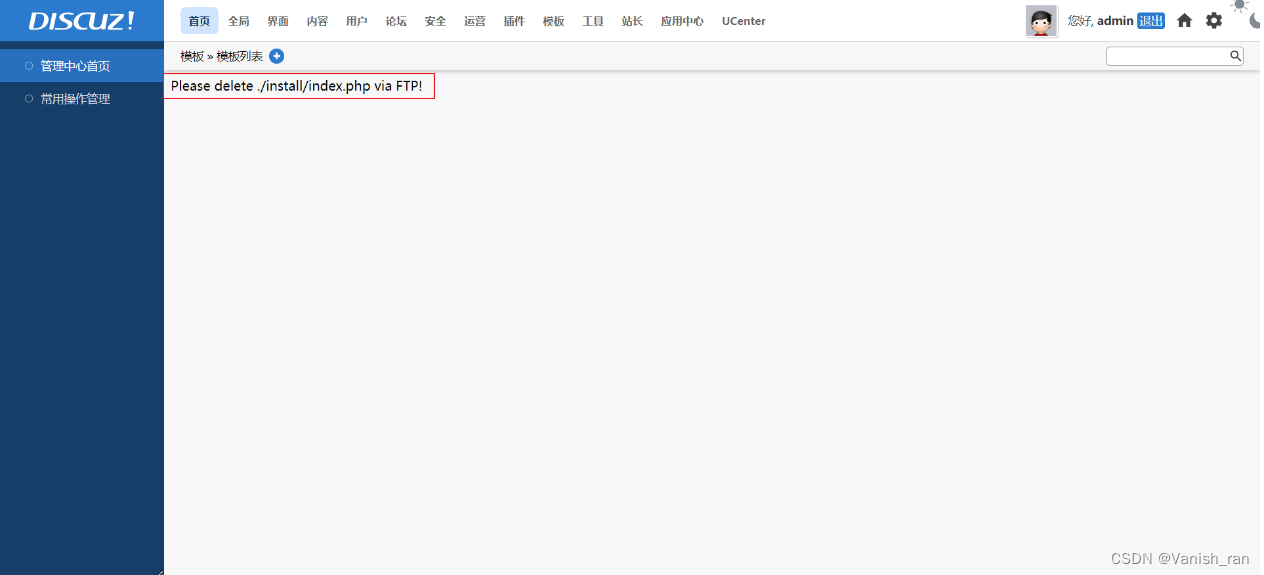
这里给此文件改名也可以解决
[root@localhost install]# mv /luntan/upload/install/index.php{,.bak}
#上述命令效果为给此文件加一个后缀(.bak)
刷新浏览器
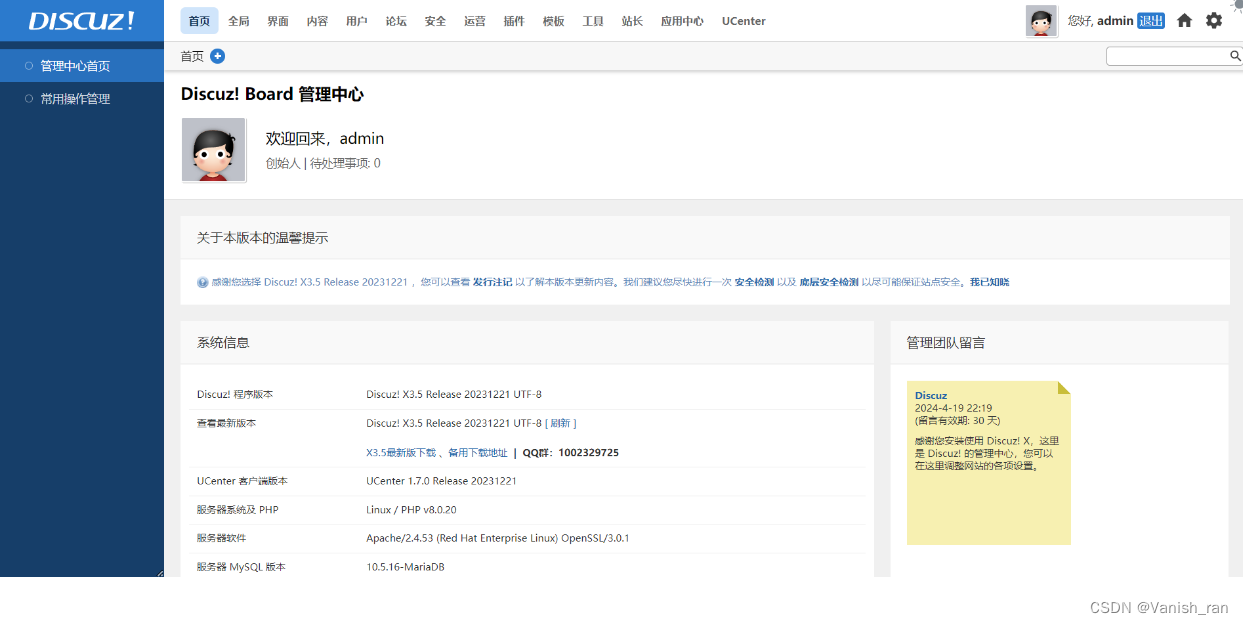
发帖和写帖
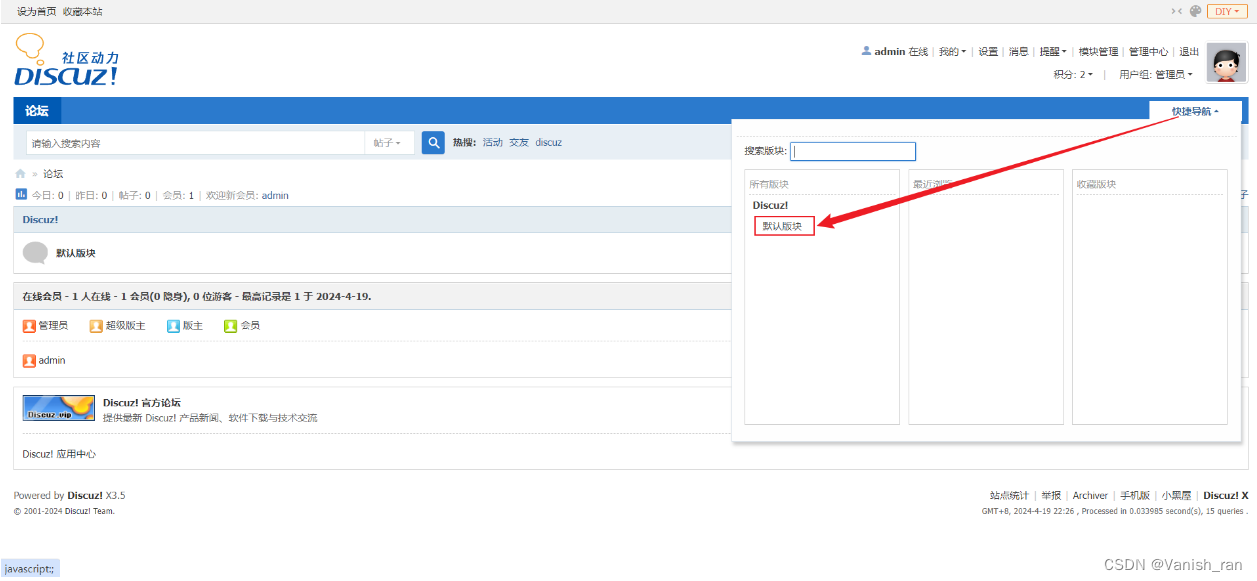
光标移到快捷导航,后点击默认板块
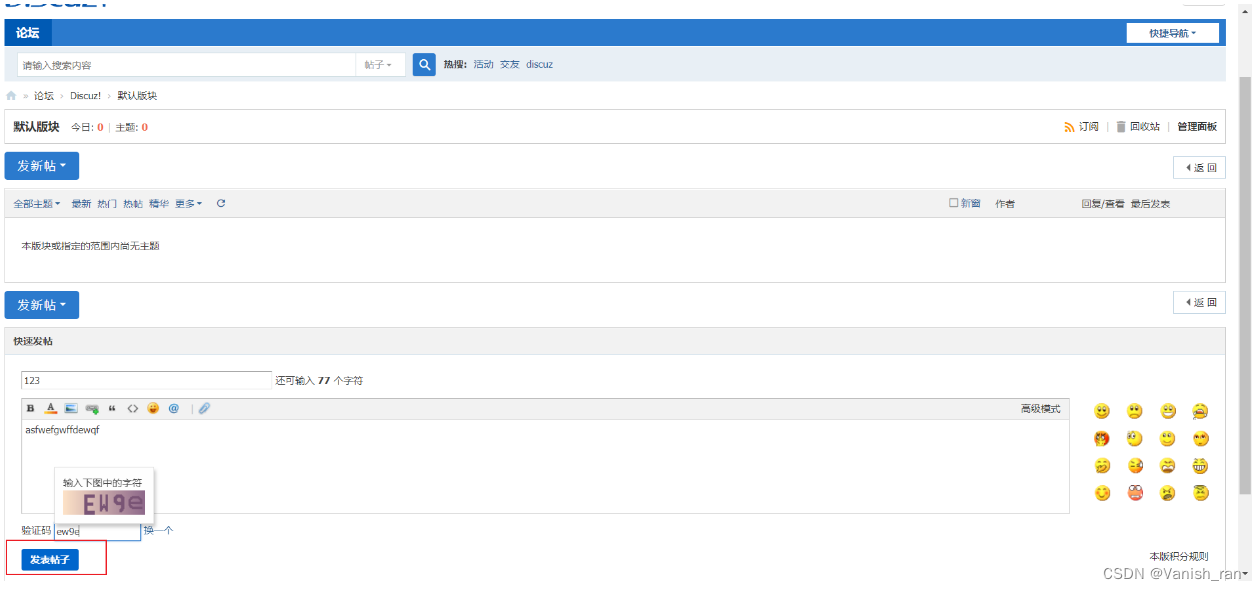
成功发帖
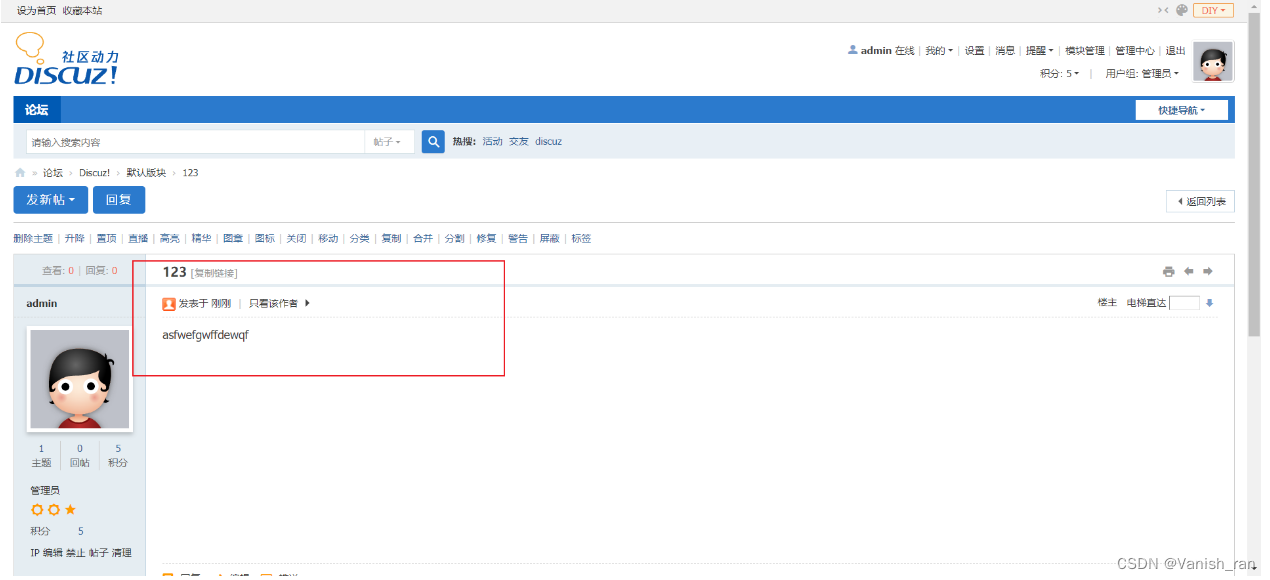
博客的搭建于论坛类似


 3572
3572

 被折叠的 条评论
为什么被折叠?
被折叠的 条评论
为什么被折叠?
 到【灌水乐园】发言


