{
“access_token”:“ACCESS_TOKEN”,
“token_type”:“bearer”,
“expires_in”:2592000,
“refresh_token”:“REFRESH_TOKEN”,
“scope”:“read”,
“uid”:100101,
“info”:{…}
}
上面 JSON 数据中,access_token字段就是令牌,A 网站在后端拿到了。

4.2、隐藏式
有些 Web 应用是纯前端应用,没有后端。这时就不能用上面的方式了,必须将令牌储存在前端。RFC 6749 就规定了第二种方式,允许直接向前端颁发令牌。这种方式没有授权码这个中间步骤,所以称为(授权码)“隐藏式”(implicit)。
- 第一步,A 网站提供一个链接,要求用户跳转到 B 网站,授权用户数据给 A 网站使用。
https://b.com/oauth/authorize?
response_type=token&
client_id=CLIENT_ID&
redirect_uri=CALLBACK_URL&
scope=read
上面 URL 中,response_type参数为token,表示要求直接返回令牌。
- 第二步,用户跳转到 B 网站,登录后同意给予 A 网站授权。这时,B 网站就会跳回redirect_uri参数指定的跳转网址,并且把令牌作为 URL 参数,传给 A 网站。
https://a.com/callback#token=ACCESS_TOKEN
上面 URL 中,token参数就是令牌,A 网站因此直接在前端拿到令牌。
注意,令牌的位置是 URL 锚点(fragment),而不是查询字符串(querystring),这是因为 OAuth 2.0 允许跳转网址是 HTTP 协议,因此存在"中间人攻击"的风险,而浏览器跳转时,锚点不会发到服务器,就减少了泄漏令牌的风险。

这种方式把令牌直接传给前端,是很不安全的。因此,只能用于一些安全要求不高的场景,并且令牌的有效期必须非常短,通常就是会话期间(session)有效,浏览器关掉,令牌就失效了。
4.3、密码式
如果你高度信任某个应用,RFC 6749 也允许用户把用户名和密码,直接告诉该应用。该应用就使用你的密码,申请令牌,这种方式称为"密码式"(password)。
- 第一步,A 网站要求用户提供 B 网站的用户名和密码。拿到以后,A 就直接向 B 请求令牌。
https://oauth.b.com/token?
grant_type=password&
username=USERNAME&
password=PASSWORD&
client_id=CLIENT_ID
上面 URL 中,grant_type参数是授权方式,这里的password表示"密码式",username和password是 B 的用户名和密码。
- 第二步,B 网站验证身份通过后,直接给出令牌。注意,这时不需要跳转,而是把令牌放在 JSON 数据里面,作为 HTTP 回应,A 因此拿到令牌。
4.4、凭证式
最后一种方式是凭证式(client credentials),适用于没有前端的命令行应用,即在命令行下请求令牌。
- 第一步,A 应用在命令行向 B 发出请求。
https://oauth.b.com/token?
grant_type=client_credentials&
client_id=CLIENT_ID&
client_secret=CLIENT_SECRET
上面 URL 中,grant_type参数等于client_credentials表示采用凭证式,client_id和client_secret用来让 B 确认 A 的身份。
- 第二步,B 网站验证通过以后,直接返回令牌。
这种方式给出的令牌,是针对第三方应用的,而不是针对用户的,即有可能多个用户共享同一个令牌。
======================================================================
如果是自建单点服务,一般都会使用密码模式。资源服务器和授权服务器
可以是同一台服务器,也可以分开。这里我们学习分布式的情况。
授权服务器和资源服务器分开,项目结构如下:

1.1、授权服务器
授权服务器的职责:
-
管理客户端及其授权信息
-
管理用户及其授权信息
-
管理Token的生成及其存储
-
管理Token的校验及校验Key
1.1.1、依赖
org.springframework.boot
spring-boot-starter-security
org.springframework.security.oauth
spring-security-oauth2
2.3.6.RELEASE
1.1.2、授权服务器配置
授权服务器配置通过继承AuthorizationServerConfigurerAdapter的配置类实现:
/**
-
@Author 三分恶
-
@Date 2020/5/20
-
@Description 授权服务器配置
*/
@Configuration
@EnableAuthorizationServer
public class AuthorizationServerConfig extends AuthorizationServerConfigurerAdapter {
@Autowired
private AuthenticationManager authenticationManager;//密码模式需要注入认证管理器
@Autowired
public PasswordEncoder passwordEncoder;
//配置客户端
@Override
public void configure(ClientDetailsServiceConfigurer clients) throws Exception {
clients.inMemory()
.withClient(“client-demo”)
.secret(passwordEncoder.encode(“123”))
.authorizedGrantTypes(“password”) //这里配置为密码模式
.scopes(“read_scope”);
}
@Override
public void configure(AuthorizationServerEndpointsConfigurer endpoints) throws Exception {
endpoints.authenticationManager(authenticationManager);//密码模式必须添加authenticationManager
}
@Override
public void configure(AuthorizationServerSecurityConfigurer security) throws Exception {
security.allowFormAuthenticationForClients()
.checkTokenAccess(“isAuthenticated()”);
}
}
-
客户端的注册:这里通过inMemory的方式在内存中注册客户端相关信息;实际项目中可以通过一些管理接口及界面动态实现客户端的注册
-
校验Token权限控制:资源服务器如果需要调用授权服务器的/oauth/check_token接口校验token有效性,那么需要配置checkTokenAccess(“isAuthenticated()”)
-
authenticationManager配置:需要通过endpoints.authenticationManager(authenticationManager)将Security中的authenticationManager配置到Endpoints中,否则,在Spring Security中配置的权限控制将不会在进行OAuth2相关权限控制的校验时生效。
1.1.3、Spring Security配置
通过Spring Security来完成用户及密码加解密等配置:
/**
-
@Author 三分恶
-
@Date 2020/5/20
-
@Description SpringSecurity 配置
*/
@Configuration
@EnableWebSecurity
public class SecurityConfig extends WebSecurityConfigurerAdapter {
@Bean
public PasswordEncoder passwordEncoder() {
return new BCryptPasswordEncoder();
}
@Bean
public AuthenticationManager authenticationManager() throws Exception {
return super.authenticationManager();
}
@Override
protected void configure(AuthenticationManagerBuilder auth) throws Exception {
auth.inMemoryAuthentication()
.withUser(“fighter”)
.password(passwordEncoder().encode(“123”))
.authorities(new ArrayList<>(0));
}
@Override
protected void configure(HttpSecurity http) throws Exception {
//所有请求必须认证
http.authorizeRequests().anyRequest().authenticated();
}
}
1.2、资源服务器
资源服务器的职责:
-
token的校验
-
给与资源
1.2.1、资源服务器配置
资源服务器依赖一样,而配置则通过继承自ResourceServerConfigurerAdapter的配置类来实现:
/**
-
@Author 三分恶
-
@Date 2020/5/20
-
@Description
*/
@Configuration
@EnableResourceServer
public class ResourceServerConfig extends ResourceServerConfigurerAdapter {
@Bean
public RemoteTokenServices remoteTokenServices() {
final RemoteTokenServices tokenServices = new RemoteTokenServices();
tokenServices.setClientId(“client-demo”);
tokenServices.setClientSecret(“123”);
tokenServices.setCheckTokenEndpointUrl(“http://localhost:8090/oauth/check_token”);
return tokenServices;
}
@Override
public void configure(ResourceServerSecurityConfigurer resources) throws Exception {
resources.stateless(true);
}
@Override
public void configure(HttpSecurity http) throws Exception {
//session创建策略
http.sessionManagement().sessionCreationPolicy(SessionCreationPolicy.IF_REQUIRED);
//所有请求需要认证
http.authorizeRequests().anyRequest().authenticated();
}
}
主要进行了如下配置:
-
TokenService配置:在不采用JWT的情况下,需要配置RemoteTokenServices来充当tokenServices,它主要完成Token的校验等工作。因此需要指定校验Token的授权服务器接口地址
-
同时,由于在授权服务器中配置了/oauth/check_token需要客户端登录后才能访问,因此也需要配置客户端编号及Secret;在校验之前先进行登录
-
通过ResourceServerSecurityConfigurer来配置需要访问的资源编号及使用的TokenServices
1.2.2、资源服务接口
接口比较简单:
/**
-
@Author 三分恶
-
@Date 2020/5/20
-
@Description
*/
@RestController
public class ResourceController {
@GetMapping(“/user/{username}”)
public String user(@PathVariable String username){
return “Hello !”+username;
}
}
1.3、测试
授权服务器使用8090端口启动,资源服务器使用默认端口。
1.3.1、获取token
访问/oauth/token端点,获取token:
- url: http://localhost:8090/oauth/token?username=fighter&password=123&scope=read_scope&grant_type=password

- 请求头:

- 返回的token

1.3.2、使用获取到的token访问资源接口
- 使用token调用资源,访问http://localhost:8080/user/fighter,注意使用token添加Bearer请求头

相当于在Headers中添加 Authorization:Bearer 4a3c351d-770d-42aa-af39-3f54b50152e9。
OK,可以看到资源正确返回。
这里仅仅是密码模式的精简化配置,在实际项目中,某些部分如:
- 资源服务访问授权服务去校验token这部分可能会换成Jwt、Redis等tokenStore实现,
- 授权服务器中的用户信息与客户端信息生产环境从数据库中读取,对应Spring Security的UserDetailsService实现类或用户信息的Provider
很多网站登录时,允许使用第三方网站的身份,这称为"第三方登录"。所谓第三方登录,实质就是 OAuth 授权。
例如用户想要登录 A 网站,A 网站让用户提供第三方网站的数据,证明自己的身份。获取第三方网站的身份数据,就需要 OAuth 授权。
以A网站使用GitHub第三方登录为例,流程示意如下:

接下来,简单地实现GitHub登录流程。
2.1、应用注册
在使用之前需要先注册一个应用,让GitHub可以识别。
- 访问地址:https://github.com/settings/applications/new,填写注册表

应用的名称随便填,主页 URL 填写http://localhost:8080,回调地址填写 http://localhost:8080/oauth/redirect。
- 提交表单以后,GitHub 应该会返回客户端 ID(client ID)和客户端密钥(client secret),这就是应用的身份识别码

2.2、具体代码
- 只需要引入web依赖:
org.springframework.boot
spring-boot-starter-web
- GitHub相关配置
github.client.clientId=29d127aa0753c12263d7
github.client.clientSecret=f3cb9222961efe4c2adccd6d3e0df706972fa5eb
github.client.authorizeUrl=https://github.com/login/oauth/authorize
github.client.accessTokenUrl=https://github.com/login/oauth/access_token
github.client.redirectUrl=http://localhost:8080/oauth/redirect
github.client.userInfoUrl=https://api.github.com/user
- 对应的配置类
@Component
@ConfigurationProperties(prefix = “github.client”)
public class GithubProperties {
private String clientId;
private String clientSecret;
private String authorizeUrl;
private String redirectUrl;
private String accessTokenUrl;
private String userInfoUrl;
//省略getter、setter
}
- index.html:首页比较简单,一个链接向后端发起登录请求
- GithubLoginController.java:
* 使用RestTemplate发送http请求
* 使用Jackson解析返回的json,不用引入更多依赖
* 快捷起见,发送http请求的方法直接写在控制器中,实际上应该将工具方法分离出去
* 同样是快捷起见,返回的用户信息没有做任何解析
@Controller
public class GithubLoginController {
@Autowired
GithubProperties githubProperties;
/**
-
登录接口,重定向至github
-
@return 跳转url
*/
@GetMapping(“/authorize”)
public String authorize() {
String url =githubProperties.getAuthorizeUrl() +
“?client_id=” + githubProperties.getClientId() +
“&redirect_uri=” + githubProperties.getRedirectUrl();
return “redirect:” + url;
}
/**
-
回调接口,用户同意授权后,GitHub会将授权码传递给此接口
-
@param code GitHub重定向时附加的授权码,只能用一次
-
@return
*/
@GetMapping(“/oauth/redirect”)
@ResponseBody
public String redirect(@RequestParam(“code”) String code) throws JsonProcessingException {
System.out.println(“code:”+code);
// 使用code获取token
String accessToken = this.getAccessToken(code);
// 使用token获取userInfo
String userInfo = this.getUserInfo(accessToken);
return userInfo;
}
/**
-
使用授权码获取token
-
@param code
-
@return
*/
private String getAccessToken(String code) throws JsonProcessingException {
String url = githubProperties.getAccessTokenUrl() +
“?client_id=” + githubProperties.getClientId() +
自我介绍一下,小编13年上海交大毕业,曾经在小公司待过,也去过华为、OPPO等大厂,18年进入阿里一直到现在。
深知大多数Java工程师,想要提升技能,往往是自己摸索成长或者是报班学习,但对于培训机构动则几千的学费,着实压力不小。自己不成体系的自学效果低效又漫长,而且极易碰到天花板技术停滞不前!
因此收集整理了一份《2024年Java开发全套学习资料》,初衷也很简单,就是希望能够帮助到想自学提升又不知道该从何学起的朋友,同时减轻大家的负担。


既有适合小白学习的零基础资料,也有适合3年以上经验的小伙伴深入学习提升的进阶课程,基本涵盖了95%以上Java开发知识点,真正体系化!
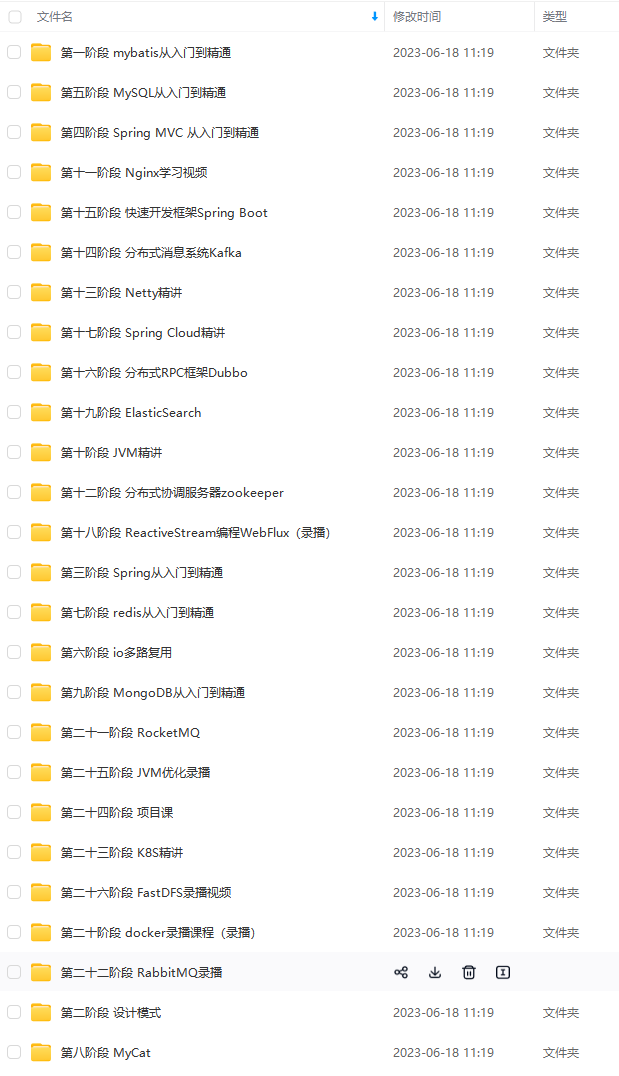
由于文件比较大,这里只是将部分目录截图出来,每个节点里面都包含大厂面经、学习笔记、源码讲义、实战项目、讲解视频,并且会持续更新!
如果你觉得这些内容对你有帮助,可以扫码获取!!(备注Java获取)

最后
我还通过一些渠道整理了一些大厂真实面试主要有:蚂蚁金服、拼多多、阿里云、百度、唯品会、携程、丰巢科技、乐信、软通动力、OPPO、银盛支付、中国平安等初,中级,高级Java面试题集合,附带超详细答案,希望能帮助到大家。

还有专门针对JVM、SPringBoot、SpringCloud、数据库、Linux、缓存、消息中间件、源码等相关面试题。

《互联网大厂面试真题解析、进阶开发核心学习笔记、全套讲解视频、实战项目源码讲义》点击传送门即可获取!
摸索成长或者是报班学习,但对于培训机构动则几千的学费,着实压力不小。自己不成体系的自学效果低效又漫长,而且极易碰到天花板技术停滞不前!**
因此收集整理了一份《2024年Java开发全套学习资料》,初衷也很简单,就是希望能够帮助到想自学提升又不知道该从何学起的朋友,同时减轻大家的负担。[外链图片转存中…(img-BvTsRKxA-1713318146507)]
[外链图片转存中…(img-TGg37n5W-1713318146508)]
[外链图片转存中…(img-QmKWwU6Z-1713318146508)]
既有适合小白学习的零基础资料,也有适合3年以上经验的小伙伴深入学习提升的进阶课程,基本涵盖了95%以上Java开发知识点,真正体系化!
由于文件比较大,这里只是将部分目录截图出来,每个节点里面都包含大厂面经、学习笔记、源码讲义、实战项目、讲解视频,并且会持续更新!
如果你觉得这些内容对你有帮助,可以扫码获取!!(备注Java获取)

最后
我还通过一些渠道整理了一些大厂真实面试主要有:蚂蚁金服、拼多多、阿里云、百度、唯品会、携程、丰巢科技、乐信、软通动力、OPPO、银盛支付、中国平安等初,中级,高级Java面试题集合,附带超详细答案,希望能帮助到大家。
[外链图片转存中…(img-eQdG2Zqf-1713318146509)]
还有专门针对JVM、SPringBoot、SpringCloud、数据库、Linux、缓存、消息中间件、源码等相关面试题。
[外链图片转存中…(img-vnOlXlsC-1713318146509)]
《互联网大厂面试真题解析、进阶开发核心学习笔记、全套讲解视频、实战项目源码讲义》点击传送门即可获取!


 5959
5959


 被折叠的 条评论
为什么被折叠?


