


Layer也是一个约束助手ConstraintHelper,相对Flow比较简单,常用来增加背景,或者共同动画。由于ConstraintHelper本身继承自View,跟我们自己通过View在ConstraintLayout布局中给多个View添加共同背景没什么区别,只是更方便而已。
「1、添加背景」
给ImageView和TextView添加个共同背景:
「效果:」

「代码:」
<?xml version="1.0" encoding="utf-8"?> <androidx.constraintlayout.widget.ConstraintLayout xmlns:android="http://schemas.android.com/apk/res/android" xmlns:app="http://schemas.android.com/apk/res-auto" xmlns:tools="http://schemas.android.com/tools" android:layout_width="match_parent" android:layout_height="match_parent"> <androidx.constraintlayout.helper.widget.Layer android:id="@+id/layer" android:layout_marginTop="50dp" android:layout_width="wrap_content" android:layout_height="wrap_content" android:background="@color/colorPrimary" app:constraint_referenced_ids="ivImage,tvName" app:layout_constraintLeft_toLeftOf="@id/ivImage" app:layout_constraintRight_toRightOf="parent" android:padding="10dp" app:layout_constraintTop_toTopOf="parent" tools:ignore="MissingConstraints" /> <ImageView android:id="@+id/ivImage" android:layout_width="wrap_content" android:layout_height="wrap_content" android:layout_marginTop="10dp" android:src="@mipmap/ic_launcher_round" app:layout_constraintLeft_toLeftOf="parent" app:layout_constraintRight_toRightOf="parent" app:layout_constraintTop_toBottomOf="@id/layer" /> <TextView android:id="@+id/tvName" android:layout_width="wrap_content" android:layout_height="wrap_content" android:text="新小梦" android:textColor="#FFFFFF" android:paddingTop="5dp" app:layout_constraintLeft_toLeftOf="@id/ivImage" app:layout_constraintRight_toRightOf="@id/ivImage" app:layout_constraintTop_toBottomOf="@id/ivImage" /> </androidx.constraintlayout.widget.ConstraintLayout>
「2、共同动画」
通过属性动画给ImageView和TextView添加通过动画效果。
「效果:」
 「代码:」
「代码:」
val animator = ValueAnimator.ofFloat( 0f, 360f) animator.repeatMode=ValueAnimator.RESTART animator.duration=2000 animator.interpolator=LinearInterpolator() animator.repeatCount=ValueAnimator.INFINITE animator.addUpdateListener { layer.rotation= it.animatedValue as Float } layer.setOnClickListener { animator.start() }
对属性动画模糊的同学可以看看:Android属性动画,看完这篇够用了吧
支持:旋转、位移、缩放动画。透明效果试了一下,是针对自身的,而不是约束的View。
三、自定义ConstraintHelper
Flow和Layer都是ConstraintHelper的子类,当两者不满足需求时,可以通过继承ConstraintHelper来实现想要的约束效果。
在某乎APP有这么个类似的动画广告:
 那么通过自定义ConstraintHelper来实现就非常简单:
class AdHelper : ConstraintHelper { constructor(context: Context?) : super(context) constructor(context: Context?,attributeSet: AttributeSet):super(context,attributeSet) constructor(context: Context?,attributeSet: AttributeSet,defStyleAttr: Int):super(context,attributeSet,defStyleAttr) override fun updatePostLayout(container: ConstraintLayout?) { super.updatePostLayout(container) val views = getViews(container) views.forEach { val anim = ViewAnimationUtils.createCircularReveal(it, 0, 0, 0f, it.width.toFloat()) anim.duration = 5000 anim.start() } } }
布局引用AdHleper:
<?xml version="1.0" encoding="utf-8"?> <androidx.constraintlayout.widget.ConstraintLayout xmlns:android="http://schemas.android.com/apk/res/android" xmlns:app="http://schemas.android.com/apk/res-auto" android:layout_width="match_parent" android:layout_height="match_parent"> <com.example.constraint.AdHelper android:layout_width="wrap_content" android:layout_height="wrap_content" app:constraint_referenced_ids="ivLogo" app:layout_constraintLeft_toLeftOf="@id/ivLogo" app:layout_constraintRight_toRightOf="@id/ivLogo" app:layout_constraintTop_toTopOf="@id/ivLogo" /> <ImageView android:id="@+id/ivLogo" android:layout_width="match_parent" android:layout_height="wrap_content" android:layout_margin="20dp" android:adjustViewBounds="true" android:scaleType="fitXY" android:src="@mipmap/ic_logo" app:layout_constraintTop_toTopOf="parent" /> </androidx.constraintlayout.widget.ConstraintLayout>
四、ImageFilterButton
圆角图片,圆形图片怎么实现?自定义View?通过ImageFilterButton,一个属性就搞定;ImageFilterButto能做的还有更多。
看看如何实现圆角或圆形图片:
「原图:」
 将
将roundPercent属性设置为1,取值在0-1,由正方形向圆形过渡。
<androidx.constraintlayout.utils.widget.ImageFilterButton android:layout_width="wrap_content" android:layout_height="wrap_content" android:layout_marginTop="100dp" app:roundPercent="1" android:src="@mipmap/ic_launcher" app:layout_constraintLeft_toLeftOf="parent" app:layout_constraintRight_toRightOf="parent" app:layout_constraintTop_toTopOf="parent" />
「效果:」
 也可以通过设置
round属性来实现:
<androidx.constraintlayout.utils.widget.ImageFilterButton android:layout_width="wrap_content" android:layout_height="wrap_content" android:layout_marginTop="100dp" android:src="@mipmap/ic_launcher" app:layout_constraintLeft_toLeftOf="parent" app:layout_constraintRight_toRightOf="parent" app:layout_constraintTop_toTopOf="parent" app:round="50dp" />
「其他属性:」
altSrc和src属性是一样的概念,altSrc提供的资源将会和src提供的资源通过crossfade属性形成交叉淡化效果。默认情况下,crossfade=0,altSrc所引用的资源不可见,取值在0-1。 例如:
<androidx.constraintlayout.utils.widget.ImageFilterButton android:id="@+id/ivImage" android:layout_width="wrap_content" android:layout_height="wrap_content" android:layout_marginTop="100dp" android:src="@mipmap/ic_launcher" app:altSrc="@mipmap/ic_sun" app:crossfade="0.5" app:layout_constraintLeft_toLeftOf="parent" app:layout_constraintRight_toRightOf="parent" app:layout_constraintTop_toTopOf="parent" app:round="50dp" />
crossfade=0.5时,效果:
 crossfade=1时,效果:

接下来几个属性是对图片进行调节:
warmth色温:1=neutral自然, 2=warm暖色, 0.5=cold冷色
brightness亮度:0 = black暗色, 1 = original原始, 2 = twice as bright两倍亮度;这个效果不好贴图,大家自行验证;
saturation饱和度:0 = grayscale灰色, 1 = original原始, 2 = hyper saturated超饱和;

contrast对比:1 = unchanged原始, 0 = gray暗淡, 2 = high contrast高对比;

上面属性的取值都是0、1、2,不过大家可以取其他值,效果也是不一样的。 最后一个属性overlay,表示不知道怎么用,看不到没效果,大家看看评论跟我说声?

五、ImageFilterView
ImageFilterView与ImageFilterButton的属性一模一样,只是它两继承的父类不一样,一些操作也就不一样。ImageFilterButton继承自AppCompatImageButton,也就是ImageButtion。而ImageFilterView继承自ImageView。

六、MockView
还记得你家项目经理给你的UI原型图么?想不想回敬一下项目经理,是时候了~ 
MockView能简单的帮助构建UI界面,通过对角线形成的矩形+标签。例如:
<?xml version="1.0" encoding="utf-8"?> <androidx.constraintlayout.widget.ConstraintLayout xmlns:android="http://schemas.android.com/apk/res/android" xmlns:app="http://schemas.android.com/apk/res-auto" android:layout_width="match_parent" android:layout_height="match_parent"> <androidx.constraintlayout.utils.widget.MockView android:id="@+id/first" android:layout_width="100dp" android:layout_height="100dp" app:layout_constraintLeft_toLeftOf="parent" app:layout_constraintTop_toTopOf="parent" /> <androidx.constraintlayout.utils.widget.MockView android:id="@+id/second" android:layout_width="100dp" android:layout_height="100dp" app:layout_constraintLeft_toRightOf="@id/first" app:layout_constraintTop_toBottomOf="@id/first" /> </androidx.constraintlayout.widget.ConstraintLayout>
「效果:」
 中间黑色显示的是
MockView的id。通过MockView可以很好的构建一些UI思路。
七、MotionLayout
MitionLayou主要是用来实现动作动画,可以参考我的另一篇文章:Android MotionLayout动画:续写ConstraintLayout新篇章
八、边距问题的补充
有ConstraintLayout实践经验的朋友应该知道margin设置负值在ConstraintLayout是没有效果的。例如下面布局:TextView B的layout_marginLeft和layout_marginTop属性是不会生效的。
<?xml version="1.0" encoding="utf-8"?> <androidx.constraintlayout.widget.ConstraintLayout xmlns:android="http://schemas.android.com/apk/res/android" xmlns:app="http://schemas.android.com/apk/res-auto" android:layout_width="match_parent" android:layout_height="match_parent"> <TextView android:id="@+id/vA" android:layout_width="100dp" android:layout_height="100dp" android:layout_marginLeft="30dp" android:layout_marginTop="30dp" android:background="@color/colorPrimary" android:gravity="center" android:text="A" android:textColor="#FFFFFF" android:textSize="20sp" app:layout_constraintLeft_toLeftOf="parent" app:layout_constraintTop_toTopOf="parent" /> <TextView android:id="@+id/vB" android:layout_width="100dp" android:layout_height="100dp" android:layout_marginLeft="-30dp" android:layout_marginTop="-30dp" android:background="@color/colorAccent" android:gravity="center" android:text="B" android:textColor="#FFFFFF" android:textSize="20sp" app:layout_constraintLeft_toRightOf="@id/vA" app:layout_constraintTop_toBottomOf="@id/vA" /> </androidx.constraintlayout.widget.ConstraintLayout>
「效果:」  可以通过轻量级的
Space来间接实现这种效果。
`<?xml version="1.0" encoding="utf-8"?>
<androidx.constraintlayout.widget.ConstraintLayout xmlns:android=“http://schemas.android.com/apk/res/android”
xmlns:app=“http://schemas.android.com/apk/res-auto”
android:layout_width=“match_parent”
android:layout_height=“match_parent”>
<TextView
android:id=“@+id/vB”
android:layout_width=“100dp”
android:layout_height=“100dp”
android:layout_marginLeft=“-30dp”
android:layout_marginTop=“-30dp”
android:background=“@color/colorAccent”
android:gravity=“center”
android:text=“B”
android:textColor=“#FFFFFF”
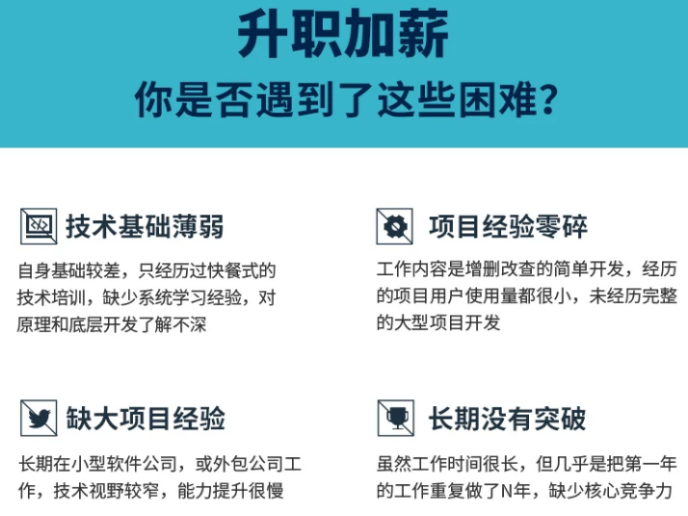
自我介绍一下,小编13年上海交大毕业,曾经在小公司待过,也去过华为、OPPO等大厂,18年进入阿里一直到现在。
深知大多数初中级安卓工程师,想要提升技能,往往是自己摸索成长,但自己不成体系的自学效果低效又漫长,而且极易碰到天花板技术停滞不前!
因此收集整理了一份《2024年最新Android移动开发全套学习资料》送给大家,初衷也很简单,就是希望能够帮助到想自学提升又不知道该从何学起的朋友,同时减轻大家的负担。
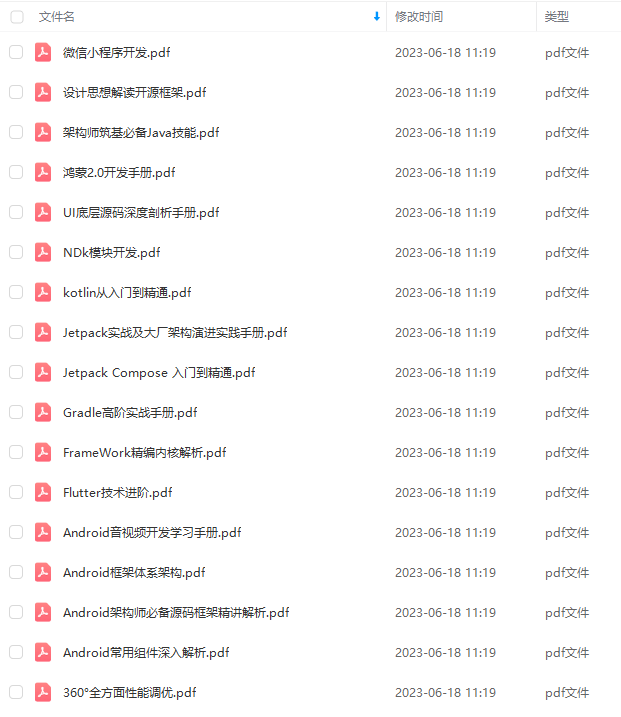
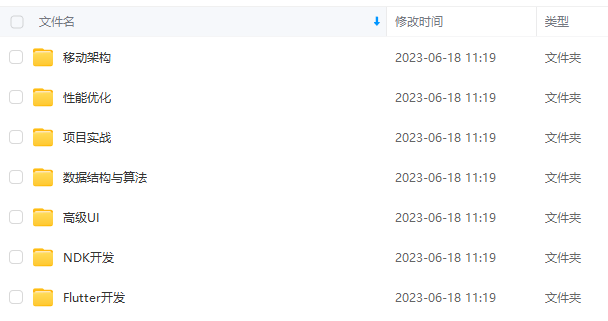
由于文件比较大,这里只是将部分目录截图出来,每个节点里面都包含大厂面经、学习笔记、源码讲义、实战项目、讲解视频
如果你觉得这些内容对你有帮助,可以添加下面V无偿领取!(备注Android)

最后
由于题目很多整理答案的工作量太大,所以仅限于提供知识点,详细的很多问题和参考答案我都整理成了 PDF文件,需要的小伙伴可以私信我【面试】免费领取或者点击GitHub免费获取!


个节点里面都包含大厂面经、学习笔记、源码讲义、实战项目、讲解视频**
如果你觉得这些内容对你有帮助,可以添加下面V无偿领取!(备注Android)
[外链图片转存中…(img-gLf0OHkN-1710656693776)]
最后
由于题目很多整理答案的工作量太大,所以仅限于提供知识点,详细的很多问题和参考答案我都整理成了 PDF文件,需要的小伙伴可以私信我【面试】免费领取或者点击GitHub免费获取!
[外链图片转存中…(img-fgzaEHOU-1710656693777)]
[外链图片转存中…(img-XgIPEpJ8-1710656693777)]


 666
666


 被折叠的 条评论
为什么被折叠?
被折叠的 条评论
为什么被折叠?
 到【灌水乐园】发言


