


最后的话
最近很多小伙伴找我要Linux学习资料,于是我翻箱倒柜,整理了一些优质资源,涵盖视频、电子书、PPT等共享给大家!
资料预览
给大家整理的视频资料:

给大家整理的电子书资料:

如果本文对你有帮助,欢迎点赞、收藏、转发给朋友,让我有持续创作的动力!
网上学习资料一大堆,但如果学到的知识不成体系,遇到问题时只是浅尝辄止,不再深入研究,那么很难做到真正的技术提升。
一个人可以走的很快,但一群人才能走的更远!不论你是正从事IT行业的老鸟或是对IT行业感兴趣的新人,都欢迎加入我们的的圈子(技术交流、学习资源、职场吐槽、大厂内推、面试辅导),让我们一起学习成长!
#include <stdio.h>
#include <unistd.h>
#include <sys/types.h>
int main()
{
printf(“pid: %d, exec command begin\n”, getpid());
// 因为可变参数列表,所以以NULL结尾,表示参数传完了
execl(“/usr/bin/ls”, “ls”, “-l”, “-a”, NULL);
printf(“pid: %d, exec command end\n”, getpid());
return 0;
}
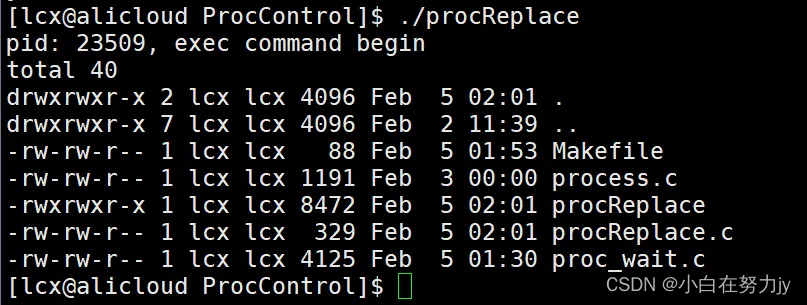
**我们直接用“语言”将其他进程执行了!** 但是我们预期还有end呢,没有打印出来,怎么回事?这个我们下面回答!
熟悉了使用后,我们再来看看另外的代码:
#include <stdio.h>
#include <unistd.h>
#include <sys/types.h>
#include <sys/wait.h>
int main()
{
pid_t id = fork();
if(0 == id)
{
// child
printf(“pid: %d, exec command begin\n”, getpid());
sleep(1);
execl(“/usr/bin/ls”, “ls”, “-l”, “-a”, NULL); // 因为可变参数列表,所以以NULL结尾,表示参数传完了
printf(“pid: %d, exec command end\n”, getpid());
}
else
{
// father
pid_t rid = waitpid(-1, NULL, 0);
if(rid > 0)
{
printf(“wait success, rid: %d\n”, rid);
}
}
return 0;
}
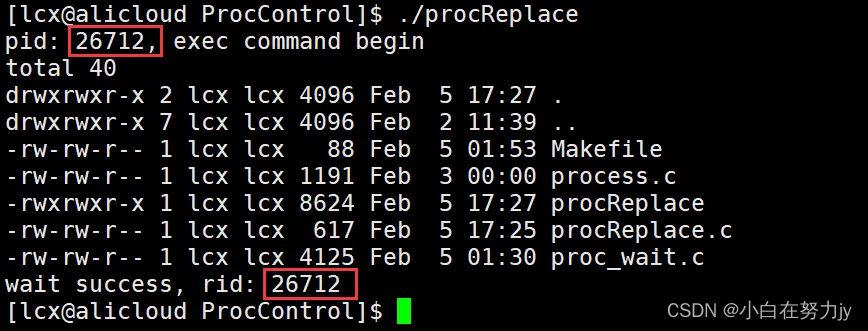
我们在等成等待的时候,没有指定pid,给了-1,让随机等待,返回的进程pid与子进程的pid一样,由此我们可以得出一个结论:**进程替换没有创建新的进程!**
**在上面的代码中**,**子进程进行了程序替换,是需要在物理内存中重新开辟空间,并将子进程的页表进行修改,代码也是数据,替换时子进程对代码做出了修改,又由于进程具有独立性,父进程与子进程互不影响,他们各自执行自己的代码,就实现了解耦,互不影响!**
**问题:**
**子进程怎么知道,要从新的程序的最开始执行?它怎么知道最开始的地方在哪?**
在Linux中,可执行程序有一定的格式叫做ELF,二进制文件的头部有一张表,表中有一个字段,里面记录了程序的入口地址(entry),CPU内有一批寄存器,有的时程序计数器(eip,pc)它们记录了代码执行的上下文,eip内存的是当前所执行代码的下一条,所以我们想要执行新的程序,只需要将entry中的地址填到eip,它就会进入新的程序开始执行!
至此,我们就知道了,为什么上面第一段代码中替换后,输出没有打印出来了。**单进程中,替换后原本的代码和数据都被替换了,原本的后续代码就没有了!多进程中,因为我们将eip的地址填为了替换后进程的入口地址,这样就不会再给eip中更新原本语句的地址了,因此也就不可能再执行后面的代码了!**
**exec*这样的函数,如果当前进程执行成功,则后续代码没有机会在执行了!因为被替换掉了!如果失败,就会继续执行本来代码的后续!exec*只有失败的返回值,没有成功的返回值,所以使用时不用判断!**
### 1.1 替换原理
程序替换 **原理**是,**将物理内存中的数据和代码替换为我们想要替换的进程的代码和数据(虚拟内存会根据新加载的代码和数据做相应的调整,但是各个区的范围是不变的)**,这就做到了谁调用exec系列函数就可以实现程序替换!!!
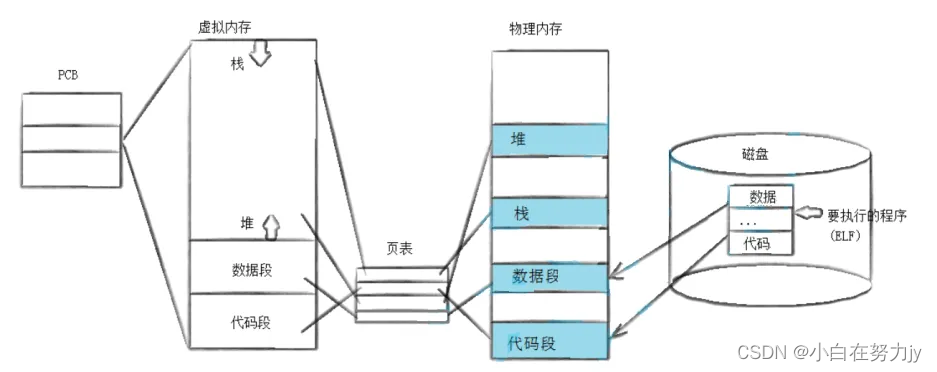
因此这也说明 **进程替换并没有创建新的程序,只是替换了数据和代码!**
### 1.2 exec系列函数使用
**总结一个思想:**
**a. 必须先找到这个可执行程序**
**b. 必须告诉exec*,怎么执行*\*

#### 1.2.1 execl函数

此函数最开始就使用了,使用样例直接跳转到通篇开始去看即可!
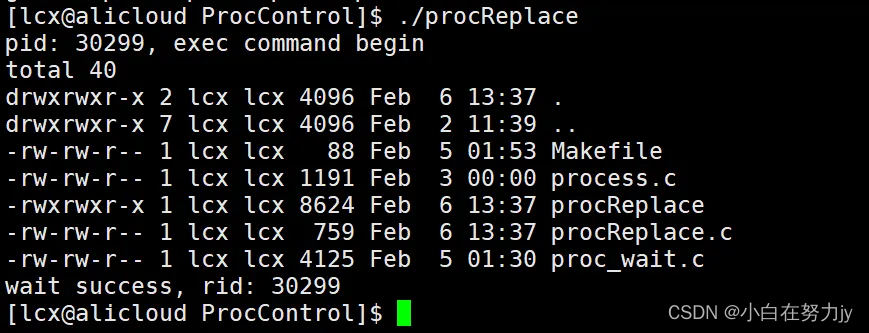
#### 1.2.2 execlp函数

#include <stdio.h>
#include <unistd.h>
#include <sys/types.h>
#include <sys/wait.h>
int main()
{
pid_t id = fork();
if(0 == id)
{
// child
printf(“pid: %d, exec command begin\n”, getpid());
sleep(1);
execlp(“ls”, “ls”, “-a”, “-l”, NULL);
printf(“pid: %d, exec command end\n”, getpid());
}
else
{
// father
pid_t rid = waitpid(-1, NULL, 0);
if(rid > 0)
{
printf(“wait success, rid: %d\n”, rid);
}
}
return 0;
}
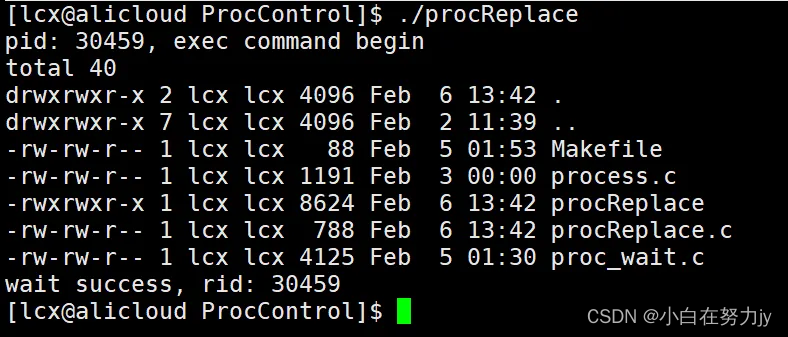
#### 1.2.3 execv函数

#include <stdio.h>
#include <unistd.h>
#include <sys/types.h>
#include <sys/wait.h>
int main()
{
pid_t id = fork();
if(0 == id)
{
// child
char* const argv[] = {“ls”, “-a”, “-l”, NULL};
printf(“pid: %d, exec command begin\n”, getpid());
sleep(1);
execv(“/usr/bin/ls”, argv);
printf(“pid: %d, exec command end\n”, getpid());
}
else
{
// father
pid_t rid = waitpid(-1, NULL, 0);
if(rid > 0)
{
printf(“wait success, rid: %d\n”, rid);
}
}
return 0;
}
#### 1.2.4 execvp函数

#include <stdio.h>
#include <unistd.h>
#include <sys/types.h>
#include <sys/wait.h>
int main()
{
pid_t id = fork();
if(0 == id)
{
// child
char* const argv[] = {“ls”, “-a”, “-l”, NULL};
printf(“pid: %d, exec command begin\n”, getpid());
sleep(1);
execvp(“ls”, argv);
printf(“pid: %d, exec command end\n”, getpid());
}
else
{
// father
pid_t rid = waitpid(-1, NULL, 0);
if(rid > 0)
{
printf(“wait success, rid: %d\n”, rid);
}
}
return 0;
}
#### 替换自己的程序
我们一直都替换的是库中的程序,我们自己写的程序可以替换吗?答案是可以,我们来试一下:
先写一份C语言测试代码:
#include
using namespace std;
int main()
{
cout << “hello linux!” << endl;
cout << “hello linux!” << endl;
cout << “hello linux!” << endl;
return 0;
}
再写程序替换代码:
#include <stdio.h>
#include <unistd.h>
#include <sys/types.h>
#include <sys/wait.h>
int main()
{
pid_t id = fork();
if(0 == id)
{
// child
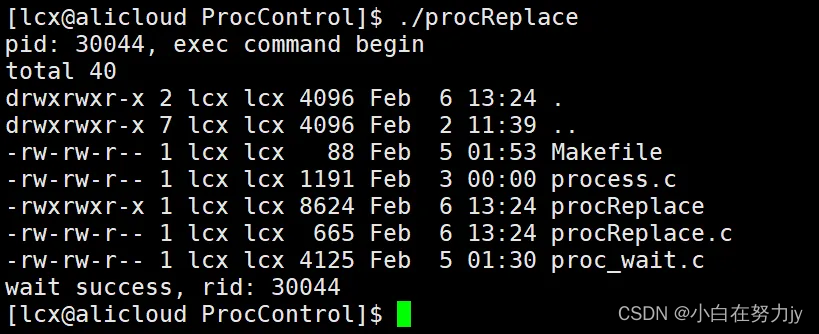
printf(“pid: %d, exec command begin\n”, getpid());
execl(“./mytest.cc”, “mytest”, NULL);
printf(“pid: %d, exec command end\n”, getpid());
}
else
{
// father
pid_t rid = waitpid(-1, NULL, 0);
if(rid > 0)
{
printf(“wait success, rid: %d\n”, rid);
}
}
return 0;
}
**问题:**
**之前不是说execl函数第一个参数是路径,第二个以及后面的命令行怎么写就怎么传么,这里execl函数第二个参数怎么没有带./呢?**
我们在命令行中执行自己的可执行程序时,先要找到可执行程序,再调用execl函数时,我们第一个参数传了路径了,后面的参数就不用了带./了。

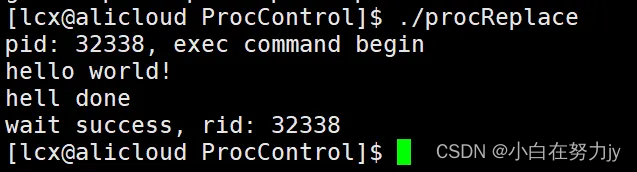
我们还可以写一份脚本语言,并进行程序替换:
#!/usr/bin/bash
echo “hello world!”
touch file1 file2 file3
echo “hell done”
#include <stdio.h>
#include <unistd.h>
#include <sys/types.h>
#include <sys/wait.h>
int main()
{
pid_t id = fork();
if(0 == id)
{
// child
printf(“pid: %d, exec command begin\n”, getpid());
execl(“/usr/bin/bash”, “bash”, “test.sh”, NULL);
printf(“pid: %d, exec command end\n”, getpid());
}
else
{
// father
pid_t rid = waitpid(-1, NULL, 0);
if(rid > 0)
{
printf(“wait success, rid: %d\n”, rid);
}
}
return 0;
}
所以exec系列函数进行程序替换,不就是加载的过程么,这不就是加载器的重要功能么!
#### 1.2.5 execle函数
我们先来铺垫两点,铺垫完之后就更容易理解execle函数了!
1、**当进行程序替换的时候,子进程对应的环境变量,是可以直接从父进程来的!下面我们进行验证:**
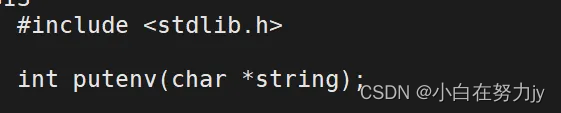
这里介绍一个函数,putenv()函数,添加环境变量的。
我们写两套代码,mytest.cc和procReplace.c,mytest.cc为替换的程序!
#include
using namespace std;
int main(int argc, char* argv[], char* env[])
{
for(int i = 0; env[i]; i++)
{
cout << i << " : " << env[i];
}
return 0;
}
#include <stdio.h>
#include <unistd.h>
#include <sys/types.h>
#include <sys/wait.h>
#include <stdlib.h>
int main()
{
char* my_val = “MYENV=11111111111”;
先自我介绍一下,小编浙江大学毕业,去过华为、字节跳动等大厂,目前在阿里
深知大多数程序员,想要提升技能,往往是自己摸索成长,但自己不成体系的自学效果低效又漫长,而且极易碰到天花板技术停滞不前!
因此收集整理了一份《2024年最新Linux运维全套学习资料》,初衷也很简单,就是希望能够帮助到想自学提升又不知道该从何学起的朋友。
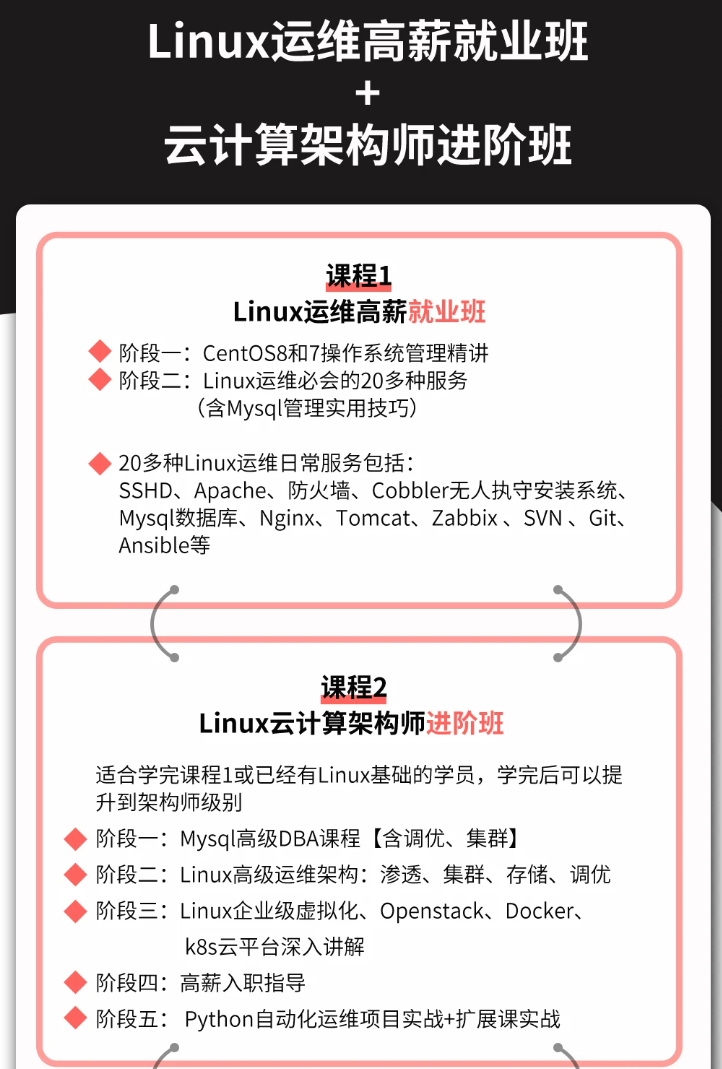


既有适合小白学习的零基础资料,也有适合3年以上经验的小伙伴深入学习提升的进阶课程,涵盖了95%以上运维知识点,真正体系化!
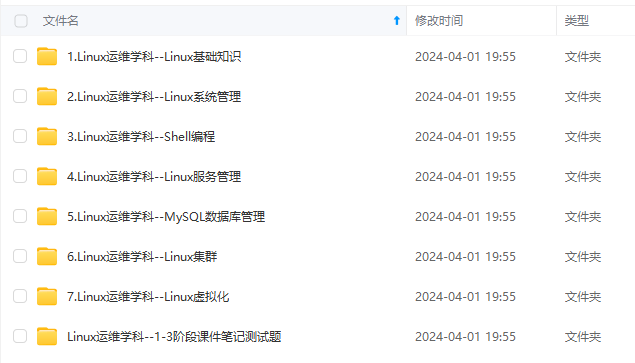
由于文件比较多,这里只是将部分目录截图出来,全套包含大厂面经、学习笔记、源码讲义、实战项目、大纲路线、讲解视频,并且后续会持续更新
…(img-qko0Vb82-1714832316615)]
[外链图片转存中…(img-ArHbuhPi-1714832316616)]
[外链图片转存中…(img-D5XyZwt0-1714832316616)]
[外链图片转存中…(img-hML6twWq-1714832316616)]
[外链图片转存中…(img-S05lNfRU-1714832316617)]
既有适合小白学习的零基础资料,也有适合3年以上经验的小伙伴深入学习提升的进阶课程,涵盖了95%以上运维知识点,真正体系化!
由于文件比较多,这里只是将部分目录截图出来,全套包含大厂面经、学习笔记、源码讲义、实战项目、大纲路线、讲解视频,并且后续会持续更新


 784
784

 被折叠的 条评论
为什么被折叠?
被折叠的 条评论
为什么被折叠?
 到【灌水乐园】发言


