


[root@my01 ~]# cd /usr/local/src/
[root@my01 src]# wget ftp://ftp.pbone.net/mirror/ftp5.gwdg.de/pub/opensuse/repositories/home%3A/AndreasStieger%3A/branches%3A/Archiving/RedHat\_RHEL-6/x86\_64/qpress-1.1-14.11.x86\_64.rpm
[root@my01 src]# ls
percona-xtrabackup-24-2.4.28-1.el7.x86_64.rpm  Percona-XtraDB-Cluster-5.7.41-31.65-r654-el7-x86_64-bundle.tar  qpress-1.1-14.11.x86_64.rpm

#上传
[root@my01 src]# scp /usr/local/src/ 192.168.2.2:/usr/local/
[root@my01 src]# scp /usr/local/src/ 192.168.2.3:/usr/local/
2.安装percoa-xtrabackup(三台相同)
[root@my01 per-cluster]# yum -y install openssl
[root@my01 per-cluster]# yum -y install openssl-devel
[root@my01 src]# yum -y localinstall percona-xtrabackup-24-2.4.28-1.el7.x86\_64.rpm
3.安装qpress(三台相同)
[root@my01 src]# yum -y localinstall qpress-1.1-14.11.x86\_64.rpm
4.安装Percona-xtradb-cluster(三台相同)
[root@my01 src]# mkdir per-cluster
[root@my01 src]# tar -xf Percona-XtraDB-Cluster-5.7.41-31.65-r654-el7-x86\_64-bundle.tar -C per-cluster/
[root@my01 src]# cd per-cluster/
[root@my01 per-cluster]# ls
Percona-XtraDB-Cluster-57-5.7.41-31.65.1.el7.x86_64.rpm            Percona-XtraDB-Cluster-garbd-57-5.7.41-31.65.1.el7.x86_64.rpm
Percona-XtraDB-Cluster-57-debuginfo-5.7.41-31.65.1.el7.x86_64.rpm  Percona-XtraDB-Cluster-server-57-5.7.41-31.65.1.el7.x86_64.rpm
Percona-XtraDB-Cluster-client-57-5.7.41-31.65.1.el7.x86_64.rpm     Percona-XtraDB-Cluster-shared-57-5.7.41-31.65.1.el7.x86_64.rpm
Percona-XtraDB-Cluster-devel-57-5.7.41-31.65.1.el7.x86_64.rpm      Percona-XtraDB-Cluster-shared-compat-57-5.7.41-31.65.1.el7.x86_64.rpm
Percona-XtraDB-Cluster-full-57-5.7.41-31.65.1.el7.x86_64.rpm       Percona-XtraDB-Cluster-test-57-5.7.41-31.65.1.el7.x86_64.rpm
[root@my01 per-cluster]# rpm -ivh ./\* --nodeps --force
4.修改配置文件
1.修改mysql的配置(三台都需要修改)
[root@my01 per-cluster]# vi /etc/percona-xtradb-cluster.conf.d/mysqld.cnf
# Template my.cnf for PXC
# Edit to your requirements.
[client]
socket=/var/lib/mysql/mysql.sock

[mysqld]
server-id=1			#只需要修改这里 保证每台都不同
datadir=/var/lib/mysql
socket=/var/lib/mysql/mysql.soc
pid-file=/var/run/mysqld/mysqld.pid
log-bin
log_slave_updates
expire\_logs\_days=7

# Disabling symbolic-links is recommended to prevent assorted security risks
symbolic-links=0
2.修改PXC集群配置文件(三台都需要修改)
配置要求
wsrep\_cluster\_address=gcomm://             #集群成员列表,3台必须相同
wsrep\_node\_address=192.168.70.63         #本机IP地址
wsrep\_cluster\_name=pxc-cluster              #集群名称,可自定义,3台必须相同
wsrep\_node\_name=pxc-cluster-node       #本机主机名
wsrep\_sst\_auth="sstuser:s3cretPass"         #SST数据同步用户授权,3台必须相同
1.my01的配置
[root@my03 per-cluster]# vi /etc/percona-xtradb-cluster.conf.d/wsrep.cnf
[mysqld]
# Path to Galera library
wsrep\_provider=/usr/lib64/galera3/libgalera_smm.so

# Cluster connection URL contains IPs of nodes
#If no IP is found, this implies that a new cluster needs to be created,
#in order to do that you need to bootstrap this node
wsrep\_cluster\_address=gcomm://192.168.2.1,192.168.2.2,192.168.2.3

# In order for Galera to work correctly binlog format should be ROW
binlog\_format=ROW

# MyISAM storage engine has only experimental support
default\_storage\_engine=InnoDB

# Slave thread to use
wsrep\_slave\_threads= 8

wsrep_log_conflicts

# This changes how InnoDB autoincrement locks are managed and is a requirement for Galera
innodb\_autoinc\_lock\_mode=2

# Node IP address
wsrep\_node\_address=192.168.2.1
# Cluster name
wsrep\_cluster\_name=pxc-cluster

#If wsrep\_node\_name is not specified, then system hostname will be used
wsrep\_node\_name=my01

#pxc\_strict\_mode allowed values: DISABLED,PERMISSIVE,ENFORCING,MASTER
pxc\_strict\_mode=ENFORCING

# SST method
wsrep\_sst\_method=xtrabackup-v2

#Authentication for SST method
wsrep\_sst\_auth="sstuser:1234.Com"
将配置文件上传到其他服务器
[root@my01 per-cluster]# scp -p /etc/percona-xtradb-cluster.conf.d/wsrep.cnf 192.168.2.2:/etc/percona-xtradb-cluster.conf.d/
root@192.168.2.2's password:
wsrep.cnf 100% 1081 1.1KB/s 00:00
[root@my01 per-cluster]# scp -p /etc/percona-xtradb-cluster.conf.d/wsrep.cnf 192.168.2.3:/etc/percona-xtradb-cluster.conf.d/
root@192.168.2.3's password:
wsrep.cnf
2.my02和my03的配置
[root@my02 per-cluster]# vi /etc/percona-xtradb-cluster.conf.d/wsrep.cnf
wsrep\_node\_address=192.168.2.2
wsrep\_node\_name=my02


[root@my03 per-cluster]# vi /etc/percona-xtradb-cluster.conf.d/wsrep.cnf
wsrep\_node\_address=192.168.2.3
wsrep\_node\_name=my03
5.服务启动
1.在my01上去执行
[root@my01 per-cluster]# systemctl start mysql@bootstrap.service
2.查询MySQL的初始化密码
[root@my01 per-cluster]# grep pass /var/log/mysqld.log
2023-05-30T13:54:20.274979Z 1 [Note] A temporary password is generated for root@localhost: L(sz/!ua,6h0
[root@my01 per-cluster]# mysql -uroot -p'L(sz/!ua,6h0'
mysql> alter user root@"localhost" identified by "123456";
Query OK, 0 rows affected (0.01 sec)
**自我介绍一下,小编13年上海交大毕业,曾经在小公司待过,也去过华为、OPPO等大厂,18年进入阿里一直到现在。**
**深知大多数Linux运维工程师,想要提升技能,往往是自己摸索成长或者是报班学习,但对于培训机构动则几千的学费,着实压力不小。自己不成体系的自学效果低效又漫长,而且极易碰到天花板技术停滞不前!**
**因此收集整理了一份《2024年Linux运维全套学习资料》,初衷也很简单,就是希望能够帮助到想自学提升又不知道该从何学起的朋友,同时减轻大家的负担。**


**既有适合小白学习的零基础资料,也有适合3年以上经验的小伙伴深入学习提升的进阶课程,基本涵盖了95%以上Linux运维知识点,真正体系化!**
**由于文件比较大,这里只是将部分目录大纲截图出来,每个节点里面都包含大厂面经、学习笔记、源码讲义、实战项目、讲解视频,并且后续会持续更新**
**如果你觉得这些内容对你有帮助,可以添加VX:vip1024b (备注Linux运维获取)**

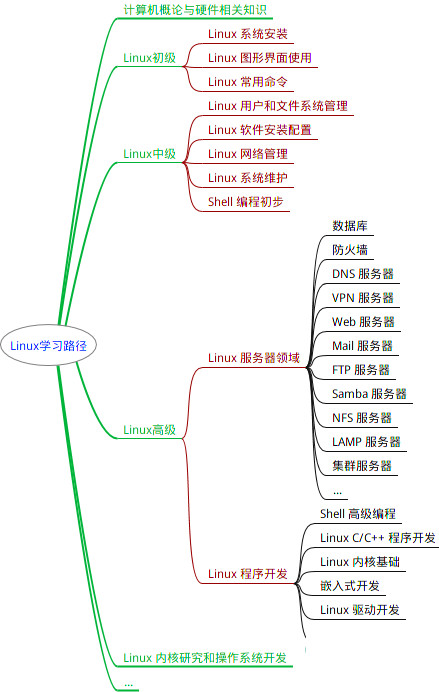
最全的Linux教程,Linux从入门到精通
======================
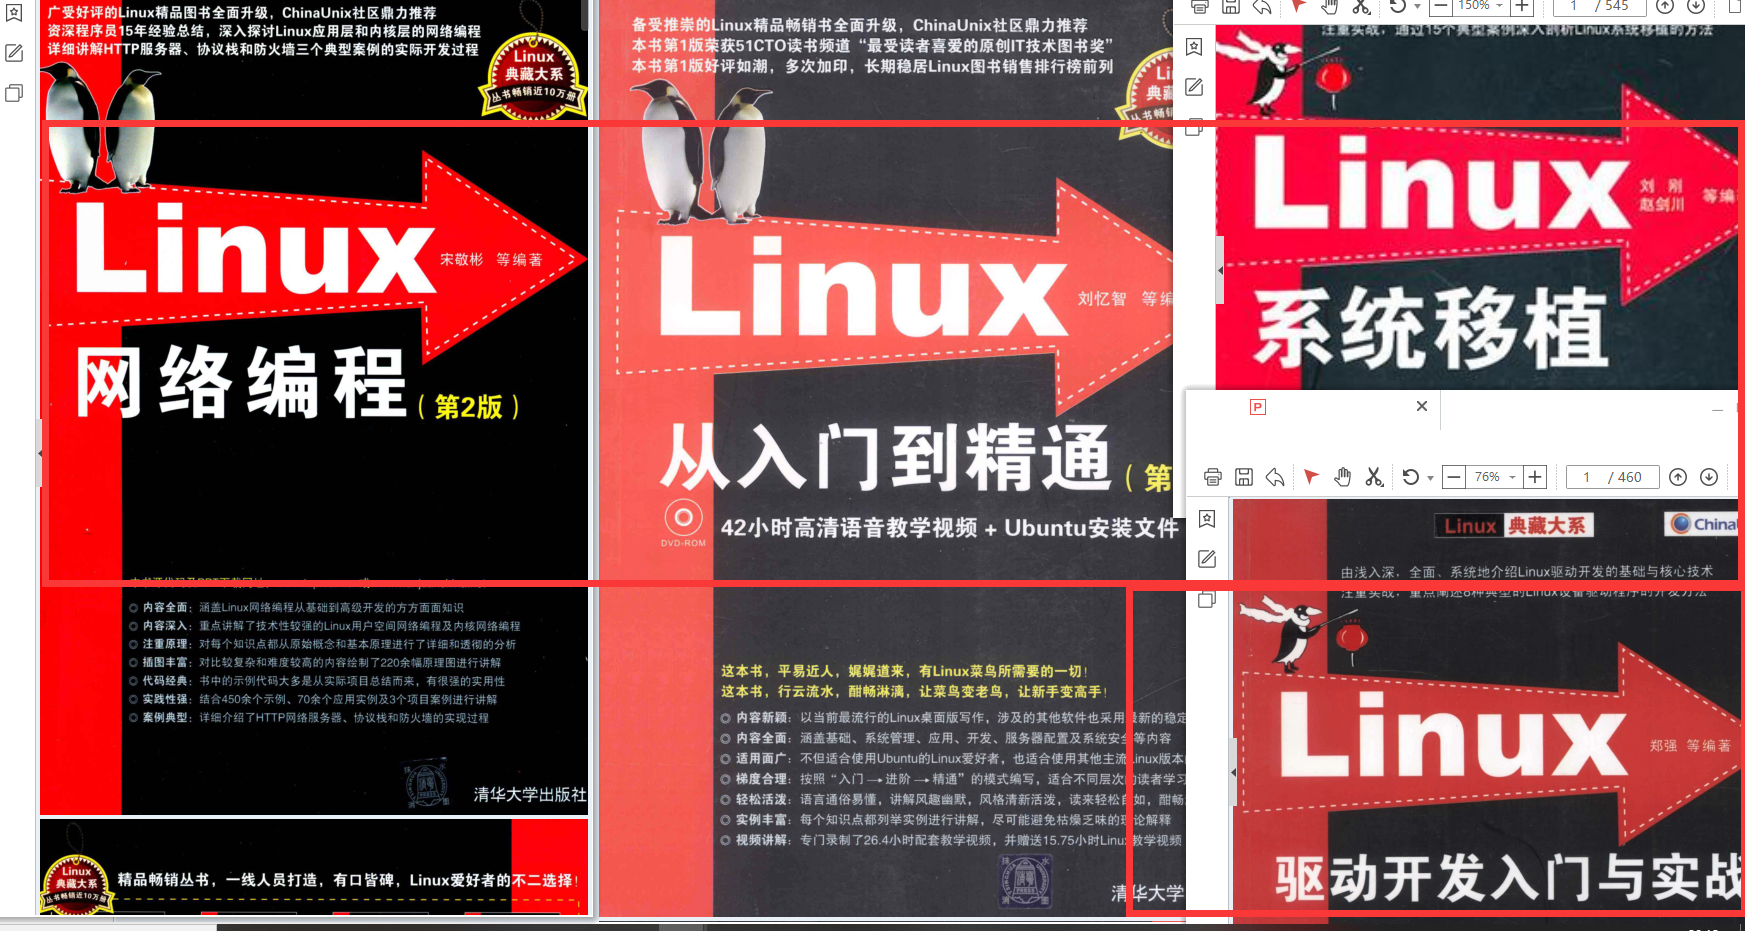
1. **linux从入门到精通(第2版)**
2. **Linux系统移植**
3. **Linux驱动开发入门与实战**
4. **LINUX 系统移植 第2版**
5. **Linux开源网络全栈详解 从DPDK到OpenFlow**
第一份《Linux从入门到精通》466页
====================
内容简介
====
本书是获得了很多读者好评的Linux经典畅销书**《Linux从入门到精通》的第2版**。本书第1版出版后曾经多次印刷,并被51CTO读书频道评为“最受读者喜爱的原创IT技术图书奖”。本书第﹖版以最新的Ubuntu 12.04为版本,循序渐进地向读者介绍了Linux 的基础应用、系统管理、网络应用、娱乐和办公、程序开发、服务器配置、系统安全等。本书附带1张光盘,内容为本书配套多媒体教学视频。另外,本书还为读者提供了大量的Linux学习资料和Ubuntu安装镜像文件,供读者免费下载。

**本书适合广大Linux初中级用户、开源软件爱好者和大专院校的学生阅读,同时也非常适合准备从事Linux平台开发的各类人员。**
> 需要《Linux入门到精通》、《linux系统移植》、《Linux驱动开发入门实战》、《Linux开源网络全栈》电子书籍及教程的工程师朋友们劳烦您转发+评论
**一个人可以走的很快,但一群人才能走的更远。不论你是正从事IT行业的老鸟或是对IT行业感兴趣的新人,都欢迎扫码加入我们的的圈子(技术交流、学习资源、职场吐槽、大厂内推、面试辅导),让我们一起学习成长!**

适合准备从事Linux平台开发的各类人员。**
> 需要《Linux入门到精通》、《linux系统移植》、《Linux驱动开发入门实战》、《Linux开源网络全栈》电子书籍及教程的工程师朋友们劳烦您转发+评论
**一个人可以走的很快,但一群人才能走的更远。不论你是正从事IT行业的老鸟或是对IT行业感兴趣的新人,都欢迎扫码加入我们的的圈子(技术交流、学习资源、职场吐槽、大厂内推、面试辅导),让我们一起学习成长!**
[外链图片转存中...(img-LvgwBpZr-1712972092404)]


 256
256


 被折叠的 条评论
为什么被折叠?
被折叠的 条评论
为什么被折叠?
 到【灌水乐园】发言


