


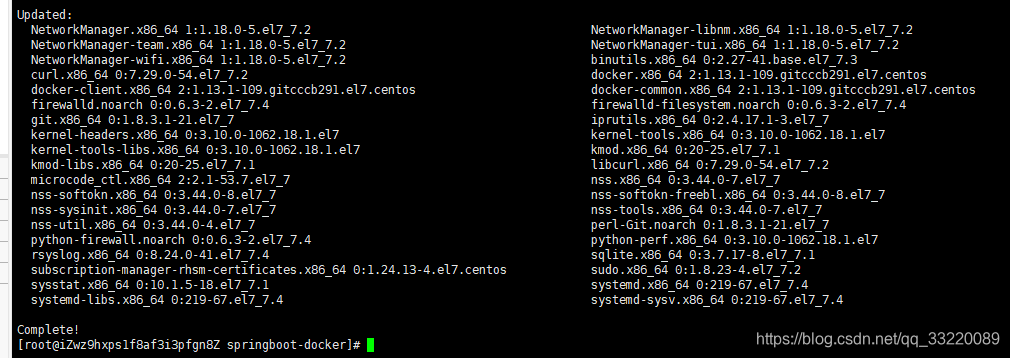
1.更新软件源
第一个命令
yum update

遇到他输入y,然后回车,看到下面信息表示更新成功:
第二个命令
yum install -y yum-utils device-mapper-persistent-data lvm2
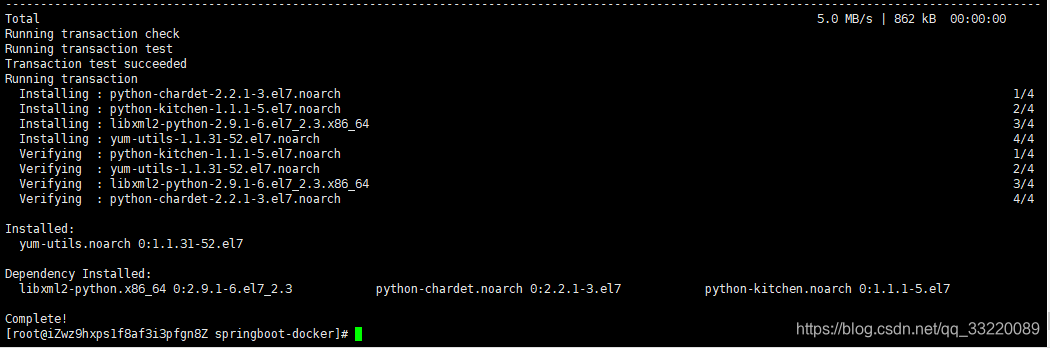
2.添加docker稳定版本的yum软件源
yum-config-manager --add-repo https://download.docker.com/linux/centos/docker-ce.repo

3.再次更新yum源,并安装docker
yum update

yum install -y docker-ce

看到这个页面,标识docker已经安装成功了。
4.安装完成之后启动docker
systemctl start docker
5.重启
systemctl restart docker
6.停止
systemctl stop docker
7.开机自启动
systemctl enable docker
8.查看docker的状态
systemctl status docker
除了上面的yum安装,还可以采用shell脚本安装,安装流程如下:
curl -fsSL https://get.docker.com/ | sh
或者
wget -qO- https://get.docker.com/ | sh
=======================================================================
拉取jdk很简单,直接执行一行代码即可,我这里拉取的时java 8的版本。
docker pull java:8
拉取完成之后执行:
docker images
如果出现下面内容,表示拉取成功

=============================================================================
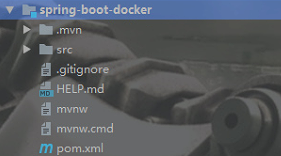
1.新建项目
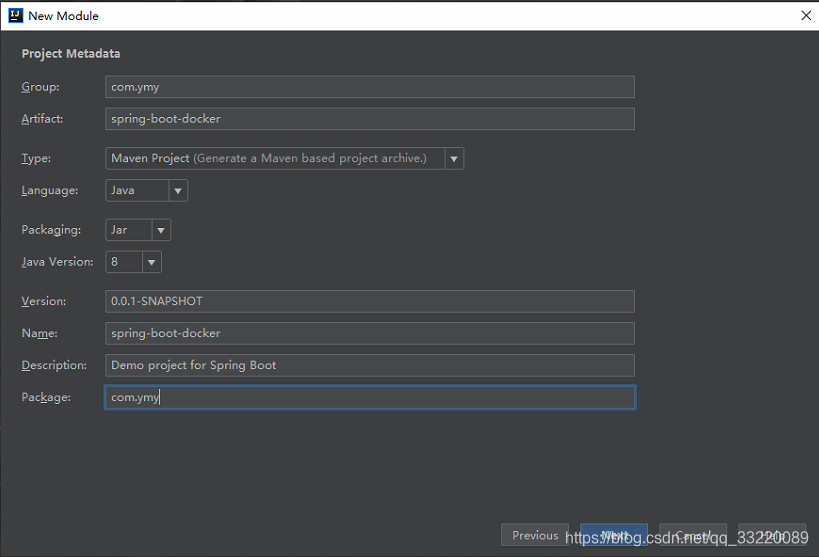
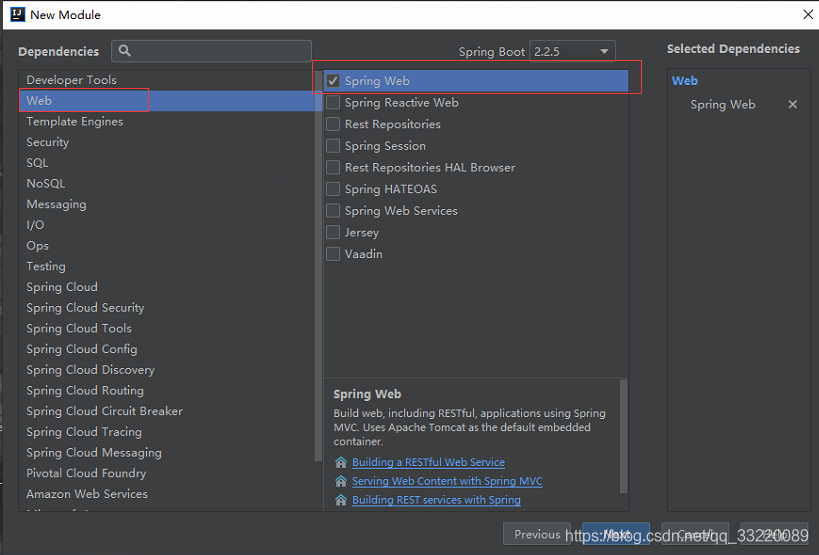
引入sprint-boot-web的依赖
新建完成之后的项目结构
2.引入docker依赖
<docker.image.prefix>registry.aliyuncs.com/linhuatest</docker.image.prefix>
com.spotify
docker-maven-plugin
1.0.0
d o c k e r . i m a g e . p r e f i x / {docker.image.prefix}/ docker.image.prefix/{project.artifactId}
src/main/docker
/
${project.build.directory}
${project.build.finalName}.jar
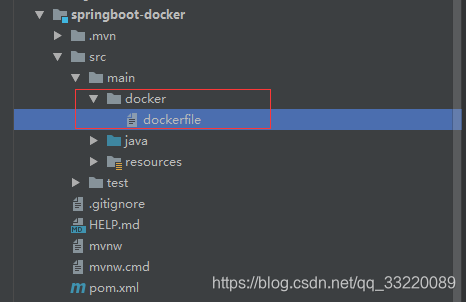
3.新建docker文件
在main目录下新建docker目录,然后在docker目录下创建dockerfile文件,不需要后缀名。

创建完成之后的工程目录如下:
4.编辑dockerfile文件
FROM java:8
VOLUME /tmp/tomcat
ADD spring-boot-docker-0.0.1-SNAPSHOT.jar springboot-docker.jar
ENTRYPOINT [“java”,“-Djava.security.egd=file:/dev/./urandom”,“-jar”,“/springboot-docker.jar”]
FROM:指定存在的镜像,java:8是我刚刚拉取的镜像,运行的基础。
VOLUME:指向的一个临时文件,用于存储tomcat工作。
ADD:复制文件并且重命名文件。
ENTRYPOINT:初始化配置或者自定义配置。
5.创建测试接口
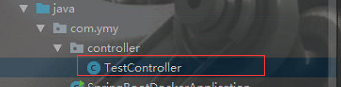
TestController内容如下:
package com.ymy.controller;
import lombok.extern.slf4j.Slf4j;
import org.springframework.web.bind.annotation.RequestMapping;
import org.springframework.web.bind.annotation.RequestMethod;
import org.springframework.web.bind.annotation.RestController;
@RestController
@Slf4j
public class TestController {
@RequestMapping(value = “/test”,method = RequestMethod.GET)
public String test(){
System.out.println(“这是控制台日志!”);
log.info(“这是输出到文件的日志”);
return “HELLO-BUG!!!!!!!!!!”;
}
}
在resources目录下创建log4j2.xml文件
主要看这两个参数:

这里我使用了log4j2的日志,如何配置log4j2的日志,请参考 springboot整合Log4j2(将日志输出到指定文件)。
6.编写application.yml配置文件
server:
port: 9999
到这里springboot项目就创建完成了,我们现在启动一下项目。
. ____ _ __ _ _
/\ / _’ __ _ () __ __ _ \ \ \ \
( ( )___ | '_ | '| | ’ / _` | \ \ \ \
\/ _)| |)| | | | | || (| | ) ) ) )
’ || .__|| ||| |__, | / / / /
=|_|======|/=////
:: Spring Boot :: (v2.2.5.RELEASE)
15:29:19.386 [main] INFO com.ymy.SpringBootDockerApplication - Starting SpringBootDockerApplication on LAPTOP-3GLHJRE9 with PID 20652 (D:\springboot\spring-boot-docker\target\classes started by admin in D:\springboot)
15:29:19.395 [main] INFO com.ymy.SpringBootDockerApplication - No active profile set, falling back to default profiles: default
15:29:20.183 [main] INFO org.springframework.boot.web.embedded.tomcat.TomcatWebServer - Tomcat initialized with port(s): 9999 (http)
15:29:20.200 [main] INFO org.apache.coyote.http11.Http11NioProtocol - Initializing ProtocolHandler [“http-nio-9999”]
15:29:20.201 [main] INFO org.apache.catalina.core.StandardService - Starting service [Tomcat]
15:29:20.201 [main] INFO org.apache.catalina.core.StandardEngine - Starting Servlet engine: [Apache Tomcat/9.0.31]
15:29:20.309 [main] INFO org.apache.catalina.core.ContainerBase.[Tomcat].[localhost].[/] - Initializing Spring embedded WebApplicationContext
15:29:20.309 [main] INFO org.springframework.web.context.ContextLoader - Root WebApplicationContext: initialization completed in 881 ms
15:29:20.452 [main] INFO org.springframework.scheduling.concurrent.ThreadPoolTaskExecutor - Initializing ExecutorService ‘applicationTaskExecutor’
15:29:20.568 [main] INFO org.apache.coyote.http11.Http11NioProtocol - Starting ProtocolHandler [“http-nio-9999”]
15:29:20.596 [main] INFO org.springframework.boot.web.embedded.tomcat.TomcatWebServer - Tomcat started on port(s): 9999 (http) with context path ‘’
15:29:20.599 [main] INFO com.ymy.SpringBootDockerApplication - Started SpringBootDockerApplication in 1.664 seconds (JVM running for 4.04)
结尾

这不止是一份面试清单,更是一种”被期望的责任“,因为有无数个待面试者,希望从这篇文章中,找出通往期望公司的”钥匙“,所以上面每道选题都是结合我自身的经验于千万个面试题中经过艰辛的两周,一个题一个题筛选出来再次对好答案和格式做出来的,面试的答案也是再三斟酌,深怕误人子弟是小,影响他人仕途才是大过,也希望您能把这篇文章分享给更多的朋友,让他帮助更多的人,帮助他人,快乐自己,最后,感谢您的阅读。
由于细节内容实在太多啦,在这里我花了两周的时间把这些答案整理成一份文档了,在这里只把部分知识点截图出来粗略的介绍,每个小节点里面都有更细化的内容!
20.599 [main] INFO com.ymy.SpringBootDockerApplication - Started SpringBootDockerApplication in 1.664 seconds (JVM running for 4.04)
结尾
[外链图片转存中…(img-Oe7K1dGB-1714286891099)]
这不止是一份面试清单,更是一种”被期望的责任“,因为有无数个待面试者,希望从这篇文章中,找出通往期望公司的”钥匙“,所以上面每道选题都是结合我自身的经验于千万个面试题中经过艰辛的两周,一个题一个题筛选出来再次对好答案和格式做出来的,面试的答案也是再三斟酌,深怕误人子弟是小,影响他人仕途才是大过,也希望您能把这篇文章分享给更多的朋友,让他帮助更多的人,帮助他人,快乐自己,最后,感谢您的阅读。
由于细节内容实在太多啦,在这里我花了两周的时间把这些答案整理成一份文档了,在这里只把部分知识点截图出来粗略的介绍,每个小节点里面都有更细化的内容!


 2万+
2万+


 被折叠的 条评论
为什么被折叠?
被折叠的 条评论
为什么被折叠?
 到【灌水乐园】发言


