


图片字体
$ npm install file-loader --save-dev
script/webpack.config.js
module.exports = {
// …
module: {
rules: [
{
test: /.(png|svg|jpg|gif|jpeg)$/,
loader: ‘file-loader’
},
{
test: /.(woff|woff2|eot|ttf|otf)$/,
loader: ‘file-loader’
}
],
},
};
HTML
$ npm install html-webpack-plugin --save-dev
script/webpack.config.js
const HtmlWebpackPlugin = require(‘html-webpack-plugin’);
module.exports = {
// …
plugins: {
html: new HtmlWebpackPlugin({
title: ‘tristana’,
template: ‘public/index.html’
}),
}
};
index.html
开发服务
$ npm install webpack-dev-server --save-dev
script/webpack.config.js
const path = require(“path”);
const HtmlWebpackPlugin = require(‘html-webpack-plugin’);
module.exports = {
// …
devServer: {
contentBase: path.resolve(__dirname, “dist”),
hot: true,
historyApiFallback: true,
compress: true,
},
};
package.json
{
// …
“scripts”: {
“start”: “webpack serve --mode=development --config script/webpack.config.js”
},
// …
}
清理 dist
$ npm install clean-webpack-plugin --save-dev
script/webpack.config.js
const { CleanWebpackPlugin } = require(‘clean-webpack-plugin’);
module.exports = {
// …
plugins: {
new CleanWebpackPlugin()
}
};
Tips
由于 webpack 使用的是^5.21.2 版本,在使用该插件时,会提示clean-webpack-plugin: options.output.path not defined. Plugin disabled...,暂时还未解决。
环境变量
$ npm install cross-env --save-dev
package.json
{
// …
“scripts”: {
“start”: “cross-env ENV_LWD=development webpack serve --mode=development --config script/webpack.config.js”,
“build”: “cross-env ENV_LWD=production webpack --mode=production --config script/webpack.config.js”
},
// …
}
.jsx 文件
安装依赖
$ npm install @babel/preset-react react react-dom --save-dev
.babelrc
{
“presets”: [“@babel/preset-env”, “@babel/preset-react”]
}
src/App.jsx
在 src 目录下,新增 App.jsx 文件:
import React, { Component } from “react”;
class App extends Component {
render() {
return (
Hello, World!
);
}
}
export default App;
src/index.js
import React from “react”;
import ReactDOM from “react-dom”;
import App from “./App.jsx”;
ReactDOM.render(, document.getElementById(“root”));
React Router
安装依赖
$ npm install react-router history --save
src/index.js
import React from “react”;
import ReactDOM from “react-dom”;
import { Router, Route, Link } from “react-router”;
import { createBrowserHistory } from “history”;
import App from “./App.jsx”;
const About = () => {
return <>About</>;
};
ReactDOM.render(
,
document.getElementById(“root”)
);
MobX
安装依赖
$ npm install mobx mobx-react babel-preset-mobx --save
.babelrc
{
“presets”: [“@babel/preset-env”, “@babel/preset-react”, “mobx”]
}
src/store.js
在 src 目录下新建 store.js
import { observable, action, makeObservable } from “mobx”;
class Store {
constructor() {
makeObservable(this);
}
@observable
count = 0;
@action(“add”)
add = () => {
this.count = this.count + 1;
};
@action(“reduce”)
reduce = () => {
this.count = this.count - 1;
};
}
export default new Store();
index.js
import { Provider } from “mobx-react”;
import Store from “./store”;
// …
ReactDOM.render(
,
document.getElementById(“root”)
);
src/App.jsx
import React, { Component } from “react”;
import { observer, inject } from “mobx-react”;
@inject(“store”)
@observer
class App extends Component {
render() {
return (
add
reduce
);
}
}
export default App;
Ant Design
安装依赖
$ npm install antd babel-plugin-import --save
.babelrc
{
// …
“plugins”: [
[
“import”,
{
“libraryName”: “antd”,
“libraryDirectory”: “es”,
“style”: true
}
]
]
}
src/App.jsx
// …
import { DatePicker } from “antd”;
import “antd/dist/antd.css”;
@inject(“store”)
@observer
class App extends Component {
render() {
return (
);
}
}
export default App;
TypeScript
安装依赖
$ npm install typescript @babel/preset-typescript --save-dev
.babelrc
{
“presets”: [
// …
“@babel/preset-typescript”
]
}
tsconfig.json
在根目录下,新增 tsconfig.json 文件:
{
“compilerOptions”: {
“emitDecoratorMetadata”: true,
“experimentalDecorators”: true,
“target”: “ES5”,
“allowSyntheticDefaultImports”: true,
“strict”: true,
“forceConsistentCasingInFileNames”: true,
“allowJs”: true,
“outDir”: “./dist/”,
“esModuleInterop”: true,
“noImplicitAny”: false,
“sourceMap”: true,
“module”: “esnext”,
“moduleResolution”: “node”,
“isolatedModules”: true,
“importHelpers”: true,
“lib”: [“esnext”, “dom”, “dom.iterable”],
“skipLibCheck”: true,
“jsx”: “react”,
“typeRoots”: [“node”, “node_modules/@types”],
“rootDirs”: [“./src”],
“baseUrl”: “./src”
},
“include”: [“./src/**/*”],
“exclude”: [“node_modules”]
}
src/App.jsx
更换文件后缀 App.jsx -> App.tsx
import React, { Component } from “react”;
import { observer, inject } from “mobx-react”;
import { DatePicker } from “antd”;
import “antd/dist/antd.css”;
@inject(“store”)
@observer
class App extends Component {
props: any;
render() {
return (
add
reduce
);
}
}
export default App;
代码规范
代码校验、代码格式化、Git 提交前校验、Vscode配置、编译校验
ESLint
安装依赖
$ npm install @typescript-eslint/parser eslint eslint-plugin-standard @typescript-eslint/parser @typescript-eslint/eslint-plugin eslint-plugin-promise --save-dev
.eslintrc.js
在根目录下,新增 .eslintrc.js 文件:
module.exports = {
extends: [“eslint:recommended”, “plugin:react/recommended”],
env: {
browser: true,
commonjs: true,
es6: true,
},
globals: {
$: true,
process: true,
__dirname: true,
},
parser: “@typescript-eslint/parser”,
parserOptions: {
ecmaFeatures: {
jsx: true,
modules: true,
},
sourceType: “module”,
ecmaVersion: 6,
},
plugins: [“react”, “standard”, “promise”, “@typescript-eslint”],
settings: {
“import/ignore”: [“node_modules”],
react: {
version: “latest”,
},
},
rules: {
quotes: [2, “single”],
“no-console”: 0,
“no-debugger”: 1,
“no-var”: 1,
semi: [“error”, “always”],
“no-irregular-whitespace”: 0,
“no-trailing-spaces”: 1,
“eol-last”: 0,
“no-unused-vars”: [
1,
{
vars: “all”,
args: “after-used”,
},
],
“no-case-declarations”: 0,
“no-underscore-dangle”: 0,
“no-alert”: 2,
“no-lone-blocks”: 0,
“no-class-assign”: 2,
“no-cond-assign”: 2,
“no-const-assign”: 2,
“no-delete-var”: 2,
“no-dupe-keys”: 2,
“use-isnan”: 2,
“no-duplicate-case”: 2,
“no-dupe-args”: 2,
“no-empty”: 2,
“no-func-assign”: 2,
“no-invalid-this”: 0,
“no-redeclare”: 2,
“no-spaced-func”: 2,
“no-this-before-super”: 0,
“no-undef”: 2,
“no-return-assign”: 0,
“no-script-url”: 2,
“no-use-before-define”: 2,
“no-extra-boolean-cast”: 0,
“no-unreachable”: 1,
“comma-dangle”: 2,
“no-mixed-spaces-and-tabs”: 2,
“prefer-arrow-callback”: 0,
“arrow-parens”: 0,
“arrow-spacing”: 0,
camelcase: 0,
“jsx-quotes”: [1, “prefer-double”],
“react/display-name”: 0,
“react/forbid-prop-types”: [
2,
{
forbid: [“any”],
},
],
“react/jsx-boolean-value”: 0,
“react/jsx-closing-bracket-location”: 1,
“react/jsx-curly-spacing”: [
2,
{
when: “never”,
children: true,
},
],
“react/jsx-indent”: [“error”, 4],
“react/jsx-key”: 2,
“react/jsx-no-bind”: 0,
“react/jsx-no-duplicate-props”: 2,
“react/jsx-no-literals”: 0,
“react/jsx-no-undef”: 1,
“react/jsx-pascal-case”: 0,
“react/jsx-sort-props”: 0,
“react/jsx-uses-react”: 1,
“react/jsx-uses-vars”: 2,
“react/no-danger”: 0,
“react/no-did-mount-set-state”: 0,
“react/no-did-update-set-state”: 0,
“react/no-direct-mutation-state”: 2,
“react/no-multi-comp”: 0,
“react/no-set-state”: 0,
“react/no-unknown-property”: 2,
“react/prefer-es6-class”: 2,
“react/prop-types”: 0,
“react/react-in-jsx-scope”: 2,
“react/self-closing-comp”: 0,
“react/sort-comp”: 0,
“react/no-array-index-key”: 0,
“react/no-deprecated”: 1,
“react/jsx-equals-spacing”: 2,
},
};
.eslintignore
在根目录下,新增 .eslintignore 文件:
src/assets
.vscode
在根目录下新增 .vscode 文件夹,然后新增 .vscode/settings.json
{
“eslint.validate”: [
“javascript”,
“javascriptreact”,
“typescript”,
“typescriptreact”
]
}
Perttier
安装依赖
$ npm install prettier --save-dev
prettier.config.js
在根目录下,新增 prettier.config.js 文件:
module.exports = {
// 一行最多 100 字符
最后
自我介绍一下,小编13年上海交大毕业,曾经在小公司待过,也去过华为、OPPO等大厂,18年进入阿里一直到现在。
深知大多数初中级Android工程师,想要提升技能,往往是自己摸索成长,自己不成体系的自学效果低效漫长且无助。
因此收集整理了一份《2024年Web前端开发全套学习资料》,初衷也很简单,就是希望能够帮助到想自学提升又不知道该从何学起的朋友,同时减轻大家的负担。


既有适合小白学习的零基础资料,也有适合3年以上经验的小伙伴深入学习提升的进阶课程,基本涵盖了95%以上Android开发知识点!不论你是刚入门Android开发的新手,还是希望在技术上不断提升的资深开发者,这些资料都将为你打开新的学习之门!
如果你觉得这些内容对你有帮助,需要这份全套学习资料的朋友可以戳我获取!!
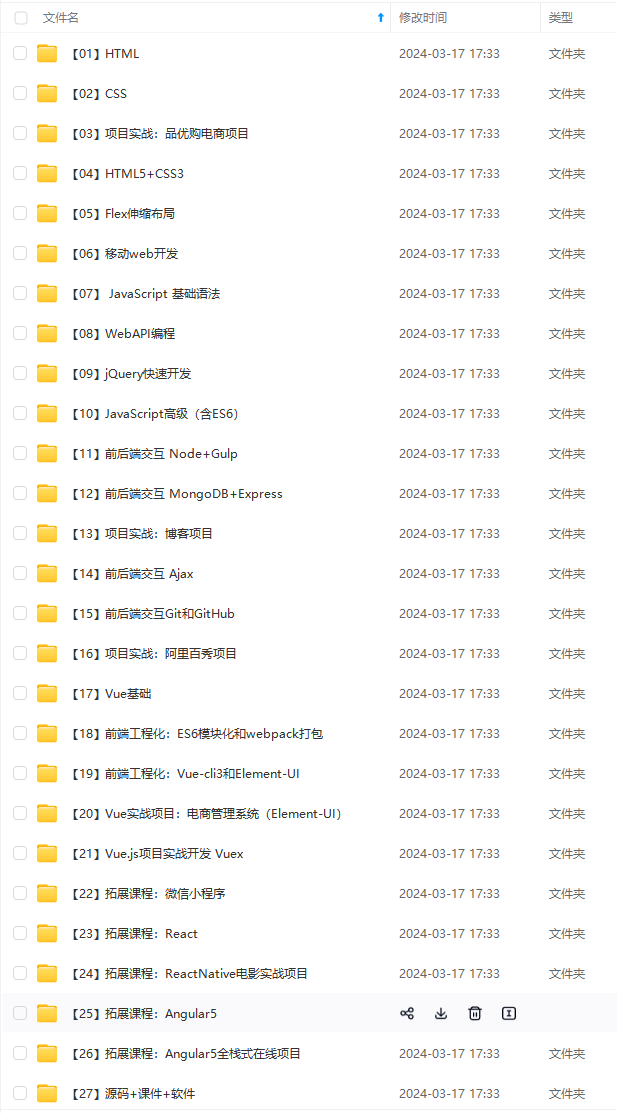
由于文件比较大,这里只是将部分目录截图出来,每个节点里面都包含大厂面经、学习笔记、源码讲义、实战项目、讲解视频,并且会持续更新!
-array-index-key": 0,
“react/no-deprecated”: 1,
“react/jsx-equals-spacing”: 2,
},
};
.eslintignore
在根目录下,新增 .eslintignore 文件:
src/assets
.vscode
在根目录下新增 .vscode 文件夹,然后新增 .vscode/settings.json
{
“eslint.validate”: [
“javascript”,
“javascriptreact”,
“typescript”,
“typescriptreact”
]
}
Perttier
安装依赖
$ npm install prettier --save-dev
prettier.config.js
在根目录下,新增 prettier.config.js 文件:
module.exports = {
// 一行最多 100 字符
最后
自我介绍一下,小编13年上海交大毕业,曾经在小公司待过,也去过华为、OPPO等大厂,18年进入阿里一直到现在。
深知大多数初中级Android工程师,想要提升技能,往往是自己摸索成长,自己不成体系的自学效果低效漫长且无助。
因此收集整理了一份《2024年Web前端开发全套学习资料》,初衷也很简单,就是希望能够帮助到想自学提升又不知道该从何学起的朋友,同时减轻大家的负担。
[外链图片转存中…(img-XVd5XMIR-1715254608024)]
[外链图片转存中…(img-Dj7dQaFN-1715254608025)]
[外链图片转存中…(img-uBMwR9Dq-1715254608025)]
既有适合小白学习的零基础资料,也有适合3年以上经验的小伙伴深入学习提升的进阶课程,基本涵盖了95%以上Android开发知识点!不论你是刚入门Android开发的新手,还是希望在技术上不断提升的资深开发者,这些资料都将为你打开新的学习之门!
如果你觉得这些内容对你有帮助,需要这份全套学习资料的朋友可以戳我获取!!
由于文件比较大,这里只是将部分目录截图出来,每个节点里面都包含大厂面经、学习笔记、源码讲义、实战项目、讲解视频,并且会持续更新!


 664
664


 被折叠的 条评论
为什么被折叠?
被折叠的 条评论
为什么被折叠?
 到【灌水乐园】发言


