


定义处理上传请求的Controller对象,例如:
package com.jt.resource.controller;
import lombok.extern.slf4j.Slf4j;
import org.springframework.beans.factory.annotation.Value;
import org.springframework.web.bind.annotation.PostMapping;
import org.springframework.web.bind.annotation.RequestMapping;
import org.springframework.web.bind.annotation.RestController;
import org.springframework.web.multipart.MultipartFile;
import java.io.File;
import java.io.IOException;
import java.time.LocalDate;
import java.time.format.DateTimeFormatter;
import java.util.UUID;
@Slf4j
@RestController
@RequestMapping(“/resource/”)
public class ResourceController {
//当了类的上面添加了@Slf4J就不用自己创建下面的日志对象了
// private static final Logger log=
// LoggerFactory.getLogger(ResourceController.class);
@Value(“${jt.resource.path}”)
private String resourcePath;//=“d:/uploads/”;
@Value(“${jt.resource.host}”)
private String resourceHost;//=“http://localhost:8881/”;
@PostMapping(“/upload/”)
public String uploadFile(MultipartFile uploadFile) throws IOException {
//1.创建文件存储目录(按时间创建-yyyy/MM/dd)
//1.1获取当前时间的一个目录
String dateDir = DateTimeFormatter.ofPattern(“yyyy/MM/dd”)
.format(LocalDate.now());
//1.2构建目录文件对象
File uploadFileDir=new File(resourcePath,dateDir);
if(!uploadFileDir.exists())uploadFileDir.mkdirs();
//2.给文件起个名字(尽量不重复)
//2.1获取原文件后缀
String originalFilename=uploadFile.getOriginalFilename();
String ext = originalFilename.substring(
originalFilename.lastIndexOf(“.”));
//2.2构建新的文件名
String newFilePrefix=UUID.randomUUID().toString();
String newFileName=newFilePrefix+ext;
//3.开始实现文件上传
//3.1构建新的文件对象,指向实际上传的文件最终地址
File file=new File(uploadFileDir,newFileName);
//3.2上传文件(向指定服务位置写文件数据)
uploadFile.transferTo(file);
String fileRealPath=resourceHost+dateDir+“/”+newFileName;
log.debug(“fileRealPath {}”,fileRealPath);
//后续可以将上传的文件信息写入到数据库?
return fileRealPath;
}
}
我们在通过客户端工程,访问文件上传服务时,需要进行跨域配置,在服务端的跨域配置中有多种方案,最常见是在过滤器的层面进行跨域设计,例如:
package com.jt.files.config;
/**
- 跨域配置(基于过滤器方式进行配置,并且将过滤优先级设置高一些)
*/
@Configuration
public class CorsFilterConfig {
@Bean
public FilterRegistrationBean filterFilterRegistrationBean(){
//1.对此过滤器进行配置(跨域设置-url,method)
UrlBasedCorsConfigurationSource configSource=new UrlBasedCorsConfigurationSource();
CorsConfiguration config=new CorsConfiguration();
//允许哪种请求头跨域
config.addAllowedHeader(“*”);
//允许哪种方法类型跨域 get post delete put
config.addAllowedMethod(“*”);
// 允许哪些请求源(ip:port)跨域
config.addAllowedOrigin(“*”);
//是否允许携带cookie跨域
config.setAllowCredentials(true);
//2.注册过滤器并设置其优先级
configSource.registerCorsConfiguration(“/**”, config);
FilterRegistrationBean fBean= new FilterRegistrationBean(new CorsFilter(configSource));
fBean.setOrder(Ordered.HIGHEST_PRECEDENCE);
return fBean;
}
}
===================================================================
本次项目我们的客户端工程基于springboot工程进行设计,项目上线时可以将其静态资源直接放到一个静态资源目录中.
在sca-resource-ui工程的pom文件中添加web依赖,例如:
org.springframework.boot
spring-boot-starter-web
package com.jt;
import org.springframework.boot.SpringApplication;
import org.springframework.boot.autoconfigure.SpringBootApplication;
@SpringBootApplication
public class ClientApplication {
public static void main(String[] args) {
SpringApplication.run(ClientApplication .class, args);
}
}
在工程的resources目录下创建static目录(假如这个目录已经存在则无需创建),然后在此目录创建fileupload.html静态页面,例如:
上传文件
第一步:启动nacos服务(在这里做服务的注册和配置管理)
第二步:启动sca-resource服务,此服务提供文件上传功能
第三步:启动sca-resource-ui服务,此服务为客户端工程,提供静态资源的访问.所有页面放到此工程中.
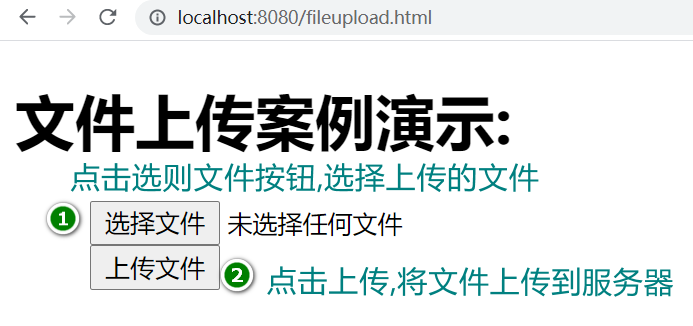
第四步:打开浏览器,访问sca-resource-ui工程下的文件上传页面,例如:

============================================================================
API 网关是外部资源对服务内部资源访问的入口,所以文件上传请求应该首先请求的是网关服务,然后由网关服务转发到具体的资源服务上。

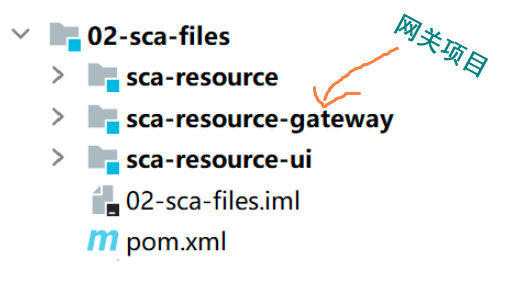
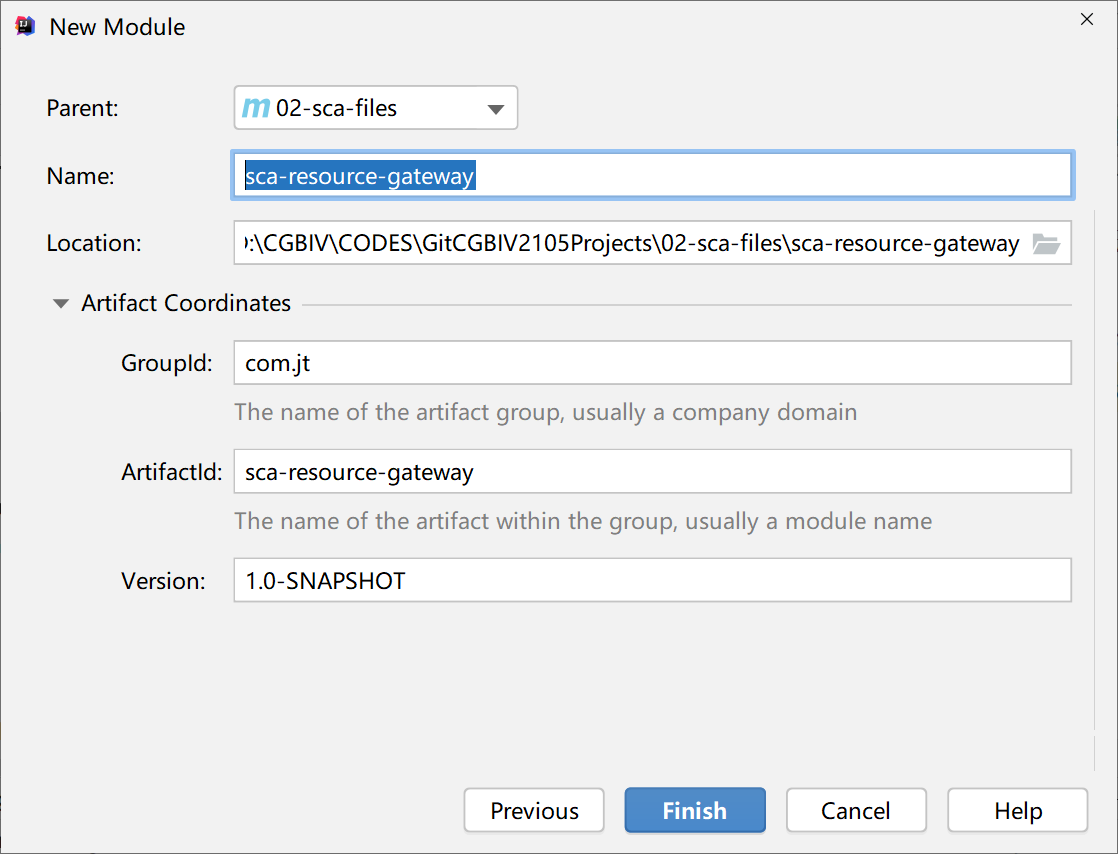
第一步:创建sca-resource-gateway工程,例如:
第二步:添加项目依赖,例如:
org.springframework.cloud
spring-cloud-starter-gateway
com.alibaba.cloud
spring-cloud-starter-alibaba-nacos-discovery
com.alibaba.cloud
spring-cloud-starter-alibaba-nacos-config
第三步:创建配置文件bootstrap.xml,然后进行初始配置,例如:
server:
port: 9000
spring:
application:
name: sca-resource-gateway
cloud:
nacos:
discovery:
server-addr: localhost:8848
config:
server-addr: localhost:8848
file-extension: yml
gateway:
discovery:
locator:
enabled: true
routes:
- id: router01
uri: lb://sca-resource
predicates:
- Path=/sca/resource/upload/**
filters:
- StripPrefix=1
第四步:构建项目启动类,并进行服务启动,检测是否正确,例如:
package com.jt;
import org.springframework.boot.SpringApplication;
import org.springframework.boot.autoconfigure.SpringBootApplication;
@SpringBootApplication
public class ResourceApplication {
public static void main(String[] args) {
SpringApplication.run(ResourceApplication.class,args);
}
}
当我们基于Ajax技术访问网关时,需要在网关层面进行跨域设计,例如:
package com.jt.config;
import org.springframework.context.annotation.Bean;
import org.springframework.web.cors.CorsConfiguration;
import org.springframework.web.cors.reactive.CorsWebFilter;
import org.springframework.web.cors.reactive.UrlBasedCorsConfigurationSource;
//@Configuration
public class CorsFilterConfig {
@Bean
public CorsWebFilter corsWebFilter(){
//1.构建基于url方式的跨域配置
UrlBasedCorsConfigurationSource source= new UrlBasedCorsConfigurationSource();
//2.进行跨域配置
CorsConfiguration config=new CorsConfiguration();
//2.1允许所有ip:port进行跨域
config.addAllowedOrigin(“*”);
//2.2允许所有请求头跨域
config.addAllowedHeader(“*”);
//2.3允许所有请求方式跨域:get,post,…
config.addAllowedMethod(“*”);
//2.4允许携带有效cookie进行跨域
config.setAllowCredentials(true);
source.registerCorsConfiguration(“/**”,config);
return new CorsWebFilter(source);
}
}
Spring Gateway工程中的跨域设计,除了可以在网关项目中以java代码方式进行跨域过滤器配置,还可以直接在配置文件进行跨域配置,例如:
spring:
cloud:
gateway:
globalcors: #跨域配置
corsConfigurations:
‘[/**]’:
allowedOrigins: “*”
allowedHeaders: “*”
allowedMethods: “*”
allowCredentials: true
首先打开网关(Gateway),资源服务器(Resource),客户端工程服务(UI),然后修改fileupload.html文件中访问资源服务端的url,例如
let url=“http://localhost:9000/sca/resource/upload/”;
接下来进行访问测试,例如:
第一步:在网关pom文件中添加依赖
com.alibaba.cloud
spring-cloud-starter-alibaba-sentinel
com.alibaba.cloud
spring-cloud-alibaba-sentinel-gateway
第二步:在网关配置文件中添加sentinel配置
sentinel:
transport:
dashboard: localhost:8180
eager: true
第三步:在网关项目启动时,配置jvm启动参数,例如:
-Dcsp.sentinel.app.type=1
第四步:先执行一次上传,然后对上传进行限流规则设计

第五步:修改文件上传页面js,对限流结果进行处理,例如:
function upload(file){
//定义一个表单(axios中提供的表单对象)
let form=new FormData();
//将文件添加到表单中
form.append(“uploadFile”,file);
//异步提交(现在是提交到网关)
//let url=“http://localhost:8881/resource/upload/”
let url=“http://localhost:9000/sca/resource/upload/”;
axios.post(url,form)
.then(function (response){
alert(“upload ok”)
console.log(response.data);
})
.catch(function (e){//失败时执行catch代码块
//被限流后服务端返回的状态码为429
if(e.response.status==429){
alert(“上传太频繁了”);
}
console.log(“error”,e);
})
}
第六步:启动服务进行文件上传测试,检测限流效果
=====================================================================
在实现文件上传业务时,添加记录日志的操作.
在sca-resource工程中添加AOP依赖,例如:
org.springframework.boot
spring-boot-starter-aop
线程、数据库、算法、JVM、分布式、微服务、框架、Spring相关知识

一线互联网P7面试集锦+各种大厂面试集锦

学习笔记以及面试真题解析

9){
alert(“上传太频繁了”);
}
console.log(“error”,e);
})
}
第六步:启动服务进行文件上传测试,检测限流效果
=====================================================================
在实现文件上传业务时,添加记录日志的操作.
在sca-resource工程中添加AOP依赖,例如:
org.springframework.boot
spring-boot-starter-aop
线程、数据库、算法、JVM、分布式、微服务、框架、Spring相关知识
[外链图片转存中…(img-99sx0OYb-1714229111052)]
一线互联网P7面试集锦+各种大厂面试集锦
[外链图片转存中…(img-3yJem6EK-1714229111053)]
学习笔记以及面试真题解析
[外链图片转存中…(img-HVczjpl7-1714229111053)]


 603
603


 被折叠的 条评论
为什么被折叠?
被折叠的 条评论
为什么被折叠?
 到【灌水乐园】发言


