


首先我们新建一个项目,在build.grade中添加配置
compile ‘com.neovisionaries:nv-websocket-client:2.2’
新建websocket管理类WsManger
public class WsManager {
private volatile static WsManager wsManger;
private WsManager() {
}
public static WsManager getWsManger() {
if (wsManger == null) {
synchronized (WsManager.class) {
if (wsManger == null) {
wsManger = new WsManager();
}
}
}
return wsManger;
}
}
接下来添加连接方法,我们将webSocket的状态分为三种,新建WsStatue枚举类对应起来
public enum WsStatus {
/**
- 连接成功
*/
CONNECT_SUCCESS,
/**
- 连接失败
*/
CONNECT_FAIL,
/**
- 正在连接
*/
CONNECTING;
}
连接方法如下所示:
/**
- 连接方法 这里要判断是否登录 此处省略
*/
public void connect() {
//WEB_SOCKET_API 是连接的url地址,
// CONNECT_TIMEOUT是连接的超时时间 这里是 5秒
try {
ws = new WebSocketFactory().createSocket(WEB_SOCKET_API, CONNECT_TIMEOUT)
//设置帧队列最大值为5
.setFrameQueueSize(5)
//设置不允许服务端关闭连接却未发送关闭帧
.setMissingCloseFrameAllowed(false)
//添加回调监听
.addListener(new WsListener())
//异步连接
.connectAsynchronously();
} catch (IOException e) {
e.printStackTrace();
}
setStatus(WsStatus.CONNECTING);
}
调用连接方法后 我们来看连接的回调 也就是WsListener
/**
- websocket回调事件
*/
private class WsListener extends WebSocketAdapter {
@Override
public void onConnected(WebSocket websocket, Map<String, List> headers) throws Exception {
Log.d(TAG, “onConnected: 连接成功”);
}
@Override
public void onConnectError(WebSocket websocket, WebSocketException exception) throws Exception {
Log.d(TAG, “onConnectError: 连接失败”);
}
@Override
public void onDisconnected(WebSocket websocket, WebSocketFrame serverCloseFrame,
WebSocketFrame clientCloseFrame,
boolean closedByServer) throws Exception {
Log.d(TAG, “onDisconnected: 断开连接”);
}
@Override
public void onTextMessage(WebSocket websocket, String text) throws Exception {
Log.d(TAG, “onTextMessage: 收到消息:” + text);
}
}
下面我们调用连接方法
WsManager.getWsManger().connect();
运行项目我们可以看到如下打印:

此处我们要做的处理是,如果收到连接失败或者断开连接的回调 需要重新连接,我们重新调用一次连接方法即可,并且如果超过三次重连失败,我们在业务中可以通过调用接口来获取数据,避免数据丢失,此处细节省略。
协议封装
此处协议如下所示:
{
“action”:“”,
“requestChild”:{
“clientType”:“”,
“id”:“”
}
}
心跳、发送请求都属于客户端主动发送请求,对于请求结果我们分为成功和失败以及超时,发送超时我们是收不到服务器任何回复的,所以我们需要在发送之后将发送放在超时任务队列中,如果请求成功将任务从超时队列中移除,超时从超时队列中获取任务重新请求。
超时任务队列中回调有成功、失败、超时。
我们按照上述协议,新增对应实体类,采用Builder设计模式
public class Request {
/**
- 行为
*/
private String action;
/**
- 请求体
*/
private RequestChild req;
/**
- 请求次数
*/
private transient int reqCount;
/**
- 超时的时间
*/
private transient int timeOut;
public Request() {
}
public Request(String action, int reqCount, int timeOut, RequestChild req) {
this.action = action;
this.req = req;
this.reqCount = reqCount;
this.timeOut = timeOut;
}
public static class Builder {
//action 请求类型
private String action;
//请求子类数据 按照具体业务划分
private RequestChild req;
//请求次数 便于重试
private int reqCount;
//超时时间
private int timeOut;
public Builder action(String action) {
this.action = action;
return this;
}
public Builder req(RequestChild req) {
this.req = req;
return this;
}
public Builder reqCount(int reqCount) {
this.reqCount = reqCount;
return this;
}
public Builder timeOut(int timeOut) {
this.timeOut = timeOut;
return this;
}
public Request build() {
return new Request(action, reqCount, timeOut, req);
}
}
}
public class RequestChild {
/**
- 设备类型
*/
private String clientType;
/**
- 用于用户注册的id
*/
private String id;
public RequestChild(String clientType, String id) {
this.clientType = clientType;
this.id = id;
}
public RequestChild() {
}
public static class Builder {
private String clientType;
private String id;
public RequestChild.Builder setClientType(String clientType) {
this.clientType = clientType;
return this;
}
public RequestChild.Builder setId(String id) {
this.id = id;
return this;
}
public RequestChild build() {
return new RequestChild(clientType, id);
}
}
}
我们添加一个发送请求的方法如下:
/**
-
发送请求
-
@param request 请求体
-
@param reqCount 请求次数
-
@param requestListern 请求回调
*/
private void senRequest(Request request, final int reqCount, final RequestListern requestListern) {
if (!isNetConnect()) {
requestListern.requestFailed(“网络未连接”);
return;
}
}
请求回调如下所示
public interface RequestListern {
/**
- 请求成功
*/
void requestSuccess();
/**
-
请求失败
-
@param message 请求失败消息提示
*/
void requestFailed(String message);
}
接着我们要把请求放在超时队列中,新建超时任务类,对应的分别是请求参数、请求回调、任务调度
public class TimeOutTask {
/**
- 请求主体
*/
private Request request;
/**
- 通用返回
*/
private RequestCallBack requestCallBack;
/**
- r任务
*/
private ScheduledFuture scheduledFuture;
public TimeOutTask(Request request,
RequestCallBack requestCallBack,
ScheduledFuture scheduledFuture) {
this.request = request;
this.requestCallBack = requestCallBack;
this.scheduledFuture = scheduledFuture;
}
public ScheduledFuture getScheduledFuture() {
return scheduledFuture;
}
public void setScheduledFuture(ScheduledFuture scheduledFuture) {
this.scheduledFuture = scheduledFuture;
}
public Request getRequest() {
return request;
}
public void setRequest(Request request) {
this.request = request;
}
public RequestCallBack getRequestCallBack() {
return requestCallBack;
}
public void setRequestCallBack(RequestCallBack requestCallBack) {
this.requestCallBack = requestCallBack;
}
最后
自我介绍一下,小编13年上海交大毕业,曾经在小公司待过,也去过华为、OPPO等大厂,18年进入阿里一直到现在。
深知大多数初中级Android工程师,想要提升技能,往往是自己摸索成长,自己不成体系的自学效果低效漫长且无助。
因此收集整理了一份《2024年Web前端开发全套学习资料》,初衷也很简单,就是希望能够帮助到想自学提升又不知道该从何学起的朋友,同时减轻大家的负担。
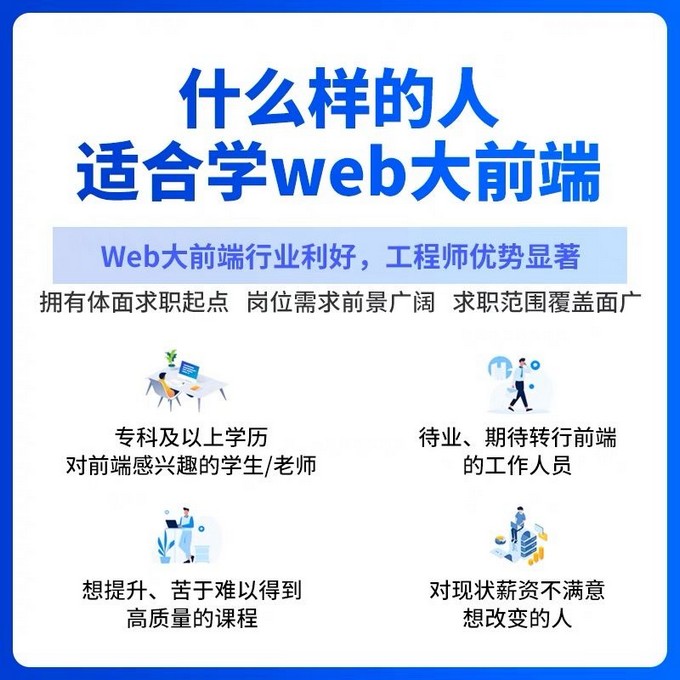
既有适合小白学习的零基础资料,也有适合3年以上经验的小伙伴深入学习提升的进阶课程,基本涵盖了95%以上Android开发知识点!不论你是刚入门Android开发的新手,还是希望在技术上不断提升的资深开发者,这些资料都将为你打开新的学习之门!
如果你觉得这些内容对你有帮助,需要这份全套学习资料的朋友可以戳我获取!!
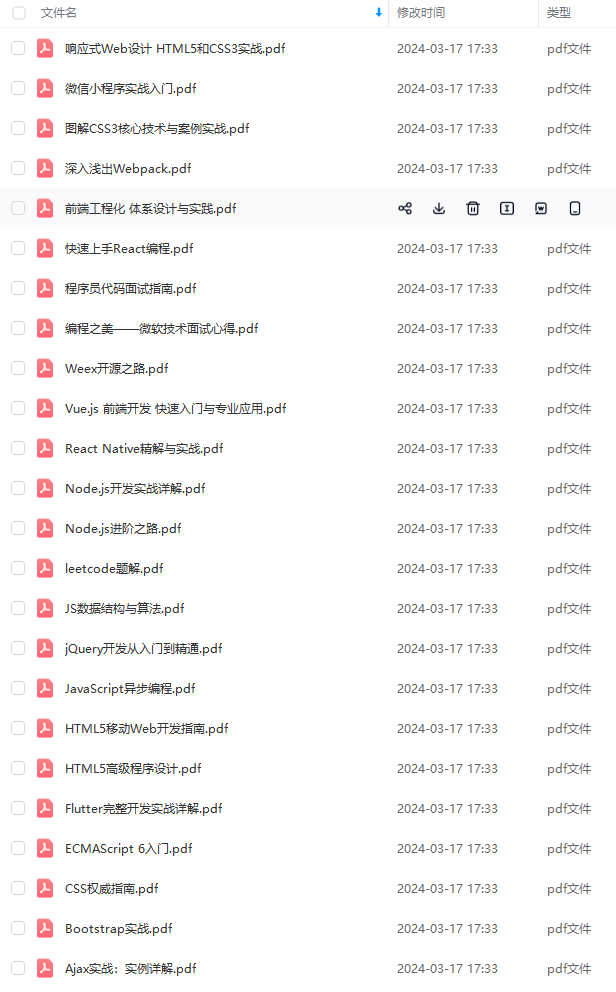
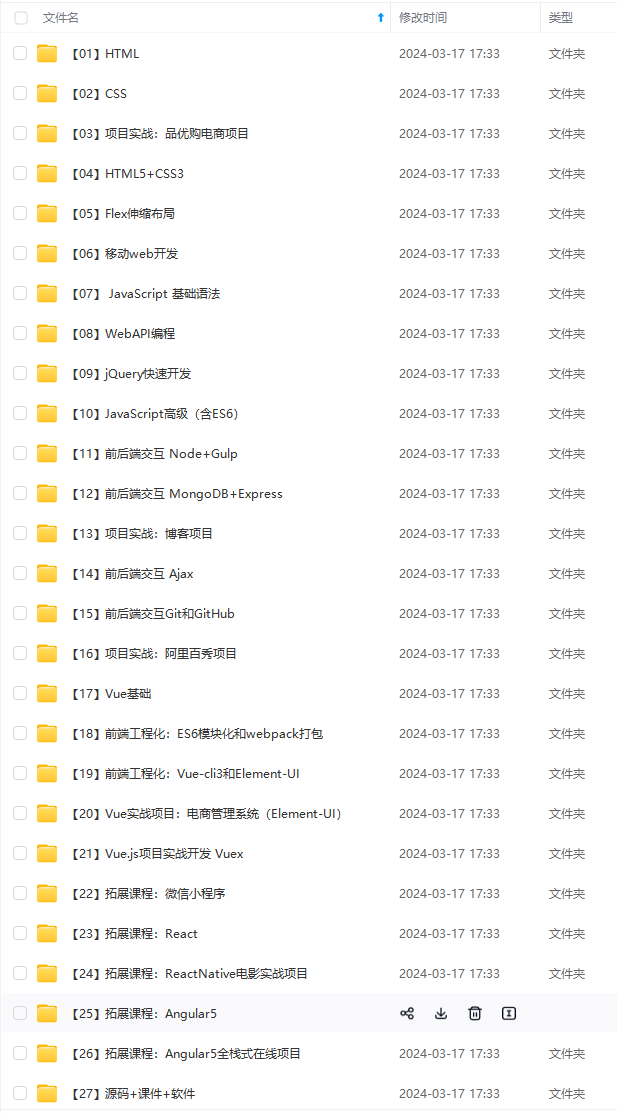
由于文件比较大,这里只是将部分目录截图出来,每个节点里面都包含大厂面经、学习笔记、源码讲义、实战项目、讲解视频,并且会持续更新!
ic void setRequestCallBack(RequestCallBack requestCallBack) {
this.requestCallBack = requestCallBack;
}
最后
自我介绍一下,小编13年上海交大毕业,曾经在小公司待过,也去过华为、OPPO等大厂,18年进入阿里一直到现在。
深知大多数初中级Android工程师,想要提升技能,往往是自己摸索成长,自己不成体系的自学效果低效漫长且无助。
因此收集整理了一份《2024年Web前端开发全套学习资料》,初衷也很简单,就是希望能够帮助到想自学提升又不知道该从何学起的朋友,同时减轻大家的负担。
[外链图片转存中…(img-2swEwrvw-1715308786672)]
[外链图片转存中…(img-l9pS79rr-1715308786673)]
[外链图片转存中…(img-S55sXhf7-1715308786674)]
既有适合小白学习的零基础资料,也有适合3年以上经验的小伙伴深入学习提升的进阶课程,基本涵盖了95%以上Android开发知识点!不论你是刚入门Android开发的新手,还是希望在技术上不断提升的资深开发者,这些资料都将为你打开新的学习之门!
如果你觉得这些内容对你有帮助,需要这份全套学习资料的朋友可以戳我获取!!
由于文件比较大,这里只是将部分目录截图出来,每个节点里面都包含大厂面经、学习笔记、源码讲义、实战项目、讲解视频,并且会持续更新!


 1万+
1万+

 被折叠的 条评论
为什么被折叠?
被折叠的 条评论
为什么被折叠?
 到【灌水乐园】发言


