


classpath ‘com.android.tools.build:gradle:3.2.1’
// NOTE: Do not place your application dependencies here; they belong
// in the individual module build.gradle files
}
}
allprojects {
repositories {
// 添加阿里云 maven 地址
maven { url ‘http://maven.aliyun.com/nexus/content/groups/public/’ }
maven { url ‘http://maven.aliyun.com/nexus/content/repositories/jcenter’ }
// jcenter()
google()
}
}
task clean(type: Delete) {
delete rootProject.buildDir
}
就像代码中的那样,你只要注释掉jcenter(),然后使用
maven { url ‘http://maven.aliyun.com/nexus/content/groups/public/’ }
maven { url ‘http://maven.aliyun.com/nexus/content/repositories/jcenter’ }
再Try Agin进行下载。这种方式我自己没有尝试过,因为我通过切换网络环境就下载配置好了,如果这个方式你还是下载不了,那么我表示。。。


终于下完了,不容易啊,
现在来改动它的外观,先把页面的背景改一下,黑乎乎不好看
File → Settings

选择背景图片
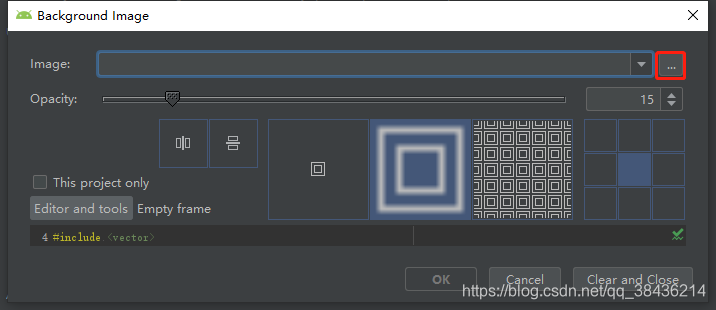
改完背景之后再改字体

现在明显比之前要好看一些:

现在再去配置Git ,方便我们进行代码管理

选择Windows,

然后选择对应你系统的安装成员,然后下载,又到了考验网速的时候了


安装Git除了改安装地址,后面一律Next


中间省略一些截图


安装已经完成了,这时候就可以在AS里面配置Git了
File → Settings

然后点一下Test,测试一下如果你的Git没有问题就会弹出你的Git版本,Git配置问了现在就需要一个Git的账号,各位自己去创建就可以了

登录成功之后你的邮箱会收到一个邮件,打开邮件
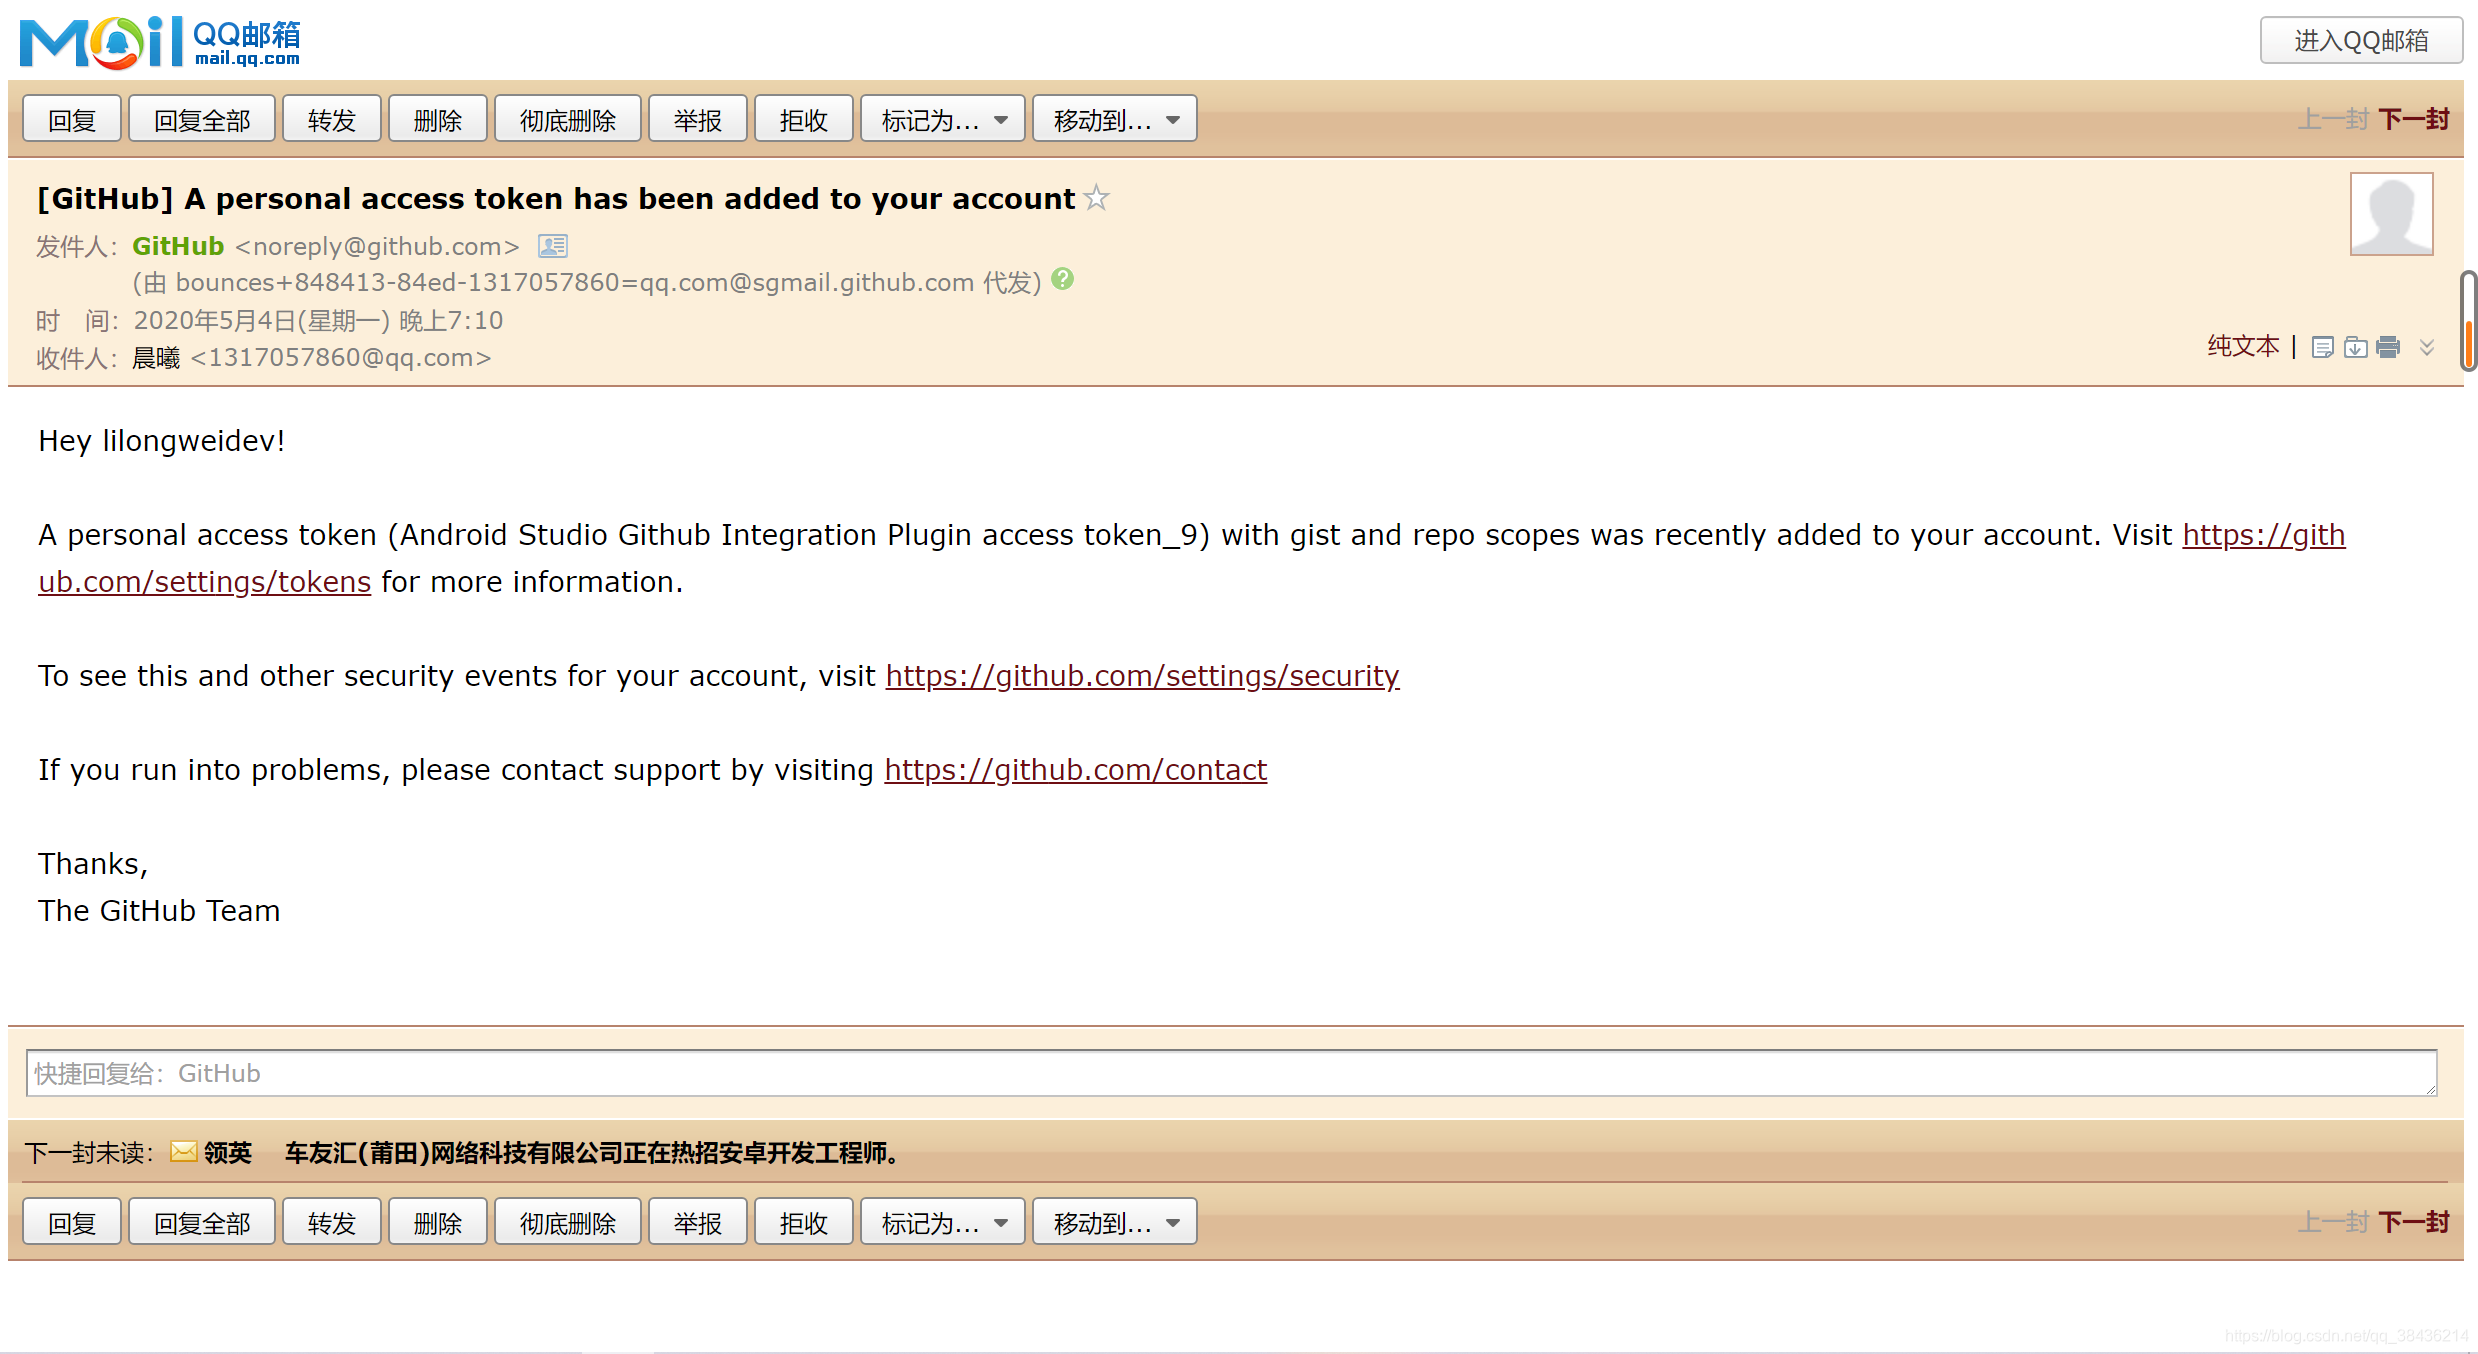
如果是第一次配置的话,如果你第一次提交代码的话,会需要你提供邮箱收到的验证码,验证身份。
现在我们的Git账户就登陆上去了
异常情况
有位朋友遇到这样的情况,所以这里加上去
提示:AS 登录 Github 时,一直提示密码错误,其实有可能是设备未授权,我就是这样。需要上 Github 官网,登录帐号,会有提示是否授权当前设备,并发一个授权码到你的邮箱。输入授权码完成授权,再回到 AS 就能登陆成功了。

然后再安装几个插件
1.GsonFormat
快速将json字符串转换成一个Java Bean,免去我们根据json字符串手写对应java Bean的过程。

2.Android ButterKnife Zelezny
配合ButterKnife实现注解,从此不用写findViewById,想着就爽啊。在Activity,Fragment,Adapter中选中布局xml的资源id自动生成butterknife注解。

安装完插件之后AS需要重启一下,

然后就是怎么使用这两个插件的问题了。
首先第一个
GsonFormat
JSON字符串
{
“HeWeather6”: [
{
“basic”: [
{
“cid”: “CN101010100”,
“location”: “北京”,
“parent_city”: “北京”,
“admin_area”: “北京”,
“cnty”: “中国”,
“lat”: “39.90498734”,
“lon”: “116.4052887”,
“tz”: “+8.00”,
“type”: “city”
}
],
“status”: “ok”
}
]
}
这是一段JSON字符串,现在访问接口主流返回这种字符串,复制一下,

点击OK

然后这个实体类就写好了

然后是第二个插件,
在工程的build.gradle里面加上

build.gradle代码:
// Top-level build file where you can add configuration options common to all sub-projects/modules.
buildscript {
repositories {
google()
//新增
mavenCentral()
jcenter()
}
dependencies {
classpath ‘com.android.tools.build:gradle:3.5.0’
//新增
classpath ‘com.jakewharton:butterknife-gradle-plugin:10.1.0’
// NOTE: Do not place your application dependencies here; they belong
// in the individual module build.gradle files
}
}
allprojects {
repositories {
//新增
maven { url “https://jitpack.io” }
//新增
mavenCentral()
google()
jcenter()
}
}
task clean(type: Delete) {
delete rootProject.buildDir
}
然后在项目的build.gradle 里面的
android闭包中加入如下代码:
compileOptions {
sourceCompatibility JavaVersion.VERSION_1_8
targetCompatibility JavaVersion.VERSION_1_8
}
dependencies闭包里面加入如下依赖代码
//butterknife
implementation ‘com.jakewharton:butterknife:10.1.0’
annotationProcessor ‘com.jakewharton:butterknife-compiler:10.1.0’
项目的build.gradle的代码:
apply plugin: ‘com.android.application’
android {
compileSdkVersion 28
buildToolsVersion “29.0.3”
defaultConfig {
applicationId “com.llw.helloworld”
minSdkVersion 21
targetSdkVersion 28
versionCode 1
versionName “1.0”
testInstrumentationRunner “androidx.test.runner.AndroidJUnitRunner”
}
compileOptions {
sourceCompatibility JavaVersion.VERSION_1_8
targetCompatibility JavaVersion.VERSION_1_8
}
buildTypes {
release {
minifyEnabled false
proguardFiles getDefaultProguardFile(‘proguard-android-optimize.txt’), ‘proguard-rules.pro’
}
}
}
dependencies {
implementation fileTree(dir: ‘libs’, include: [‘*.jar’])
implementation ‘androidx.appcompat:appcompat:1.0.2’
implementation ‘androidx.constraintlayout:constraintlayout:1.1.3’
testImplementation ‘junit:junit:4.12’
androidTestImplementation ‘androidx.test🏃1.1.1’
androidTestImplementation ‘androidx.test.espresso:espresso-core:3.1.1’
//butterknife
implementation ‘com.jakewharton:butterknife:10.1.0’
annotationProcessor ‘com.jakewharton:butterknife-compiler:10.1.0’
}

然后sync一下
然后修改一下布局文件:
<?xml version="1.0" encoding="utf-8"?><LinearLayout xmlns:android=“http://schemas.android.com/apk/res/android”
xmlns:app=“http://schemas.android.com/apk/res-auto”
xmlns:tools=“http://schemas.android.com/tools”
android:orientation=“vertical”
android:gravity=“center”
android:layout_width=“match_parent”
android:layout_height=“match_parent”
tools:context=“.MainActivity”>
<TextView
android:id=“@+id/tv_test”
android:layout_width=“wrap_content”
android:layout_height=“wrap_content”
android:text=“Hello World!” />
<Button
android:layout_marginTop=“20dp”
android:id=“@+id/btn_test”
android:text=“测试”
android:layout_width=“wrap_content”
android:layout_height=“wrap_content”/>
然后在MainActivity.java中
鼠标右键点击布局文件activity_main 选择Generate


现在就可以用这个插件,点击红色边框中的Generate ButterKnife Iniertions

自我介绍一下,小编13年上海交大毕业,曾经在小公司待过,也去过华为、OPPO等大厂,18年进入阿里一直到现在。
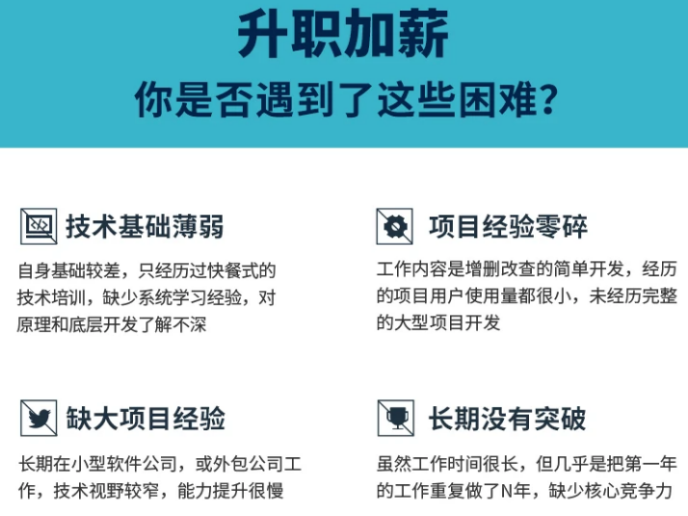
深知大多数初中级Android工程师,想要提升技能,往往是自己摸索成长或者是报班学习,但对于培训机构动则近万的学费,着实压力不小。自己不成体系的自学效果低效又漫长,而且极易碰到天花板技术停滞不前!
因此收集整理了一份《2024年Android移动开发全套学习资料》,初衷也很简单,就是希望能够帮助到想自学提升又不知道该从何学起的朋友,同时减轻大家的负担。
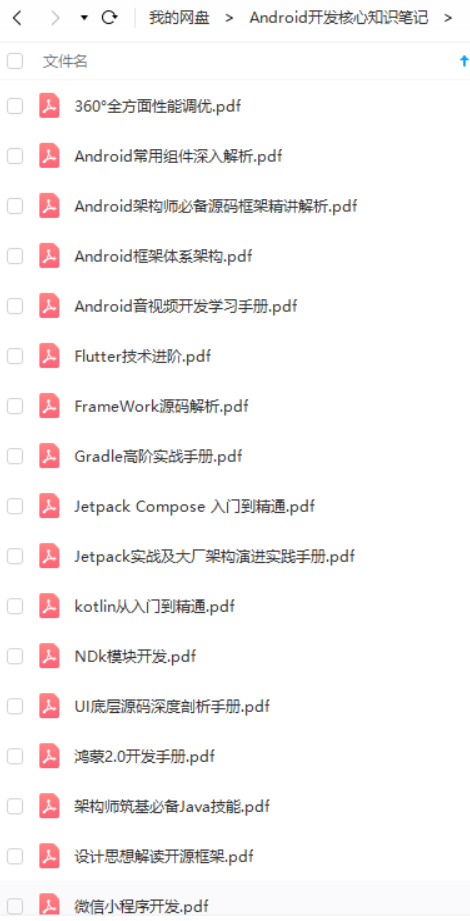
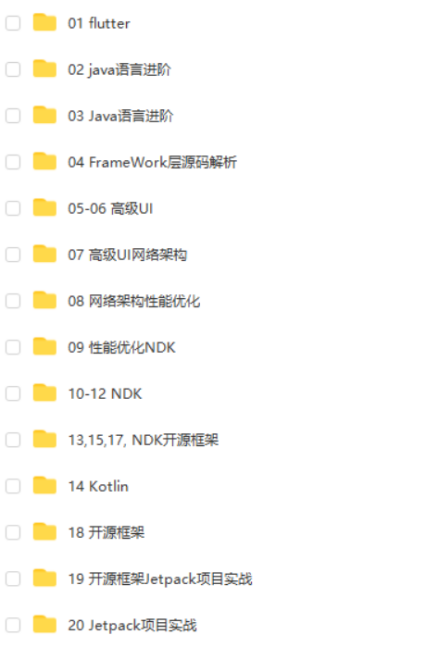
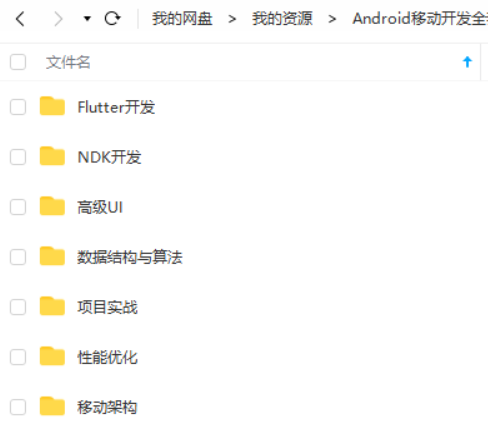
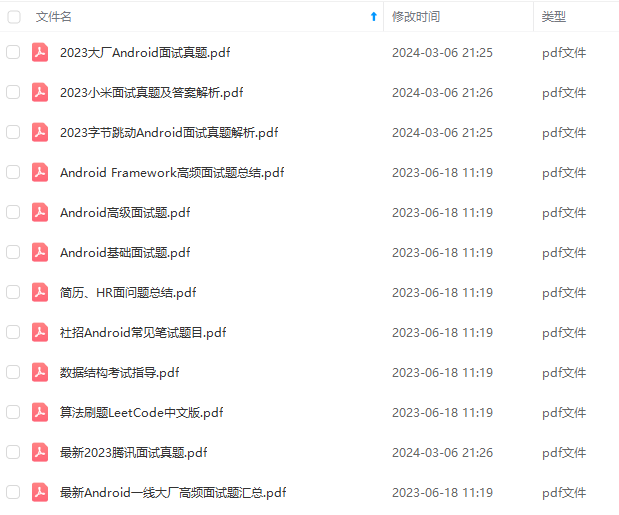
既有适合小白学习的零基础资料,也有适合3年以上经验的小伙伴深入学习提升的进阶课程,基本涵盖了95%以上Android开发知识点,真正体系化!
由于文件比较大,这里只是将部分目录截图出来,每个节点里面都包含大厂面经、学习笔记、源码讲义、实战项目、讲解视频,并且会持续更新!
如果你觉得这些内容对你有帮助,可以扫码获取!!(备注:Android)

最后
Android学习是一条漫长的道路,我们要学习的东西不仅仅只有表面的 技术,还要深入底层,弄明白下面的 原理,只有这样,我们才能够提高自己的竞争力,在当今这个竞争激烈的世界里立足。
人生不可能一帆风顺,有高峰自然有低谷,要相信,那些打不倒我们的,终将使我们更强大,要做自己的摆渡人。
资源持续更新中,欢迎大家一起学习和探讨。
《互联网大厂面试真题解析、进阶开发核心学习笔记、全套讲解视频、实战项目源码讲义》点击传送门即可获取!
12343471230)]
[外链图片转存中…(img-HIaszAVU-1712343471231)]
既有适合小白学习的零基础资料,也有适合3年以上经验的小伙伴深入学习提升的进阶课程,基本涵盖了95%以上Android开发知识点,真正体系化!
由于文件比较大,这里只是将部分目录截图出来,每个节点里面都包含大厂面经、学习笔记、源码讲义、实战项目、讲解视频,并且会持续更新!
如果你觉得这些内容对你有帮助,可以扫码获取!!(备注:Android)
最后
Android学习是一条漫长的道路,我们要学习的东西不仅仅只有表面的 技术,还要深入底层,弄明白下面的 原理,只有这样,我们才能够提高自己的竞争力,在当今这个竞争激烈的世界里立足。
人生不可能一帆风顺,有高峰自然有低谷,要相信,那些打不倒我们的,终将使我们更强大,要做自己的摆渡人。
资源持续更新中,欢迎大家一起学习和探讨。
《互联网大厂面试真题解析、进阶开发核心学习笔记、全套讲解视频、实战项目源码讲义》点击传送门即可获取!


 8004
8004


 被折叠的 条评论
为什么被折叠?
被折叠的 条评论
为什么被折叠?
 到【灌水乐园】发言


