


$ cat ~/.bashrc
可以看到 anaconda 的环境变量已经自动添加到 .bashrc 文件了。
执行以下命令:
$ conda list
可以看到 Anaconda 中有很多已经安装好的包,如果有使用到这些包的就不需要再安装了,python 环境也装好了。
**注意:**如果安装失败,重新安装,在提示安装在哪里时,选择「更改安装位置」,安装位置选择其他地方不是用默认的,安装在哪里自己选择,可以放在「应用程序」下。
▐ 安装相关依赖
anaconda 中没有 keras、tensorflow 和 opencv-python, 需要单独安装。
$ pip install keras$ pip install tensorflow$ pip install opencv-python
样本准备
这里只准备了 4 个分类:button、keyboard、searchbar、switch, 每个分类 200 个左右的样本。
模型训练
▐ 开发训练逻辑
新建一个项目 train-project, 文件结构如下:
.├── CNN_net.py├── dataset├── nn_train.py└── utils_paths.py
入口文件代码如下,这里的逻辑是将准备好的样本输入给图像分类算法 SimpleVGGNet, 并设置一些训练参数,例如学习率、Epoch、Batch Size, 然后执行这段训练逻辑,最终得到一个模型文件。
nn_train.pyfrom CNN_net import SimpleVGGNetfrom sklearn.preprocessing import LabelBinarizerfrom sklearn.model_selection import train_test_splitfrom sklearn.metrics import classification_reportfrom keras.optimizers import SGDfrom keras.preprocessing.image import ImageDataGeneratorimport utils_pathsimport matplotlib.pyplot as pltfrom cv2 import cv2import numpy as npimport argparseimport randomimport pickleimport os# 读取数据和标签print(“------开始读取数据------”)data = []labels = []# 拿到图像数据路径,方便后续读取imagePaths = sorted(list(utils_paths.list_images(‘./dataset’)))random.seed(42)random.shuffle(imagePaths)image_size = 256# 遍历读取数据for imagePath in imagePaths: # 读取图像数据 image = cv2.imread(imagePath) image = cv2.resize(image, (image_size, image_size)) data.append(image) # 读取标签 label = imagePath.split(os.path.sep)[-2] labels.append(label)data = np.array(data, dtype=“float”) / 255.0labels = np.array(labels)# 数据集切分(trainX, testX, trainY, testY) = train_test_split(data,labels, test_size=0.25, random_state=42)# 转换标签为one-hot encoding格式lb = LabelBinarizer()trainY = lb.fit_transform(trainY)testY = lb.transform(testY)# 数据增强处理aug = ImageDataGenerator( rotation_range=30, width_shift_range=0.1, height_shift_range=0.1, shear_range=0.2, zoom_range=0.2, horizontal_flip=True, fill_mode=“nearest”)# 建立卷积神经网络model = SimpleVGGNet.build(width=256, height=256, depth=3,classes=len(lb.classes_))# 设置初始化超参数# 学习率INIT_LR = 0.01# Epoch# 这里设置 5 是为了能尽快训练完毕,可以设置高一点,比如 30EPOCHS = 5# Batch SizeBS = 32# 损失函数,编译模型print(“------开始训练网络------”)opt = SGD(lr=INIT_LR, decay=INIT_LR / EPOCHS)model.compile(loss=“categorical_crossentropy”, optimizer=opt,metrics=[“accuracy”])# 训练网络模型H = model.fit_generator( aug.flow(trainX, trainY, batch_size=BS), validation_data=(testX, testY), steps_per_epoch=len(trainX) // BS, epochs=EPOCHS)# 测试print(“------测试网络------”)predictions = model.predict(testX, batch_size=32)print(classification_report(testY.argmax(axis=1), predictions.argmax(axis=1), target_names=lb.classes_))# 绘制结果曲线N = np.arange(0, EPOCHS)plt.style.use(“ggplot”)plt.figure()plt.plot(N, H.history[“loss”], label=“train_loss”)plt.plot(N, H.history[“val_loss”], label=“val_loss”)plt.plot(N, H.history[“accuracy”], label=“train_acc”)plt.plot(N, H.history[“val_accuracy”], label=“val_acc”)plt.title(“Training Loss and Accuracy”)plt.xlabel(“Epoch #”)plt.ylabel(“Loss/Accuracy”)plt.legend()plt.savefig(‘./output/cnn_plot.png’)# 保存模型print(“------保存模型------”)model.save(‘./cnn.model.h5’)f = open(‘./cnn_lb.pickle’, “wb”)f.write(pickle.dumps(lb))f.close()
对于实际应用场景下,数据集很大,epoch 也会设置比较大,并在高性能的机器上训练。现在要在本机 Mac 上完成训练任务,我们只给了很少的样本来训练模型,epoch 也很小(为 5),当然这样模型的识别准确率也会很差,但我们此篇文章的目的是为了在本机完成一个机器学习的任务。
▐ 开始训练
执行以下命令开始训练:
$ python nn_train.py
训练过程日志如下:
训练结束后,在当前目录下会生成两个文件:模型文件 cnn.model.h5 和 损失函数曲线 output/cnn_plot.png
模型评估
现在,我们拿到了模型文件 cnn.model.h5, 可以写一个预测脚本,本地执行脚本预测一张图片的分类。
$ python predict.py
predict.pyimport allsparkimport ioimport numpy as npimport jsonfrom PIL import Imageimport requestsimport threadingimport cv2import osimport tensorflow as tffrom tensorflow.keras.models import load_modelimport timemodel = load_model(‘./train/cnn.model.h5’)# pred的输入应该是一个images的数组,而且图片都已经转为numpy数组的形式# pred = model.predict([‘./validation/button/button-demoplus-20200216-16615.png’])#这个顺序一定要与label.json顺序相同,模型输出是一个数组,取最大值索引为预测值Label = [ “button”, “keyboard”, “searchbar”, “switch” ]testPath = "./test/button.png"images = []image = cv2.imread(testPath)image = cv2.cvtColor(image, cv2.COLOR_BGR2RGB)image = cv2.resize(image,(256,256))images.append(image)images = np.asarray(images)pred = model.predict(images)print(pred)max_ = np.argmax(pred)print(‘预测结果为:’,Label[max_])
如果想要知道这个模型的准确率,也可以给模型输入一批带有已知分类的数据,通过模型预测后,将模型预测的分类与真实的分类比较,计算出准确率和召回率。
模型服务部署
▐ 开发模型服务
但在实际应用中,我们预测一张图片的类别, 是通过给定一张图片,请求一个 API 来拿到返回结果的。我们需要编写一个模型服务,然后部署到远端,拿到一个部署之后的模型服务 API。
现在,我们可以编写一个模型服务,然后在本地部署。
模型服务 app.pyimport allsparkimport ioimport numpy as npimport jsonfrom PIL import Imageimport requestsimport threadingimport cv2import tensorflow as tffrom tensorflow.keras.models import load_modelwith open(‘label.json’) as f: mp = json.load(f)labels = {value:key for key,value in mp.items()}def create_opencv_image_from_stringio(img_stream, cv2_img_flag=-1): img_stream.seek(0) img_array = np.asarray(bytearray(img_stream.read()), dtype=np.uint8) image_temp = cv2.imdecode(img_array, cv2_img_flag) if image_temp.shape[2] == 4: image_channel3 = cv2.cvtColor(image_temp, cv2.COLOR_BGRA2BGR) image_mask = image_temp[:,:,3] #.reshape(image_temp.shape[0],image_temp.shape[1], 1) image_mask = np.stack((image_mask, image_mask, image_mask), axis = 2) index_mask = np.where(image_mask == 0) image_channel3[index_mask[0], index_mask[1], index_mask[2]] = 255 return image_channel3 else: return image_tempdef get_string_io(origin_path): r = requests.get(origin_path, timeout=2) stringIo_content = io.BytesIO(r.content) return stringIo_contentdef handleReturn(pred, percent, msg_length): result = { “content”:[] } argm = np.argsort(-pred, axis = 1) for i in range(msg_length): label = labels[argm[i, 0]] index = argm[i, 0] if(pred[i, index] > percent): confident = True else: confident = False result[‘content’].append({‘isConfident’: confident, ‘label’: label}) return resultdef process(msg, model): msg_dict = json.loads(msg) percent = msg_dict[‘threshold’] msg_dict = msg_dict[‘images’] msg_length = len(msg_dict) desire_size = 256 images = [] for i in range(msg_length): image_temp = create_opencv_image_from_stringio(get_string_io(msg_dict[i])) image_temp = cv2.cvtColor(image_temp, cv2.COLOR_BGR2RGB) image = cv2.resize(image_temp, (256, 256)) images.append(image) images = np.asarray(images) pred = model.predict(images) return bytes(json.dumps(handleReturn(pred, percent, msg_length)) ,‘utf-8’)def worker(srv, thread_id, model): while True: msg = srv.read() try: rsp = process(msg, model) srv.write(rsp) except Exception as e: srv.error(500,bytes(‘invalid data format’, ‘utf-8’))if name == ‘main’: desire_size = 256 model = load_model(‘./cnn.model.h5’) context = allspark.Context(4) queued = context.queued_service() workers = [] for i in range(10): t = threading.Thread(target=worker, args=(queued, i, model)) t.setDaemon(True) t.start() workers.append(t) for t in workers: t.join()
▐ 部署模型服务
模型服务编写完成后,在本地部署,需要安装环境。首先创建一个模型服务项目: deploy-project, 将 cnn.model.h5 拷贝到此项目中, 并在此项目下安装环境。
.├── app.py├── cnn.model.h5└── label.json
✎ 安装环境
可以看下阿里云的模型服务部署文档:3、Python语言-3.2 构建开发环境-3.2.3 使用预构建的开发镜像(推荐)
安装 Docker
可以直接查看 Mac Docker 安装文档
用 Homebrew 安装 需要先现状 Homebrew: https://brew.sh$ brew cask install docker
安装完之后,桌面上会出现 Docker 的图标。
创建 anaconda 的虚拟环境
使用conda创建python环境,目录需指定固定名字:ENV$ conda create -p ENV python=3.7# 安装EAS python sdk$ ENV/bin/pip install http://eas-data.oss-cn-shanghai.aliyuncs.com/sdk/allspark-0.9-py2.py3-none-any.whl# 安装其它依赖包$ ENV/bin/pip install tensorflow keras opencv-python# 激活虚拟环境$ conda activate ./ENV# 退出虚拟环境(不使用时)$ conda deactivate
运行 Docker 环境
/Users/chang/Desktop/ml-test/deploy-project 换成自己的项目路径
sudo docker run -ti -v /Users/chang/Desktop/ml-test/deploy-project:/home -p 8080:8080registry.cn-shanghai.aliyuncs.com/eas/eas-python-base-image:py3.6-allspark-0.8
✎ 本地部署
现在可以本地部署了,执行以下命令:
cd /home./ENV/bin/python app.py
下面的日志可以看到部署成功。
部署成功后,可以通过 localhost:8080/predict 访问模型服务了。
我们用 curl 命令来发一个 post 请求, 预测图片分类:
curl -X POST ‘localhost:8080/predict’ -H ‘Content-Type: application/json’ -d ‘{ “images”: [“https://img.alicdn.com/tfs/TB1W8K2MeH2gK0jSZJnXXaT1FXa-638-430.png”], “threshold”: 0.5}’
得到预测结果:
最后
自我介绍一下,小编13年上海交大毕业,曾经在小公司待过,也去过华为、OPPO等大厂,18年进入阿里一直到现在。
深知大多数初中级Android工程师,想要提升技能,往往是自己摸索成长,自己不成体系的自学效果低效漫长且无助。
因此收集整理了一份《2024年Web前端开发全套学习资料》,初衷也很简单,就是希望能够帮助到想自学提升又不知道该从何学起的朋友,同时减轻大家的负担。


既有适合小白学习的零基础资料,也有适合3年以上经验的小伙伴深入学习提升的进阶课程,基本涵盖了95%以上Android开发知识点!不论你是刚入门Android开发的新手,还是希望在技术上不断提升的资深开发者,这些资料都将为你打开新的学习之门!
如果你觉得这些内容对你有帮助,需要这份全套学习资料的朋友可以戳我获取!!
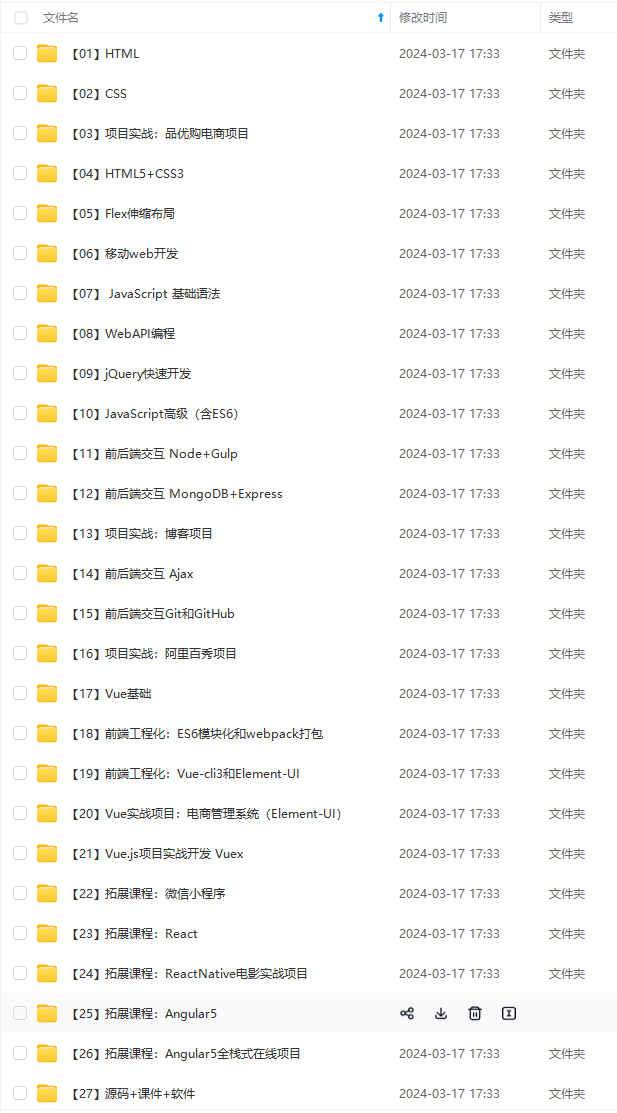
由于文件比较大,这里只是将部分目录截图出来,每个节点里面都包含大厂面经、学习笔记、源码讲义、实战项目、讲解视频,并且会持续更新!
转存中…(img-qaalPY9t-1715885902427)]
[外链图片转存中…(img-bEZQAE1y-1715885902427)]
[外链图片转存中…(img-iYFNIBTm-1715885902428)]
既有适合小白学习的零基础资料,也有适合3年以上经验的小伙伴深入学习提升的进阶课程,基本涵盖了95%以上Android开发知识点!不论你是刚入门Android开发的新手,还是希望在技术上不断提升的资深开发者,这些资料都将为你打开新的学习之门!
如果你觉得这些内容对你有帮助,需要这份全套学习资料的朋友可以戳我获取!!
由于文件比较大,这里只是将部分目录截图出来,每个节点里面都包含大厂面经、学习笔记、源码讲义、实战项目、讲解视频,并且会持续更新!


 被折叠的 条评论
为什么被折叠?
被折叠的 条评论
为什么被折叠?
 到【灌水乐园】发言


