


给大家的福利
零基础入门
对于从来没有接触过网络安全的同学,我们帮你准备了详细的学习成长路线图。可以说是最科学最系统的学习路线,大家跟着这个大的方向学习准没问题。
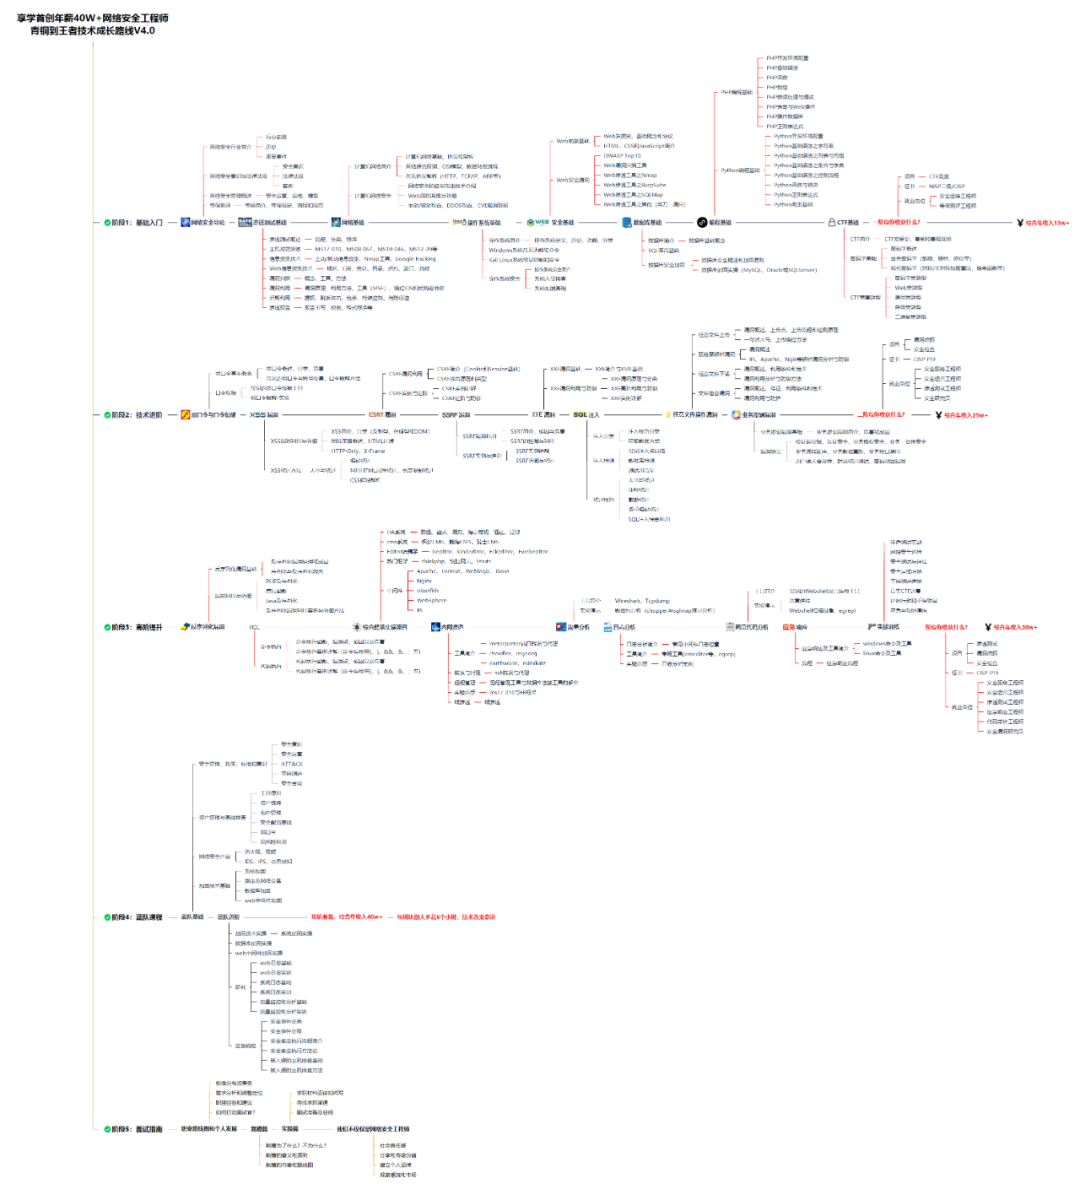
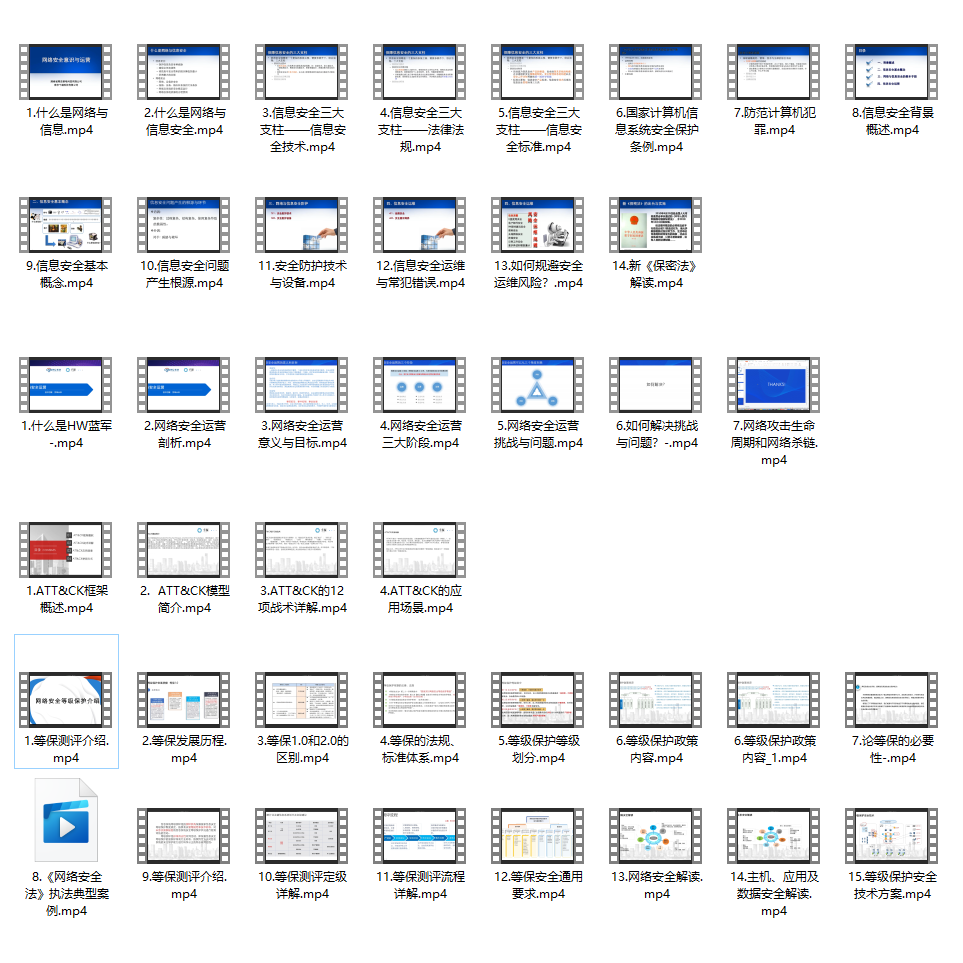
同时每个成长路线对应的板块都有配套的视频提供:
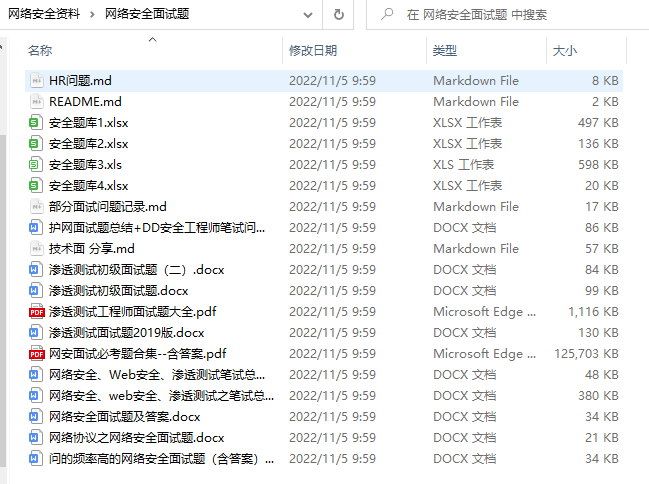
因篇幅有限,仅展示部分资料
网络安全面试题
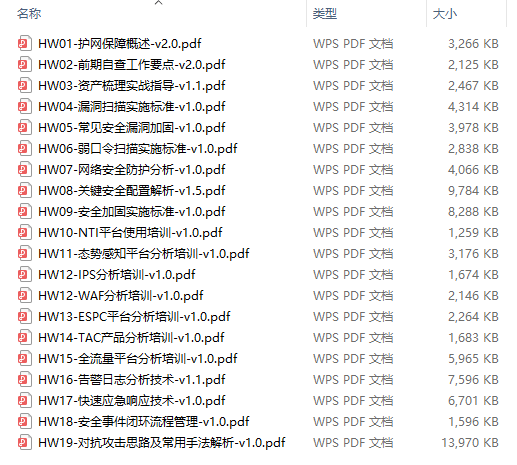
绿盟护网行动
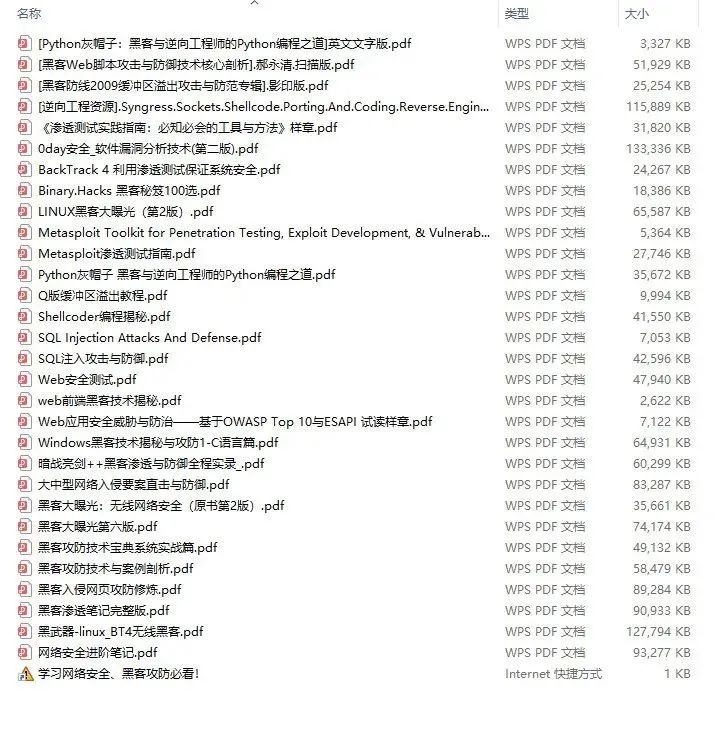
还有大家最喜欢的黑客技术
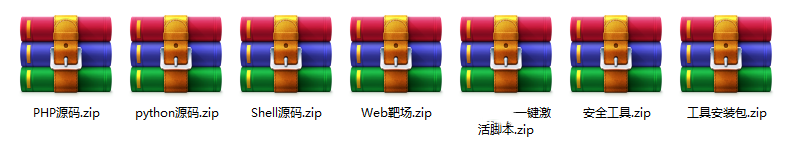
网络安全源码合集+工具包
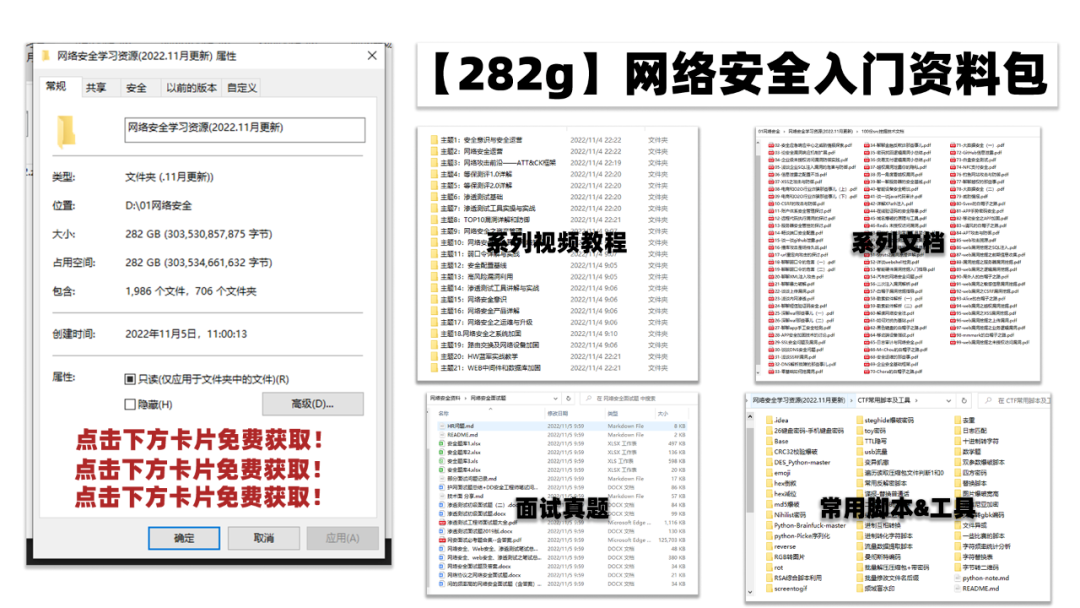
所有资料共282G,朋友们如果有需要全套《网络安全入门+黑客进阶学习资源包》,可以扫描下方二维码领取(如遇扫码问题,可以在评论区留言领取哦)~
网上学习资料一大堆,但如果学到的知识不成体系,遇到问题时只是浅尝辄止,不再深入研究,那么很难做到真正的技术提升。
一个人可以走的很快,但一群人才能走的更远!不论你是正从事IT行业的老鸟或是对IT行业感兴趣的新人,都欢迎加入我们的的圈子(技术交流、学习资源、职场吐槽、大厂内推、面试辅导),让我们一起学习成长!
CentOS安装 官网安装步骤 整理如下:
# 1.添加 mongod 用户和用户组
groupadd mongod
useradd -r -m -g mongod mongod
# 2.安装依赖【否则可能会出现报错】
yum install libcurl openssl xz-libs
# 3.解压
tar -zxvf mongodb-linux-x86_64-rhel70-6.0.5.tgz
# 移动文件(根据个人习惯 可不进行操作)
mv ./mongodb-linux-x86_64-rhel70-6.0.5/ /usr/local/mongodb/
# 4.PATH 环境变量配置(两种方式)
cp /usr/local/mongodb/bin/* /usr/local/bin/
# 或
ln -s /usr/local/mongodb/bin/* /usr/local/bin/
# 5.创建 mongodb 的数据文件夹和日志文件夹并赋权
mkdir -p /var/lib/mongo
mkdir -p /var/log/mongodb
chown -R mongod:mongod /var/lib/mongo
chown -R mongod:mongod /var/log/mongodb
# 6.启动【数据路径 日志路径 绑定的IP】
# --bind\_ip 需要注意
mongod --dbpath /var/lib/mongo --logpath /var/log/mongodb/mongod.log --bind_ip 127.0.0.1,tcloud --fork

about to fork child process, waiting until server is ready for connections.
forked process: 24774
child process started successfully, parent exiting

# 还可以使用配置文件的方式启动【这种方式随后进行介绍】
mongod -f ../conf/mongodb.conf
# 7.验证启动成功 /var/log/mongodb/mongod.log
[initandlisten] waiting for connections on port 27017
2.3 mongodb-shell 安装
mongodb-shell的 下载页面 ,可以根据需要进行下载安装:

我使用的是 CentOS 所以下载的是rpm类型的安装包,安装过程很简单:
# 1.安装
rpm -ivh mongodb-mongosh-1.8.0.x86_64.rpm
.tgz类型文件的安装说明【安装过程未验证】
# 1.解压
tar -zxvf mongosh-1.8.0-linux-x64.tgz
# 2.赋权
chmod +x bin/mongosh
# 3.配置环境变量(两种方式)
cp mongosh /usr/local/bin/
cp mongosh_csfle_v1.so /usr/local/lib/
# 或
sudo ln -s $(pwd)/bin/* /usr/local/bin/
mongodb shell 有详细的 使用说明 小伙伴儿们可以参考。
# 启动命令
mongosh
一下是启动后的信息:
mongosh

Current Mongosh Log ID: 6414231e638f2f5b00261acc
Connecting to:          mongodb://127.0.0.1:27017/?directConnection=true&serverSelectionTimeoutMS=2000&appName=mongosh+1.8.0
Using MongoDB:          6.0.5
Using Mongosh:          1.8.0

For mongosh info see: https://docs.mongodb.com/mongodb-shell/


To help improve our products, anonymous usage data is collected and sent to MongoDB periodically (https://www.mongodb.com/legal/privacy-policy).
You can opt-out by running the disableTelemetry() command.

------
   The server generated these startup warnings when booting
   2023-03-17T16:20:20.500+08:00: Using the XFS filesystem is strongly recommended with the WiredTiger storage engine. See http://dochub.mongodb.org/core/prodnotes-filesystem
   2023-03-17T16:20:21.190+08:00: Access control is not enabled for the database. Read and write access to data and configuration is unrestricted
   2023-03-17T16:20:21.190+08:00: You are running this process as the root user, which is not recommended
   2023-03-17T16:20:21.190+08:00: This server is bound to localhost. Remote systems will be unable to connect to this server. Start the server with --bind_ip <address> to specify which IP addresses it should serve responses from, or with --bind_ip_all to bind to all interfaces. If this behavior is desired, start the server with --bind_ip 127.0.0.1 to disable this warning
   2023-03-17T16:20:21.191+08:00: /sys/kernel/mm/transparent_hugepage/enabled is 'always'. We suggest setting it to 'never'
   2023-03-17T16:20:21.191+08:00: /sys/kernel/mm/transparent_hugepage/defrag is 'always'. We suggest setting it to 'never'
   2023-03-17T16:20:21.191+08:00: vm.max_map_count is too low
------

------
   Enable MongoDB's free cloud-based monitoring service, which will then receive and display
   metrics about your deployment (disk utilization, CPU, operation statistics, etc).

   The monitoring data will be available on a MongoDB website with a unique URL accessible to you
   and anyone you share the URL with. MongoDB may use this information to make product
   improvements and to suggest MongoDB products and deployment options to you.

   To enable free monitoring, run the following command: db.enableFreeMonitoring()
   To permanently disable this reminder, run the following command: db.disableFreeMonitoring()
------

test>
2.4 测试
-- 1.查看所有数据库
show dbs
-- 实例
test> show dbs
admin 40.00 KiB
config 12.00 KiB
local 40.00 KiB
### 给大家的福利
**零基础入门**
对于从来没有接触过网络安全的同学,我们帮你准备了详细的学习成长路线图。可以说是最科学最系统的学习路线,大家跟着这个大的方向学习准没问题。

同时每个成长路线对应的板块都有配套的视频提供:

因篇幅有限,仅展示部分资料
**网上学习资料一大堆,但如果学到的知识不成体系,遇到问题时只是浅尝辄止,不再深入研究,那么很难做到真正的技术提升。**
**[需要这份系统化资料的朋友,可以点击这里获取](https://bbs.csdn.net/forums/4f45ff00ff254613a03fab5e56a57acb)**
**一个人可以走的很快,但一群人才能走的更远!不论你是正从事IT行业的老鸟或是对IT行业感兴趣的新人,都欢迎加入我们的的圈子(技术交流、学习资源、职场吐槽、大厂内推、面试辅导),让我们一起学习成长!**


 1万+
1万+


 被折叠的 条评论
为什么被折叠?
被折叠的 条评论
为什么被折叠?
 到【灌水乐园】发言


