


ES6
-
列举常用的ES6特性:
-
箭头函数需要注意哪些地方?
-
let、const、var
-
拓展:var方式定义的变量有什么样的bug?
-
Set数据结构
-
拓展:数组去重的方法
-
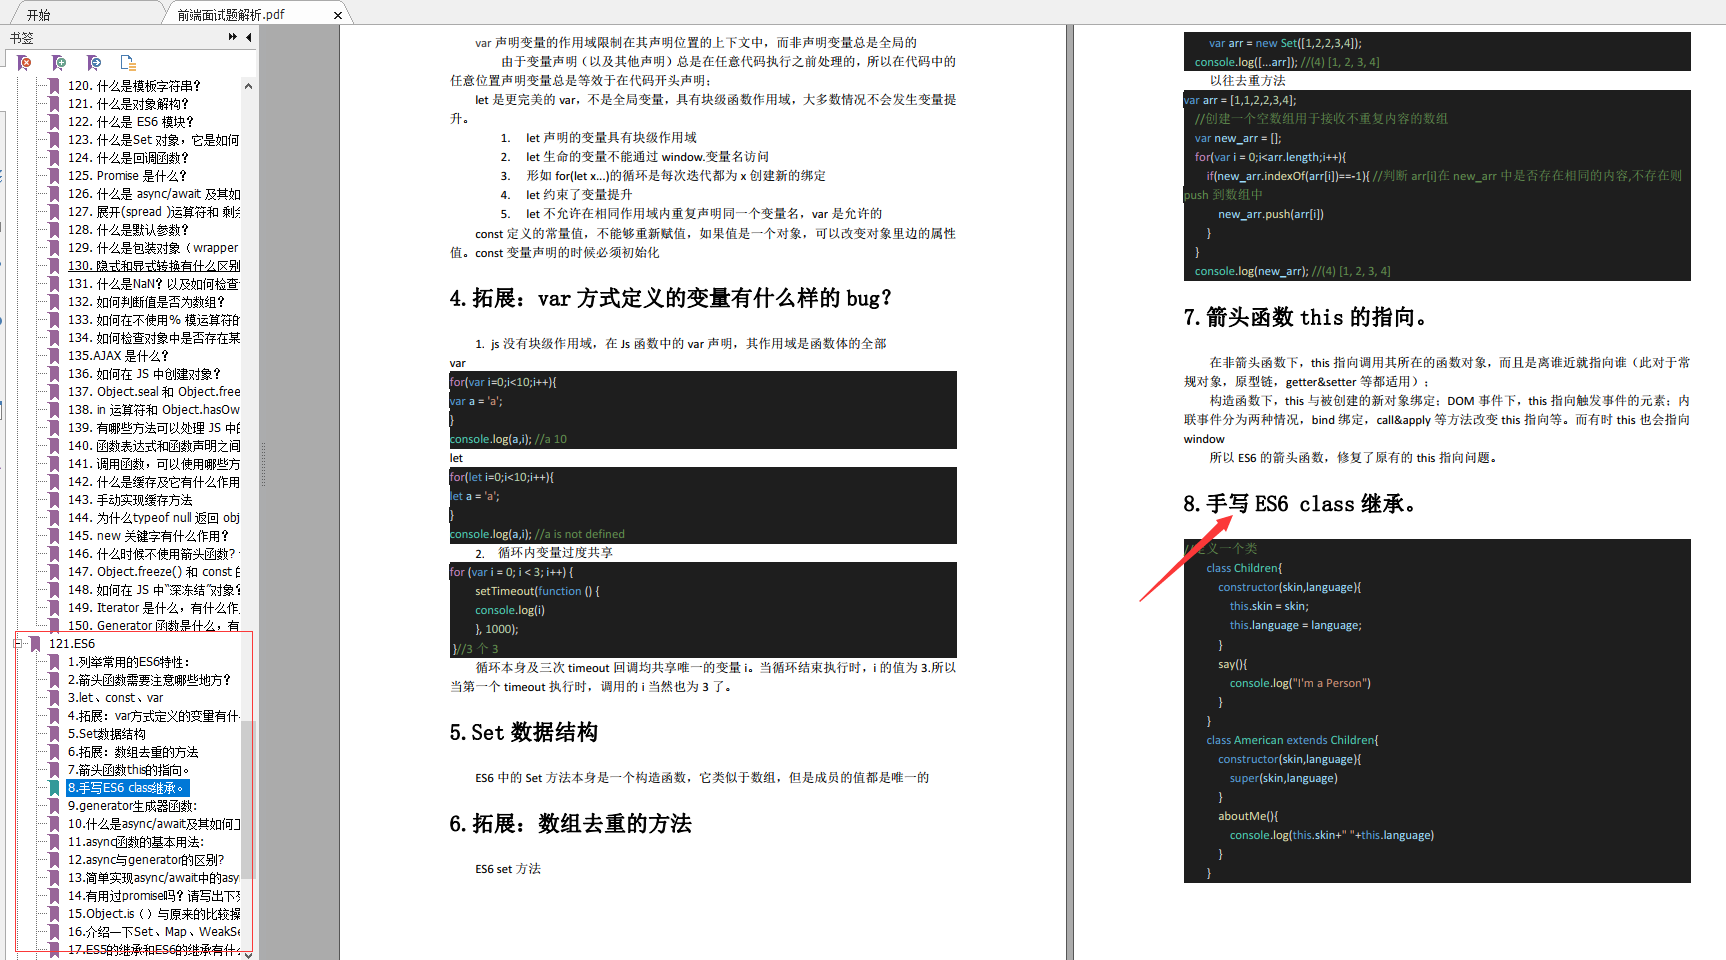
箭头函数this的指向。
-
手写ES6 class继承。
开源分享:【大厂前端面试题解析+核心总结学习笔记+真实项目实战+最新讲解视频】
微信小程序
-
简单描述一下微信小程序的相关文件类型?
-
你是怎么封装微信小程序的数据请求?
-
有哪些参数传值的方法?
-
你使用过哪些方法,来提高微信小程序的应用速度?
-
小程序和原生App哪个好?
-
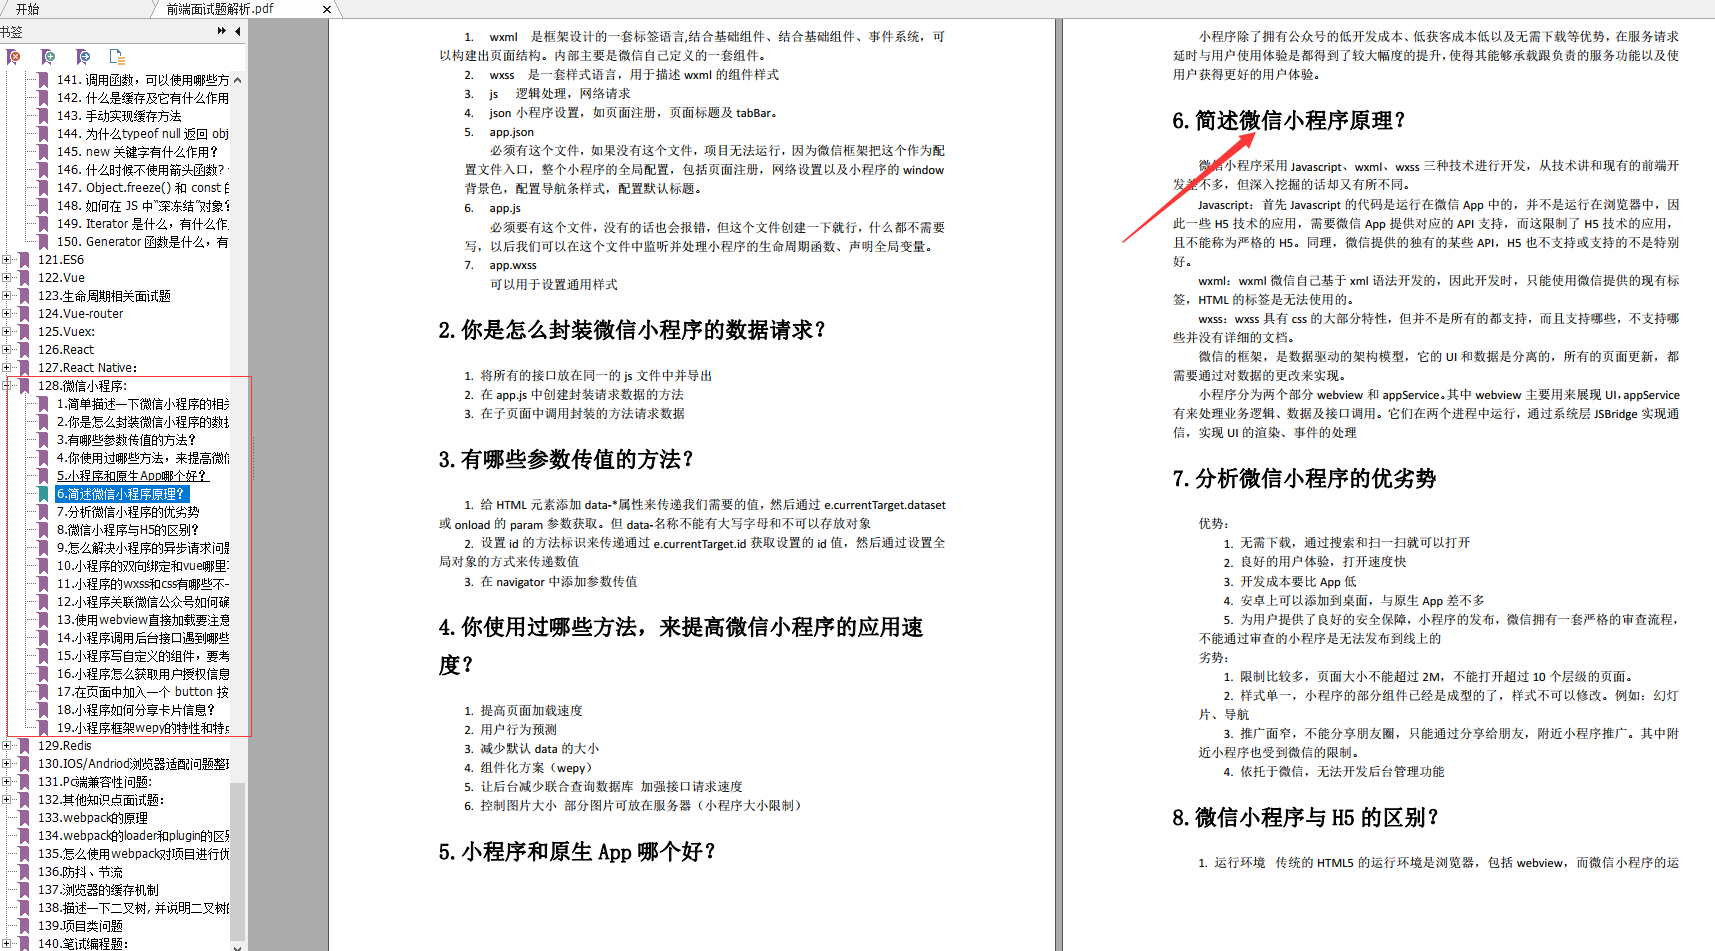
简述微信小程序原理?
-
分析微信小程序的优劣势
-
怎么解决小程序的异步请求问题?
-
了解需求背景
-
了解业务流程
二、项目搭建初始化
本案例使用脚手架 create-react-app 初始化了项目。此脚手架有利有弊吧,项目目录结构简洁,不需要太关心 webpack 令人头疼的配置;弊端在于,脚手架确实有些庞大,构建时间在 4mins 左右。各位看官择优选择吧,也可以完全自己搭建一个项目。
- 设置淘宝镜像仓库
$ yarn config set registry registry.npm.taobao.org/ -g
$ yarn config set sass_binary_site cdn.npm.taobao.org/dist/node-sass -g
- 工程目录 init
$ create-react-app qpj-web-pc --typescript
$ tree -I “node_modules”
.
|-- README.md
|-- package.json
|-- public
| |-- favicon.ico
| |-- index.html
| |-- logo192.png
| |-- logo512.png
| |-- manifest.json
| `-- robots.txt
|-- src
| |-- App.css
| |-- App.test.tsx
| |-- App.tsx
| |-- index.css
| |-- index.tsx
| |-- logo.svg
| |-- react-app-env.d.ts
| |-- reportWebVitals.ts
| `-- setupTests.ts
`-- tsconfig.json
yarn build试试
$ yarn build & tree -I “node_modules”
.
|-- README.md
|-- build/ # 改造点(由于 Jenkins 构建打包脚本有可能已经写死了 dist 包名)
|-- package.json
|-- public
| |-- favicon.ico
| |-- index.html
| |-- logo192.png
| |-- logo512.png
| |-- manifest.json
| `-- robots.txt
|-- src
| |-- App.css
| |-- App.test.tsx
| |-- App.tsx
| |-- index.css
| |-- index.tsx
| |-- logo.svg
| |-- react-app-env.d.ts
| |-- reportWebVitals.ts
| `-- setupTests.ts
`-- tsconfig.json
- 连接
git远程仓库
$ git remote add origin yuanmin.zhu%40wetax.com.cn:wd246800mm@gitlab.yunpiaoer.com/front/qpj-web-pc.git
- 添加
.gitignore
$ echo -e " yarn.lock \n package-lock.json \n /dist \n .idea" >> .gitignore
- 添加
eslint代码及提交评论校验
$ yarn add husky lint-staged @commitlint/cli @commitlint/config-conventional -D
$ npx husky install
$ npx husky add .husky/pre-commit “npx lint-staged”
$ npx husky add .husky/prepare-commit-msg “npx commitlint -e”
- 项目根目录新建
commitlint.config.js
// commitlint.config.js
module.exports = {
extends: [‘@commitlint/config-conventional’],
rules: {
‘type-enum’: [
2,
‘always’,
[‘feat’, ‘fix’, ‘docs’, ‘style’, ‘refactor’, ‘test’, ‘chore’, ‘revert’],
],
‘subject-full-stop’: [0, ‘never’],
‘subject-case’: [0, ‘never’],
},
}
-
vscode扩展中搜索ESLint并安装,项目根目录新建.eslintrc.js,内容可参考文章配置:zhuanlan.zhihu.com/p/84329603 看第五点 -
Commit message 格式说明
<type>: <subject>
-
type值枚举如下: -
- feat: 添加新特性
-
fix: 修复 bug
-
docs: 仅仅修改了文档
-
style: 仅仅修改了空格、格式缩进、都好等等,不改变代码逻辑
-
refactor: 代码重构,没有加新功能或者修复 bug
-
perf: 增加代码进行性能测试
-
test: 增加测试用例
-
chore: 改变构建流程、或者增加依赖库、工具等
-
revert: 当前 commit 用于撤销以前的 commit
-
subject是 commit 目的的简短描述,不超过 50 个字符,且结尾不加句号(.) -
package.json新加入如下配置:
{
…,
“lint-staged”: {
“src/**/*.{jsx,txs,ts,js,json,css,md}”: [
“eslint --quiet”
]
},
}
- 可执行
npx eslint [filePath] \--fix进行格式修复,无法修复的需手动解决
三、项目配置一(功能配置)
- 安装项目常用依赖库
$ yarn add antd axios dayjs qs -S # UI 库 及工具库
$ yarn add react-router-dom redux react-redux redux-logger redux-thunk -S # 路由及状态管理
webpack配置拓展很有必要
-
根目录新建
config-overrides.js,详细使用可访问:简书:React 之 config-overrides文件配置 -
安装
-
$ yarn add react-app-rewired customize-cra -D
-
修改
package.json中启动项
// package.json
“scripts”: {
“start”: “react-app-rewired start”,
“build”: “react-app-rewired build”,
}
- 使用
// config-overrides.js
const {
override, // 主函数
fixBabelImports, // 配置按需加载
addWebpackExternals, // 不做打包处理配置
addWebpackAlias, // 配置别名
addLessLoader // lessLoader 配置,可更改主题色等
} = require(‘customize-cra’)
module.exports = override(/* … */, config => config)
- 配置按需加载
// config-overrides.js
…
module.exports = override(
fixBabelImports(‘import’, {
libraryName: ‘antd’,
libraryDirectory: ‘es’, // library 目录
style: true, // 自动打包相关的样式
}),
)
- 更改主题色
// config-overrides.js
…
module.exports = override(
addLessLoader({
lessOptions: {
javascriptEnabled: true,
modifyVars: {
‘@primary-color’: ‘#1890ff’,
},
}
}),
)
- 别名配置(
typescript项目这里有坑)
// config-overrides.js
const path = require(‘path’)
…
module.exports = override(
addWebpackAlias({
‘@’: path.resolve(__dirname, ‘src’),
}),
)
- 去除注释、多进程打包压缩
// config-overrides.js
const UglifyJsPlugin = require(‘uglifyjs-webpack-plugin’)
const HardSourceWebpackPlugin = require(‘hard-source-webpack-plugin’)
…
module.exports = override(/* … */, config => {
config.plugins = […config.plugins, {
new UglifyJsPlugin({
uglifyOptions: {
warnings: false,
compress: {
drop_debugger: true,
drop_console: true,
},
},
}),
new HardSourceWebpackPlugin()
}]
return config
})
- 解决埋下的两个坑
- 修改打包出的文件夹名为
dist
// 修改打包路径除了output,这里也要修改
const paths = require(‘react-scripts/config/paths’)
paths.appBuild = path.join(path.dirname(paths.appBuild), ‘dist’)
module.exports = override(/* … */, config => {
config.output.path = path.resolve(__dirname, ‘dist’)
return config
})
-
解决
typescript别名配置 -
- 查阅相关资料,需要在
tsconfig.json中添加一项配置
- 查阅相关资料,需要在
{
…
“extends”: “./paths.json”
}
- 新建文件
paths.json
{
“compilerOptions”: {
“baseUrl”: “src”,
“paths”: {
“@/“: [””]
}
}
}
- 配置装饰器写法
{
“compilerOptions”: {
“experimentalDecorators”: true,
…
}
}
- 配置开发代理
- 在
src目录新建setupProxy.js
// src/setupProxy.js
const proxy = require(‘http-proxy-middleware’).createProxyMiddleware
module.exports = function(app) {
// app 为 Express 实例,此处可以写 Mock 数据
app.use(
proxy(‘/api’,
{
“target”: “https://qpj-test.fapiaoer.cn”,
“changeOrigin”: true,
“secure”: false,
// “pathRewrite”: {
// “^/api”: “”
// }
})
)
}
- 加入
polyfill和antd组件国际化处理
// src/index.tsx
import React from ‘react’
import ReactDOM from ‘react-dom’
// 注入 store
import { Provider } from ‘react-redux’
import store from ‘@/store/store’
import { ConfigProvider, Empty } from ‘antd’
import App from ‘./App’
import zhCN from ‘antd/es/locale/zh_CN’
import ‘moment/locale/zh-cn’
// polyfill
import ‘core-js/stable’
import ‘regenerator-runtime/runtime’
ReactDOM.render(
,
document.getElementById(‘root’)
)
- CSS Modules
create-react-app自带支持以xxx.module.(c|le|sa)ss的样式表文件,使用上typescript项目中要注意:
const styles = require(‘./index.module.less’)
retrun (
columns={columns}
className={${styles['border-setting']}}
dataSource={props.store.check.items}
rowKey={record => record.id}
pagination={false}
/>
)
// index.module.less
.container {
padding: 24px;
background-color: #fff;
height: 100%;
overflow: auto;
.border-setting {
ES6
-
列举常用的ES6特性:
-
箭头函数需要注意哪些地方?
-
let、const、var
-
拓展:var方式定义的变量有什么样的bug?
-
Set数据结构
-
拓展:数组去重的方法
-
箭头函数this的指向。
-
手写ES6 class继承。
开源分享:【大厂前端面试题解析+核心总结学习笔记+真实项目实战+最新讲解视频】
微信小程序
-
简单描述一下微信小程序的相关文件类型?
-
你是怎么封装微信小程序的数据请求?
-
有哪些参数传值的方法?
-
你使用过哪些方法,来提高微信小程序的应用速度?
-
小程序和原生App哪个好?
-
简述微信小程序原理?
-
分析微信小程序的优劣势
-
怎么解决小程序的异步请求问题?


 被折叠的 条评论
为什么被折叠?
被折叠的 条评论
为什么被折叠?
 到【灌水乐园】发言


