可以新建一个css文件,使结构清晰点,当然写在原来的style.css里也是没有问题的。
ball.css
.ballbox{
position:absolute;
width:1180px;
height:500px;
top:60px;
left:65px;
z-index:-100;
transition:all .3s;
}
.ballBtns{
position:absolute;
width: 65px;
height: 100px;
top: 80px;
left: -65px;
z-index:9999;
transition:all .3s;
}
.ball{
position:absolute;
border-radius:50%;
opacity:.8;
}
.clear_btn,.auto_btn{
position:absolute;
width:65px;
height:35px;
top:60px;
left:0px;
border-radius: 24px;
color: #fff;
font-family: “Kanit”;
font-weight: 900;
/* 文字阴影 实现3D效果 */
text-shadow: 0 1px 0 #deafaf;
border:none;
box-shadow: 0 10px 10px rgba(0,0,0,.3);
outline:none;
cursor: pointer;
}
.auto_btn{
top:0px;
background-image: linear-gradient(to right, #f441a0, #09a8f4, #ffeb3b,#03a9f4);
/* 背景渐变色大小 */
background-size: 400%;
}
.clear_btn{
background-image: linear-gradient(to right, #09a8f4, #ffeb3b, #f441a0,#03a9f4);
/* 背景渐变色大小 */
background-size: 400%;
}
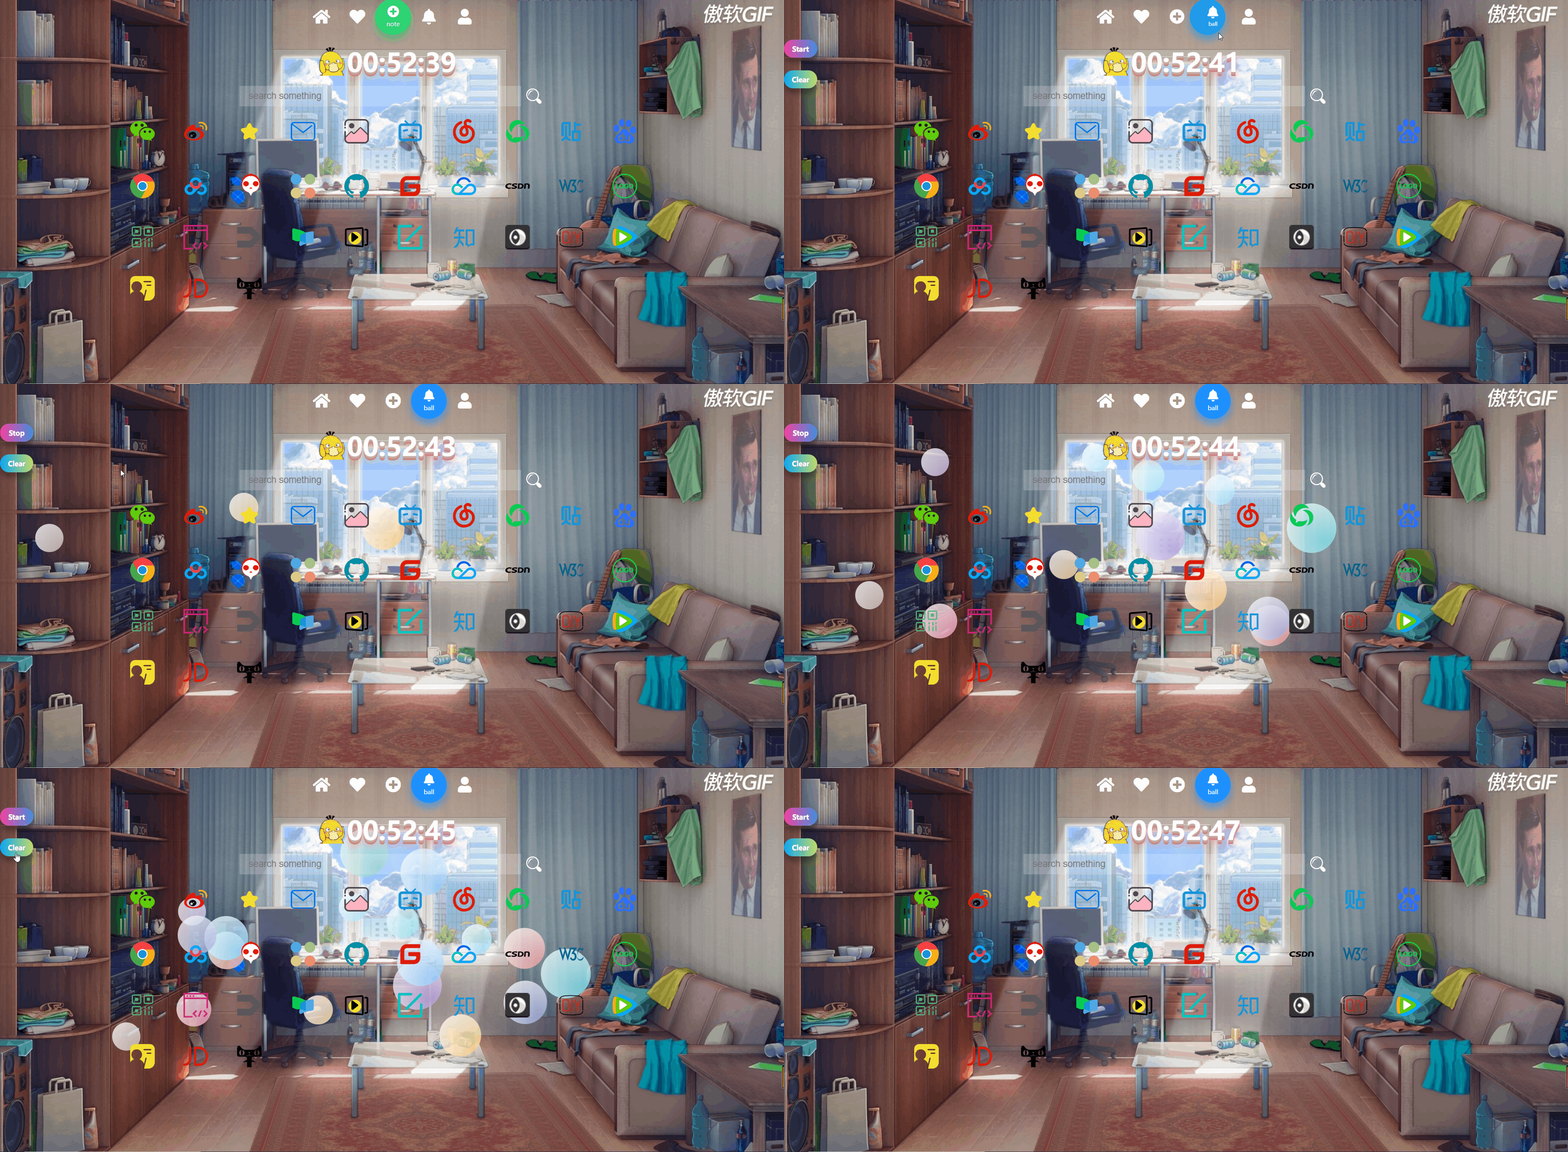
设置泡沫球的添加、清除、停止添加,球的移动以及按钮的弹出
index.js:
//获取元素
var ballbox =document.querySelector(‘.ballbox’);
var clearBtn =document.querySelector(‘.clear_btn’);
var auto =document.querySelector(‘.auto_btn’);
var colors=[‘#ef9a9a’,‘#F48FB1’,‘#CE93D8’,‘#B39DDB’,‘#9FA8DA’,‘#90CAF9’,‘#81D4FA’,‘#80DEEA’,‘#80CBC4’,‘#A5D6A7’,‘#C5E1A5’,‘#FFCC80’,‘#FFAB91’,‘#BCAAA4’,‘#B0BEC5’];
var flag = true;
var balls = null;
var count = 0;
//自动添加 停止添加
function autoBtn(){
if(flag){
timer = setInterval(addBall,150);
auto.value =‘Stop’;
auto.style.backgroundColor =‘red’;
flag = false;
}else{
clearInterval(timer);
auto.style.backgroundColor =‘#00ACC1’;
auto.value =‘Start’;
flag = true;
}
}
//创建新的
function addBall(){
var ball = document.createElement(‘div’);
ball.setAttribute(‘class’,‘ball’);
ball.style.background= “radial-gradient(circle at 75px 75px, “+colors[parseInt(Math.random()*colors.length)]+”,#fff)”;
ballbox.appendChild(ball);
count += 1;
//控制球移动
var top = parseInt(Math.random()*400);
var left = parseInt(Math.random()*900);
ball.style.width = parseInt(Math.random()*50+50) +‘px’;
ball.style.height = ball.style.width;
ball.style.top = top +‘px’;
ball.style.left = left +‘px’;
var x = 5;
var y = 8;
running = setInterval(function clearBalls(){
top += y ;
left += x;
if(top < 0 || top> (ballbox.offsetHeight - ball.offsetHeight)){
y = -y ;
}
if(left< 0 || left> (ballbox.offsetWidth - ball.offsetWidth)){
x = -x;
}
ball.style.top = top +‘px’;
ball.style.left = left +‘px’;
},100)
}
//清除球
// clearBtn.onclick =
function clearBalls(){
var balls = document.getElementsByClassName(‘ball’);
clearInterval(timer);
auto.style.backgroundColor =‘#00ACC1’;
auto.value =‘Start’;
flag = true;
while(balls.length != 0){
balls.length-- ;
ballbox.removeChild(ballbox.children[0]);
}
}
//弹出操作按钮
var btns =document.getElementById(‘btns’);
var flag2 = true;
function ballBtn(){
if(!flag2){
btns.style.transform = ‘translateX(0px)’;
flag2 = true;
}else{
btns.style.transform = ‘translateX(65px)’;
flag2 = false;
}
}
完成这一步,就可以看到我们的泡沫球动画啦!
效果如下:

============================================================================
添加元素
第一步当然还是将便签元素添加进来啦!
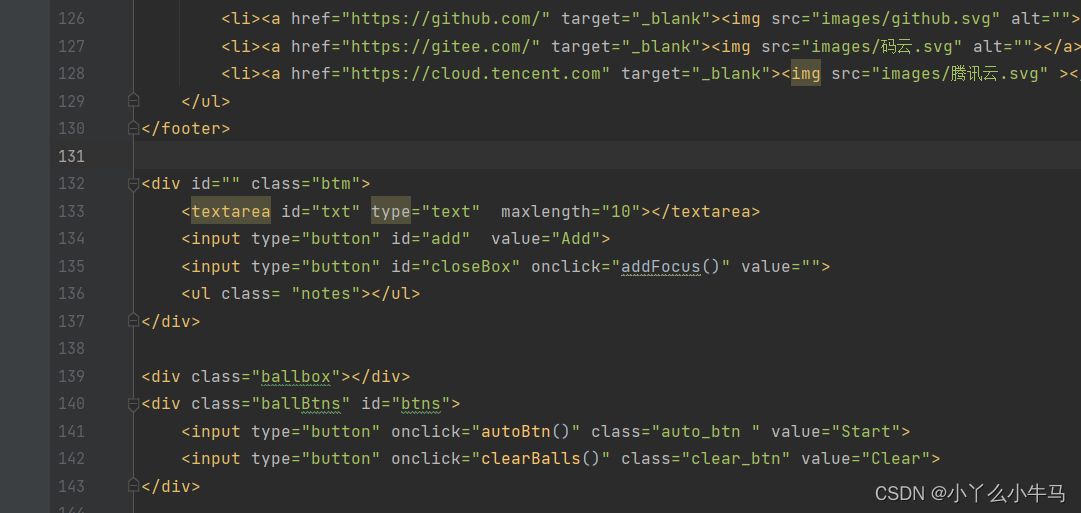
分别是文本域、添加便签按钮、关闭便签栏按钮、删除便签按钮。

代码如下:
设置样式
大家按照自己喜好,设置合适的样式就好啦。
style.css:
.btm{
border-radius: 20px;
position: absolute;
width:570px;
height: 410px;
top:90px;
left:-570px;
margin-top: 100px;
background-color: rgba(255,255,255,.9);
transition:all .3s;
z-index:99;
}
#txt{
float: left;
width: 425px;
height: 50px;
padding: 5px;
border:0;
margin:20px;
margin-bottom: 0px;
color:black;
font-size: 6px;
background-color:#ccc;
outline: none;
background-color: rgba(0,0,0,.3);
}
#txt::-webkit-input-placeholder, #txt textarea::-webkit-input-placeholder {
color: black;
font-size: 10px;
}
.btm #add{
float: left;
width: 50px;
height: 60px;
margin-top: 20px;
margin-left: -5px;
outline: none;
border:0;
color:#fff;
cursor: pointer;
background-color: rgba(0,0,0,.3);
}
#closeBox{
float: right;
width: 32px;
height: 32px;
margin-top: 0;
margin-right: 0;
outline: none;
border:0;
color:#fff;
cursor: pointer;
background:url(‘…/images/close.png’) no-repeat;
background-color: rgba(0,0,0,0);
border-radius:50%;
}
.notes li{
position: relative;
float: left;
width: 85px;
height: 85px;
border:0;
margin:20px;
margin-bottom: 25px;
padding: 5px;
color:#000;
font-size:10px;
line-height: 18px;
text-align: center;
letter-spacing:2px;
background-color:#ccc;
outline: none;
background-color: rgba(0,0,0,.3);
}
.notes li a{
position: absolute;
width: 95px;
height: 20px;
top:113px;
left:0;
outline: none;
border:0;
color:#fff;
text-align: center;
cursor: pointer;
background-color: rgba(0,0,0,.3);
}
.notes li a:hover{
color:red!important;
}
.notes li p{
position: absolute;
width: 95px;
height: 20px;
left: 0;
top:-14px;
text-align: center;
font-size:6px;
letter-spacing:1px;
}
.btm #add:hover,.notes li a:hover{
background-color: rgba(0,0,0,.5)!important;
}
添加子节点
由于是便签嘛,所以想着应该需要记录写下便签的时间,所以我们首先,获取时间,然后添加便签的操作使用.append添加子节点就好啦。代码有注释,不懂得可以留言!
index.js
//创建计时器
function Note(){
var time = new Date();
y = time.getFullYear();
mon = time.getMonth()+1;
d = time.getDate();
var h = time.getHours();
var ampm = h < 12 ? ‘AM’ : ‘PM’;
if(h < 10){
h = ‘0’ + h;
}
else if(h >= 12 &am


 最低0.47元/天 解锁文章


 1万+
1万+


 被折叠的 条评论
为什么被折叠?


