


在App.vue中添加核心的控件
接着添加属性,注意我们将用自己的方法upload替换el-upload中的上传操作,因此设置action=“/”,
:http-request=“upload”,如下:
<el-upload
ref=“upload”
:limit=“10”
multiple
action=“/”
:http-request=“upload”>
在script中添加上传Dto:一些业务相关的数据在这里定义 比如ownerUserId, fileContainerName等,这些数据可以通过表单与文件数据一并上传
export class CreateFileDto {
id: string;
fileContainerName: string; //文件夹名称
parentId: string; //文件的父Id
ownerUserId: number; //文件的归属用户Id
fileName: string;
mimeType: string;
fileType: number; //文件类型 0:文件夹,1:普通文件
file: any; //文件数据
}
method中添加一些帮助类函数:
methods: {
successMessage(value = “执行成功”) {
this.$notify({
title: “成功”,
message: value,
type: “success”,
});
},
errorMessage(value = “执行错误”) {
this.$notify.error({
title: “错误”,
message: value,
});
},
FriendlyFileSize(bytes) {
bytes = parseFloat(bytes);
if (bytes === 0) return “0B”;
let k = 1024,
sizes = [“B”, “KB”, “MB”, “GB”, “TB”],
i = Math.floor(Math.log(bytes) / Math.log(k));
return (bytes / Math.pow(k, i)).toPrecision(3) + sizes[i];
},
}
编写提交前置函数,这里将做验证和生成cancelToken:
beforeUpload(file) {
var token = getCancelToken();
file.cancelToken = token;
let isLt2M = true;
if (this.fileSizeLimit < 0) {
return true;
}
isLt2M = file.size / 1024 / 1024 < this.fileSizeLimit;
if (!isLt2M) {
this.loading = false;
this.errorMessage("上传文件大小不能超过 ${this.fileSizeLimit}}MB!");
}
return isLt2M;
}
编写upload函数,用于组装请求数据并交给 ajaxRequire 执行上传任务
async upload(option) {
this.loaded = true;
var model = new CreateFileDto();
var file = option.file;
model.fileName = file.name;
model.fileType = 2;
model.mimeType = file.type;
model.ownerUserId = 1;
model.fileContainerName = “Container1”;
model.file = file;
var fd = new FormData();
Enumerable.from(model).forEach(© => {
fd.append(c.key, c.value);
});
var token = file.cancelToken;
await request(
this.uploadUrl,
“post”,
fd,
(e) => {
if (e.total > 0) {
e.percent = (e.loaded / e.total) * 100;
}
option.onProgress(e);
},
token
);
},
将token将作为取消传输的入口交给ajaxRequire ,自己也保留这个对象用于发送取消命令,相当于“一式两份”。
添加el-upload各阶段函数的订阅
:before-upload=“beforeUpload”
:on-success=“handleSuccess”
:on-remove=“handleRemove”
:on-error=“handleError”
handleSuccess(response, file, fileList) {
this.successMessage(“上传成功”);
this.loading = false;
},
handleError(e, file, fileList) {
this.errorMessage(e);
this.loading = false;
},
handleRemove(file, fileList) {
if (file.raw.cancelToken) {
file.raw.cancelToken.cancel();
}
},
编写上传队列的Html代码:
上传
{{ file.name }}
<el-button
type=“danger”
icon=“el-icon-minus”
size=“mini”
circle
@click=“handleRemove(file)”
{{ FriendlyFileSize(file.size) }}
<el-progress
:text-inside=“true”
:stroke-width=“26”
:percentage=“parseInt(file.percentage, 10)”
总结
根据路线图上的重点去进行有针对性的学习,在学习过程中,学会写笔记,做总结。
开源分享:【大厂前端面试题解析+核心总结学习笔记+真实项目实战+最新讲解视频】
这里分享一些前端学习笔记:
-
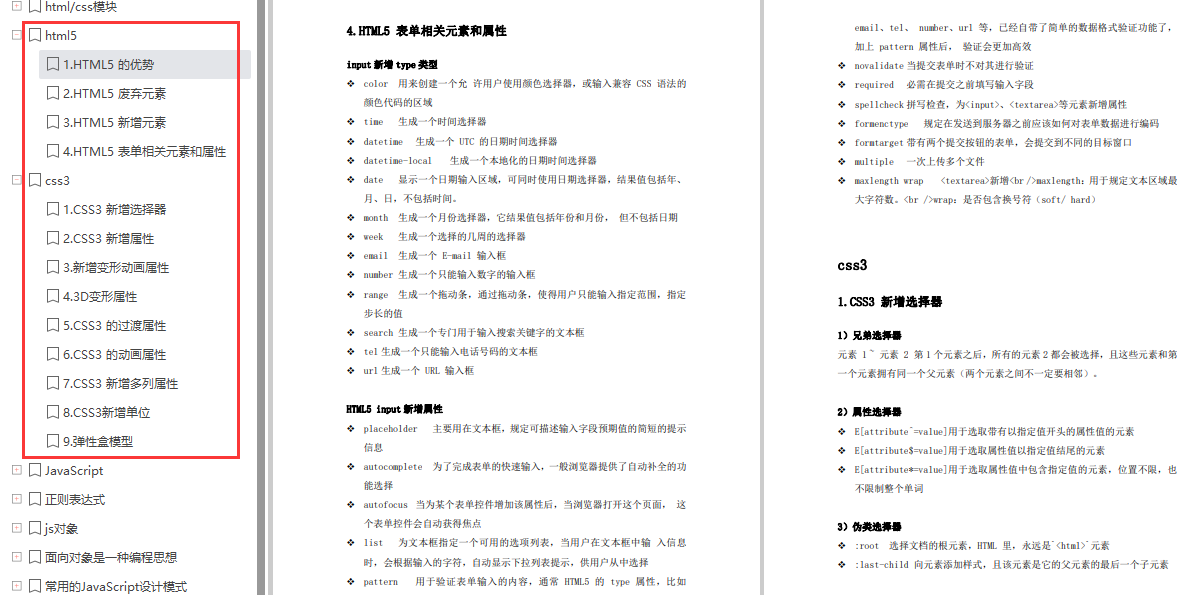
html5 / css3 学习笔记
-
JavaScript 学习笔记

-
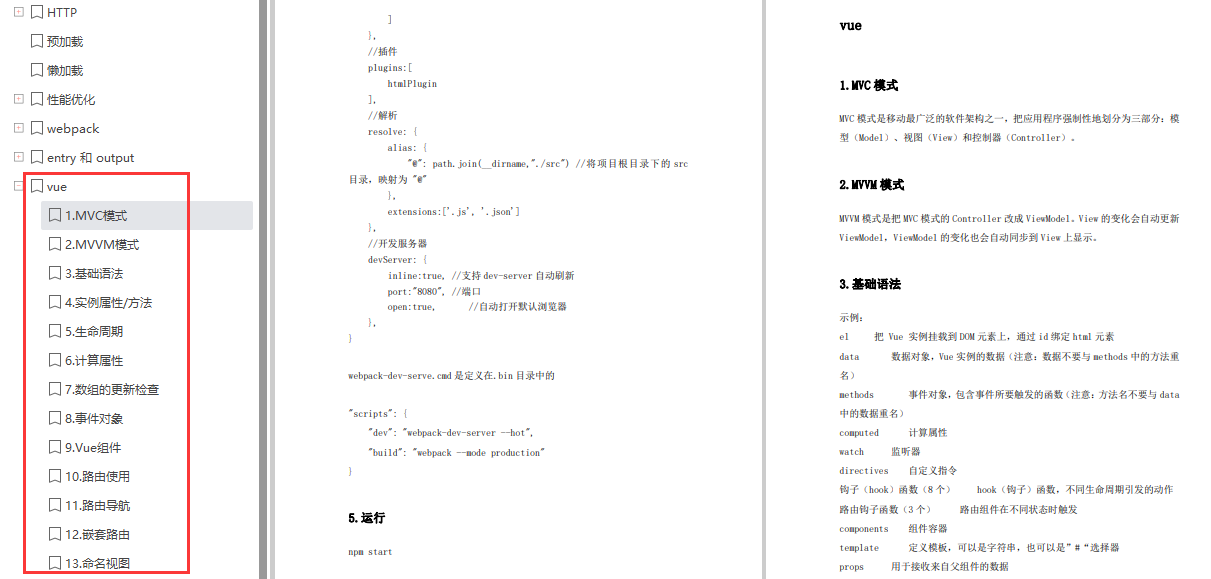
Vue 学习笔记


 237
237


 被折叠的 条评论
为什么被折叠?
被折叠的 条评论
为什么被折叠?
 到【灌水乐园】发言


