


🐹2.爬虫文件的创建:
在项目根路径下执行:
scrapy genspider <爬虫名字> <允许爬取的域名>
示例:
cd myspider
scrapy genspider itcast itcast.cn
讲解:
- 爬虫名字:作为爬虫运行时的参数;
- 允许爬的域名:为对于爬虫设置的爬取范围,设置之后用于过滤要爬取的url,如果爬取的url与允许的域名不同,则被过滤掉。
🐸3.运行scrapy爬虫:
命令:在项目目录下执行:
scrapy crawl <爬虫名字>
示例:
scrapy crawl itcast
不过,在运行之前,我们先要编写itcast.py爬虫文件:
# -\*- coding: utf-8 -\*-
import scrapy
class ItcastSpider(scrapy.Spider):
# 爬虫运行时的参数
name = 'itcast'
# 检查允许爬的域名
allowed_domains = ['itcast.cn']
# 1.修改设置起始的url
start_urls = ['见评论区']
# 数据提取的方法:接收下载中间件传过来的response,定义对于网站相关的操作
def parse(self, response):
# 获取所有的教师节点
t_list = response.xpath('//div[@class="li\_txt"]')
print(t_list)
# 遍历教师节点列表
tea_dist = {}
for teacher in t_list:
# xpath方法返回的是选择器对象列表 extract()方法可以提取到selector对象中data对应的数据。
tea_dist['name'] = teacher.xpath('./h3/text()').extract_first()
tea_dist['title'] = teacher.xpath('./h4/text()').extract_first()
tea_dist['desc'] = teacher.xpath('./p/text()').extract_first()
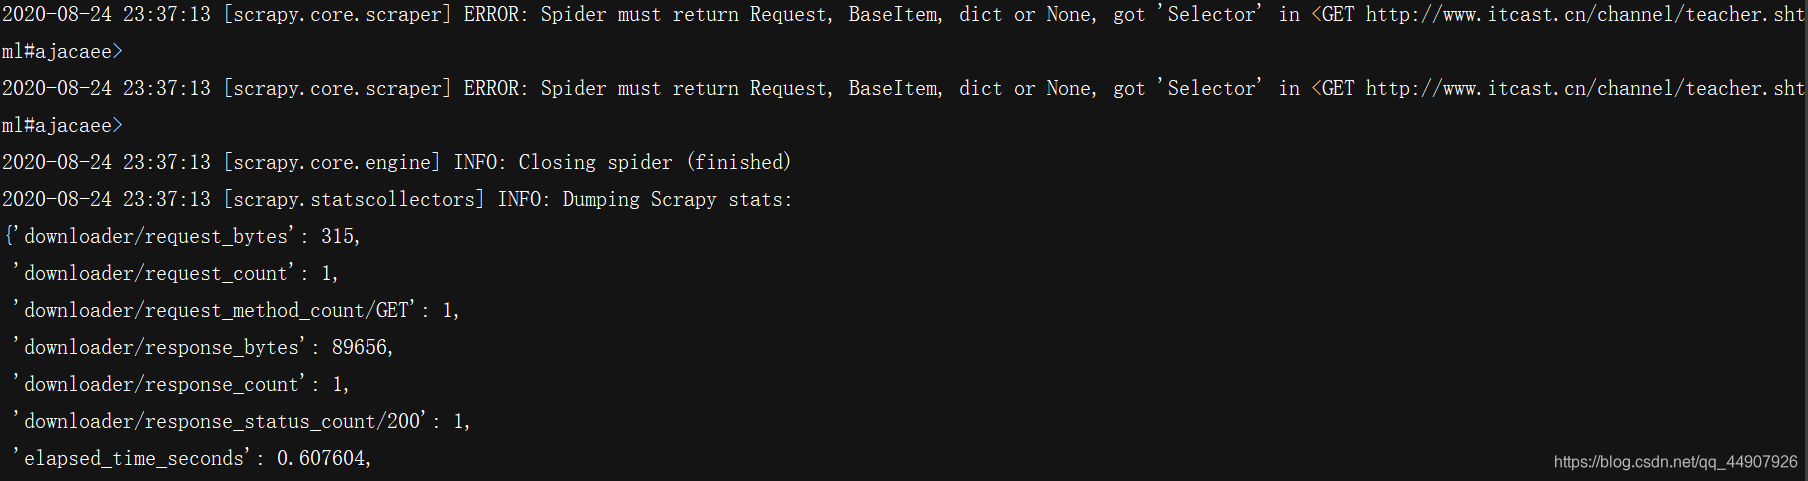
yield teacher
然后再运行,会发现已经可以正常运行!
🐻4.明确了爬虫所爬取数据之后,使用管道进行数据持久化操作:
修改itcast.py爬虫文件:
# -\*- coding: utf-8 -\*-
import scrapy
from ..items import UbuntuItem


class ItcastSpider(scrapy.Spider):
    # 爬虫运行时的参数
    name = 'itcast'
    # 检查允许爬的域名
    allowed_d
最低0.47元/天 解锁文章


 被折叠的 条评论
为什么被折叠?
被折叠的 条评论
为什么被折叠?
 到【灌水乐园】发言


