


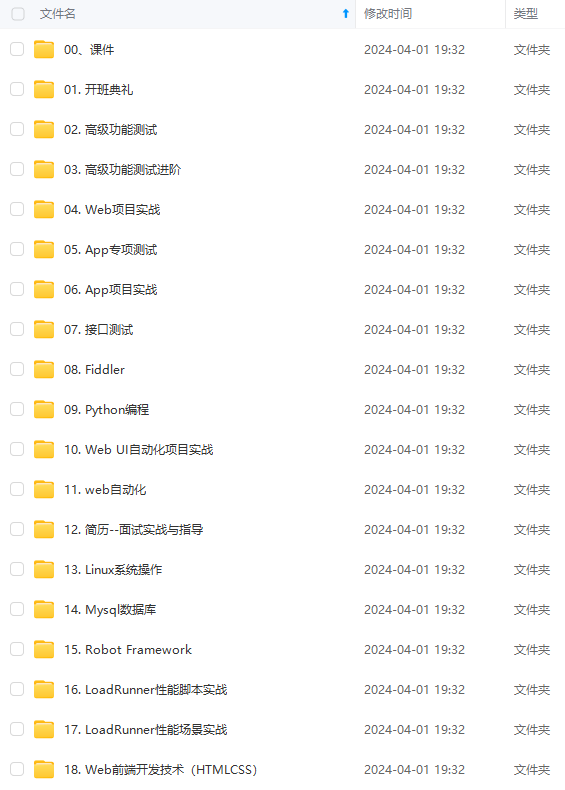
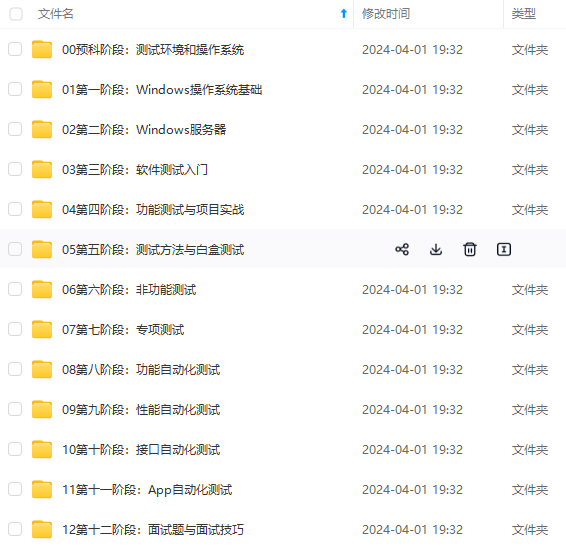
既有适合小白学习的零基础资料,也有适合3年以上经验的小伙伴深入学习提升的进阶课程,涵盖了95%以上软件测试知识点,真正体系化!
由于文件比较多,这里只是将部分目录截图出来,全套包含大厂面经、学习笔记、源码讲义、实战项目、大纲路线、讲解视频,并且后续会持续更新
def save_screenshot():
    '''
    页面截屏保存截图
    :return:
    '''
    file_name = IMG_PATH + "\\{}.png".format(time.strftime("%Y%m%d%H%M%S", time.localtime()))
    d.screenshot(file_name)
    with open(file_name, mode='rb') as f:
        file = f.read()
    allure.attach(file, allure.attachment_type.PNG)
出错截图,我写了一个装饰器
def fail_screenshot(func):
    '''
    失败页面截屏保存截图
    :return:
    '''

    def wrapper(*args, **kwargs):
        try:
            func(*args, **kwargs)
        except:
            file_name = FAIL_IMG_PATH + "\\{}_{}.png".format(func.__name__,
                                                             time.strftime("%Y%m%d%H%M%S", time.localtime()))
            d.screenshot(file_name)

            # with open(file_name, mode='rb') as f:
            #     file = f.read()
            # allure.attach(file, allure.attachment_type.PNG)

    return wrapper
似乎能达到我的期望,就是太烦了,每次需要调用或者将装饰器写在函数上。 然后我发现allue里面有一个钩子函数。
from _pytest import runner

# 对应源码
def pytest_runtest_makereport(item, call):
    """ return a :py:class:`_pytest.runner.TestReport` object
    for the given :py:class:`pytest.Item` and
    :py:class:`_pytest.runner.CallInfo`.
    """
这里item是测试用例,call是测试步骤,具体执行过程如下:
先执行when=‘setup’ 返回setup 的执行结果
然后执行when=‘call’ 返回call 的执行结果
最后执行when='teardown’返回teardown 的执行结果
例如:
# conftest.py
import pytest


@pytest.hookimpl(hookwrapper=True, tryfirst=True)
def pytest_runtest_makereport(item, call):
    print('------------------------------------')

    # 获取钩子方法的调用结果
    out = yield
    print('用例执行结果', out)

    # 3. 从钩子方法的调用结果中获取测试报告
    report = out.get_result()

    print('测试报告:%s' % report)
    print('步骤:%s' % report.when)
    print('nodeid:%s' % report.nodeid)
    print('description:%s' % str(item.function.__doc__))
    print(('运行结果: %s' % report.outcome))
运行用例的过程会经历三个阶段:setup-call-teardown,每个阶段都会返回的 Result 对象和 TestReport 对象,以及对象属性。
如果setup执行失败了,setup的执行结果的failed,后面的call用例和teardown都不会执行了。
如果setup正常执行,但是测试用例call失败了。那么此时运行的结果就是failed。
如果setup正常执行,测试用例call正常执行,teardown失败了,这种情况,最终统计的结果:1 passed, 1 error in 0.16 seconds
只获取call的时候,我们在写用例的时候,如果保证setup和teardown不报错情况,只关注测试用例本身的运行结果,前面的 pytest_runtest_makereport 钩子方法执行了三次。
可以加个判断:if report.when == “call”
import pytest
from _pytest import runner
'''
# 对应源码
def pytest_runtest_makereport(item, call):
    """ return a :py:class:`_pytest.runner.TestReport` object
    for the given :py:class:`pytest.Item` and
    :py:class:`_pytest.runner.CallInfo`.
    """
'''

@pytest.hookimpl(hookwrapper=True, tryfirst=True)
def pytest_runtest_makereport(item, call):
    print('------------------------------------')

    # 获取钩子方法的调用结果
    out = yield
    # print('用例执行结果', out)

    # 3. 从钩子方法的调用结果中获取测试报告
    report = out.get_result()
    if report.when == "call":
        print('测试报告:%s' % report)
        print('步骤:%s' % report.when)
        print('nodeid:%s' % report.nodeid)
        print('description:%s' % str(item.function.__doc__))
        print(('运行结果: %s' % report.outcome))

@pytest.fixture(scope="session", autouse=True)
def fix_a():
    print("setup 前置操作")
    yield
    print("teardown 后置操作")
allure报告集成错误截图 需要使用conftest.py文件,conftest.py需要存在在测试目录中,文件名不能变更,可以根据模块创建层级嵌套。
具体参照pytest的官方文档
@pytest.hookimpl(tryfirst=True, hookwrapper=True)
def pytest_runtest_makereport(item, call):
    '''
    hook pytest失败
    :param item:
    :param call:
    :return:
    '''
    # execute all other hooks to obtain the report object
    outcome = yield
    rep = outcome.get_result()
    # we only look at actual failing test calls, not setup/teardown
    if rep.when == "call" and rep.failed:
        mode = "a" if os.path.exists("failures") else "w"
        with open("failures", mode) as f:
            # let's also access a fixture for the fun of it
            if "tmpdir" in item.fixturenames:
                extra = " (%s)" % item.funcargs["tmpdir"]
            else:
                extra = ""
            f.write(rep.nodeid + extra + "\n")
        # pic_info = adb_screen_shot()
        with allure.step('添加失败截图...'):
            allure.attach(driver.get_screenshot_as_png(), "失败截图", allure.attachment_type.PNG)
好了,我们可以用在我们自己的项目里面来了。 我们可以在conftest.py里面定义:
import pytest
from selenium import webdriver
import os
import allure
_driver = None
@pytest.hookimpl(tryfirst=True, hookwrapper=True)
def pytest_runtest_makereport(item, call):
'''
获取每个用例状态的钩子函数


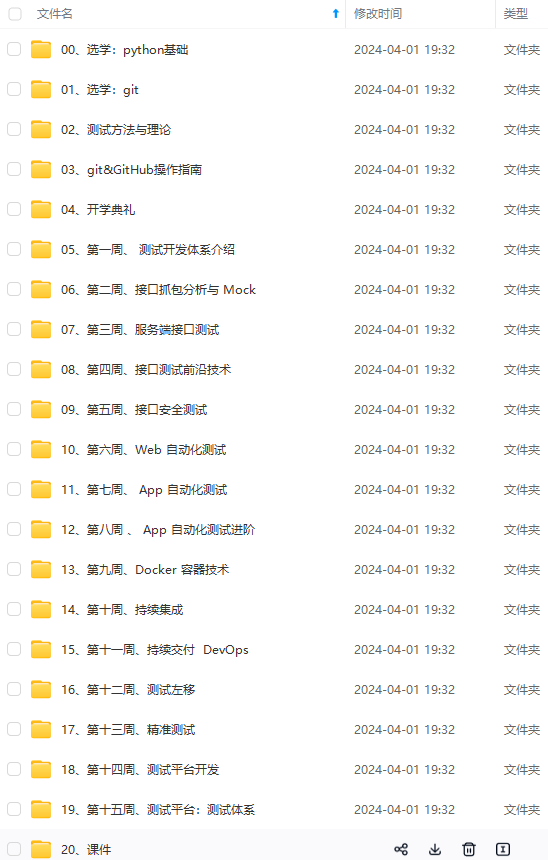
**既有适合小白学习的零基础资料,也有适合3年以上经验的小伙伴深入学习提升的进阶课程,涵盖了95%以上软件测试知识点,真正体系化!**
**由于文件比较多,这里只是将部分目录截图出来,全套包含大厂面经、学习笔记、源码讲义、实战项目、大纲路线、讲解视频,并且后续会持续更新**
**[需要这份系统化的资料的朋友,可以戳这里获取](https://bbs.csdn.net/forums/4f45ff00ff254613a03fab5e56a57acb)**
白学习的零基础资料,也有适合3年以上经验的小伙伴深入学习提升的进阶课程,涵盖了95%以上软件测试知识点,真正体系化!**
**由于文件比较多,这里只是将部分目录截图出来,全套包含大厂面经、学习笔记、源码讲义、实战项目、大纲路线、讲解视频,并且后续会持续更新**
**[需要这份系统化的资料的朋友,可以戳这里获取](https://bbs.csdn.net/forums/4f45ff00ff254613a03fab5e56a57acb)**


 634
634


 被折叠的 条评论
为什么被折叠?
被折叠的 条评论
为什么被折叠?
 到【灌水乐园】发言


